How to Plunge a Toilet

Home ImprovementEasy4:067 steps
Also in:Adulting

By ShowMeStepByStepPublished Updated

Based on a video by Helpful DIY.

Every adult should know how to plunge a toilet. Sooner or later, one is going to back up on you, and you don't want to be standing there googling while the water rises.

The good news is that the technique is simple. Mike from Helpful DIY walks through it in under four minutes: pick a plunger, get a real seal over the drain hole, and work the handle hard for fifteen to twenty seconds. Most clogs give up on the first or second try.

You'll want a plunger and a pair of rubber gloves. An old towel on the floor is a smart bet too - this can get splashy.

Step-by-Step Guide

1

Step 1: Pick the right plunger

0:22
Step 1: Step 1: Pick the right plunger

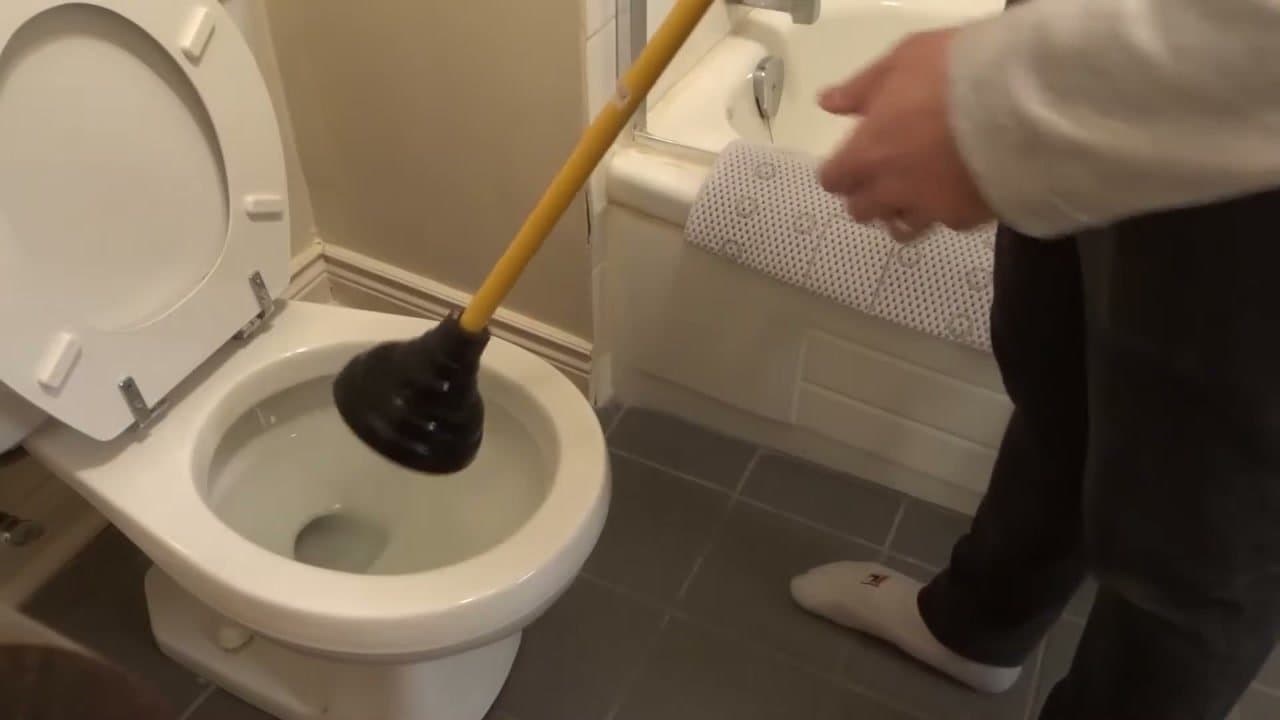
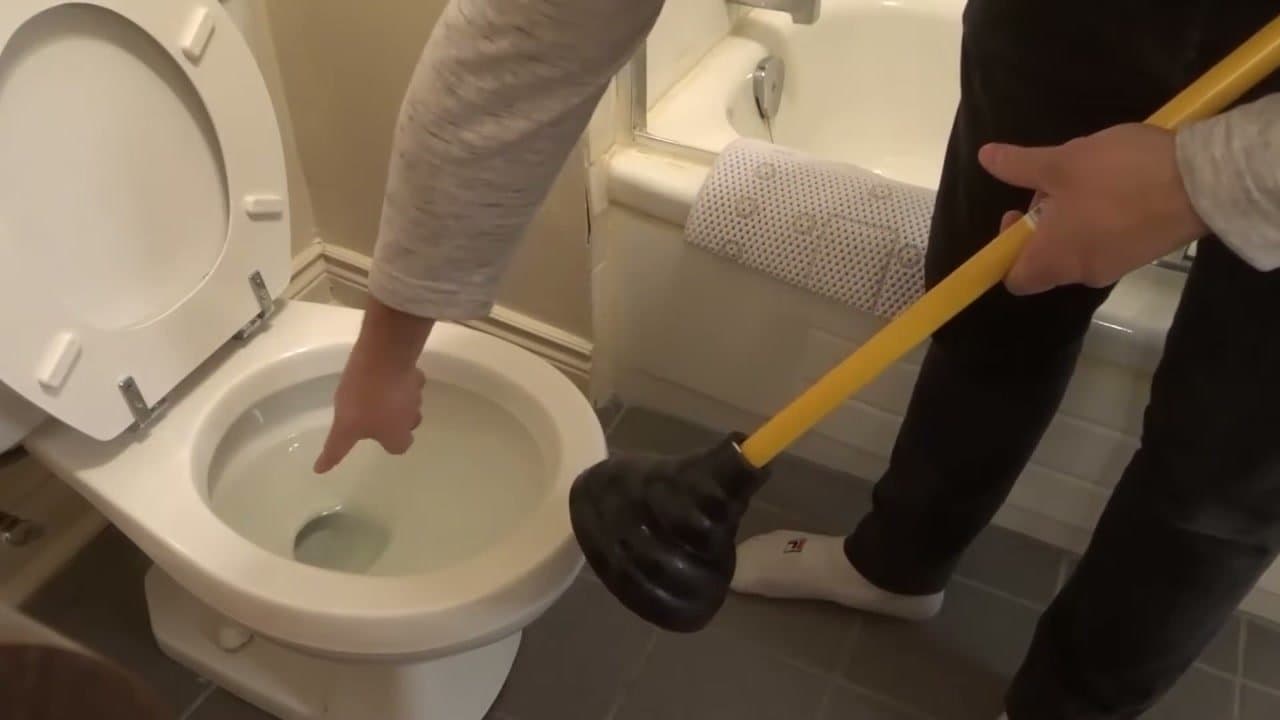
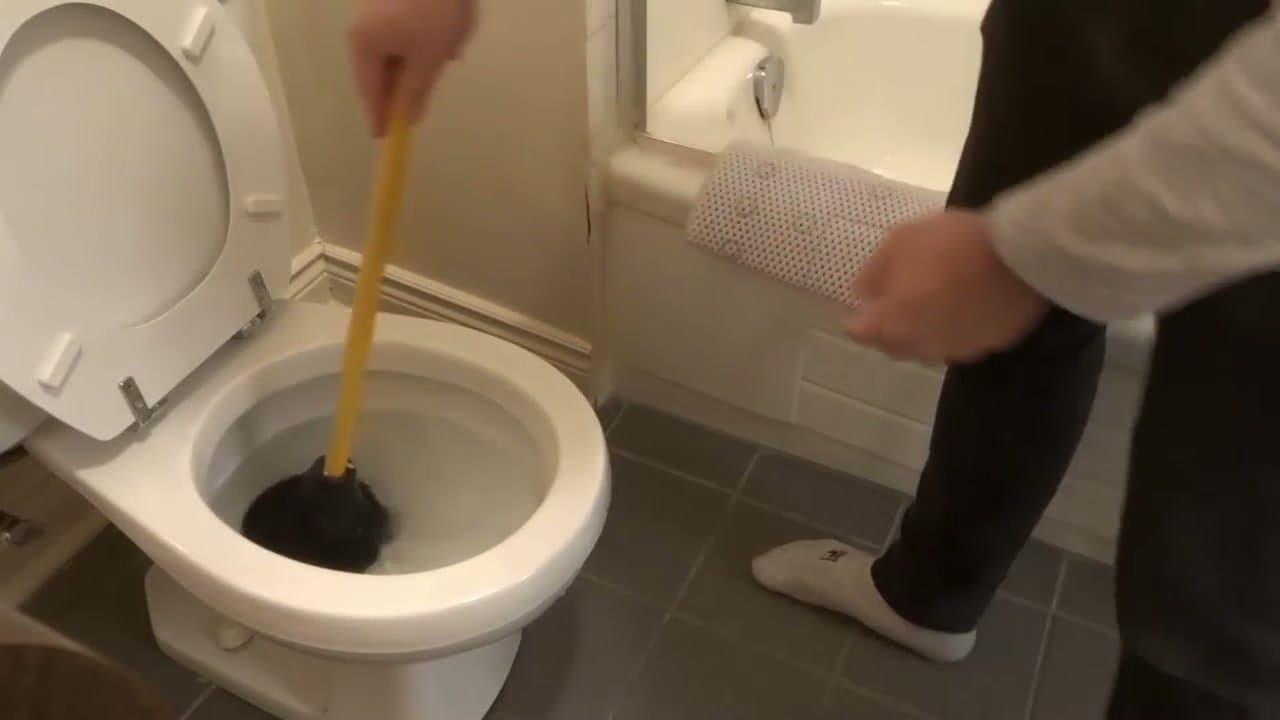
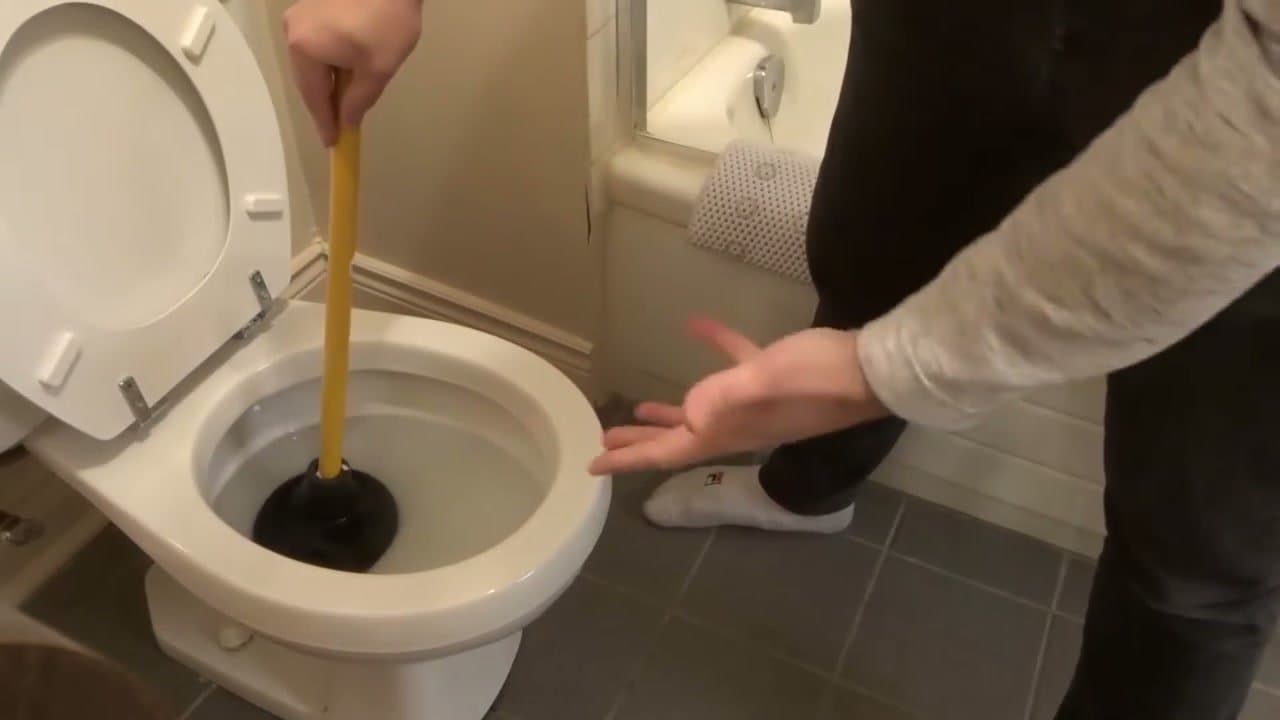
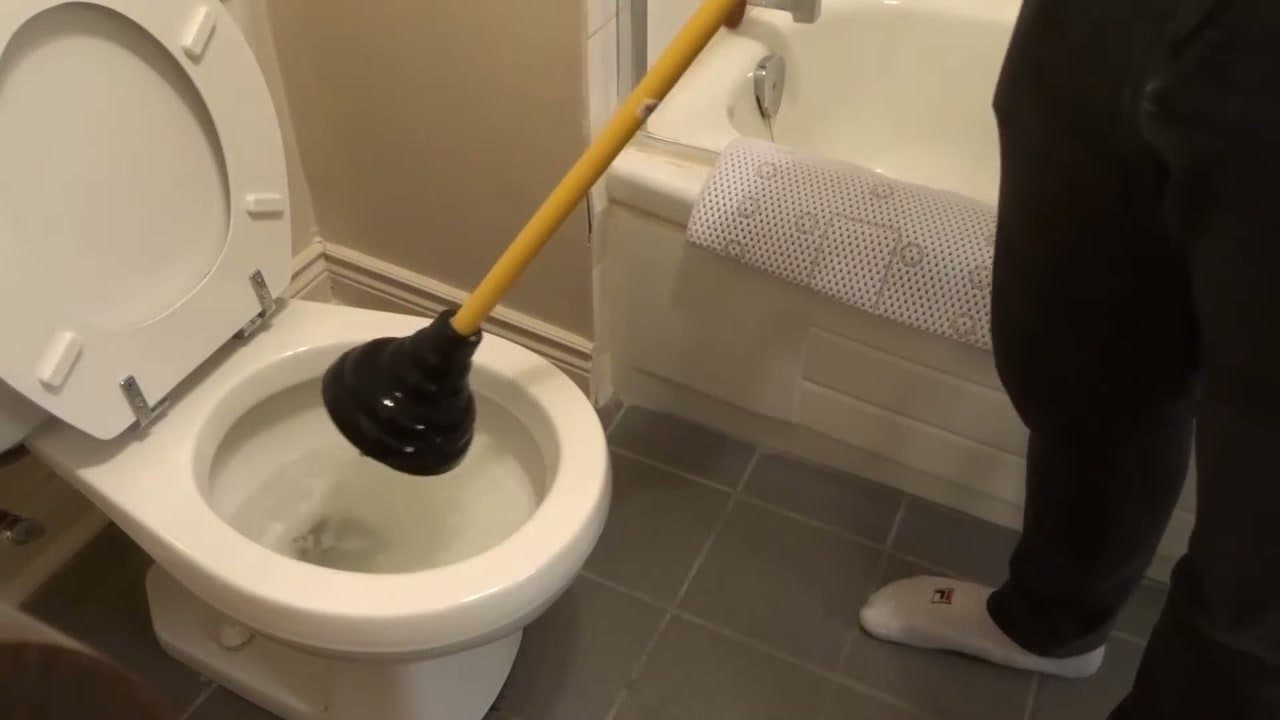
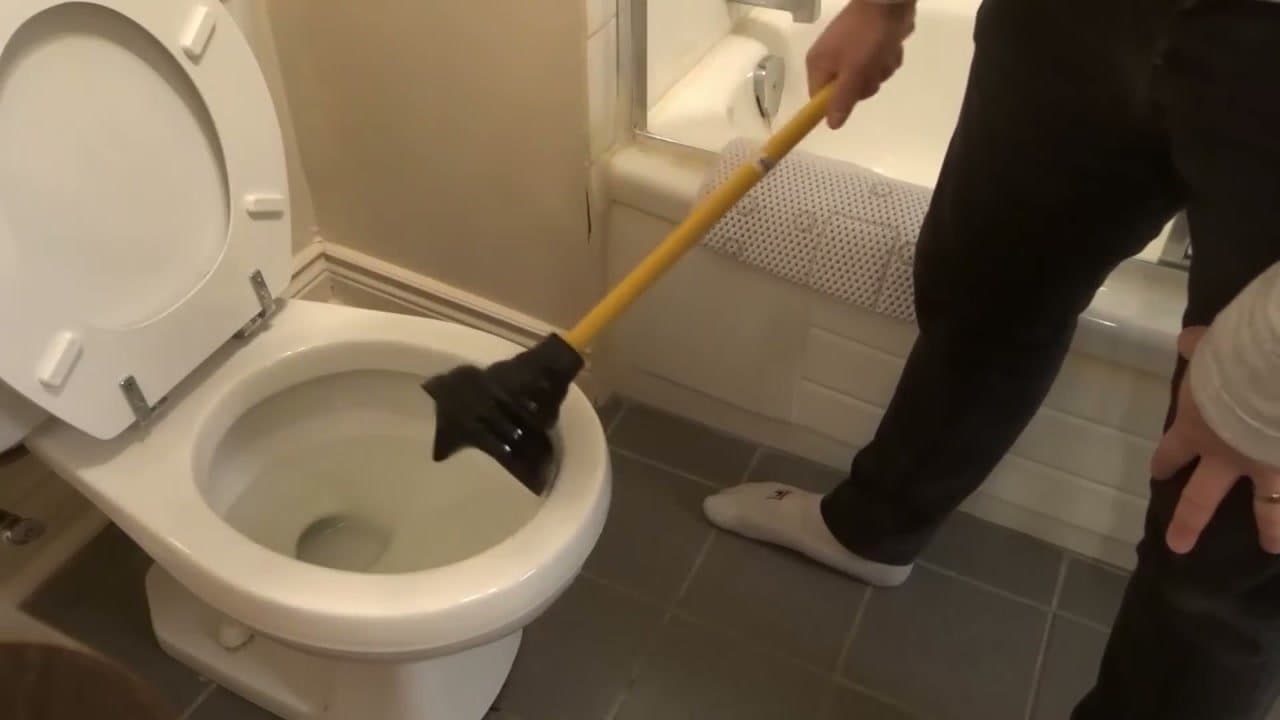
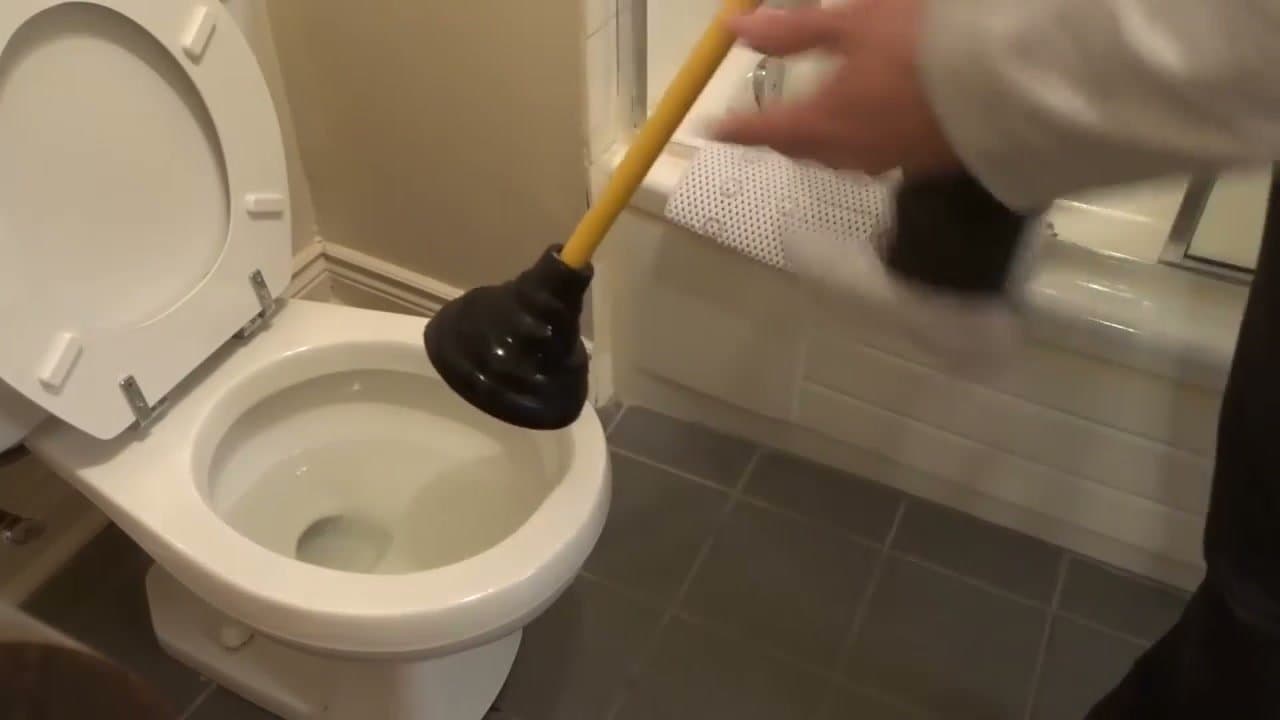
Two plungers are common in the toilet aisle: a basic cup plunger and a flange plunger with an extra rubber sleeve that folds out from the cup. Either one will clear a typical clog.

The flange version is designed to tuck into the toilet's drain hole for a better seal. People argue about which is better. In practice, both work fine if you use them right.

Tip

If you're buying new, pick the flange style. It still works on tubs and sinks if you fold the flap back inside the cup.

2

Step 2: Seat the plunger over the drain hole

0:52
Step 2: Step 2: Seat the plunger over the drain hole

Look down into the bowl. The drain hole is the round opening at the bottom where the water goes. That's the only spot you care about.

Lower the plunger straight down so the rubber cup covers the hole. If your plunger has a flange, let it tuck inside. The cup should sit flat against the porcelain all the way around.

3

Step 3: Press down to get a seal

1:02
Step 3: Step 3: Press down to get a seal

Push the handle straight down to compress the cup. It should feel stiff. That stiffness, both pushing in and pulling back, is your suction.

If the handle slides down with no resistance, the cup isn't sealed yet. Lift it, reposition over the drain, and try again. No seal means no force, and no force means no clog clears.

Tip

A dry plunger seals worse than a wet one. Run the cup under the bowl water for a second to soften the rubber before you start.

Products used in this step

4

Step 4: Plunge aggressively for 15 to 20 seconds

1:30
Step 4: Step 4: Plunge aggressively for 15 to 20 seconds

Once you have a seal, drive the handle down and pull it back up in fast, hard strokes. The pull is doing as much work as the push - both directions move water against the clog.

Keep the cup over the drain the whole time. Fifteen to twenty seconds of real effort is usually enough to break a clog free.

Tip

You may get splashed. Stand back a step, wear something you don't mind getting wet, and put a towel down on the floor.

5

Step 5: Lift the plunger and check the bowl

2:25
Step 5: Step 5: Lift the plunger and check the bowl

Pull the plunger up slowly and let it drip back into the bowl before lifting it clear. Watch the water level.

If it drains down, the clog is broken and you're done. If the bowl is still full, the clog is still in there. Don't flush yet - a flush on a stuck clog is how bathrooms flood.

Products used in this step

6

Step 6: Repeat if the clog is still stuck

2:42
Step 6: Step 6: Repeat if the clog is still stuck

Reseat the cup over the drain and run another fifteen to twenty second session. Most clogs clear on the first or second round. On a stubborn one you might need three or four.

The water often looks dirtier each time. That's a good sign - it means you're pulling debris up out of the trap, which is exactly what you want.

Tip

If you've done four hard sessions and nothing has moved, stop. The clog is past where a plunger reaches. You'll need a toilet auger.

7

Step 7: Confirm the toilet flushes clean

3:20
Step 7: Step 7: Confirm the toilet flushes clean

Once the bowl drains, give the toilet a test flush and watch the water. It should swirl down and refill normally without rising back up.

If it rises again or drains slowly, the clog isn't fully gone. Plunge another round, or move on to a toilet auger if the plunger has stopped making progress.

Products used in this step

Products Used

☐ The Checklist

How to Plunge a Toilet

Tools
4
Steps
7
Video
4 min

Your Guide

Helpful DIY

As an Amazon Associate we earn from qualifying purchases. Links on this page may be affiliate links - clicking them and buying doesn't change your price, but helps support ShowMeStepByStep.

Tags

Related Tutorials