How to Use a Stud Finder

Home ImprovementEasy4:297 steps
Also in:Adulting

By ShowMeStepByStepPublished Updated

Based on a video by StatUpBox.

That moment before you drill into drywall is always a gamble. Hit a stud and your shelf holds for 20 years. Miss it and your TV mount rips out the wall on a slow Sunday afternoon.

An electronic stud finder solves this for about $20. The tool reads density through the drywall and lights up when it crosses something solid behind the surface. The trick is in how you use it - calibrate on hollow wall first, then slide until the indicator changes.

StatUpBox walks through the whole technique on a real wall, including the two-edge method that gives you the exact center of the stud instead of a guess. Once you have a few studs marked you can hang anything you want.

Step-by-Step Guide

1

Step 1: Get to know your stud finder

0:09
Step 1: Step 1: Get to know your stud finder

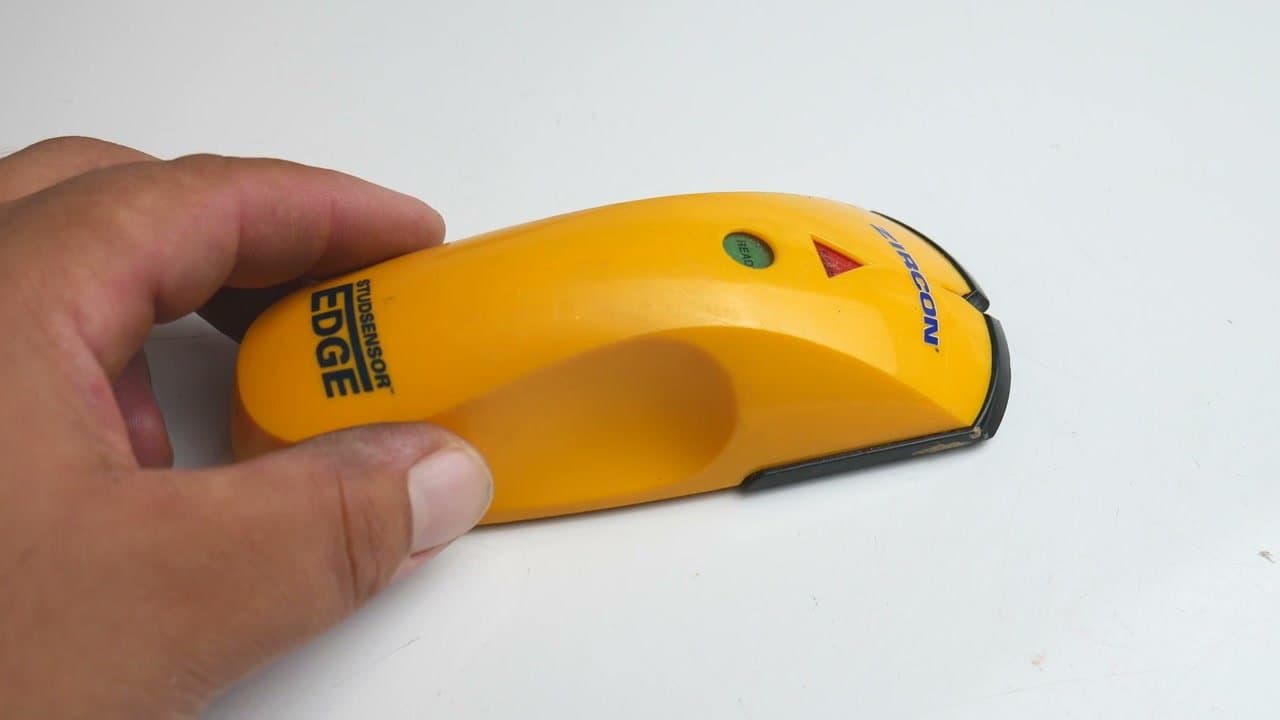
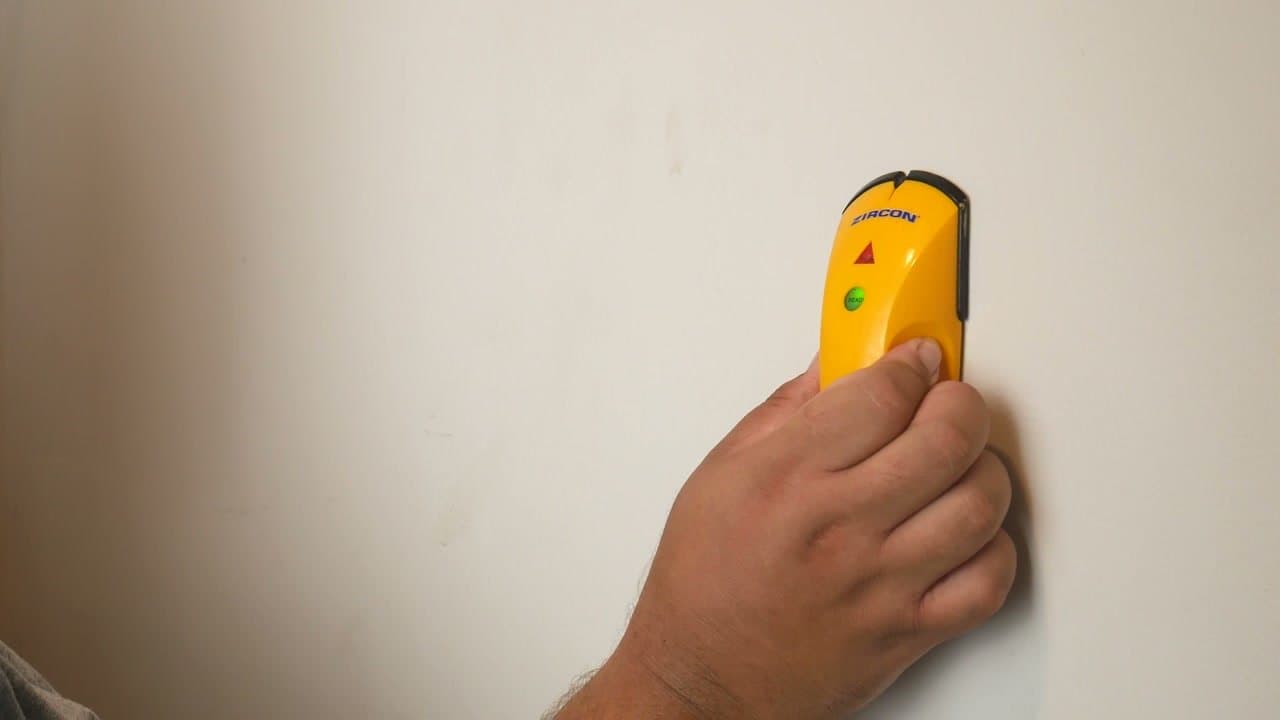
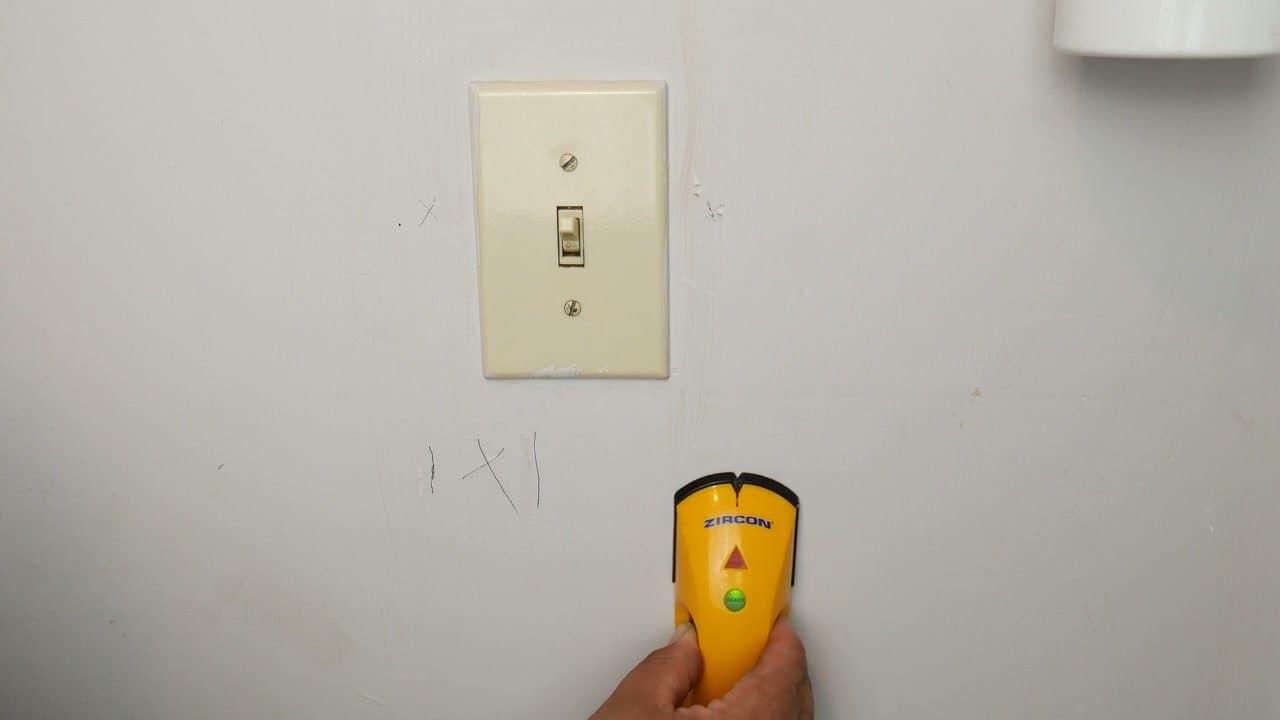
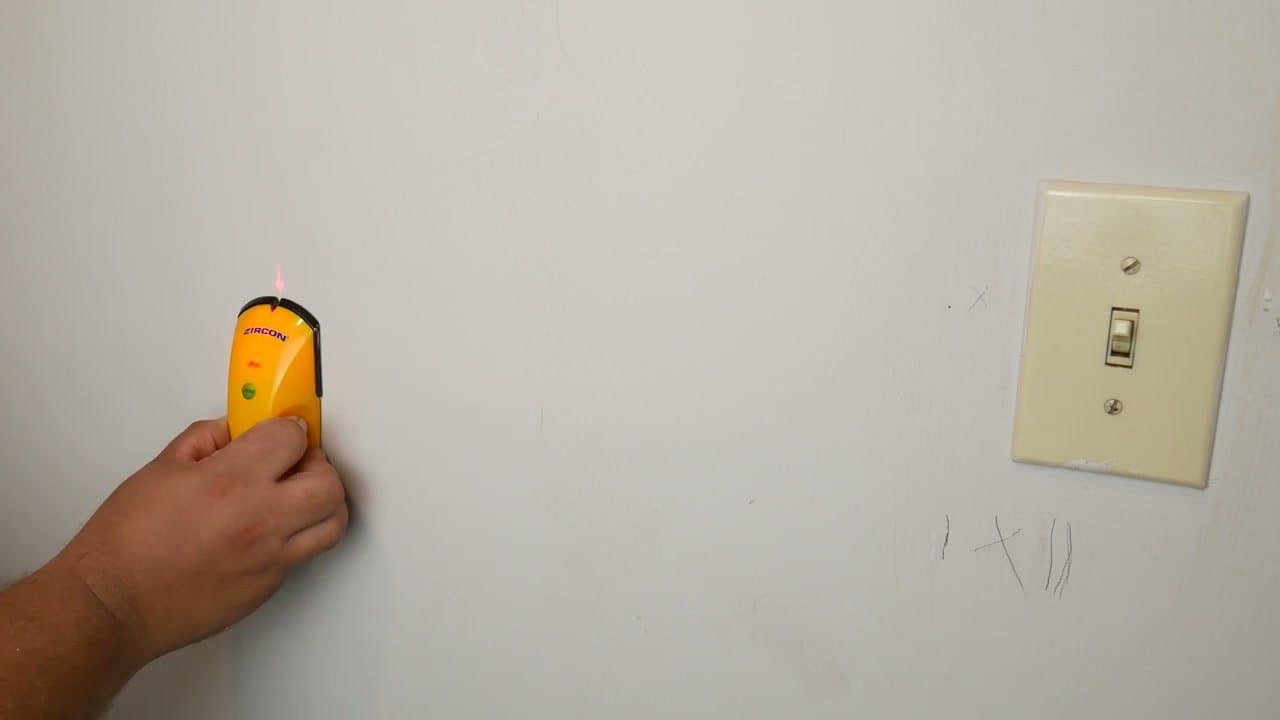
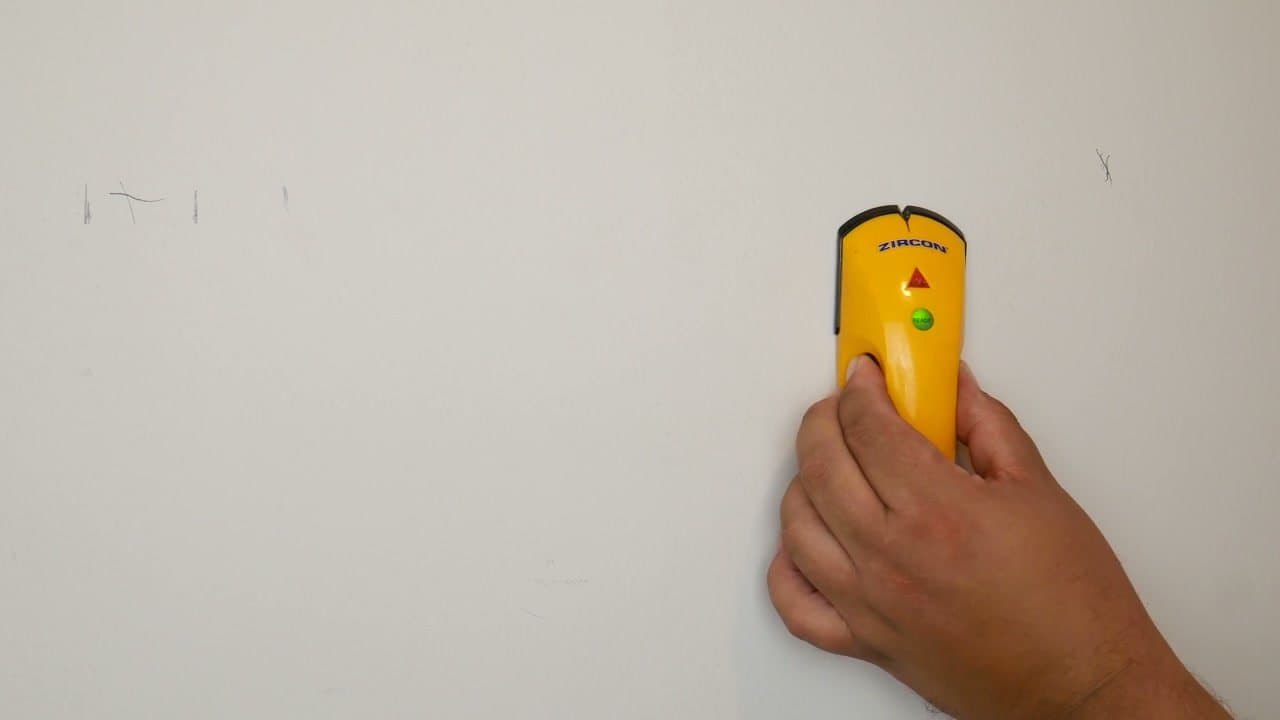
A basic electronic stud finder runs about $20 and usually has one button plus two indicator lights. Green means the tool is calibrated and ready to scan. Red means it has detected something dense behind the drywall.

That something is usually a stud, but it can also be a pipe, a duct, or an electrical wire. Treat any red light as a 'do not drill here' until you confirm it.

Tip

If your model has a battery door on the back, pop it open and load fresh batteries before you start. A weak battery throws off the calibration and you'll chase ghost studs all afternoon.

Products used in this step

2

Step 2: Calibrate against hollow wall

1:10
Step 2: Step 2: Calibrate against hollow wall

Pick a starting point where you know there is no stud. A reliable trick is to start six to eight inches off to one side of an electrical outlet or light switch. The box behind the outlet is anchored to a stud, so the wall right next to it is hollow.

Press the tool flat against the drywall, hold the button down, and wait for the green ready light to come on. That tells you it has calibrated to the hollow wall and is ready to detect a change.

Tip

Hold the stud finder flat. Tilting it onto an edge gives you bad readings and the calibration fails.

Products used in this step

3

Step 3: Slide toward the outlet to find the first edge

2:15
Step 3: Step 3: Slide toward the outlet to find the first edge

Keep the button pressed and slide the stud finder slowly across the wall toward the outlet. Move at a steady pace. Rushing it can make the tool miss the edge.

The moment the indicator changes from green to red and the tool beeps, you have found one edge of the stud. Hold the tool still and mark that spot on the wall with a pencil. A pencil mark wipes off later when the project is done.

Tip

If the light never changes, you may have started too close to the stud. Lift the tool, move two more inches away from the outlet, and try again.

4

Step 4: Find the opposite edge and mark the center

2:45
Step 4: Step 4: Find the opposite edge and mark the center

Now find the other side of the stud. Lift the stud finder, move six to eight inches past the suspected stud on the opposite side, and recalibrate against hollow wall again. Slide back toward your first mark.

When the red light fires the second time, mark that spot too. Halfway between your two pencil marks is the center of the stud, which is exactly where you want screws to go. Standard 2x4 framing is about 1.5 inches wide, so your two edges should sit roughly that far apart.

Tip

If your two edge marks are way more than two inches apart, you probably picked up something other than a stud (a pipe or a duct). Re-scan a foot up or down to double-check.

5

Step 5: Measure 16 inches to predict the next stud

2:30
Step 5: Step 5: Measure 16 inches to predict the next stud

Stretch a tape measure 16 inches from the center mark you just made. Standard wall framing puts studs on 16-inch centers. Sheds and garages are sometimes 24-inch on center, so check what you have if you're working outside the main house.

Mark that next position lightly and rescan it with the stud finder to confirm. Two-step confirmation - measurement plus scan - catches old houses where framing drifted off the standard spacing.

Tip

Measure from stud center to stud center, not edge to edge. Edge-to-edge readings are off by half a stud width and will throw your spacing off across the wall.

6

Step 6: No outlet? Start from a corner instead

3:45
Step 6: Step 6: No outlet? Start from a corner instead

If there's no outlet or switch nearby, the corner of the room is your backup reference. Walls almost always have a stud at the corner because the framing has to turn there.

Measure 16 inches out from the corner, scan to confirm the next stud, and continue across the wall in 16-inch jumps. Two reference points - corner and outlet - let you cross-check each other when something looks off.

Tip

Outside corners can hide doubled-up studs that throw scan readings. If the tool lights up across a wider band than usual, that's why.

7

Step 7: Hang what you came to hang

4:05
Step 7: Step 7: Hang what you came to hang

Once every stud is marked and confirmed, you can mount your shelf, picture, TV, or L brackets with confidence. Drive screws into the center marks, not the edges, so the threads bite the full thickness of the framing.

Use a level across the brackets before you commit to a screw. A wonky shelf is a lot of work to redo because you skipped a 30-second step.

Tip

Pre-drill a small pilot hole through the drywall and into the stud. It keeps the screw straight and stops the bracket from skating sideways at the start of the drive.

Products used in this step

Products Used

☐ The Checklist

How to Use a Stud Finder

Tools
6
Steps
7
Video
4 min

Your Guide

StatUpBox

As an Amazon Associate we earn from qualifying purchases. Links on this page may be affiliate links - clicking them and buying doesn't change your price, but helps support ShowMeStepByStep.

Tags

Related Tutorials