How to Paint a Room Like a Pro

Home ImprovementEasy13:098 steps

Painting a room isn't hard, but most people skip the prep steps or use the wrong technique and end up with a mediocre result. This guide walks you through the full process from start to finish. Do it right once and you'll paint every room this way from now on.

Step-by-Step Guide

1

Clear the Room and Remove Hardware

2:00
Step 1: Clear the Room and Remove Hardware

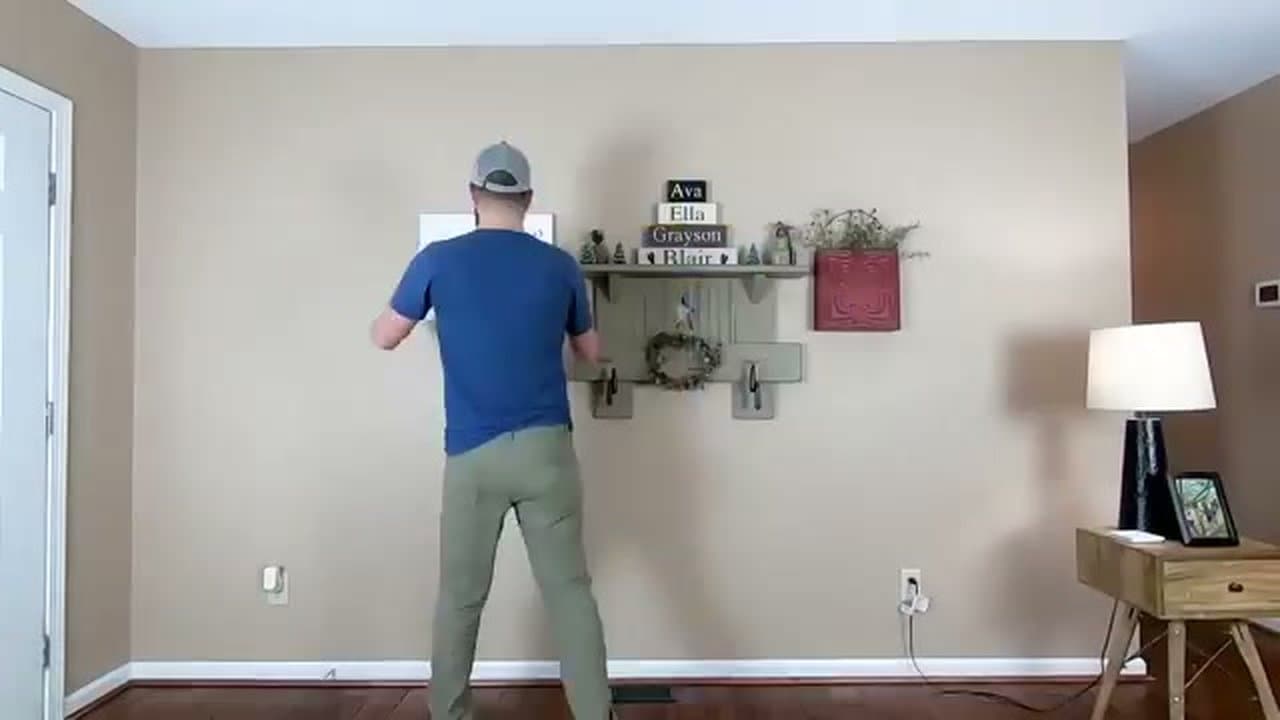
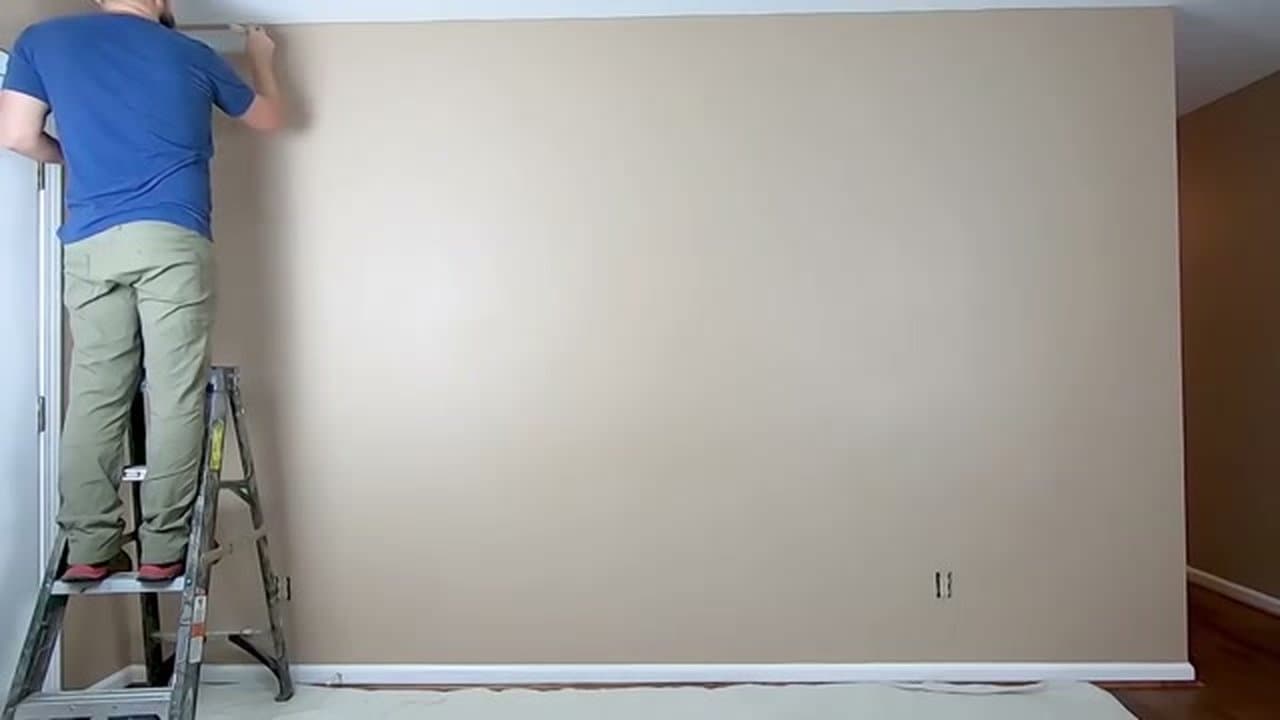
Move all furniture at least 4 feet away from the walls. Pull every nail, even ones you plan to reuse. Take off outlet covers, switch plates, and any plastic covers on thermostats or doorbells. It takes two minutes and makes painting around them way cleaner.

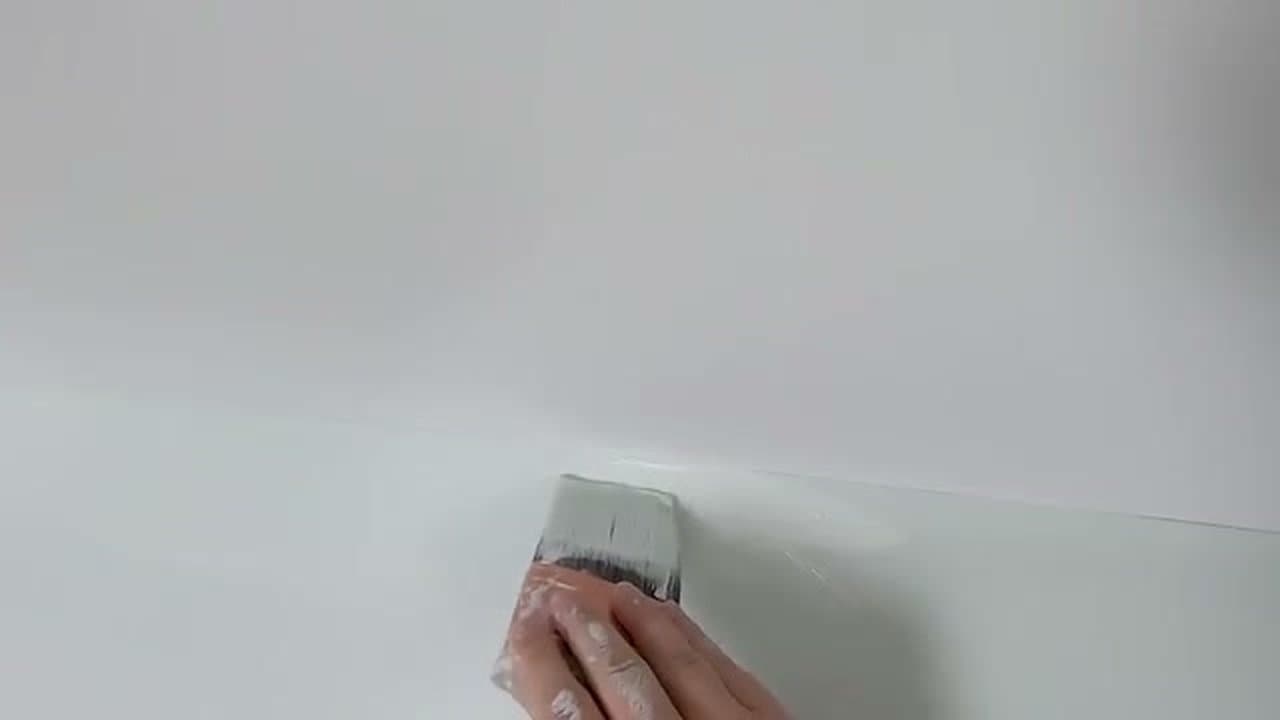
Fill nail holes with hole filler. Use the handle of your putty knife to press a small dent around each hole and wipe off the excess. Then grab a 5-in-1 painter's tool and scrape off any paint drips from the old job. Those won't sand down and they'll show through the new coat if you leave them.

Products used in this step

Hole Filler
5-in-1 Painter's Tool
Drop Cloth
2

Sand and Dust the Walls

3:35
Step 2: Sand and Dust the Walls

Do a light sand on the walls before you start painting. This smooths out small imperfections and helps the new paint grip the surface. A round wall sander is the way to go. The old rectangular ones tend to flip on you, which just creates more work.

After sanding, dust everything down. A Swiffer works fine, but a larger floor duster covers more ground and is easier to handle. Don't skip this step - dust and paint don't mix well.

Products used in this step

Round Wall Sander
Wall Duster
3

Load Your Brush the Right Way

4:05
Step 3: Load Your Brush the Right Way

This is the step most people skip, and it's why their cut lines look rough. Tap the brush against the bottom of your paint container - not the sides. You want the paint loaded into the middle of the bristles, not the edges.

Then wipe the excess off all four outer sides of the brush. That's it. Clean edges, no drips.

For the container, you can use a small paint can with about an inch of paint in the bottom, or a handy paint cup with a handle. Both are under $5. Try both and see which you prefer - the cup with the magnet for the brush is super convenient.

Products used in this step

Angled Paint Brush (3 inch)
Handy Paint Cup
4

Cut In Along the Ceiling

4:25
Step 4: Cut In Along the Ceiling

Start on the ladder. On the first coat, leave about an eighth inch gap from the ceiling line. Don't try to nail the perfect line yet. That's not the goal here.

While you're up there, cut any corners you reach about halfway down the wall. You'll finish those when you come down.

Tip

The gap trick sounds weird until you try it. On the second coat, your brush glides right over the first coat and getting a clean line is so much easier. Trying to nail a perfect line on coat one, then again on coat two, takes way longer and usually looks worse.

Products used in this step

Ladder
5

Cut In Corners, Doors, and Windows

5:25
Step 5: Cut In Corners, Doors, and Windows

Come down from the ladder and bring those corners all the way down to the baseboard. Follow the same path you took cutting the ceiling line.

Cut in around outlets, doors, and windows as you work around the room. Keep your painting arm closest to the wall so you have a clear view of the line you're painting. For tight spots like small gaps around door frames, use painter's tape. It's not cheating.

Products used in this step

Painter's Tape
6

Cut In Along the Baseboard

6:35
Step 6: Cut In Along the Baseboard

Same approach as the ceiling. First coat, leave an eighth inch gap between the wall paint and the baseboard. Keep your painting arm closest to the wall so you can see the line clearly.

If you're planning to repaint the trim anyway, go ahead and bring the wall paint slightly onto the trim. Then when you do your trim coat, use that paint to cut the clean final line. Way easier than trying to stay on one side of the line with both paints.

7

Roll the Walls

9:00
Step 7: Roll the Walls

Load the roller and roll about two full roller widths per load on the first coat. Start a few inches from where you stopped last, roll back one width to blend it in, then forward two widths. Keep even pressure the whole time.

When the paint starts to run thin, stop and reload. Don't press harder trying to squeeze more out - you'll get roller marks. Just reload.

The 18-inch roller covers wall space three times faster than a standard 9-inch. That's not an exaggeration.

Tip

The 18-inch roller is a game changer. It keeps even pressure on both sides, which the 9-inch doesn't - leading to roller marks and uneven spots. The 9-inch also has a hollow core that fills with paint and makes a mess when you change covers. The 18-inch is just better in every way. Use it on a ceiling once and you'll never go back to the smaller one.

Products used in this step

18-inch Paint Roller
3/8-inch Nap Roller Cover
Paint Tray
8

Second Coat

11:40
Step 8: Second Coat

Wait until the first coat is completely dry before starting the second. This time, paint all the way to the edge on your cut lines - no gap. The second coat goes on much faster because you're painting over the already-coated surface.

Between coats, tightly wrap your wet roller in saran wrap so it doesn't dry out. You can pick right back up without having to reload or clean the roller.

Tip

Keep your brush clean as you go - don't let paint build up past the metal ferrule. Rinse from the top of the bristles down, not from the bottom up (that damages the bristles). A wire brush helps knock off any dried paint stuck to the outer bristles. A clean brush cuts in way better than a caked-up one.

Products used in this step

Saran Wrap

Products Used

Hole Filler5-in-1 Painter's ToolDrop ClothRound Wall SanderWall DusterAngled Paint Brush (3 inch)Handy Paint CupLadderPainter's Tape18-inch Paint Roller3/8-inch Nap Roller CoverPaint TraySaran Wrap

Your Guide

SgtDonovan

Tags

How to Paint a Room Like a Pro - Tips for Beginners