How to Fix Holes in Drywall - 4 Easy Methods

Home ImprovementEasy15:388 steps

Every house has drywall damage somewhere. Maybe you pulled out an anchor wrong, a doorknob punched through, or someone got a little too enthusiastic moving furniture. The good news is that patching drywall is one of the easier home repairs to learn.

LRN2DIY covers four methods in this video, one for each size of hole. Pick the one that matches your damage and you can have the wall looking like new in a couple of days (most of that time is waiting for compound to dry).

Step-by-Step Guide

1

Assess the Damage and Pick Your Method

0:18
Step 1: Assess the Damage and Pick Your Method

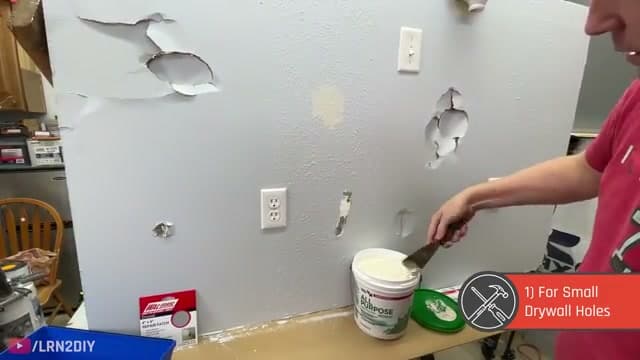
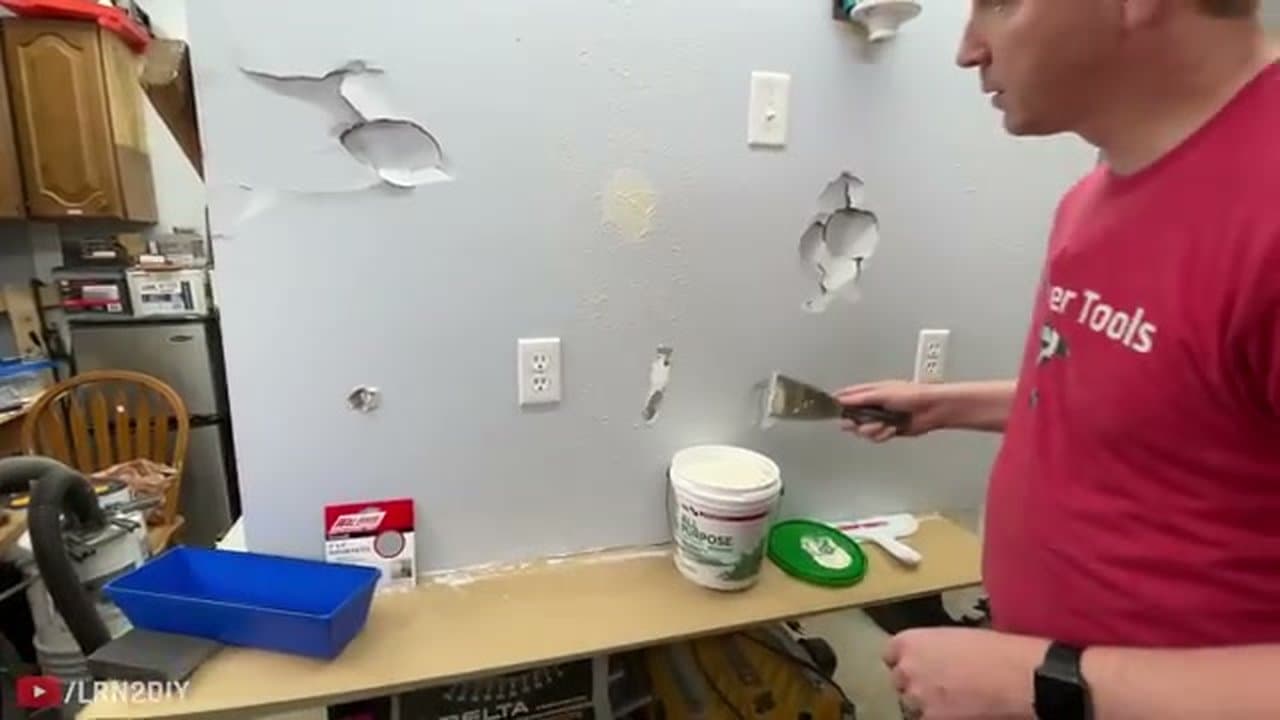
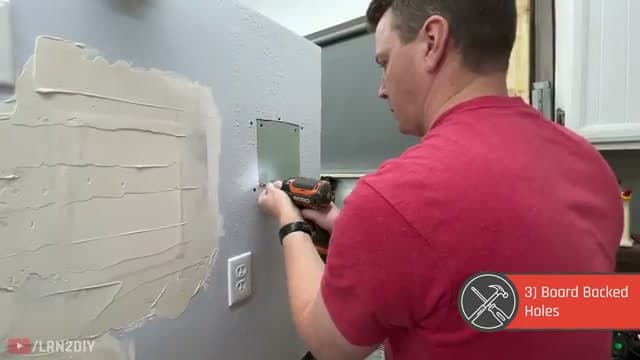
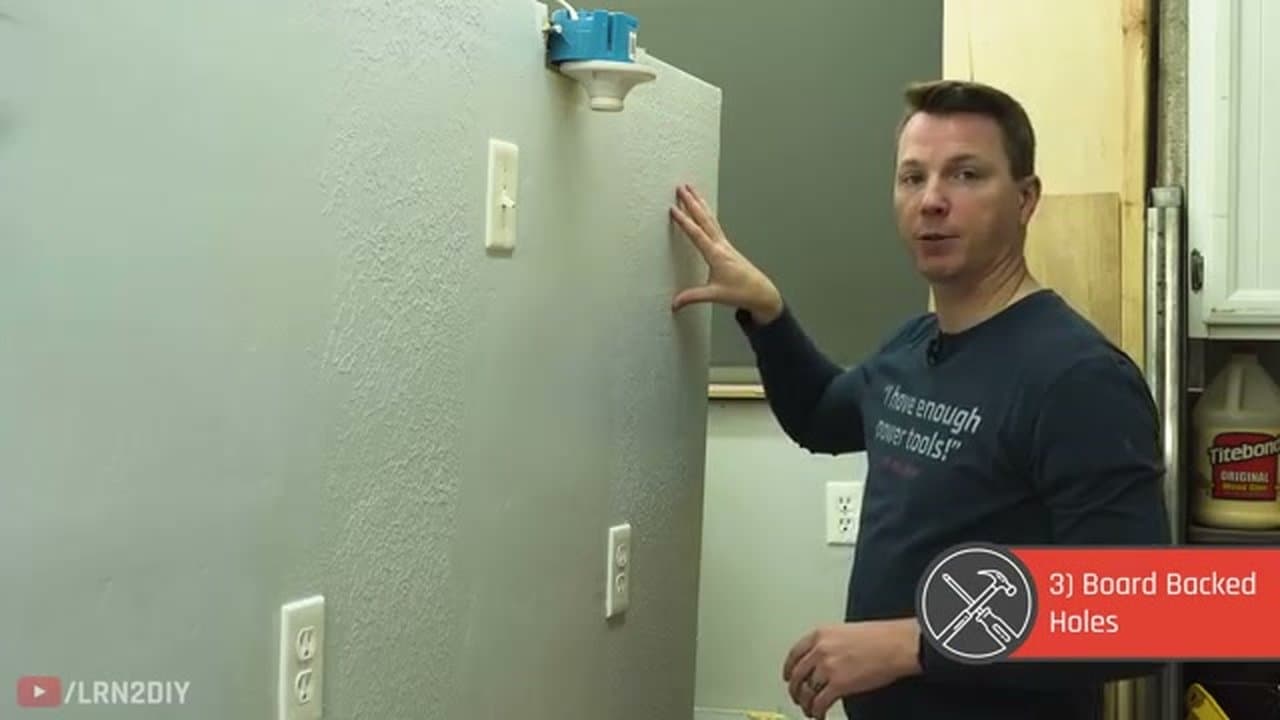
Drywall holes fall into four sizes, and each one has a different fix. Small holes under 1.5 inches (nail holes, small anchors) only need joint compound. Fist-size holes up to about 5 inches get a mesh patch or California patch. Anything bigger needs backer boards for support. And major damage goes stud-to-stud with a full drywall replacement.

Figure out which category yours falls into before buying supplies.

Products used in this step

4-inch Putty Knife
Joint Compound (Pre-Mixed)
2

Fill Small Holes with Joint Compound

1:28
Step 2: Fill Small Holes with Joint Compound

For holes under 1.5 inches, you don't need tape or a patch kit. Scoop pre-mixed joint compound onto a putty knife and push it into the hole. Be generous. You want compound backfilling the hole so it's solid behind the surface.

The first coat will bulge out and bubble. That's normal. Let it dry completely, then come back to sand and add a second coat.

Products used in this step

4-inch Putty Knife
Joint Compound (Pre-Mixed)
3

Patch Fist-Size Holes with a Mesh Patch

2:41
Step 3: Patch Fist-Size Holes with a Mesh Patch

For holes up to about 5 inches, stick a self-adhesive mesh patch over the damage. Smooth it flat against the wall with no wrinkles or creases. Then push joint compound through the mesh into the hole behind it. You want a lot of mud behind the patch to rebuild the missing drywall.

Cover the entire patch surface with compound and smooth it with your knife. It doesn't need to be perfect on the first coat.

Products used in this step

Drywall Mesh Patch Kit
Joint Compound (Pre-Mixed)
4

Make a California Patch for Mid-Size Holes

4:58
Step 4: Make a California Patch for Mid-Size Holes

Cut a piece of drywall about 1.5 inches bigger than the hole on all sides. Score lines on the back to mark the plug area, then snap off the gypsum and back paper from the edges. Leave the front paper intact as a flap all the way around.

Apply compound inside the hole and on the paper flaps. Press the plug in, smooth the paper against the wall, and skim coat over the whole thing. The paper acts like built-in tape.

Tip

Dry-fit the patch before adding any compound. If the plug doesn't sit flush, trim it down. Easier to fix now than after you've mudded everything.

Products used in this step

4-inch Putty Knife
Joint Compound (Pre-Mixed)
5

Add Backer Boards for Larger Holes

6:48
Step 5: Add Backer Boards for Larger Holes

Holes bigger than a fist need support behind the patch. Cut two strips of plywood or scrap wood wider than the hole. Slide each strip through the hole, hold it flat against the back of the drywall, and drive screws through the drywall into the wood to pull it tight.

Now your patch has solid backing to screw into at all four corners. Cut a piece of drywall to fit the opening, screw it to the backer boards, and mud the seams.

Products used in this step

12-inch Drywall Knife
Joint Compound (Pre-Mixed)
6

Replace Drywall for Major Damage

8:16
Step 6: Replace Drywall for Major Damage

Large damage needs a full section replaced from stud to stud. Use a stud finder to locate both studs, mark them, and cut out the damaged section with a jab saw. Split the stud exposure so the new piece has a lip to sit on.

Cut a matching piece of drywall, screw it into the studs, then cover every seam with self-adhesive mesh tape. Push compound into the tape and cover all four sides. The tape bridges the gap between old and new drywall.

Products used in this step

Drywall Jab Saw
12-inch Drywall Knife
Joint Compound (Pre-Mixed)
7

Sand and Apply a Skim Coat

10:28
Step 7: Sand and Apply a Skim Coat

After the first coat of compound dries (usually overnight), sand it smooth. A sanding sponge works for small patches. An orbital sander speeds things up on bigger areas. Wear a dust mask and goggles for this part.

Apply a second skim coat using a wider knife than you used for the first coat. Feather the edges outward so the patch blends into the surrounding wall. You may need a third coat for larger repairs.

Tip

Mix a little water into your compound for the skim coat. Slightly thinner mud goes on smoother and is easier to feather.

Products used in this step

Drywall Sanding Sponge
12-inch Drywall Knife
8

Match the Wall Texture and Paint

12:15
Step 8: Match the Wall Texture and Paint

A smooth patch on a textured wall stands out. For orange peel texture, use a spray can of wall texture and move in a circular pattern. For knockdown or Santa Fe texture, spray the texture on, then pull a wide knife across to flatten the peaks. Test the spray on cardboard first to dial in the settings.

Let the texture dry, then paint over the whole area. The compound is porous, so it will soak up the first coat. Two coats of paint will match the rest of the wall.

Products used in this step

Wall Texture Spray (Orange Peel)
12-inch Drywall Knife

Products Used

4-inch Putty KnifeJoint Compound (Pre-Mixed)Drywall Mesh Patch Kit12-inch Drywall KnifeDrywall Jab SawDrywall Sanding SpongeWall Texture Spray (Orange Peel)

Your Guide

LRN2DIY

Tags

Related Tutorials