How to Remove a Stripped Screw

Home ImprovementEasy9:377 steps
Also in:Adulting

By ShowMeStepByStepPublished Updated

Based on a video by Ultimate Handyman.

Screws strip when the wrong driver gets jammed in the wrong head, or when someone leans on a slightly worn bit and rounds out the recess. Once that happens a normal Phillips or Pozi can't get any grip and you're stuck.

Ultimate Handyman demonstrates seven different ways to back one out, working from the easiest and cheapest up to the last-resort wrecking-ball options. The video uses a metal plate with eight deliberately stripped screws as the test bed, but the same techniques work on door hinges, Euro cylinders in uPVC doors, decking boards, and any other place a screw has lost its head.

Try these in roughly the order shown. The rubber band fix takes ten seconds and frees a surprising number of stuck screws. If it doesn't, you escalate. By method seven you're cutting and chiselling, but you'll get the screw out.

Step-by-Step Guide

1

Step 1: Press an elastic band into the screw head

2:12
Step 1: Step 1: Press an elastic band into the screw head

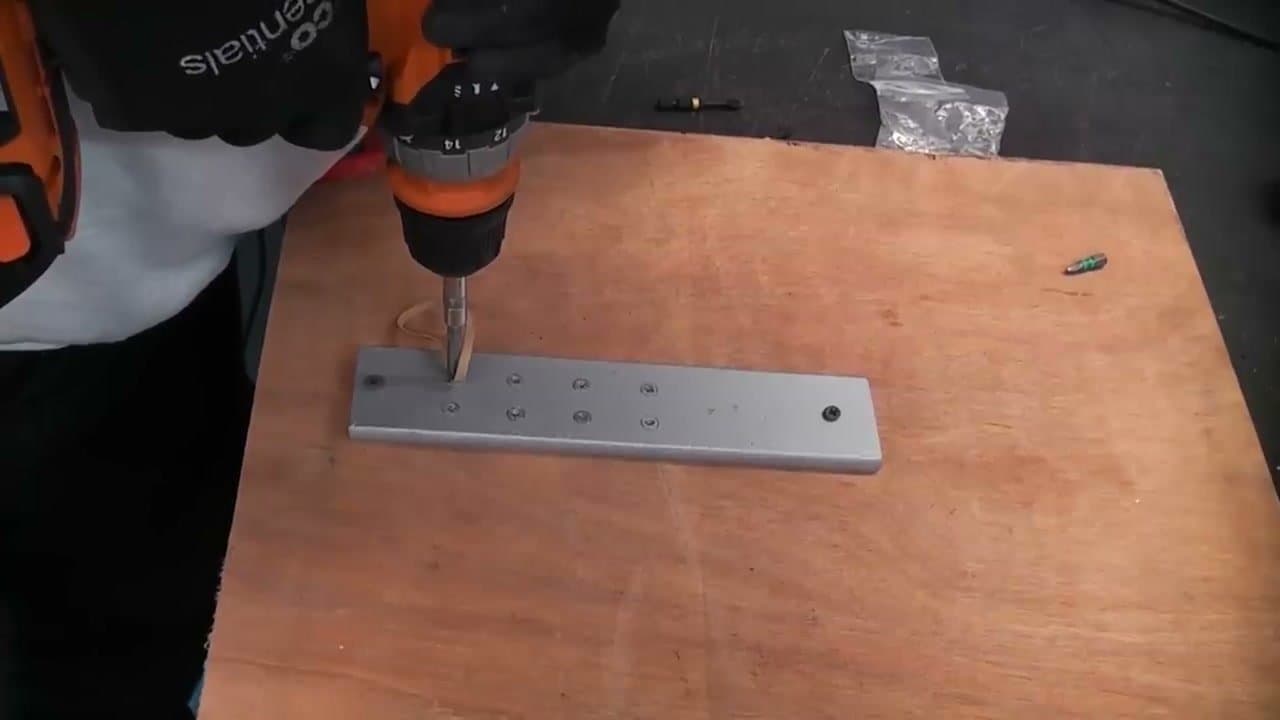
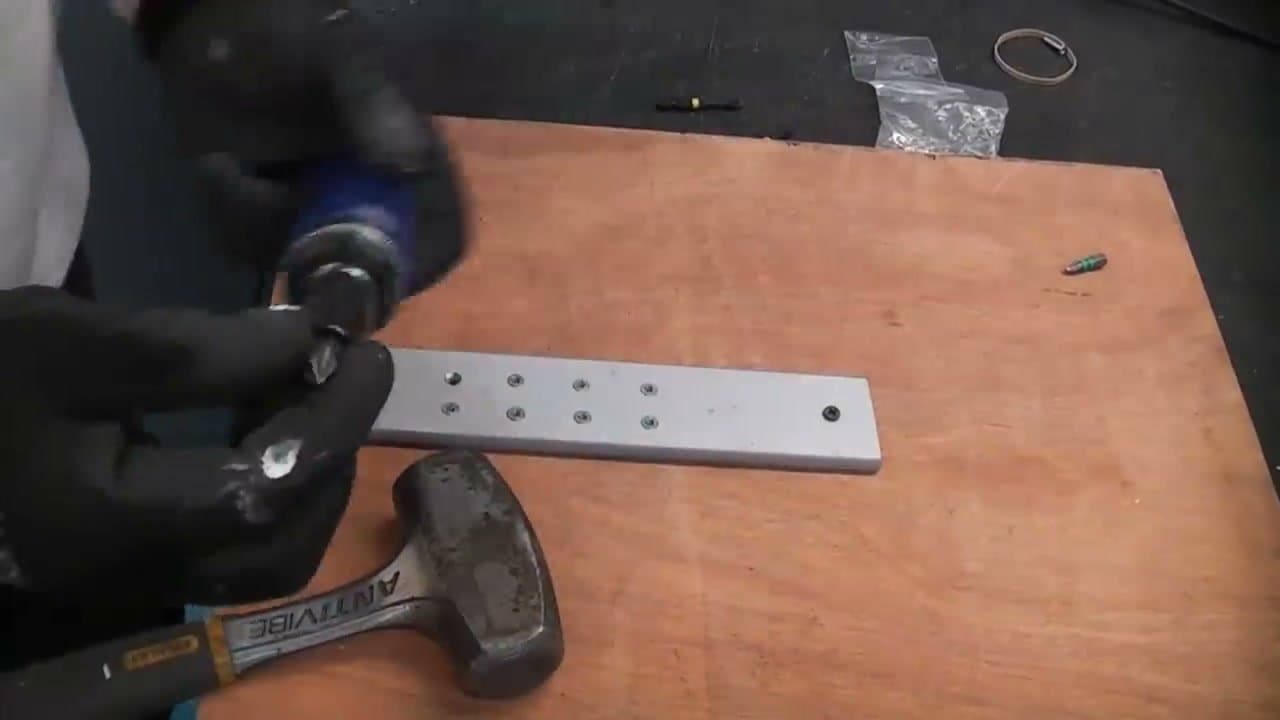
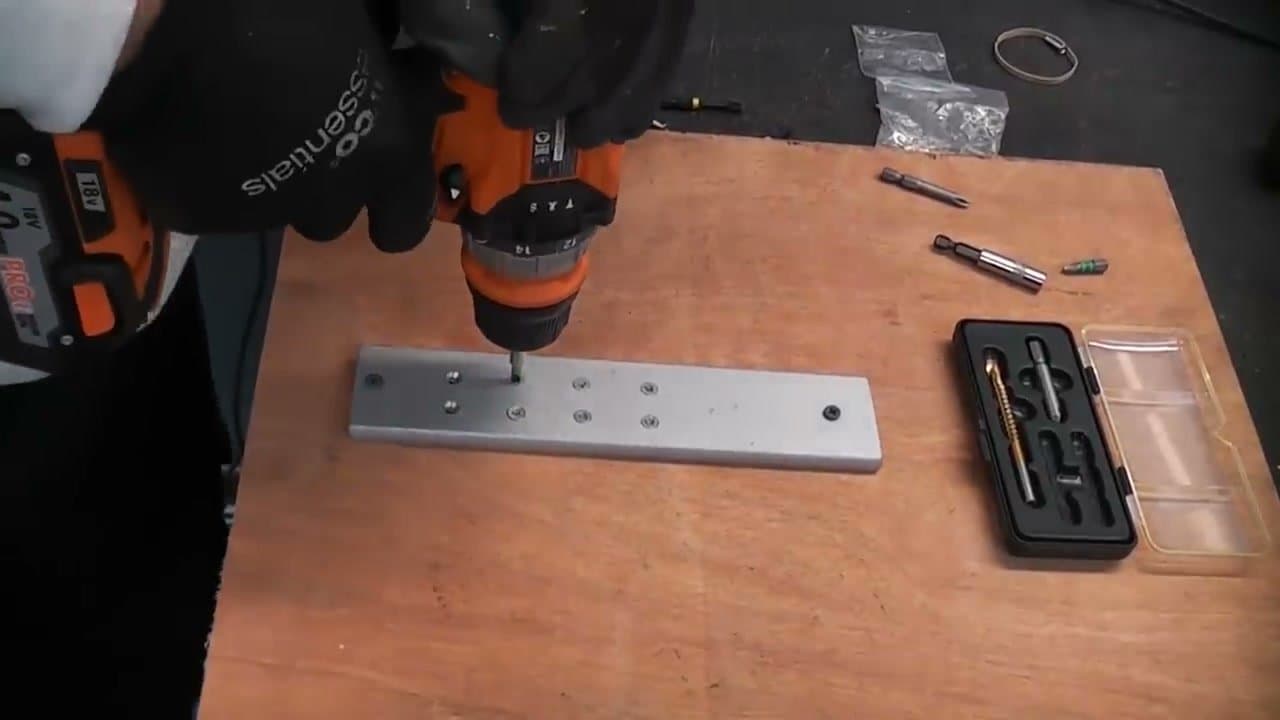
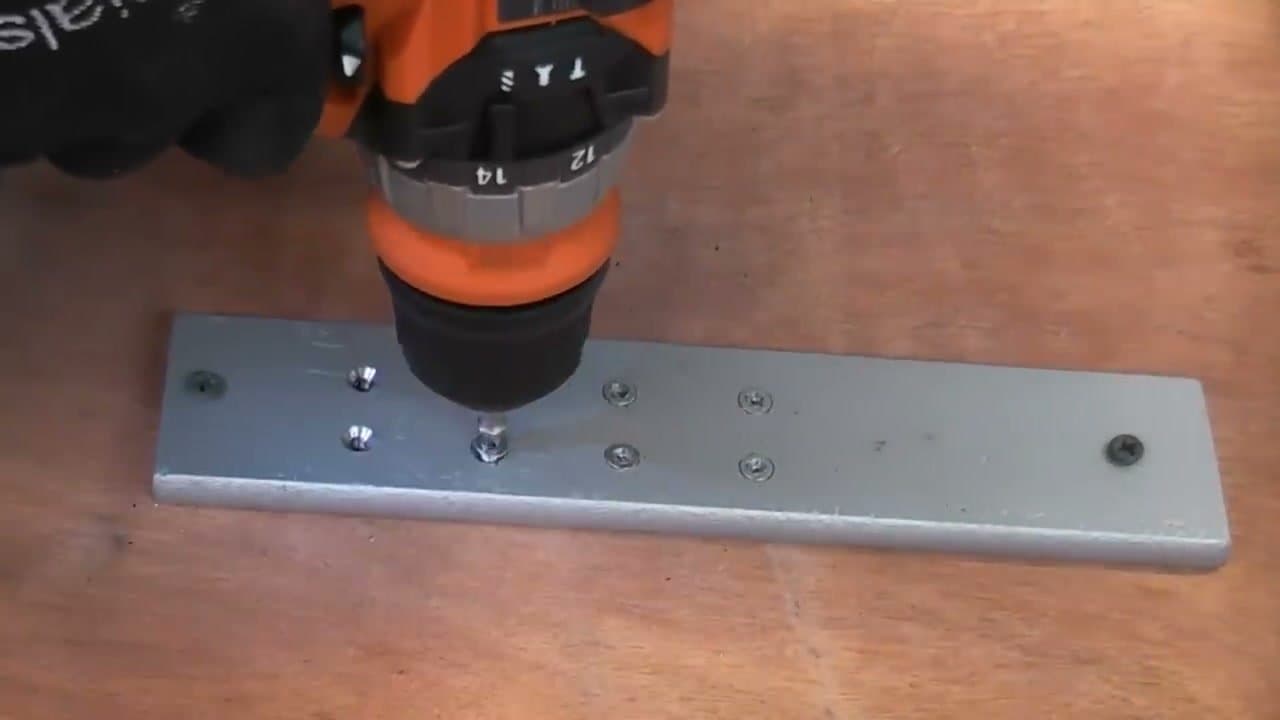
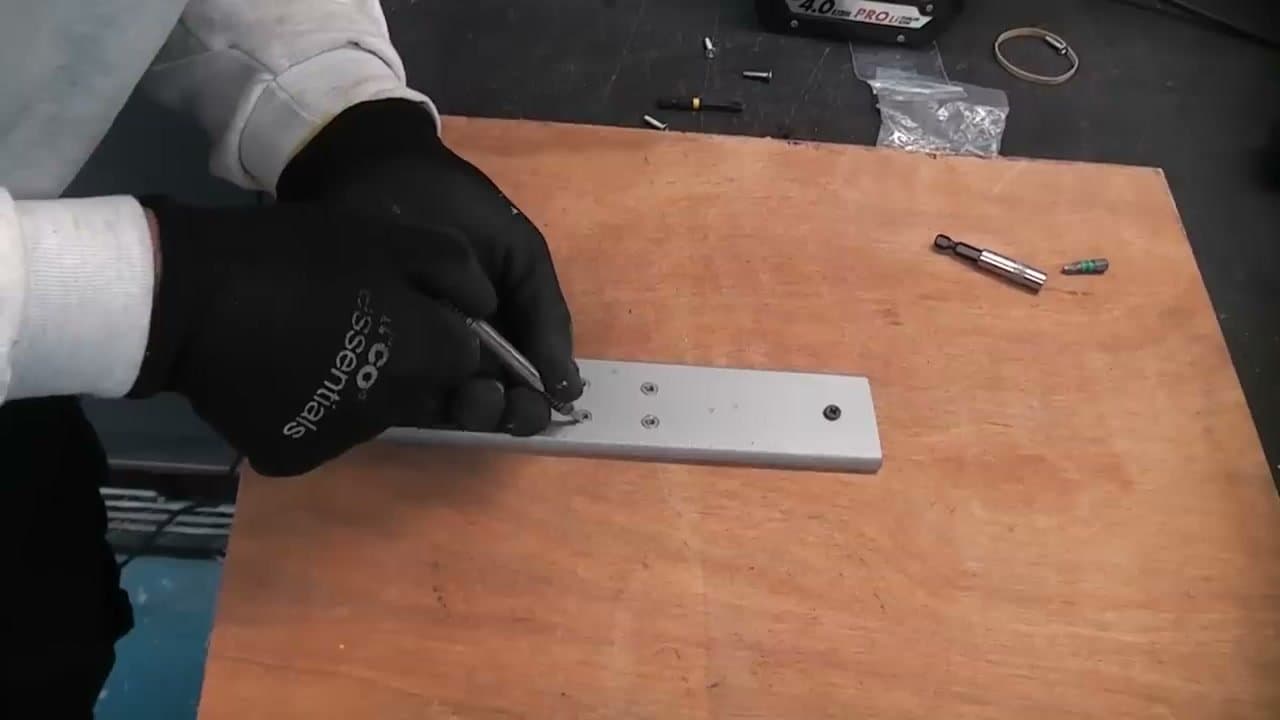
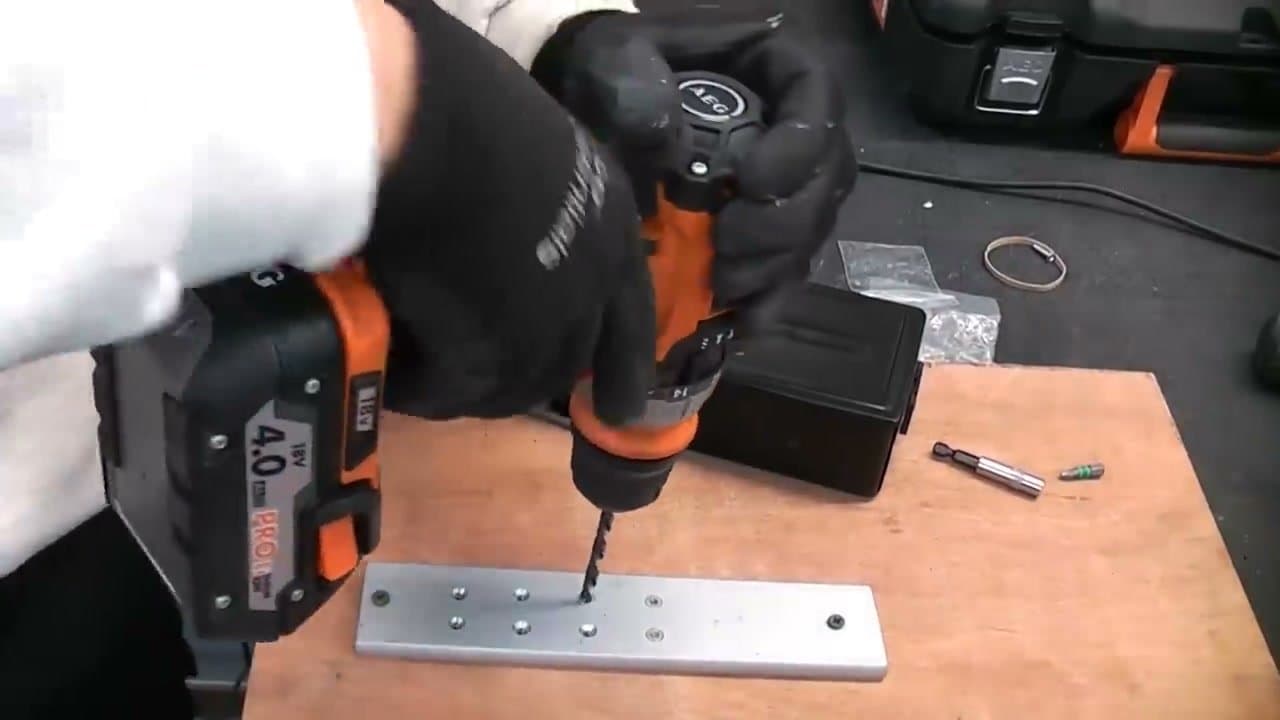
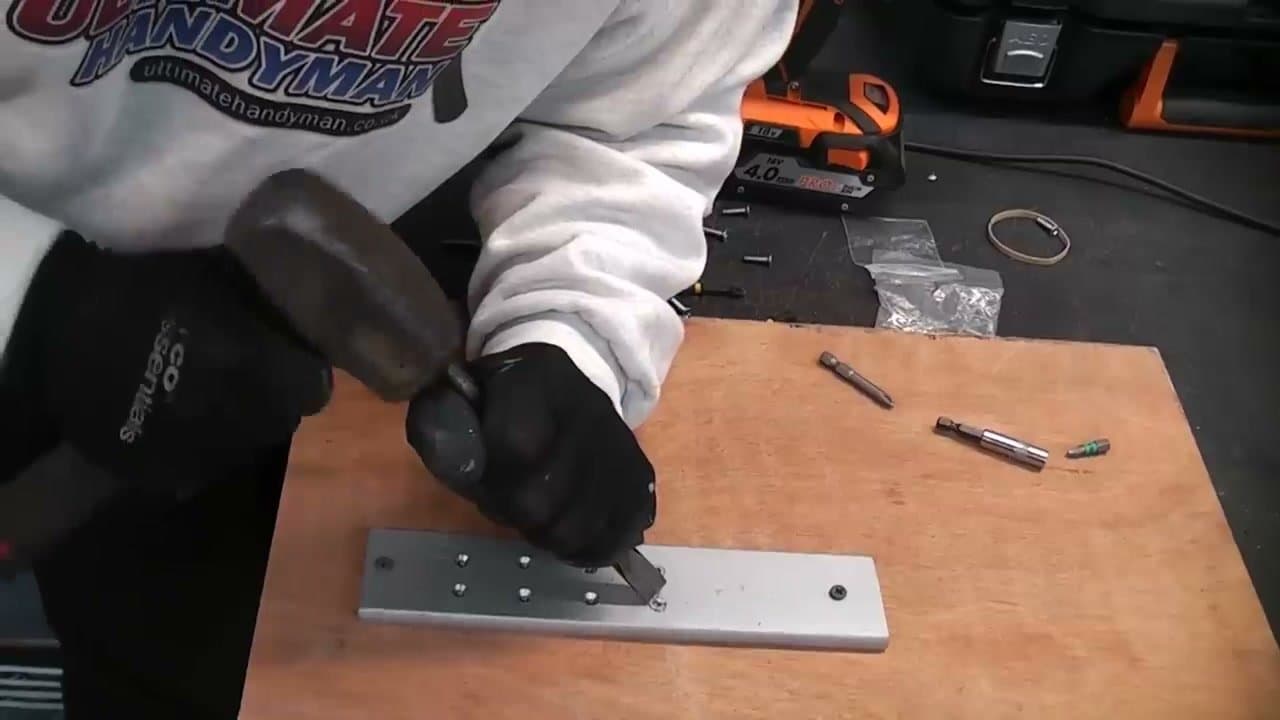
Lay a wide elastic band flat across the stripped screw head. Set your drill to reverse, slot in the correct driver bit, and press the bit straight down through the rubber into the recess. Push hard and squeeze the trigger slowly.

The rubber wedges into the chewed-up recess and gives the bit something to bite. It looks too simple to work but it pulls a surprising number of screws straight out. Always try this first because it costs nothing and takes ten seconds.

Tip

A wider, thicker band works better than a thin one. If you only have thin bands, double or triple them up before pressing down.

2

Step 2: Shock it loose with a manual impact driver

2:48
Step 2: Step 2: Shock it loose with a manual impact driver

Slot a quality bit into a manual impact driver and set the rotation collar to loosen. Seat the bit firmly in the damaged head and strike the back of the driver with a heavy hammer.

The impact does two things at once. It forces the bit deeper into the recess so it bites better, and it twists the screw a fraction of a turn. That sudden shock often breaks the screw free of whatever it has been seized against. Once it has moved even slightly, you can usually finish the job with a normal drill.

Tip

Use a real hammer, not a tack hammer. A 16oz claw hammer or a small lump hammer gives the impact driver enough force to actually do its job.

3

Step 3: Bite into it with a damaged screw extractor bit

4:12
Step 3: Step 3: Bite into it with a damaged screw extractor bit

Damaged screw extractor bits have aggressive reverse-cut teeth designed to grip a rounded head. Chuck one in your drill, set the drill to reverse, and press down with real weight behind it.

Start the trigger slow until the teeth catch. Once they bite, let the bit do the work. As the teeth dig in further, the screw should start backing out on its own. A basic kit costs around 10 to 15 pounds and pays for itself the first time you use it.

Tip

Pressure matters more than speed. If you spin the drill fast without pushing down, the teeth skate over the head and polish it instead of cutting in.

4

Step 4: Cut and grip with the Trend Grab-It Pro

5:20
Step 4: Step 4: Cut and grip with the Trend Grab-It Pro

The Trend Grab-It is a two-ended bit. Use the cutting end first in reverse to shave a clean recess into the damaged screw head. Then flip it over and drive the extraction end into that fresh recess, again in reverse.

Quite often the cutting step alone grips so hard that it backs the screw straight out before you even need to flip the bit. The Grab-It rarely fails on machine screws and even handles wood screws when other extractors give up.

Tip

Run the drill slow on both ends of the bit. High speed generates heat, which dulls the cutting teeth and hardens the screw head against you.

5

Step 5: Walk it loose with a spring-loaded center punch

5:54
Step 5: Step 5: Walk it loose with a spring-loaded center punch

A spring-loaded center punch concentrates a sharp impact onto a tiny point. Set the tip on the outer edge of the screw head, angled so a strike will rotate the screw counter-clockwise.

Pull back on the punch to compress the spring, then release. The internal hammer fires forward and drives the tip into the head. Walk the punch around the screw, hitting it again and again. Each strike nudges the screw a fraction of a turn looser. After a handful of hits you can usually grab the head with mole grips or your fingers and finish unscrewing it by hand.

Tip

This works in tight spaces where you can't swing a hammer. That makes it useful for door hinges, Euro cylinders, and recessed fittings.

6

Step 6: Drill it out with a left-handed drill bit

7:32
Step 6: Step 6: Drill it out with a left-handed drill bit

Left-handed drill bits cut in reverse, which is the same direction that loosens a standard right-hand-thread screw. Pick a bit slightly smaller than the screw head, chuck it in the drill, and set the drill to reverse.

Press down firmly and squeeze the trigger. The bit starts cutting into the screw head, but very often it grabs and unscrews the whole fastener before it has a chance to drill all the way through. Best of both worlds: if the screw doesn't come out cleanly, you've still drilled the head off so you can pull the rest of the shank out with pliers.

Tip

Buy a small set in graduated sizes. The right diameter for the screw matters - too small and it just bores a hole, too large and it skates off the head.

7

Step 7: Knock it round with a cold chisel and hammer

8:23
Step 7: Step 7: Knock it round with a cold chisel and hammer

When everything else fails and the head is completely wrecked, grab a cold chisel. Set the cutting edge against the side of the screw head, angled to push it counter-clockwise, and tap the back of the chisel with a hammer.

Walk the chisel around the head, knocking the screw loose a fraction at a time. Once the screw spins freely you can pull it the rest of the way with your fingers or a pair of mole grips. This is the last-resort method because it can scar the surrounding material, so save it for when nothing else has worked.

Tip

If the screw is in something soft like wood, ease off the hammer once it starts moving. You can crush the surrounding fibres if you keep pounding after the screw has freed up.

Products Used

☐ The Checklist

How to Remove a Stripped Screw

Tools
9
Materials
1
Steps
7
Video
10 min

Your Guide

Ultimate Handyman

As an Amazon Associate we earn from qualifying purchases. Links on this page may be affiliate links - clicking them and buying doesn't change your price, but helps support ShowMeStepByStep.

Tags

Related Tutorials