How to Install a Dimmer Switch

Home ImprovementMedium8:397 steps
Also in:Adulting

By ShowMeStepByStepPublished Updated

Based on a video by The DIY Guy.

A dimmer switch is one of the highest-impact electrical upgrades you can make in a room. The switch itself runs ten to twenty bucks, the swap takes around twenty minutes, and the difference in how a space feels at night is immediate.

The DIY Guy walks through a standard single-pole dimmer install on an LED lighting circuit. He covers the safety checks most people skip, the wire-labeling trick that keeps you out of trouble, and the load-rating math you need to do before you buy a dimmer.

Safety first. Always turn off the breaker AND verify dead with a non-contact voltage tester before touching any wires. If you see aluminum wiring or your switch is part of a 3-way circuit, stop and call a licensed electrician. Replacing a basic single-pole switch is one thing - aluminum and 3-way wiring are not beginner jobs.

If you have never opened a wall box before, start with the simpler how to replace a light switch tutorial first. Same wiring pattern, fewer variables, same safety steps.

Step-by-Step Guide

1

Turn Off the Breaker and Verify Power Is Dead

2:04
Step 1: Turn Off the Breaker and Verify Power Is Dead

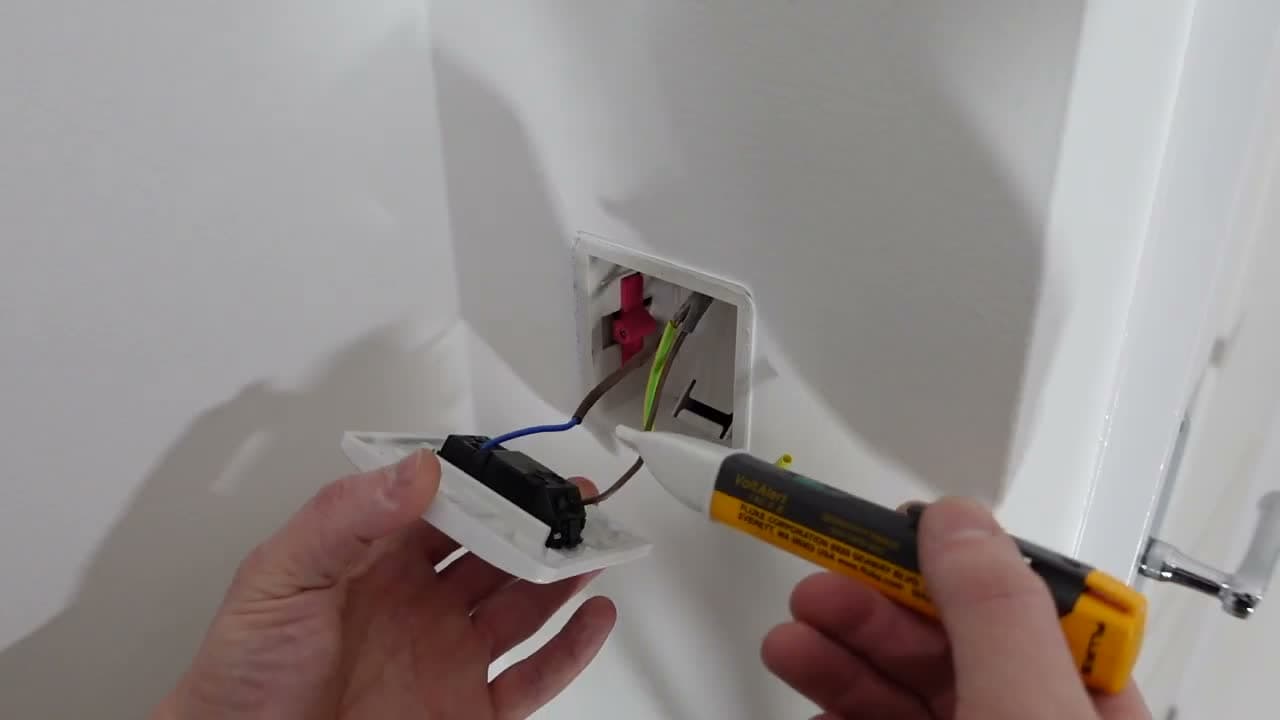
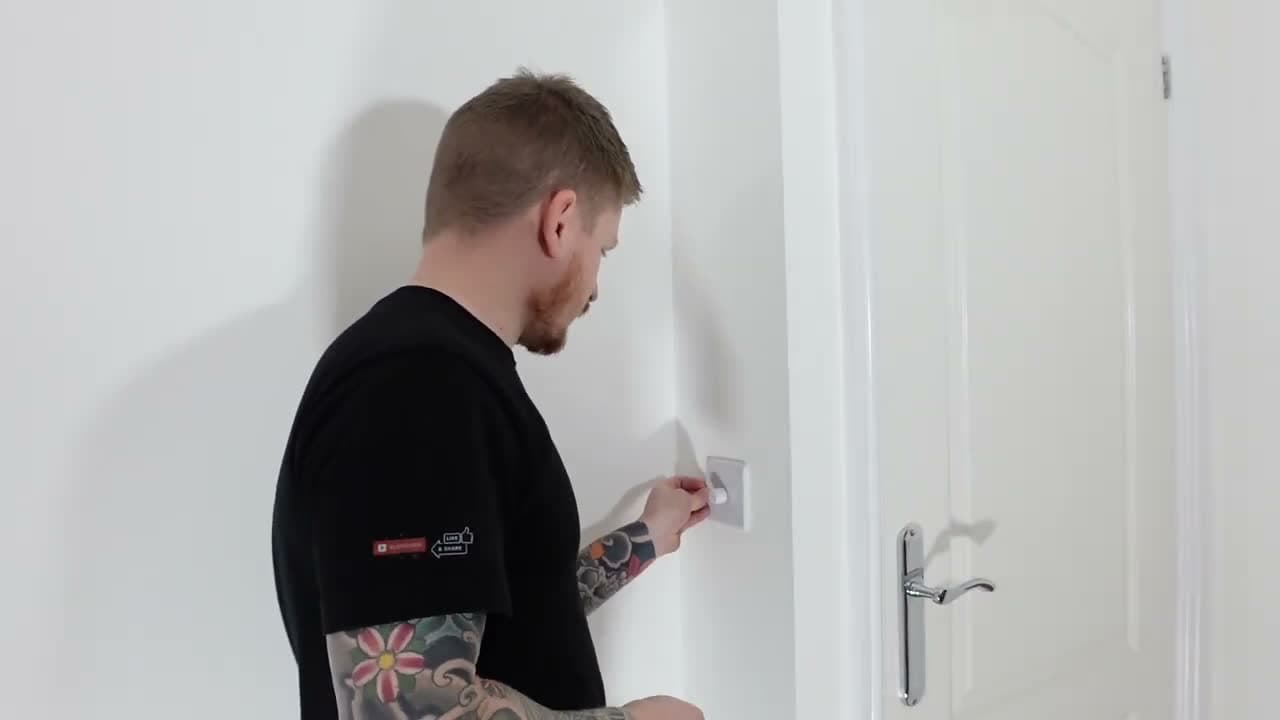
Go to your breaker panel and flip the breaker that feeds the switch you are replacing. Stick a note on the panel so nobody flips it back on while you are working.

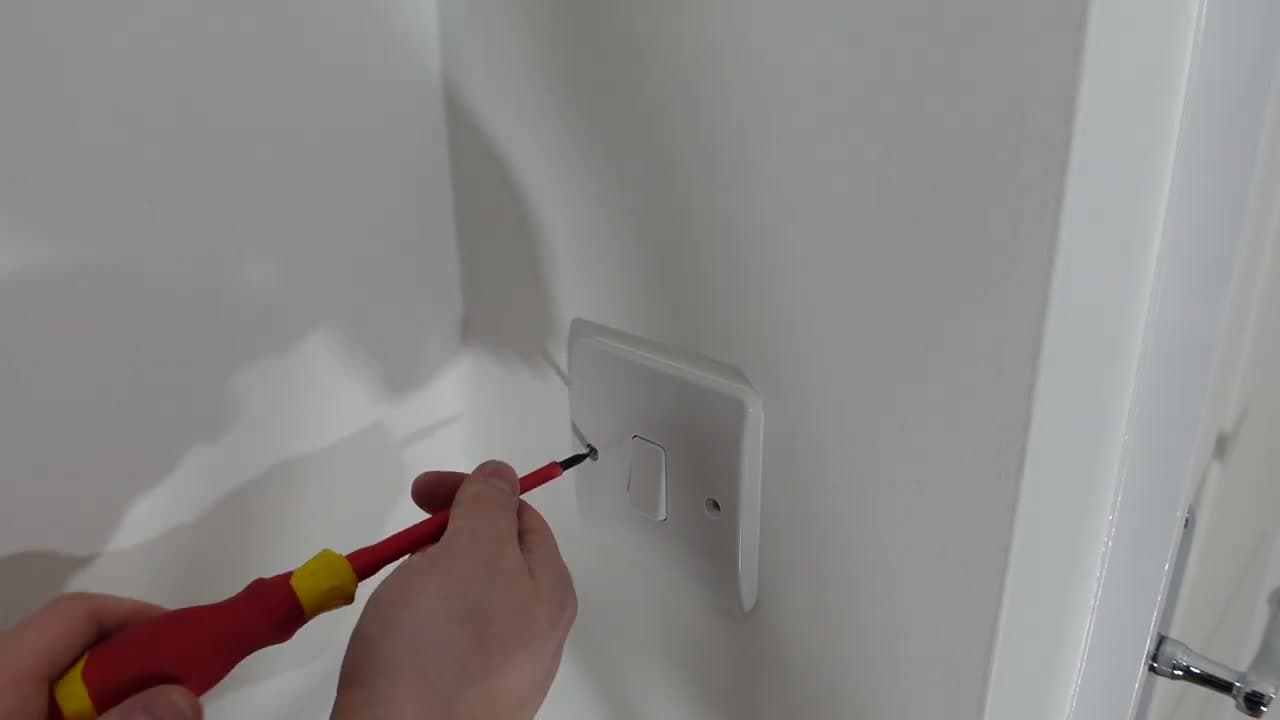
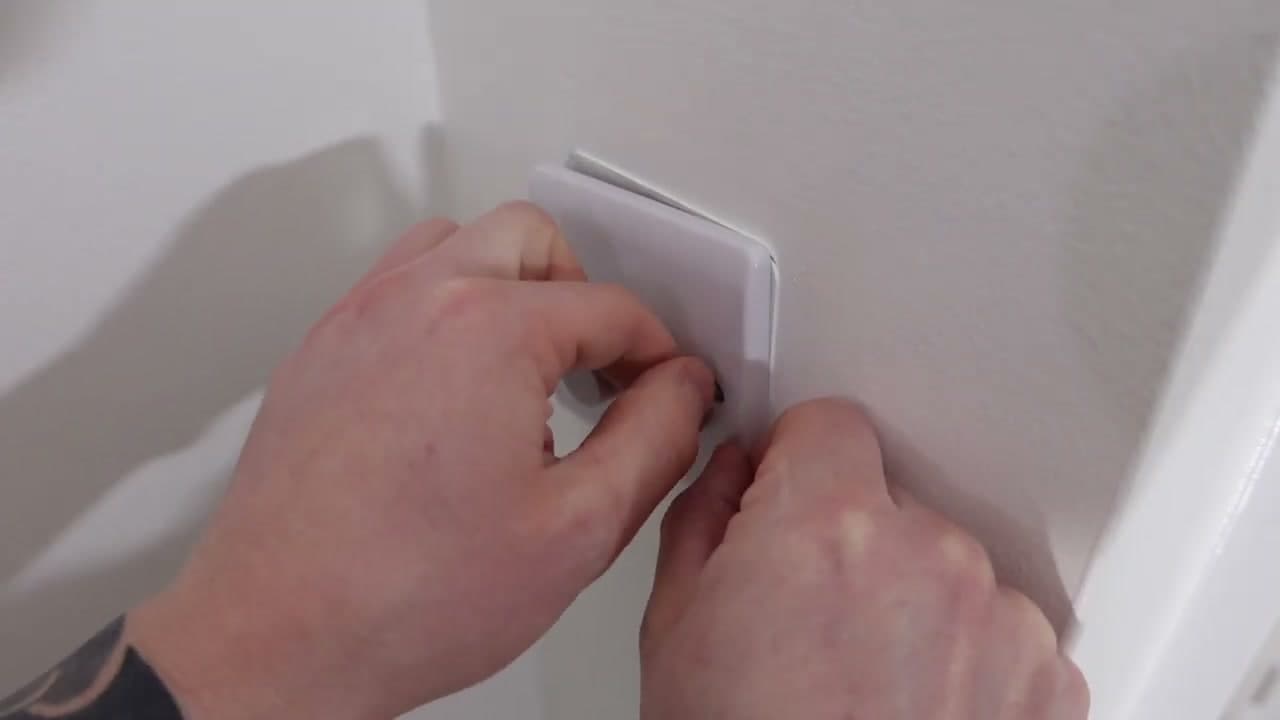
Bring a non-contact voltage tester back to the switch. Touch it to a known-live outlet first to confirm the tester is working. Then test the switch wires through the faceplate and again once you have the switch pulled out of the box. Do not skip this. Breaker labels lie all the time.

Tip

If your tester does not light up on a known-live outlet, the battery is dead. Replace it before you start the job, not after.

2

Remove the Old Switch From the Wall Box

1:55
Step 2: Remove the Old Switch From the Wall Box

Take the cover plate off first. Then unscrew the two mounting screws holding the switch to the box. Gently pull the switch forward until you can see the wires behind it.

Do not yank. The wires are short on purpose and the insulation can crack if you stress them. Once the switch is clear of the box, test the wires again with your voltage tester to be absolutely sure there is no power.

Tip

Score the paint around the cover plate edge with a utility knife before pulling it off. Saves you a drywall repair if the paint has bonded the plate to the wall.

3

Label Each Wire Before Disconnecting

3:15
Step 3: Label Each Wire Before Disconnecting

Most single-pole switches have two wires. One is the live coming in (called common), one is the switched live going out to the light (usually labeled L1). On older houses the live might be red and the neutral black instead of brown and blue.

Take a phone photo of the wiring before you touch anything. Then wrap a small strip of colored tape around each wire and write what it is - common, L1 - in pen on the tape. When you get to the new dimmer, you will know exactly which wire goes where.

Tip

If your switch has three or more wires (not counting ground), stop. That is a 3-way switch and the wiring is different. Call an electrician or look up a 3-way specific guide.

4

Check the Dimmer's Load Rating

4:30
Step 4: Check the Dimmer's Load Rating

Every dimmer has a load rating printed on the back. The one shown here is rated 5 to 150 watts for LEDs. Add up the wattage of every bulb on that switch and make sure the total falls inside the dimmer's range.

Eight 5-watt LED spotlights pull 40 watts, which fits comfortably. Eight 60-watt incandescent bulbs would pull 480 watts and need a different dimmer. Also confirm your bulbs say dimmable on the package. Non-dimmable LEDs will flicker, buzz, or burn out the dimmer.

Tip

If your circuit feeds two or three light fixtures from the same switch, you have to add up every bulb across every fixture. The 5-150 watt rating is for the whole circuit, not per bulb.

5

Wire the New Dimmer

5:43
Step 5: Wire the New Dimmer

The back of the dimmer has three terminals: L1, L2, and a pair of squiggly arrow marks that indicate common. Your labeled common wire goes into the common terminal (the squiggly one). Your labeled L1 wire goes into the L1 terminal.

Push each wire fully into its terminal and tighten the small screw firmly. Give each wire a gentle tug to confirm it is locked in - some terminals look closed but do not actually grip the conductor.

If your box has a metal back box and an earth (ground) wire, connect it to the green ground screw on the dimmer faceplate. Plastic box plus plastic faceplate does not need an earth connection.

Tip

Smart dimmers (Lutron Caseta, Leviton Decora Smart) often need a neutral wire on top of common, L1, and ground. If you are installing a smart dimmer and your box does not have a neutral, you will need a no-neutral smart dimmer specifically.

6

Mount the Dimmer and Fit the Faceplate

6:55
Step 6: Mount the Dimmer and Fit the Faceplate

Fold the wires back into the box behind the dimmer. Start the supplied mounting screws by hand first so you do not cross-thread them. Then tighten them down with a screwdriver.

Before you fully tighten, hold a small level across the faceplate edge and adjust so the switch sits straight. A crooked switch is the kind of thing you will notice every single day. Finish the screws once it is level, snap the cover plate on, and you are done with the build.

Tip

If the supplied mounting screws are too short for your box (common when the back box is deep), pick up a pack of longer 6-32 wall plate screws from any hardware store.

7

Restore Power and Test the Dim Range

7:30
Step 7: Restore Power and Test the Dim Range

Head back to the panel and flip the breaker back on. Return to the switch and turn the dimmer all the way up. The light should come on at full brightness.

Now run the knob through its full range. The light should dim smoothly without flickering, humming, or strobing. A little buzz at the lowest end is normal with some LED bulbs. Heavy flicker or audible hum means the bulbs are not properly dimmable or the load is wrong for the dimmer - swap one and try again.

Tip

If nothing happens when you turn the dimmer on, turn the breaker back off, pull the switch, and double-check that your common and L1 wires are in the right terminals. The two are not interchangeable.

Products Used

☐ The Checklist

How to Install a Dimmer Switch

Tools
4
Materials
4
Steps
7
Video
9 min

Your Guide

The DIY Guy

As an Amazon Associate we earn from qualifying purchases. Links on this page may be affiliate links - clicking them and buying doesn't change your price, but helps support ShowMeStepByStep.

Tags

Related Tutorials