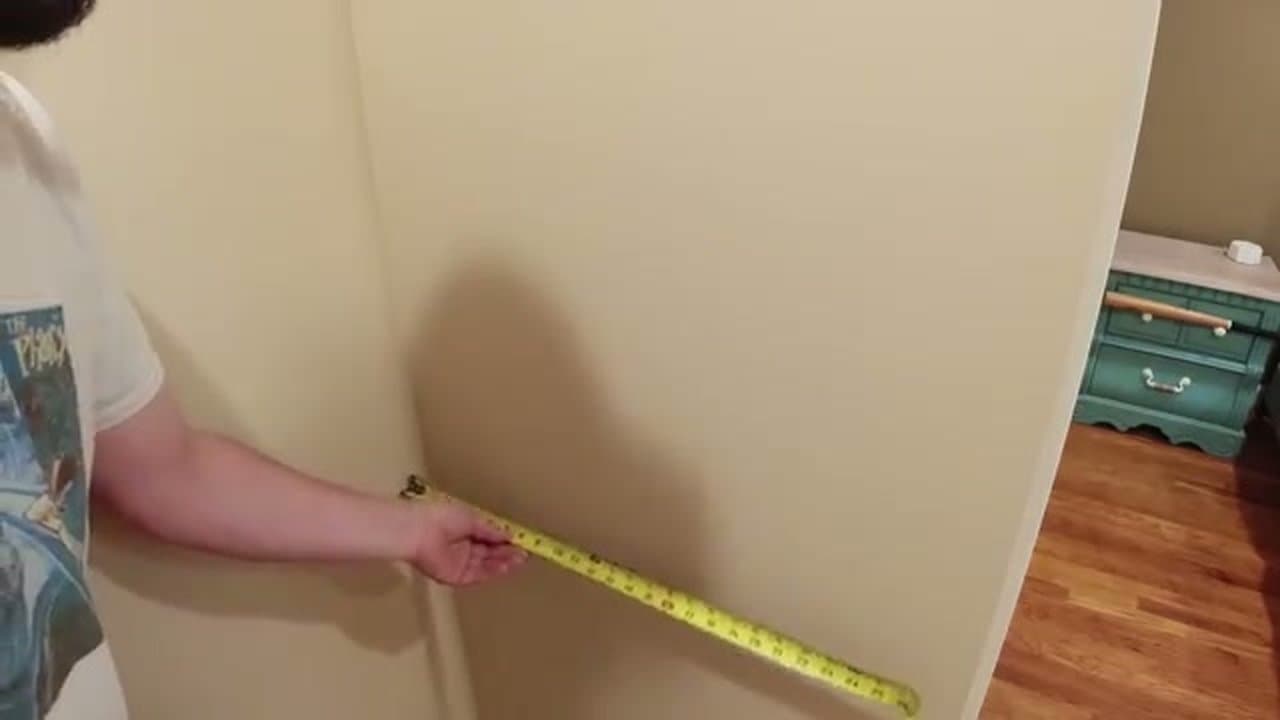
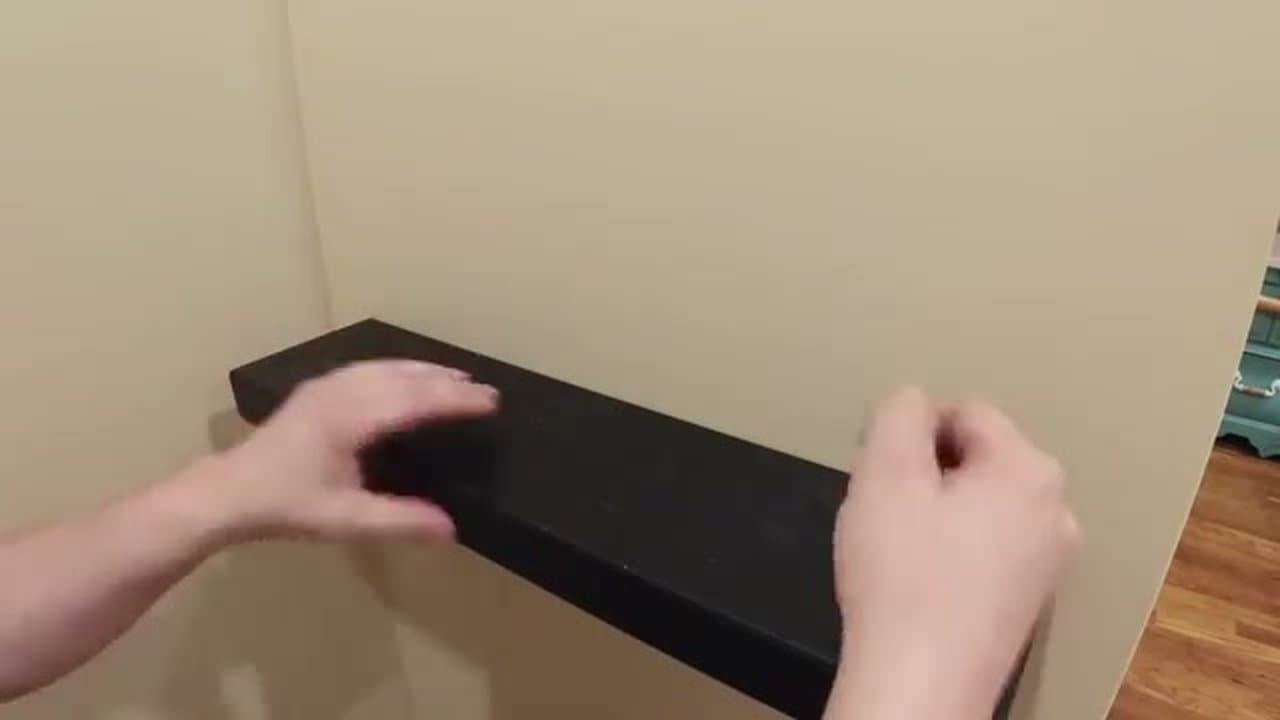
How to install floating shelves with hidden brackets, start to finish. The trick is in the prep - level marks, the right floating shelf wall anchors for your wall type, and a snug bracket-to-shelf fit. Get those three things right and the shelf reads as floating, with no visible hardware. This covers shelves with hidden brackets up to about 24 inches wide.
Floating shelves with hidden brackets work the same way whether the bracket came pre-installed in the shelf or you're using a separate rod-style bracket. The brackets carry the load; the shelf slides over them. Wall type is the biggest variable - drywall, plaster, and brick each need a different anchor. For related installs, see how to anchor into drywall, how to install window blinds, how to install a light fixture, and install an interior door.
What's the difference between hidden brackets and floating shelf anchors?
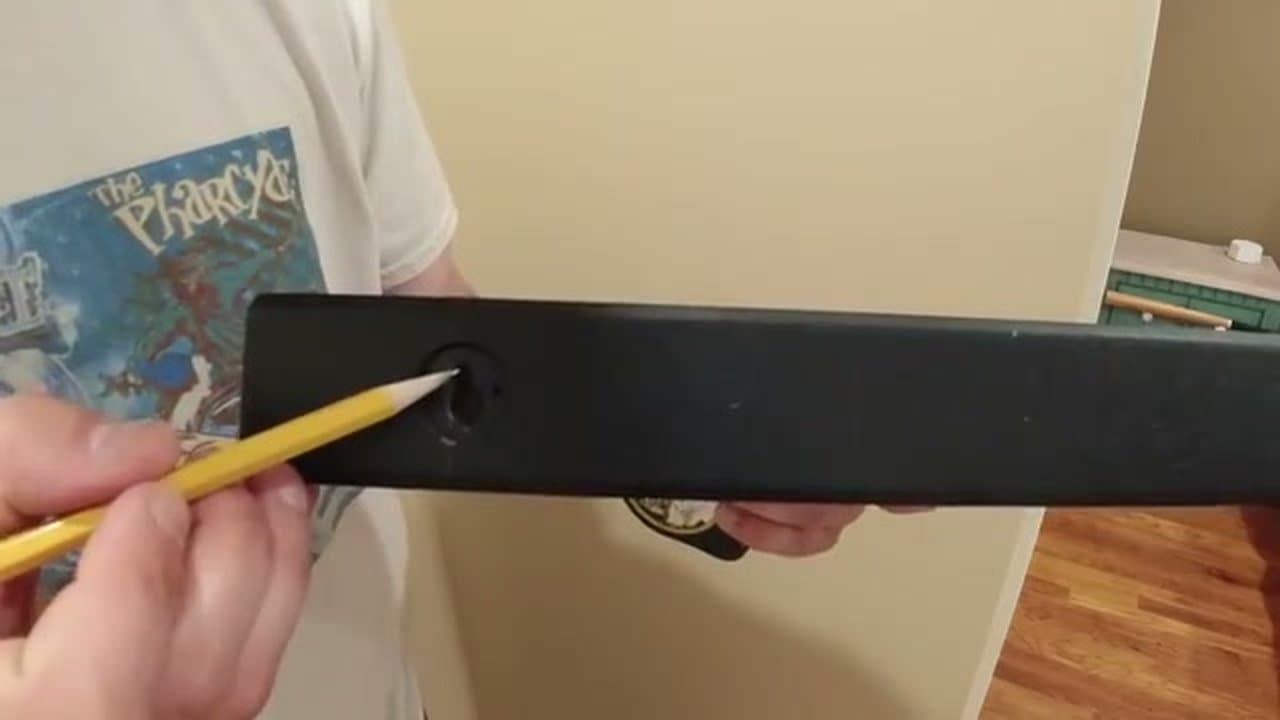
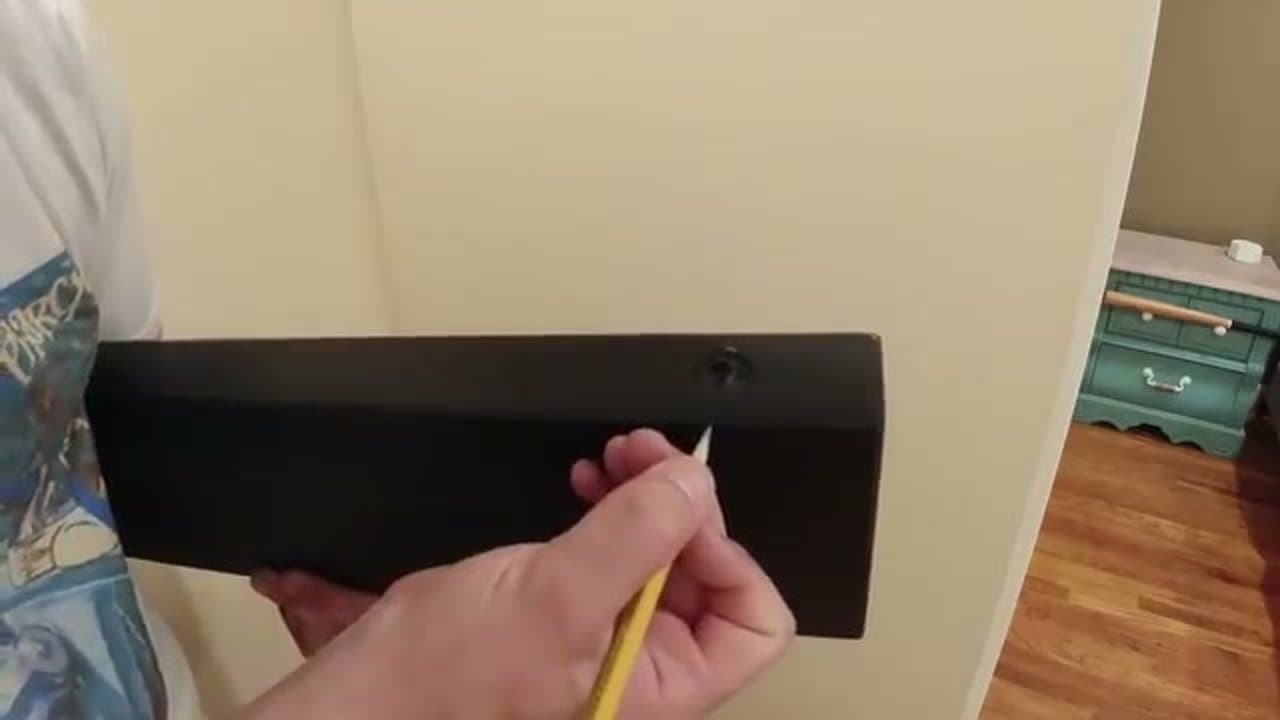
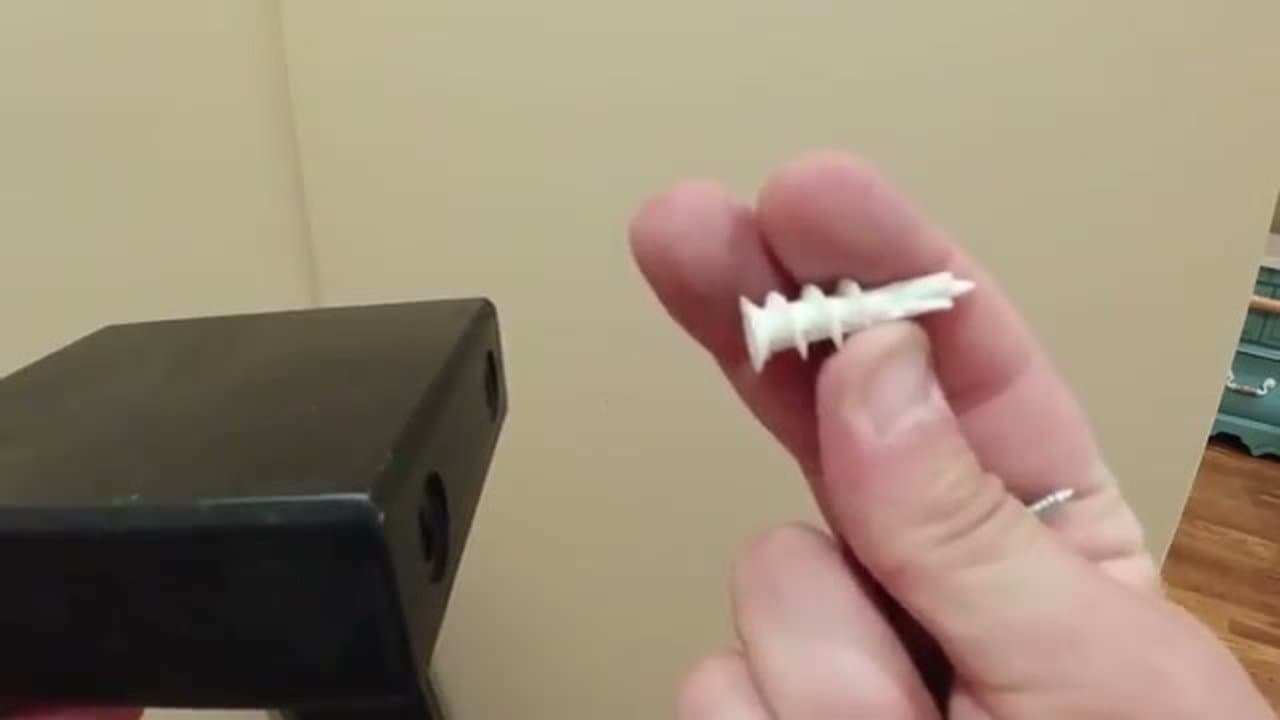
Hidden brackets are the rod-style hardware the shelf slides over. Floating shelf wall anchors are what holds the brackets in the wall. You need both: brackets to carry the shelf, anchors to carry the brackets.
How much weight do floating shelves with hidden brackets hold?
Mounted into a stud with the right bracket, expect 25-50 pounds per shelf for a 24-inch shelf. Drywall-only mounts with heavy-duty anchors hold 15-25 pounds. Always center the load and avoid concentrated weight at the front edge.
Do I need to hit a stud to install floating shelves?
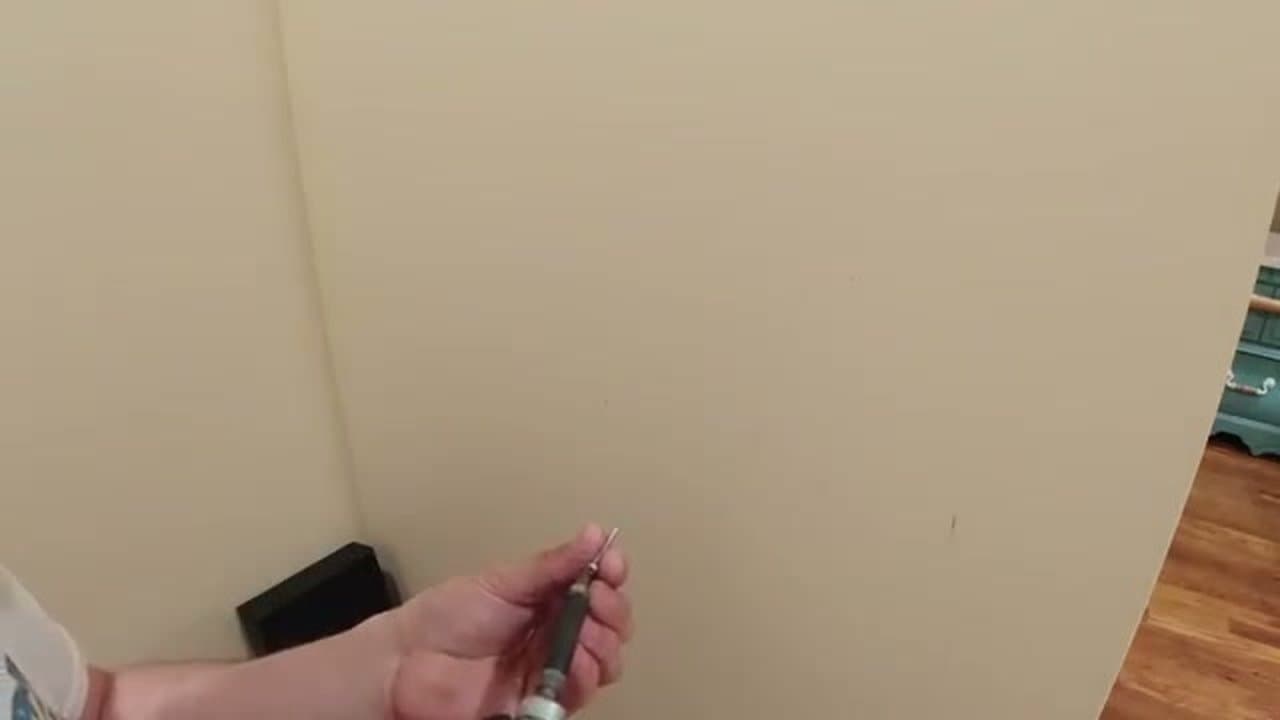
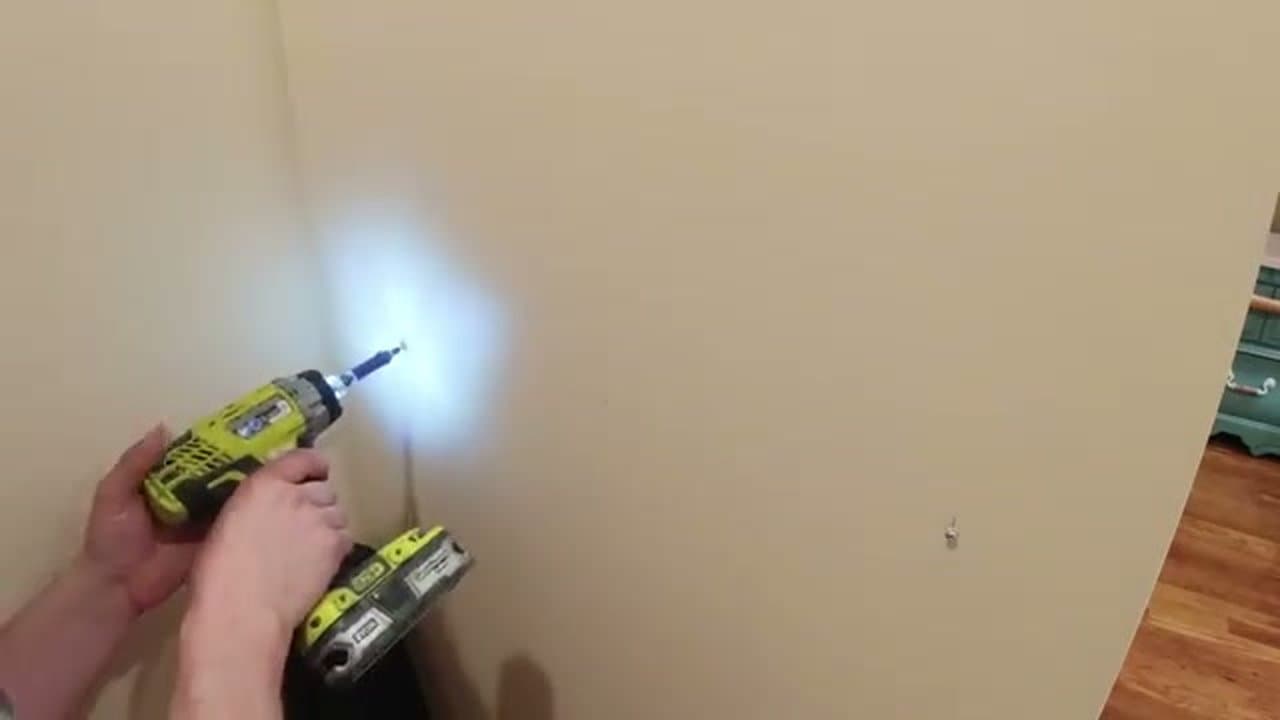
Not always, but if a stud is anywhere along the bracket span, use it. Stud + drywall is stronger than two drywall anchors. If no stud is available, use toggle bolts or self-drilling metal anchors rated for at least double your expected load.
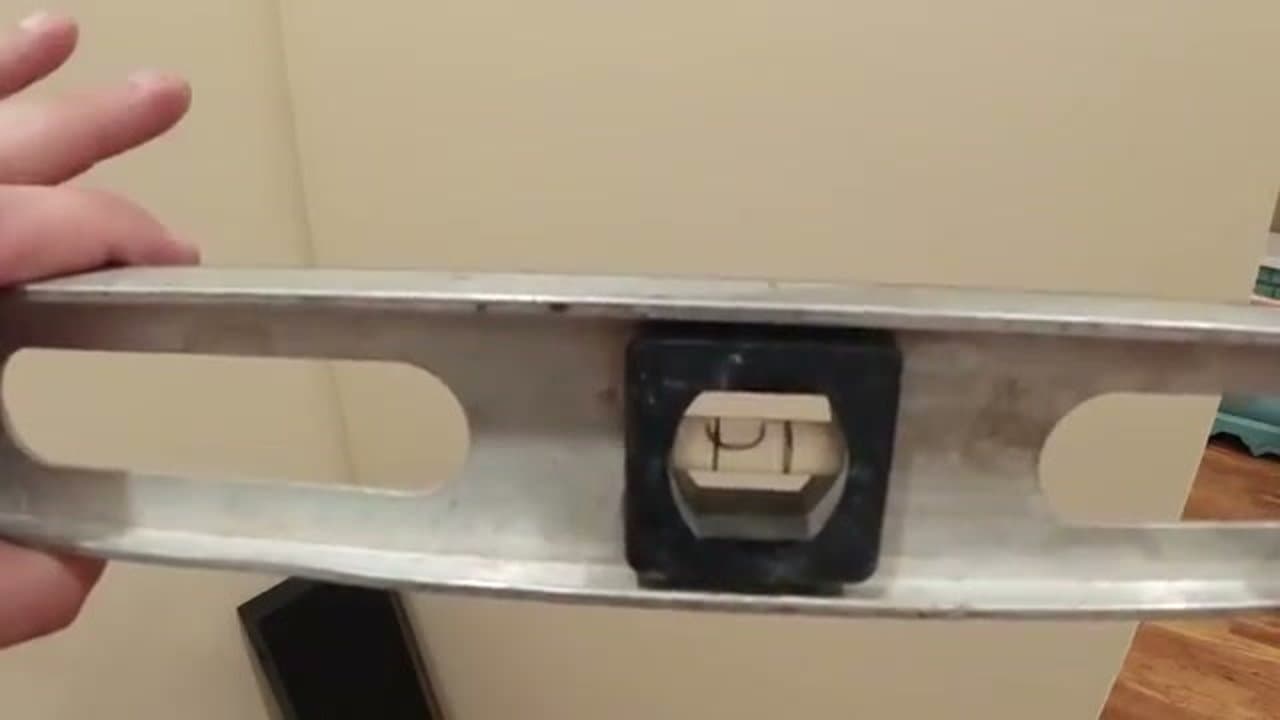
Why are my floating shelves tilting forward?
Three causes: brackets aren't level (re-measure with the level on the brackets, not the wall), anchors are loose in soft drywall (upgrade to toggles), or the shelf is loaded too heavy at the front edge. Fix the heaviest cause first.