1
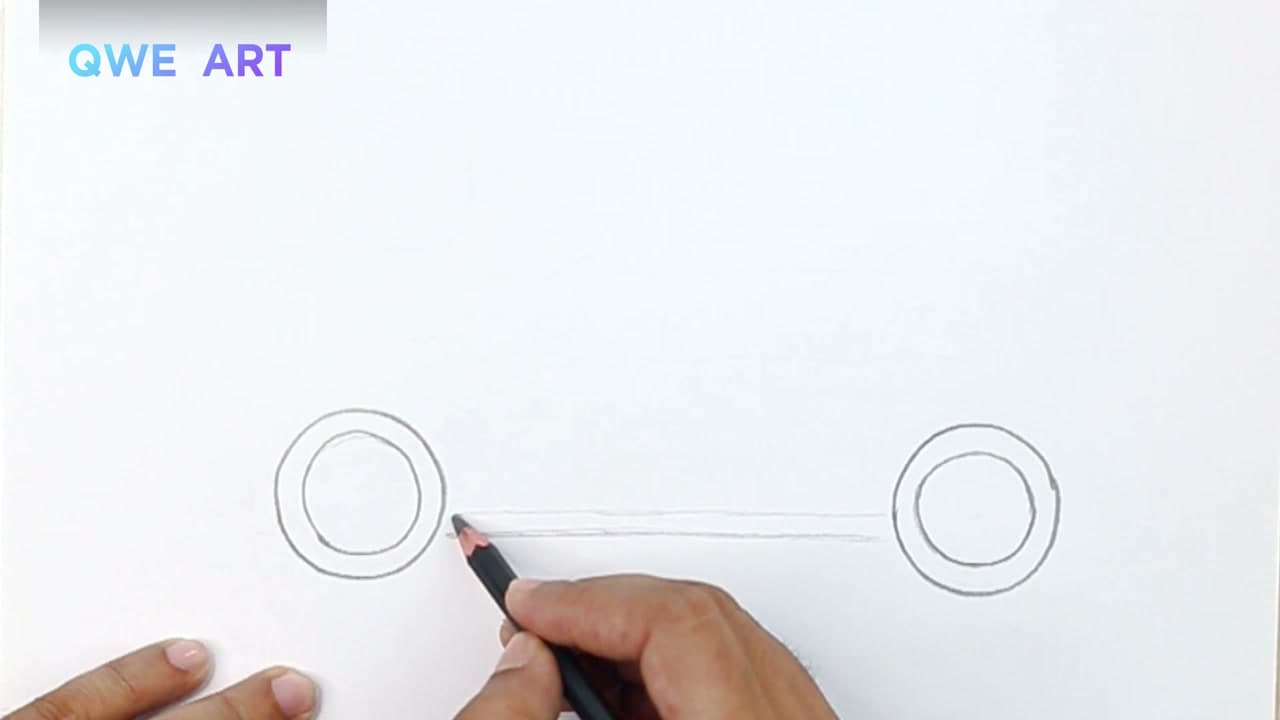
Step 1: Draw Two Wheels with Inner Tires
0:50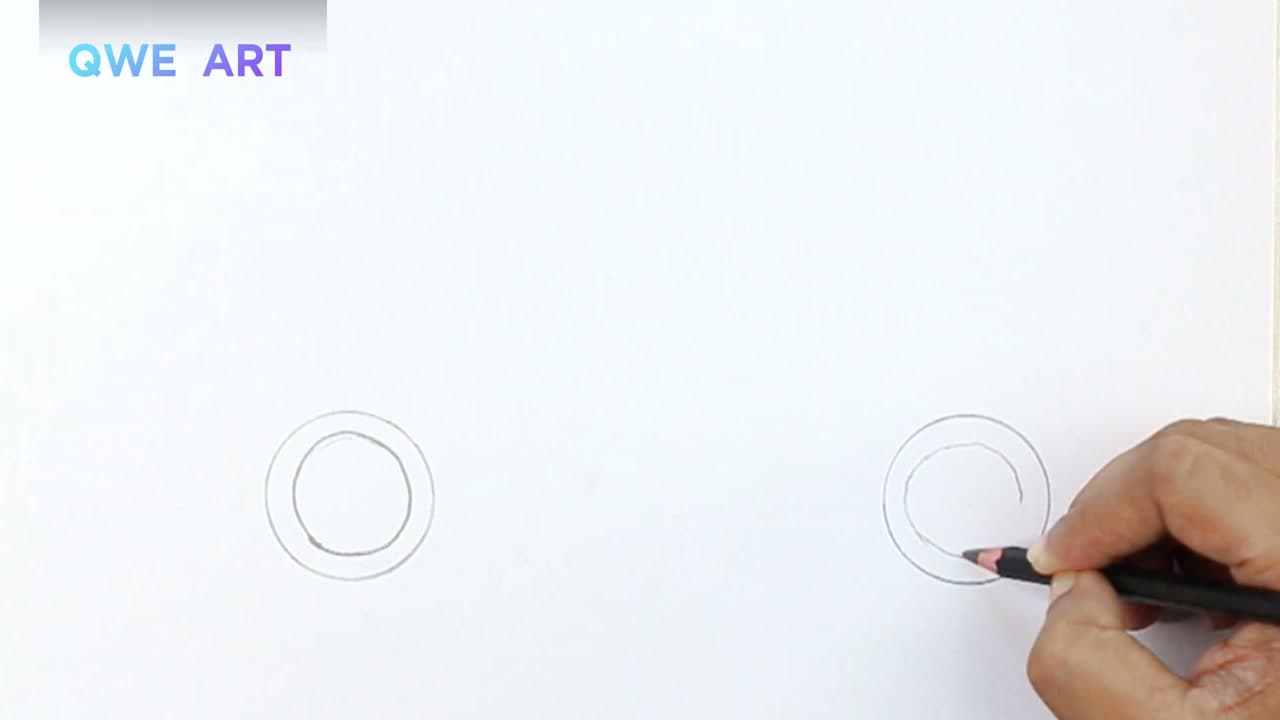
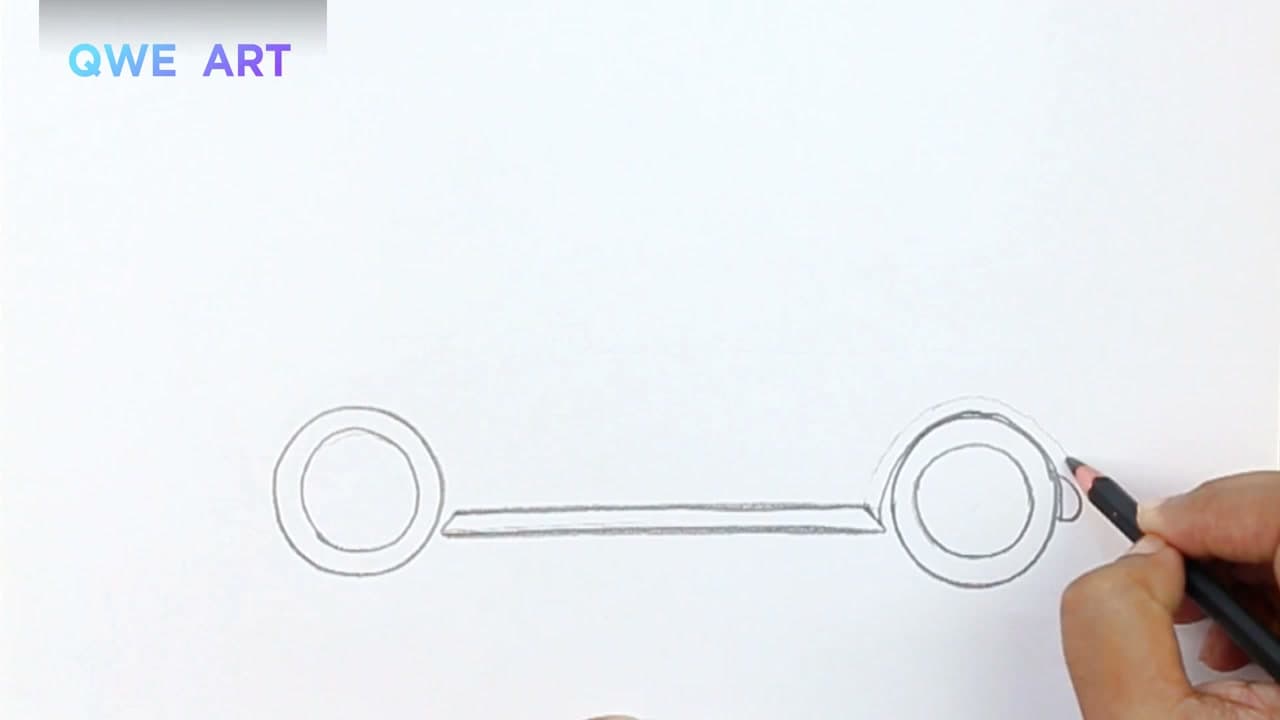
Place your paper in landscape orientation. Draw two circles side by side near the bottom-center of the page for the front and back wheels. Leave roughly four to five wheel-widths of space between them - that gap becomes the body of the car.
Inside each circle, draw a smaller concentric circle to make the tire wall. The inner circle should sit about a pencil-tip away from the outer edge, the same on both sides. Use a small jar lid, a coin, or a compass if your freehand circles wobble.
Tip
The two wheels set the scale for the whole drawing. If one wheel is bigger than the other, every line you draw after this will look off. Trace both with the same round object.