1
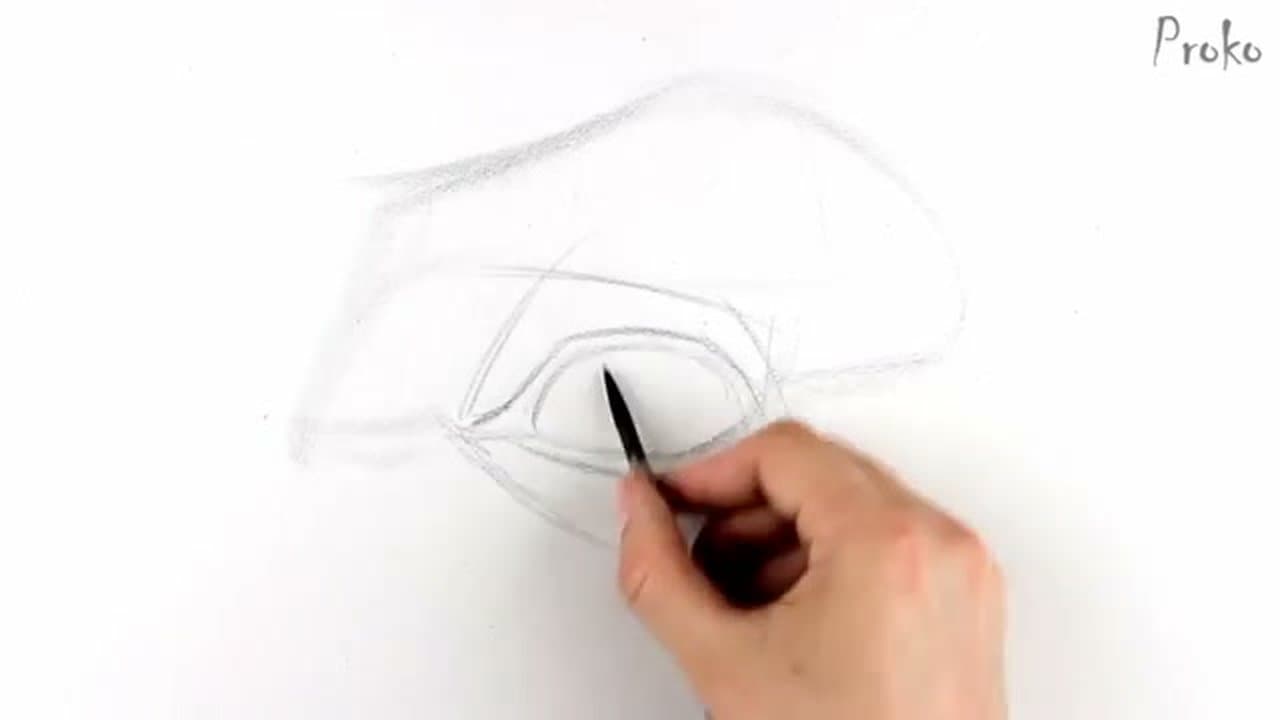
Step 1: Lay In the Socket and Brow Angles
0:32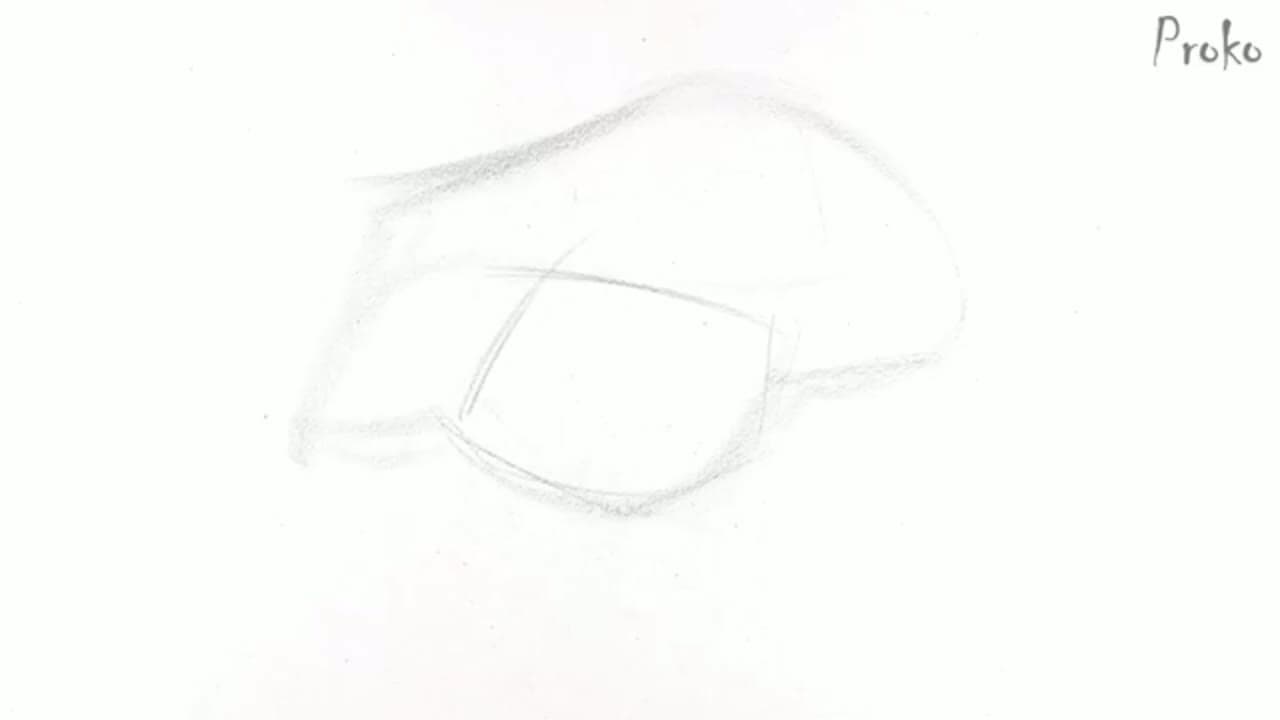
Every drawing starts with a lay-in. Keep it linear and focus on proportion before any rendering. Sketch the angles of the eyebrow, run your line down the side of the nose, under the bottom lid, and around the side of the socket.
The eye doesn't sit on a flat plane. It's a ball recessed into a curved bony socket, and getting that container right is what makes the eye look like it belongs in a face. Make the socket too narrow and the eye looks pinched. Make it too round and the brow loses its angle.
Tip
Hold your pencil loose at this stage. Light, searching lines let you find the right angles without committing. Heavy lines now mean visible mistakes later.