How to Draw a Cat - Gesture-Drawn Sitting Cat in 7 Steps

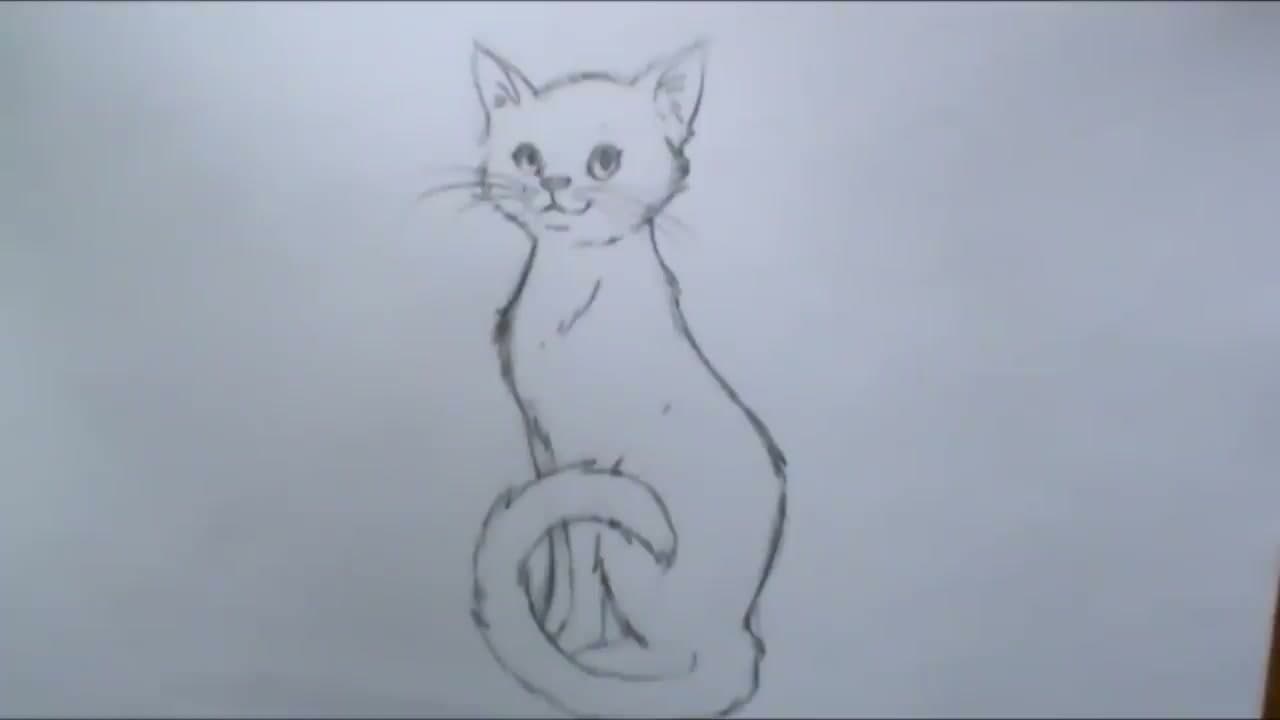
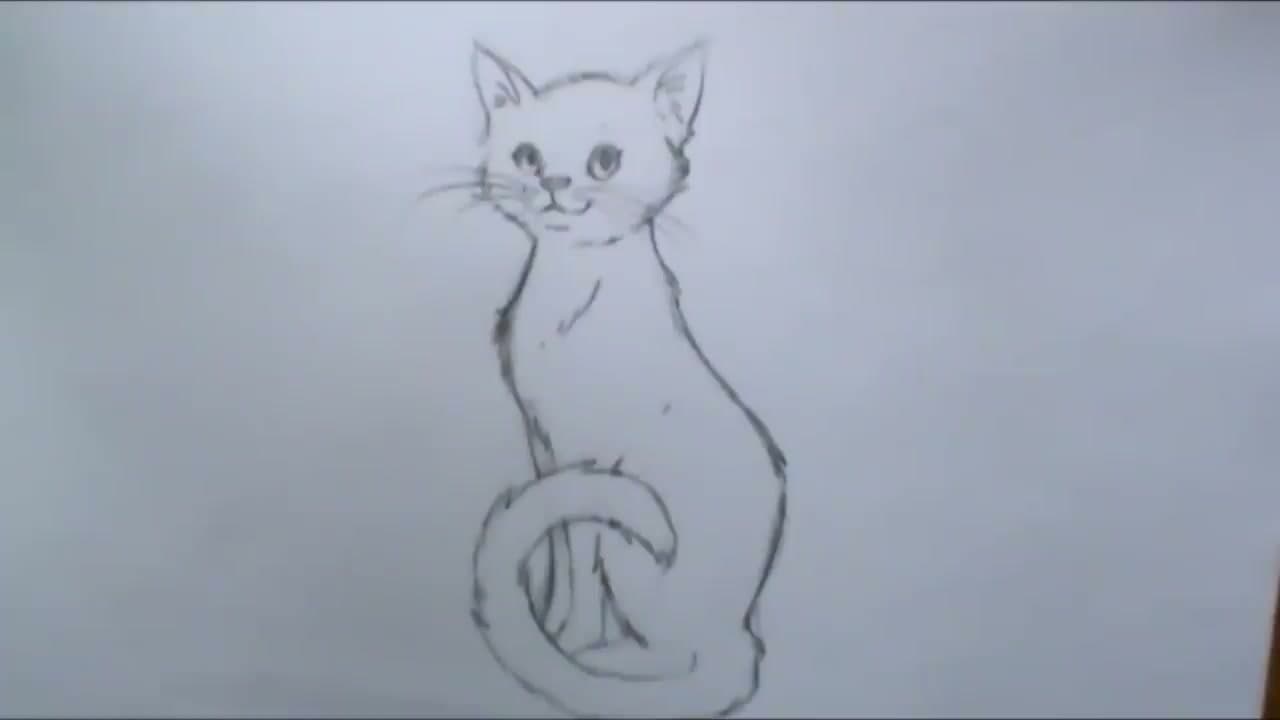
The finished result: How to Draw a Cat - Gesture-Drawn Sitting Cat in 7 Steps
Also in:Painting

By ShowMeStepByStepPublished Updated

Based on a video by Art ala Carte.

A cat drawing goes wrong in one of two places: the head ends up lopsided, or the whole animal reads as a stuffed toy. Both come from drawing the outline first and hoping the shape works out. Build the mass first and the outline has somewhere to land.

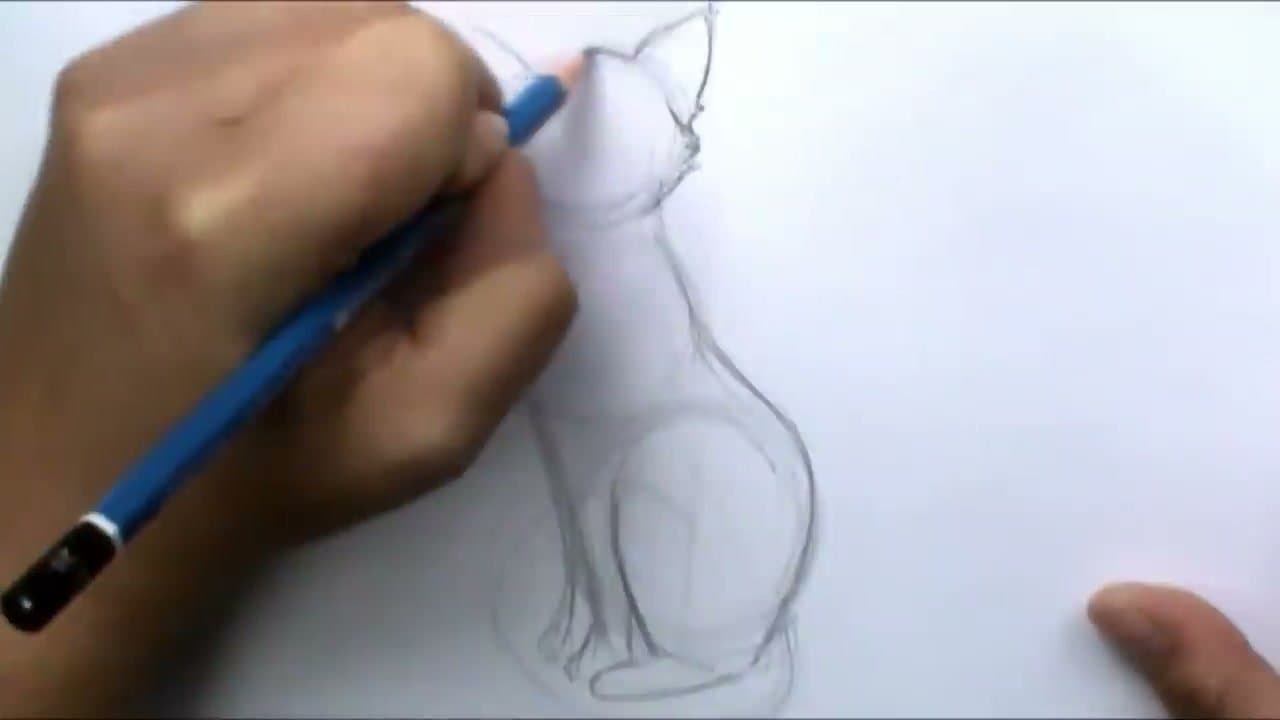
The steps below follow the gesture approach Art ala Carte uses: loose guide circles for head, chest and rump, a spine line to tie them together, then an outline broken up with fur tufts. Those circles get erased at the end. A light construction line is cheap to move and a dark committed line is not.

Why the Guide Circles Come First

Draw a circle three or four times in the same spot with light pressure and your hand averages out the wobble. Draw it once, hard, and you are stuck with whatever your wrist did on that one pass.

A sitting cat wants three circles: the head on top, the chest below it at about the same width, and a larger rump circle offset so only its top half overlaps the chest. Cartoon cats often drop to two, a head and one body blob, and that holds up as long as the head stays small against the body. A realistic cat needs the third, because the dip between a narrow chest and a wide rump is what makes the pose read as sitting. Turn the paper upside down to check the head: a lopsided circle jumps out once it is flipped.

Cat Proportions That Hold Up

Cat faces sit low. The eye line lands a little below the middle of the head circle, not across the center, and the gap between the eyes is roughly one eye wide. Ears go slightly forward of the top of the head rather than centered on it, because a relaxed cat carries them forward. Centered ears read as alarmed.

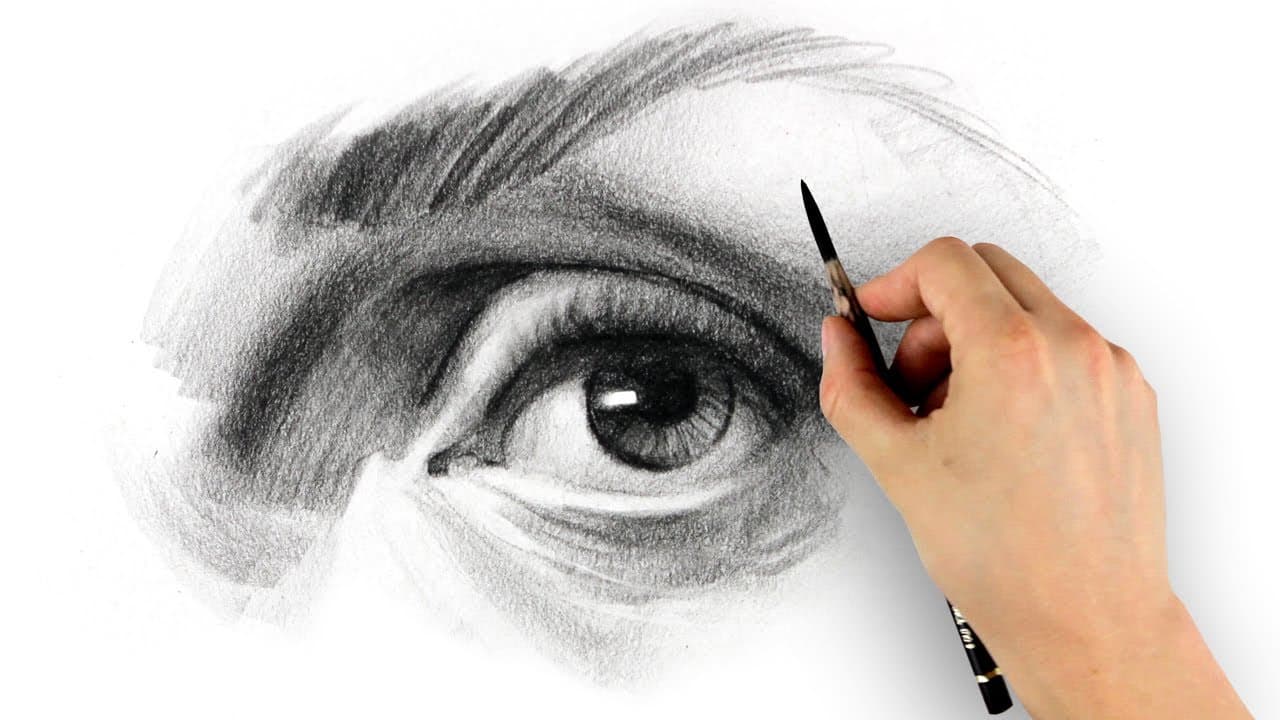
The muzzle is a small inverted triangle: nose at the top, two short curves dropping into the mouth. The common error is a muzzle the length of a dog's, which turns the cat into a fox. For how the eye itself is built, the how to draw eyes walkthrough works at a larger scale, and how to draw a lion runs the same muzzle triangle on a heavier head.

Fur Texture Without Drawing Hairs

Fur is texture, not line work. You get it two ways: short directional strokes that follow the curve of the body, and tufts that interrupt the outline wherever it changes direction.

Three or four tufts read as fur. Ten turns the cat into a hedgehog. Long-haired cats get longer tufts and a softer silhouette; short-haired cats get a tighter outline with the tufts nearly flat against it. Same discipline as how to draw hair, where clumps beat individual strands.

Sitting, Curled and Walking Poses

The sitting pose is the forgiving one: the legs are tucked and the spine curve does most of the work. Two variations to try once it lands:

  • Curled - one large oval instead of three circles, head tucked toward the hip, tail wrapped across the front. No leg drawing at all.
  • Walking - the circles stretch along a horizontal line and the spine flattens. Harder, because the legs carry the weight and a knee bending the wrong way is obvious. Cat hind legs fold backward at the hock.

Tail position sets the mood more than the face does. Wrapped around the front paws is settled. Curled up over the back is interested.

Cat drawing ideas to try next

Same guide circles, different cat.

  • Halloween black cat. Fill the sitting cat in solid black, leave two yellow eyes and curl the tail up over the back. Put a jack-o-lantern beside it.
  • Kitten. Make the head circle bigger against the chest, the ears wider at the base and the paws rounder.
  • Tabby markings. Add stripes that wrap around the body and an M shape on the forehead. Let the stripes follow the curve of the circles.
  • Cat from behind. Draw it looking out a window: head circle, ear triangles, rump and a curled tail. No face needed.

Cartoon Cat or Realistic Cat

Same construction, different decisions. A cartoon cat gets a bigger head, rounder eyes, no shading, one clean outline with a few tufts. A realistic cat gets a smaller head against the body, almond eyes with a vertical slit pupil, and value work in place of outline, so the edge of the cat is where the fur goes dark, not where a pencil line sits.

Pencil grade matters on the realistic version: a 2B holds a light construction line and still darkens for the final pass. If shading and light direction are the shaky part, the fundamentals sit in how to draw. After the cat, try how to draw a dog - the same three circles come out very differently once the muzzle gets long.
What you'll need

Step-by-Step Guide

7 steps · about 7 minutes.Check off each step as you go and your progress saves automatically.

1

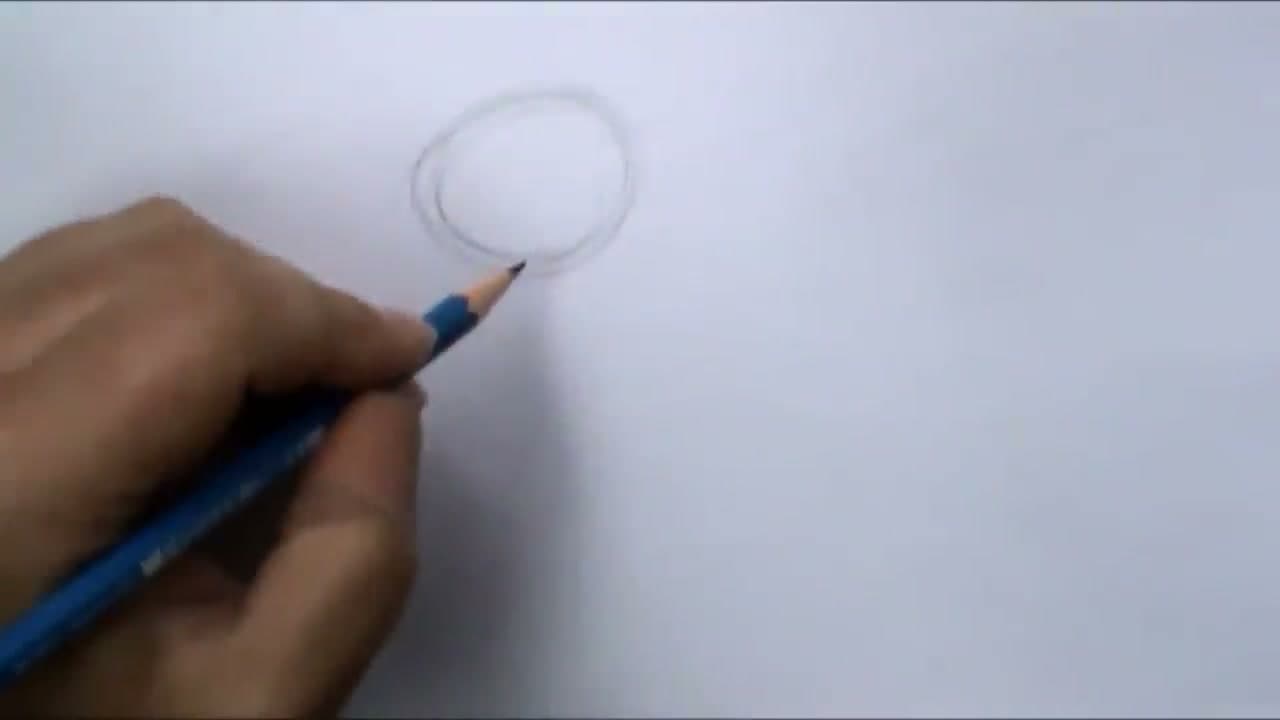
Sketch a Loose Head Guide Circle in Pencil

0:55
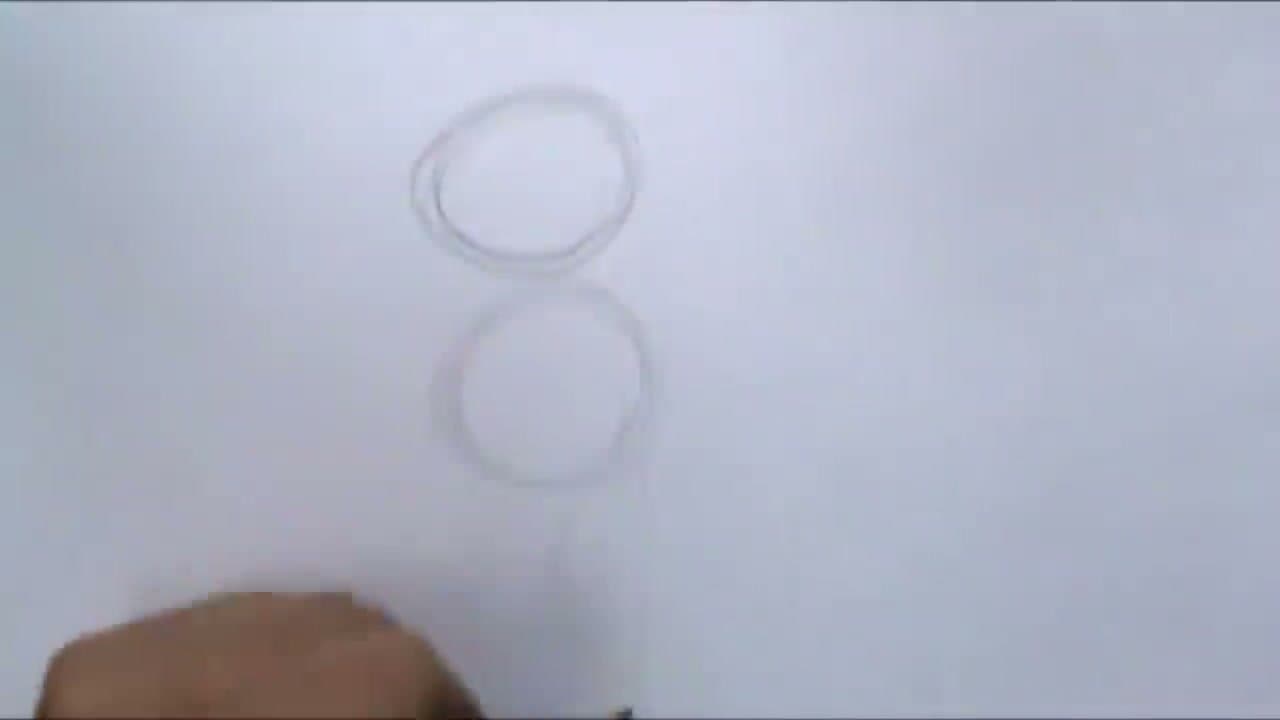
Step 1: Sketch a Loose Head Guide Circle in Pencil - How to Draw a Cat - Gesture-Drawn Sitting Cat in 7 Steps

Hold your pencil loosely. Don't grip it like you're writing - more like you're balancing it. Sketch a circle near the top of the page for the cat's head. Go around the same shape three or four times, letting your hand find the line you want.

This is gesture drawing - fast movement, light pressure, multiple passes. You're not committing to anything yet. The whole point is to keep your hand moving so the cat ends up with motion rather than stiffness.

Tip

If your pencil starts pressing hard, stop and shake out your hand. Tight muscles produce tight lines, and tight lines kill the gesture.

2

Add the Chest and Rump Guide Circles

1:15
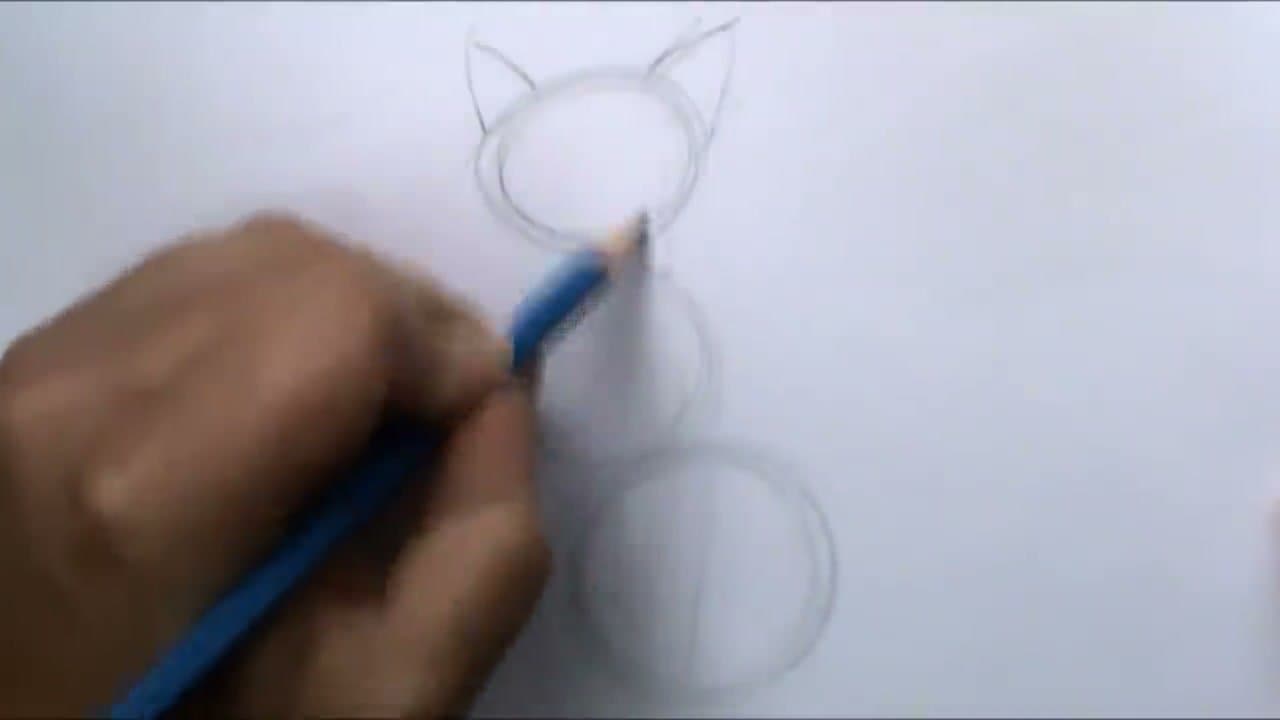
Step 2: Add the Chest and Rump Guide Circles - How to Draw a Cat - Gesture-Drawn Sitting Cat in 7 Steps

Draw a second circle just below the head for the chest. Make it roughly the same size as the head circle.

Then drop down and draw a third, larger circle for the body and rump. Offset it - only the top half should overlap with the chest circle, leaving the bottom half forming the seat of the cat.

Stand back. Right now you have three circles that look like a snowman tipping forward. That's correct. The cat shape is hiding inside this construction.

Tip

Keep the chest circle about as wide as the head and make the rump circle noticeably bigger. If all three come out the same size the cat reads as a row of snowballs instead of an animal.

3

Draw Two Ear Triangles and the Curved Spine Line

2:00
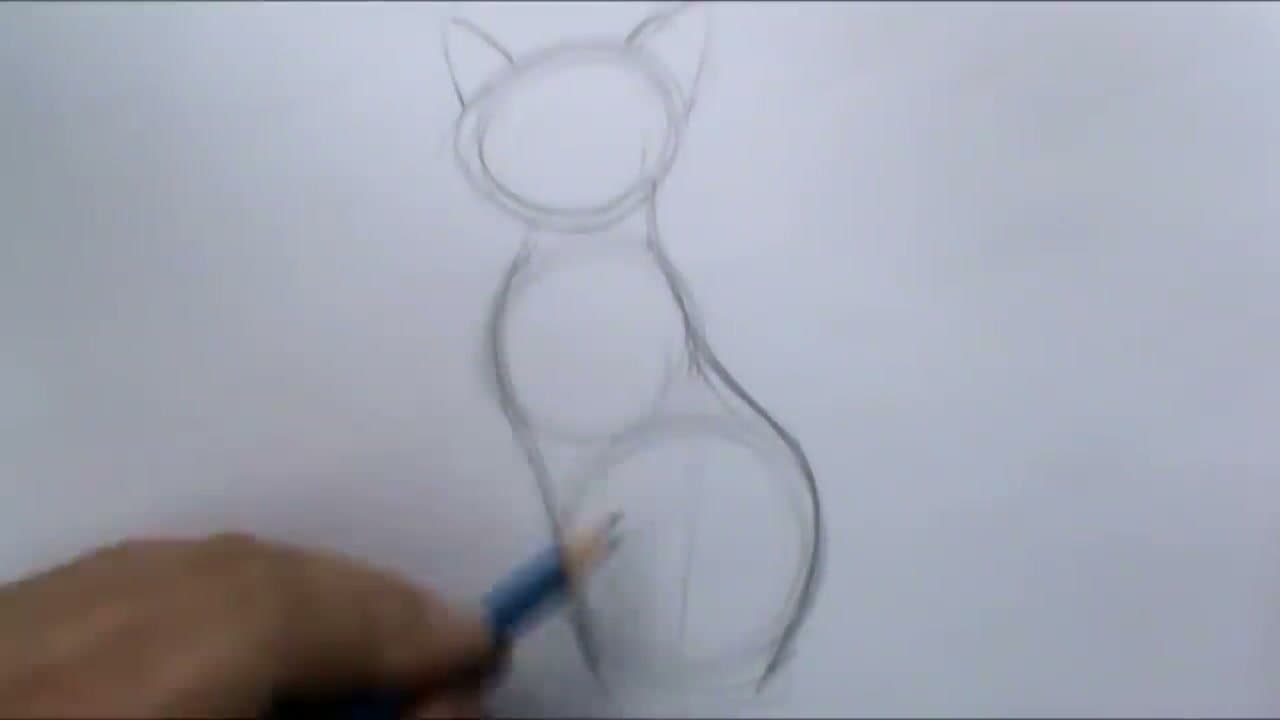
Step 3: Draw Two Ear Triangles and the Curved Spine Line - How to Draw a Cat - Gesture-Drawn Sitting Cat in 7 Steps

On top of the head circle, draw two triangle shapes for the ears. Sit them slightly forward of the top - cats hold their ears up and a little forward when relaxed.

Now draw the spine. Start at the back of the head, curve down over where the shoulder would be, run across the back, and end at the rump. This single curving line connects the three circles into one continuous shape.

Tip

The spine curve sets the cat's mood. A pronounced arch reads as alert or stretched; a gentle slope reads as relaxed and sitting. Match the energy you want.

4

Draw the Chest Line, Hind Leg and Front Paws

2:30
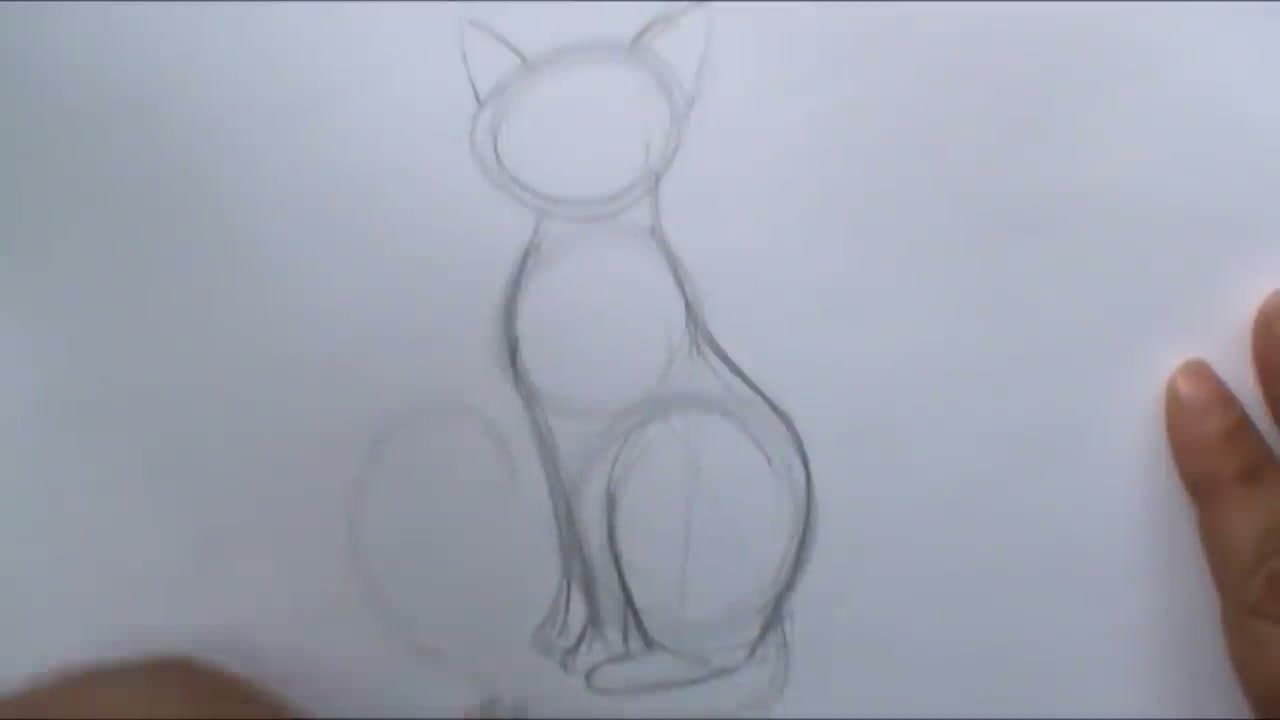
Step 4: Draw the Chest Line, Hind Leg and Front Paws - How to Draw a Cat - Gesture-Drawn Sitting Cat in 7 Steps

Smooth out the chest by tracing along the front of the head and chest circles. Some cats are sleek, some are sturdier - decide how solid you want yours to look and adjust the chest line accordingly.

The hind leg blends into the rump because of how loose a cat's fur and skin are. Don't draw a hard line at the joint - just curve gently from the rump and tuck the back paw underneath.

Drop two short verticals down from the chest for the front paws. Keep them light. You'll refine them in the outline pass.

Tip

Resist drawing a hard line at the knee. A cat's loose skin blends the hind leg into the rump, so one gentle curve from rump to tucked paw looks more like a cat than a defined joint does.

5

Sketch a Few Tail Curve Variations

3:20
Step 5: Sketch a Few Tail Curve Variations - How to Draw a Cat - Gesture-Drawn Sitting Cat in 7 Steps

The tail is where you choose the cat's personality. Sketch a few options lightly - tail wrapping around the front paws, tail curling up over the back, tail curling around one foot. Don't commit to one yet.

Step back and pick the version you like best. Then erase the alternates so your eye isn't fighting between two tail lines while you draw the rest.

Tip

A wrapped tail makes a cat look settled. A curled-up tail makes it look interested. Pick the mood before you commit.

6

Outline the Cat Body With Short Fur Tufts

4:30
Step 6: Outline the Cat Body With Short Fur Tufts - How to Draw a Cat - Gesture-Drawn Sitting Cat in 7 Steps

Now go around the whole cat with a slightly darker line - but not a smooth one. Every time the outline changes direction, break the line with a little tuft of fur.

Tuft locations: top of each ear, behind the shoulder, halfway down the back, where the rump meets the hind leg, and right at the base of the tail. These small irregular marks tell the eye there's fur there without forcing you to draw individual hairs.

Tip

Don't draw a tuft at every single point. Three or four well-placed tufts read as fur; ten makes the cat look spiky. Spacing matters.

7

Erase the Guide Circles, Then Draw the Eyes, Nose and Whiskers

6:20
Step 7: Erase the Guide Circles, Then Draw the Eyes, Nose and Whiskers - How to Draw a Cat - Gesture-Drawn Sitting Cat in 7 Steps

Lightly erase the three construction circles and any leftover tail variations. Use a kneaded eraser pressed and lifted rather than rubbing - this protects the paper and the lines you want to keep.

Touch up any outline marks that got faded during cleanup. Then sketch the face: two eyes on the upper half of the head, a small triangular nose at the center, and a curved mouth below. A few whisker lines on each cheek finish it.

Tip

Cat faces work in big shapes, not fine detail. Almond eyes with a pupil, a small inverted triangle for the nose, and a tiny curved mouth read as a cat at any size.

Keep going

How to Draw a Christmas Sweater

Products Used

The Checklist

How to Draw a Cat - Gesture-Drawn Sitting Cat in 7 Steps

Tools
3
Materials
2
Steps
7
Video
7 min

Tools we recommend

Your Guide

Art ala Carte

As an Amazon Associate we earn from qualifying purchases. Links on this page may be affiliate links - clicking them and buying doesn't change your price, but helps support ShowMeStepByStep.

Tags

Sunday How-To

New crafts tutorials, every Sunday

One short email with the week's best step-by-step guides. Free, no spam, unsubscribe anytime.

Test your knowledge

Did the lesson stick? Start with this one.

5 questions covering what you just read. No signup, no score saved, and you can stop after this one.

Question 1 of 5

What's 'gesture drawing'?

Quick reference

Key takeaways from How to Draw a Cat - Gesture-Drawn Sitting Cat in 7 Steps

5 questions, answers, and one-line explanations. Tap to expand.

  1. 1.What's 'gesture drawing'?

    Answer: Fast, loose, multiple-pass sketching with light pressure

    Gesture drawing uses multiple light passes to find the line - keeps the cat looking like motion, not stiffness.

  2. 2.How many circles form the cat's body construction?

    Answer: Three (head + chest + body/rump)

    Three circles like a tipping snowman: head, chest, body/rump.

  3. 3.Where should the cat's ears sit on the head circle?

    Answer: Slightly forward of the top - cats hold ears up and a little forward when relaxed

    Forward-set ears read as relaxed cat posture.

  4. 4.How should you draw the outline once the construction is set?

    Answer: Break the line with little tufts of fur where it changes direction

    Fur tufts at direction changes sell the texture without drawing individual hairs.

  5. 5.Which eraser tool best preserves the lines you want to keep?

    Answer: A kneaded eraser pressed and lifted (not rubbed)

    Press-and-lift kneaded eraser is gentle - protects paper and surrounding lines.

Did this work for you?

What's next

Related collections

Curated theme pages that include this tutorial.

Weekly Digest

Liked this crafts tutorial?

Pick the categories you want to hear about. Weekly digest of new step-by-step tutorials. No spam, easy unsubscribe.

Send me tutorials about

We only email about new tutorials. Easy unsubscribe anytime.