How to Curl Your Hair With a Flat Iron

LifestyleMedium10:337 steps

By ShowMeStepByStepPublished Updated

Based on a video by EverydayHairInspiration.

Curling your hair with a flat iron is the kind of skill that looks impossible until you see it broken into pieces. The whole technique comes down to one move: place the section in the iron, rotate it one full turn, then slide. The angle of the iron and the speed of the slide determine whether you end up with loose beach waves or polished Hollywood curls.

This walkthrough is from EverydayHairInspiration on YouTube and it's specifically built for beginners. The first time through is awkward - rotating the iron with one hand while holding the end of the hair with the other takes practice. By the third or fourth section it clicks.

Always use heat protectant. Always. A flat iron sits at 350-410 F, and that level of heat without protection breaks down the hair shaft over time. The spray is the cheapest insurance policy in beauty.

Step-by-Step Guide

1

Brush and Apply Heat Protectant

2:00
Step 1: Brush and Apply Heat Protectant

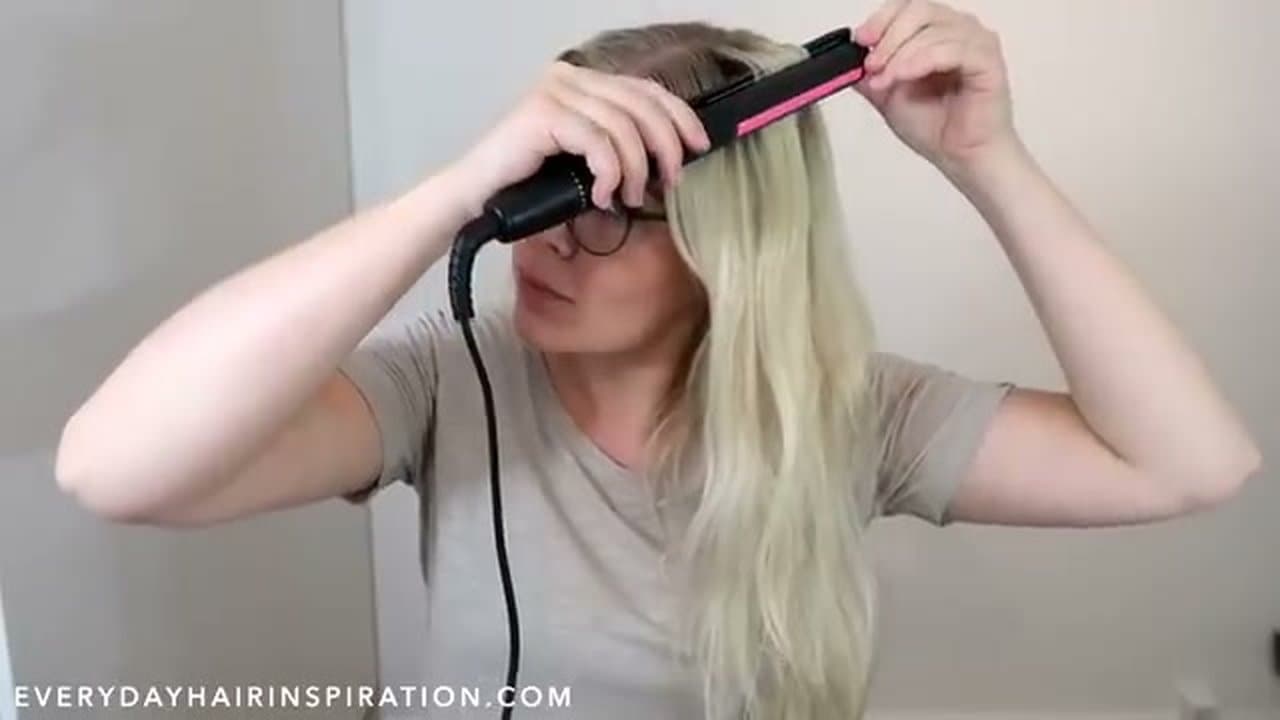
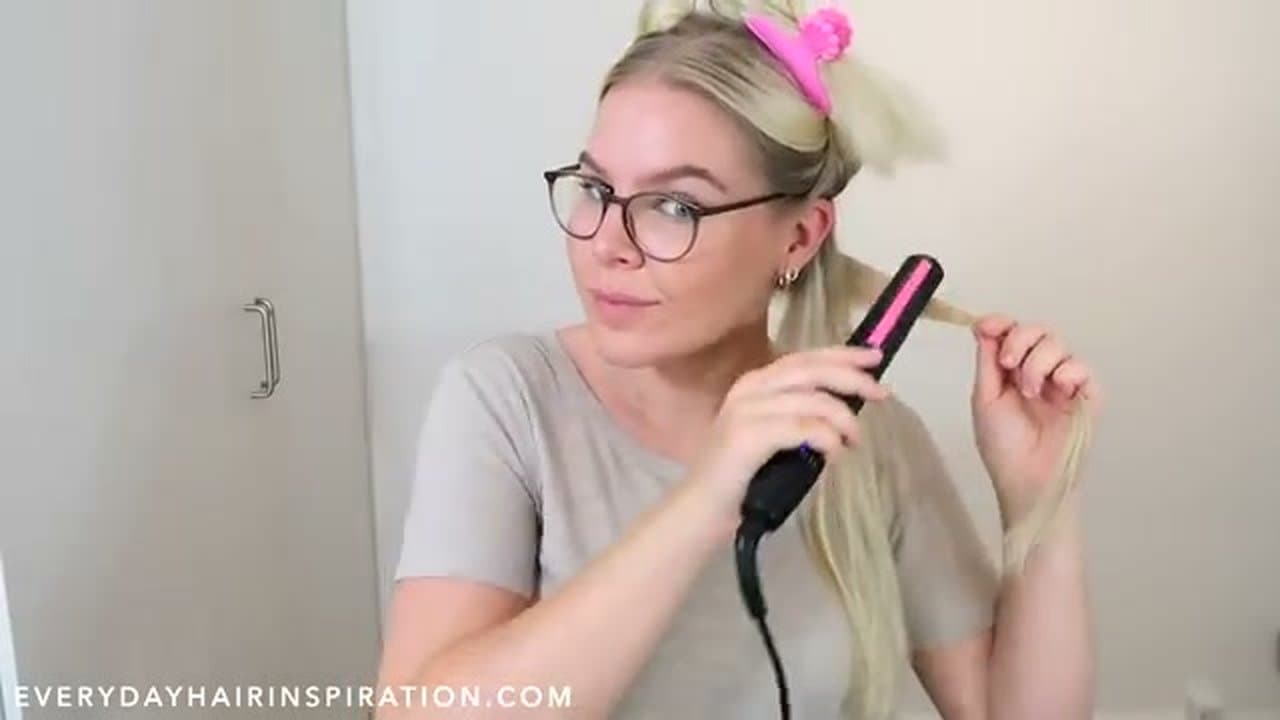
Start with completely dry hair. Wet hair plus a flat iron is a non-starter - it will literally sizzle and damage the cuticle. Brush through to remove tangles, then mist the entire head with a heat protectant spray.

Work the spray through with your fingers so it coats every section evenly. The protectant adds a thin layer between the hot plates and your hair shaft.

Tip

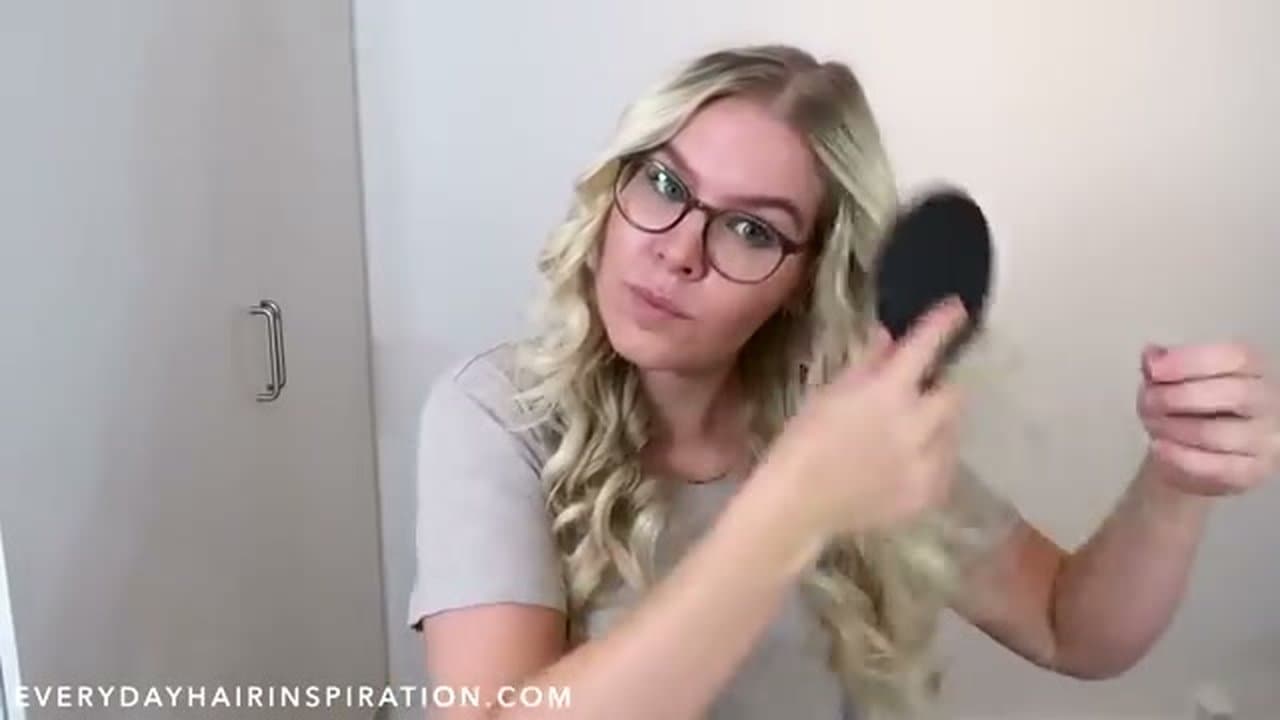
If your hair is fine, use a lighter spray and less of it - heavy product can weigh fine hair down and make the curls drop faster.

2

Section Hair Into Top and Bottom Halves

4:30
Step 2: Section Hair Into Top and Bottom Halves

Part your hair horizontally, behind your ears, separating the bottom layer from the top. Twist the top half up and clip it out of the way with a hair clip.

Curling in two passes - bottom layer first, top layer second - keeps the curls even from the top of your head down to the ends. Trying to curl all the hair at once leaves the underneath uncurled.

Tip

For thick hair, split into three layers instead of two. The smaller each pass, the more consistent the curls.

3

Place a Section Between the Plates

5:10
Step 3: Place a Section Between the Plates

Pick up a section of hair from the bottom layer about an inch wide. Place the strand between the plates of the iron about halfway down its length, with the front of the iron facing upward.

Hold the iron in a loose grip, not a death grip - you need to be able to rotate it smoothly in the next step. Your other hand stabilizes the end of the section.

Tip

The first section is always awkward. The grip and the rotation get easier with each repetition - by the third or fourth curl it feels natural.

4

Rotate the Iron One Full Turn Down

5:40
Step 4: Rotate the Iron One Full Turn Down

Rotate the iron one full turn downward, twisting the hair around the body as it spins. Reposition your grip as you go so you can keep rotating without dropping the iron.

This is the move that turns a flat iron into a curling iron. The hair wraps fully around the barrel, just like it would on a real curling wand.

Tip

Iron held horizontal gives a Hollywood curl. Iron held at a slight angle (front edge tipped up about 30 degrees) gives a looser beach wave. Pick your angle before you twist.

5

Pull the Ends Forward and Slide Down

6:40
Step 5: Pull the Ends Forward and Slide Down

After the full rotation, pull the ends of the hair to the front so the strand sits cleanly along the iron without bunching. Then slowly slide the iron down the length of the hair while keeping it horizontal.

The slower you slide, the tighter the curl. The faster you slide, the looser. When you reach the ends, gently grip the curl with your fingers as it releases - this seals the spiral shape.

Tip

If the curl looks too tight, run the iron through it once more on the way out without re-twisting. That gentle pass loosens it without flattening it.

6

Repeat Across the Bottom Layer, Then the Top

9:00
Step 6: Repeat Across the Bottom Layer, Then the Top

Curl the entire bottom layer in three or four sections per side, flipping each finished curl back so it stays out of the way. When the bottom layer is done, drop the clipped-up top half down and curl that the same way.

Smaller sections give defined, tighter curls. Larger sections give softer, looser waves. Adjust the section size depending on the look you want.

Tip

If a curl turns out badly, let it cool completely before re-curling. Hot hair won't take a new shape - it has to set first.

7

Brush Out Gently and Set With Hairspray

9:40
Step 7: Brush Out Gently and Set With Hairspray

Once every curl has cooled, gently brush them out with a wide-tooth brush. The brushing softens defined curls into Hollywood waves. For fine hair, run your fingers through instead of brushing - that's gentler and keeps the curl tight.

Mist the whole head with a light-hold hairspray to lock the shape in. Heavy hairsprays will weigh down fine hair and crunch the wave.

Tip

Hairspray after, not before. Spraying before the iron causes the product to bake onto the plates - sticky residue, hard to clean off.

Products used in this step

Products Used

☐ The Checklist

How to Curl Your Hair With a Flat Iron

Tools
5
Steps
7
Video
11 min

Your Guide

EverydayHairInspiration

As an Amazon Associate we earn from qualifying purchases. Links on this page may be affiliate links - clicking them and buying doesn't change your price, but helps support ShowMeStepByStep.

Tags

Related Tutorials