How to tie a bow tie is one of those skills people put off until the morning of the wedding, then panic-Google in the bathroom 30 minutes before the ceremony. A self-tie bow tie looks better than a pre-tied clip-on - it sits with character, the fabric drapes a little asymmetrically, and the people who know, notice. The downside for beginners is that the knot is counter-intuitive the first three or four times. This guide breaks it into 8 step-by-step movements you can practice in front of a mirror without getting lost.
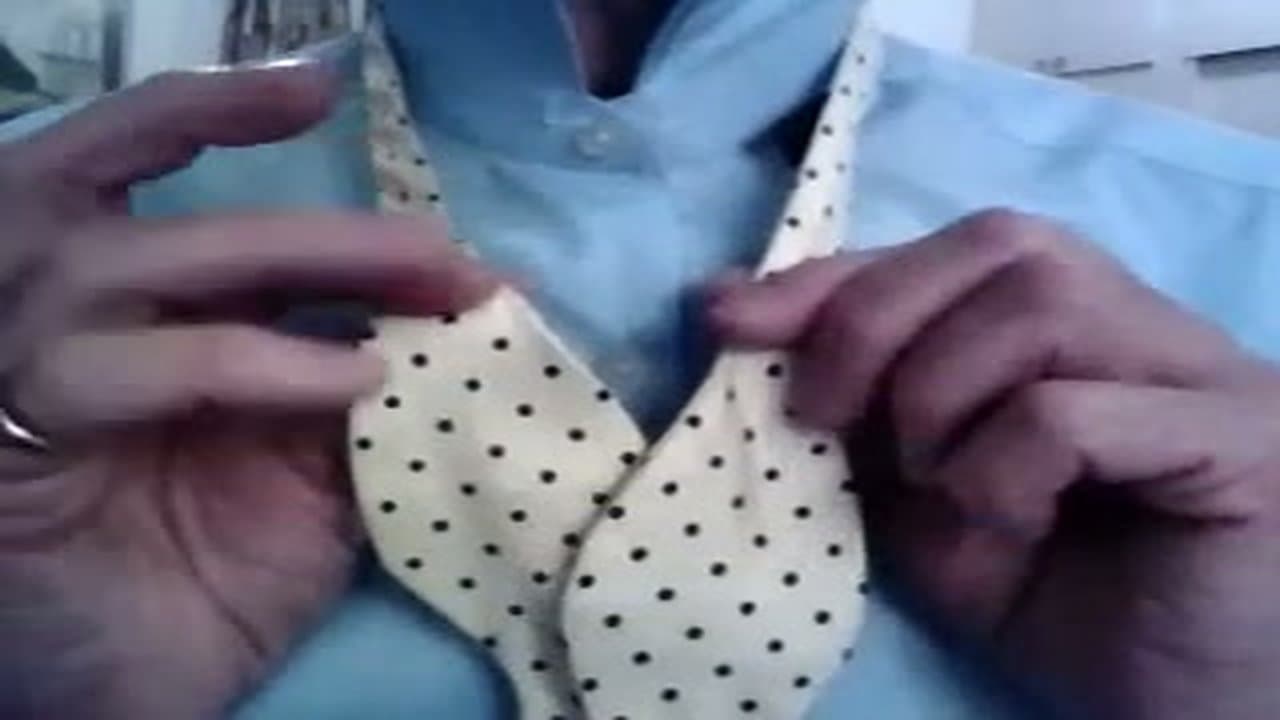
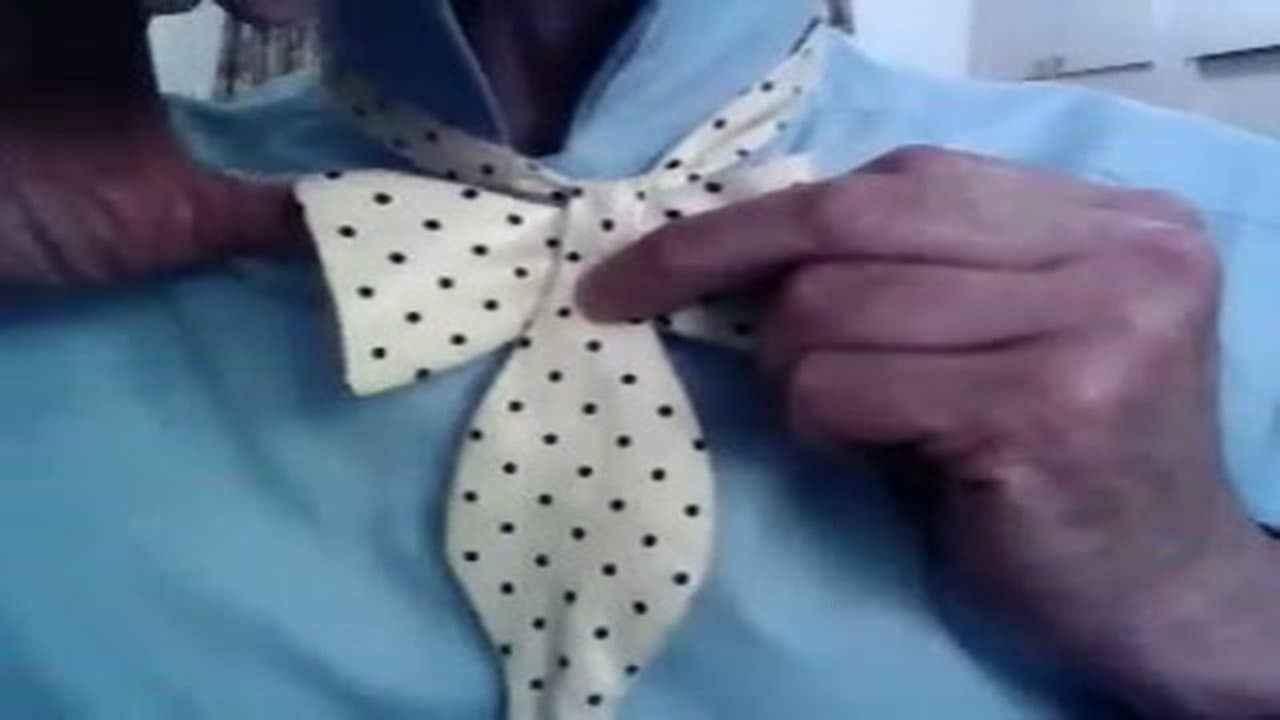
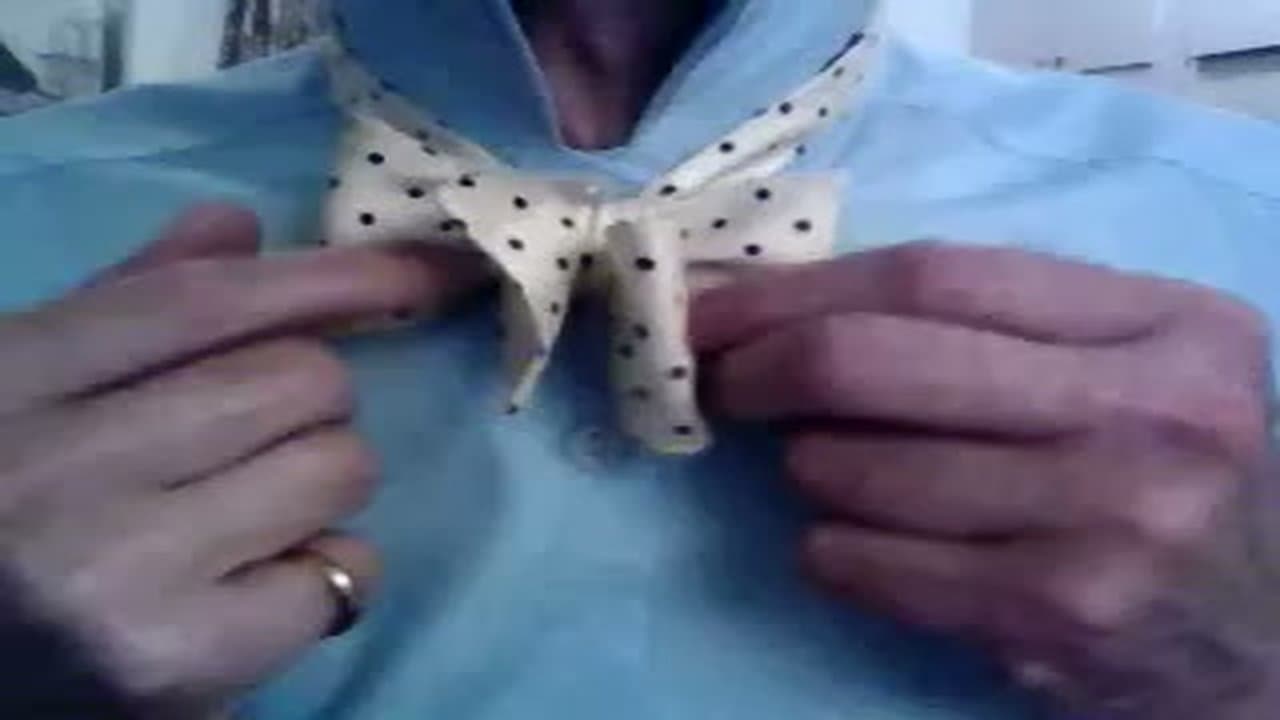
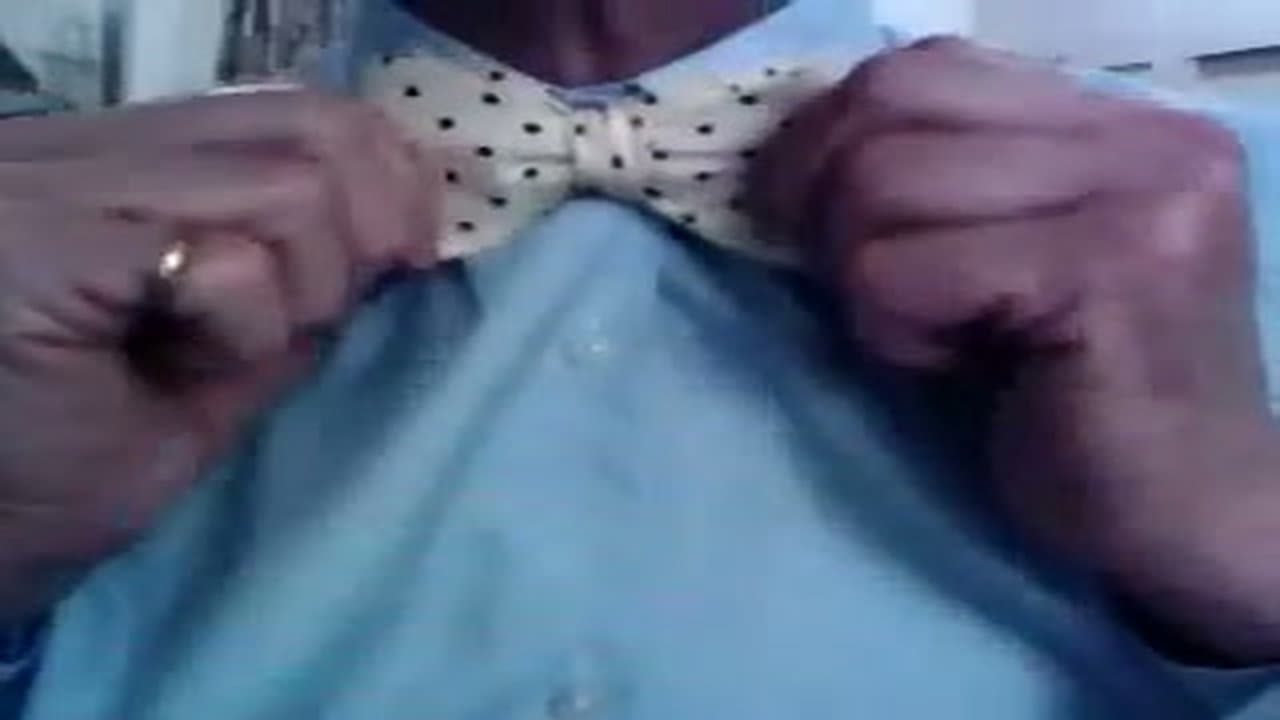
The walkthrough below follows a video from Offshoreorganbuilder that has pulled nearly 6 million views because it actually shows what your hands are doing - not just what the finished bow should look like. Each step pairs a still-frame diagram with a plain-English description, so this works as both a video tutorial and a step-by-step bow tie diagram when you have to teach yourself in a hotel room without sound. Give yourself 10 to 15 minutes the first attempt. By the fourth or fifth try, tying a bow tie starts to feel like tying a shoe.
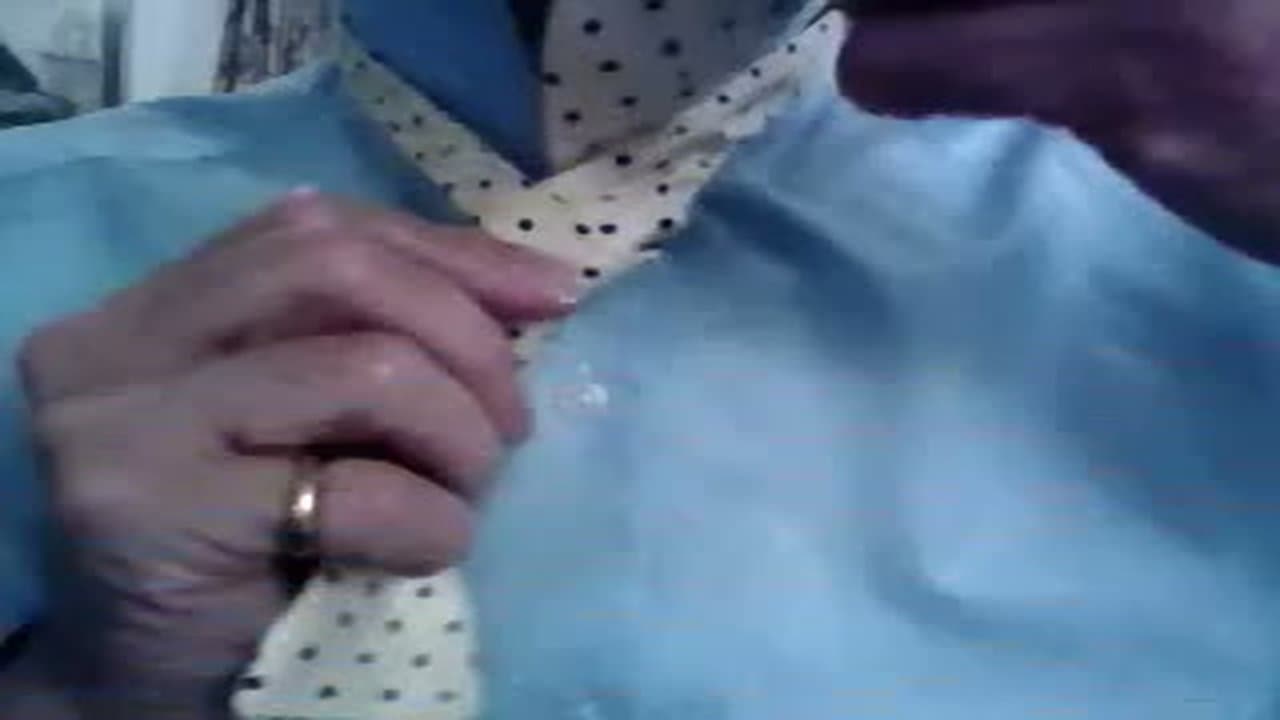
A few things that help beginners before the first attempt: practice with a light-colored tie (black on black is impossible to see in a mirror), stand with your shirt collar flipped up, and don't rush the second loop - that's the move 90% of first-timers get wrong. The knot is the same motion every time once you've got it. For other formal-wear basics, see how to tie a full Windsor knot, how to iron a dress shirt like a pro, and how to fold a pocket square to complete the outfit.
Variations by bow tie style and occasion
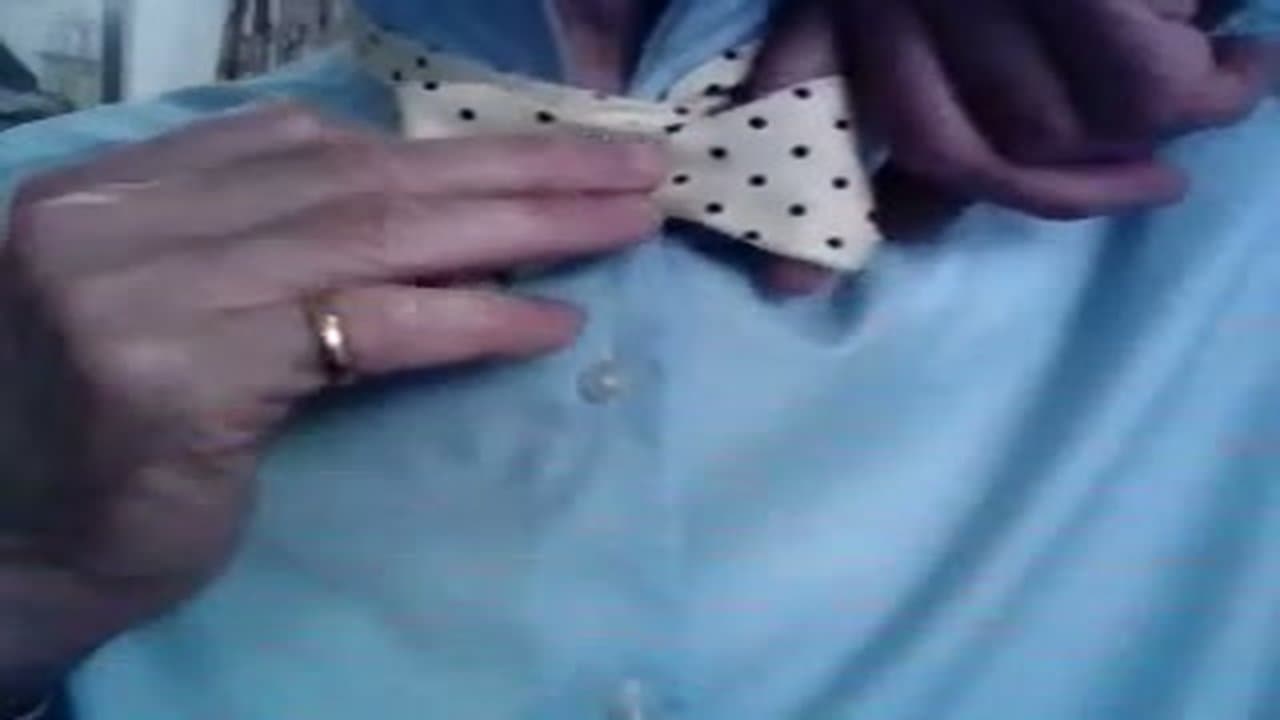
Butterfly (the standard). The classic shape - wide ends that flare out into a symmetrical bow. The 8-step method in this guide ties a butterfly perfectly. Best for most occasions: weddings, prom, business-formal events. Width is typically 2.5 to 3 inches across when tied.
Batwing (or straight-end). A narrower, rectangular shape with flatter ends. Same knot, just a slimmer tie. Good for a more modern or minimal look, or for slimmer faces. The technique below works without modification.
Diamond point. Pointed ends instead of straight. Slightly more formal-looking; popular with vintage and dandy-style outfits. Tie it the same way - the points just sit a little differently.
Black tie events. A black silk bow tie is the gold standard for tuxedo dress codes. The knot is identical to any other bow tie - just don't pull it perfectly tight. A little asymmetry signals 'I tied this myself' which is the entire point.
Common questions
How long does it take to learn to tie a bow tie? Most beginners get a passable result on attempt three or four (10-15 minutes per try). After a half-dozen reps the muscle memory locks in and the whole tie takes under 60 seconds.
Is a self-tie bow tie better than a pre-tied one? Yes, for one reason: a hand-tied bow has slight asymmetry and looser fabric drape that signals it's the real thing. Pre-tied bow ties look perfect, which is the giveaway. For weddings and black-tie events, hand-tie if you can.
What size bow tie should a beginner buy? An adjustable strap with a band length of 14 to 18 inches fits most adult necks. The tie itself should be 4.5 to 5 inches blade width (the wider part) for a standard butterfly shape. Avoid 'slim' or 'skinny' bow ties for your first - the extra fabric in a regular makes the knot easier to see and adjust.
Can I tie a bow tie without a mirror? Eventually, yes - the same way you can tie a regular tie blind. The first 10+ times you'll need a mirror to check the second loop. After that, it becomes a hand-feel thing.