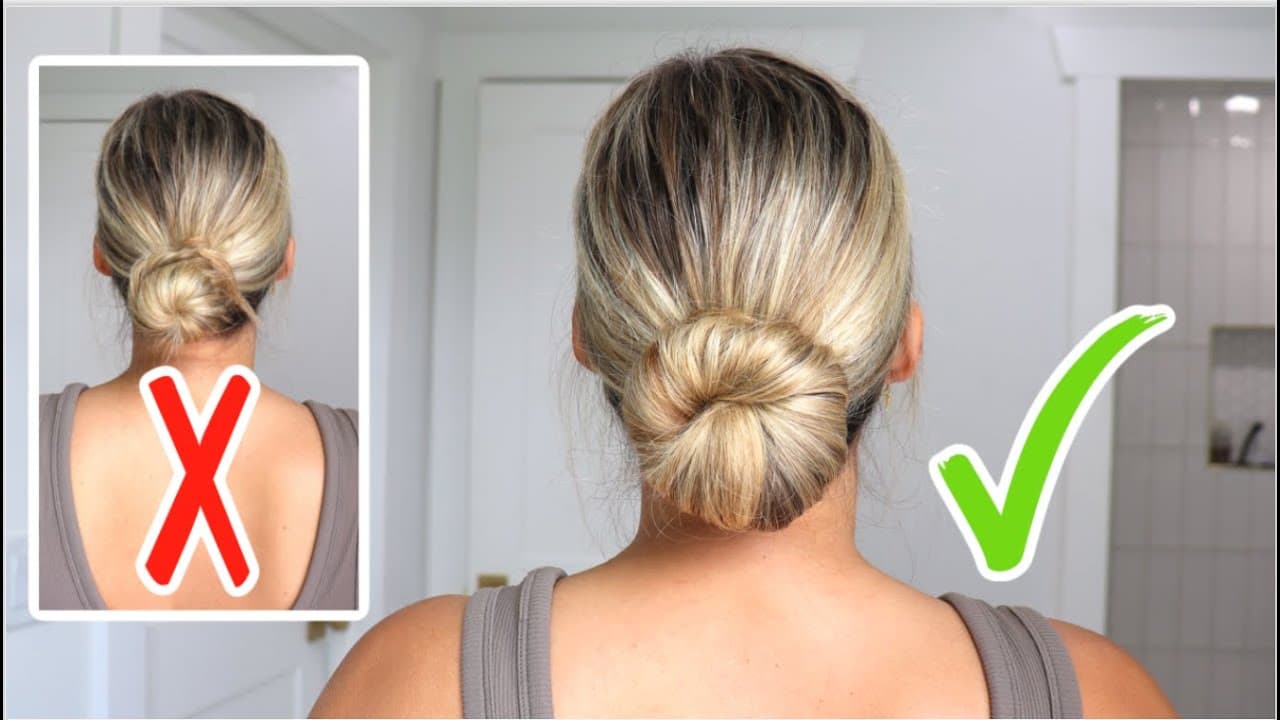
1
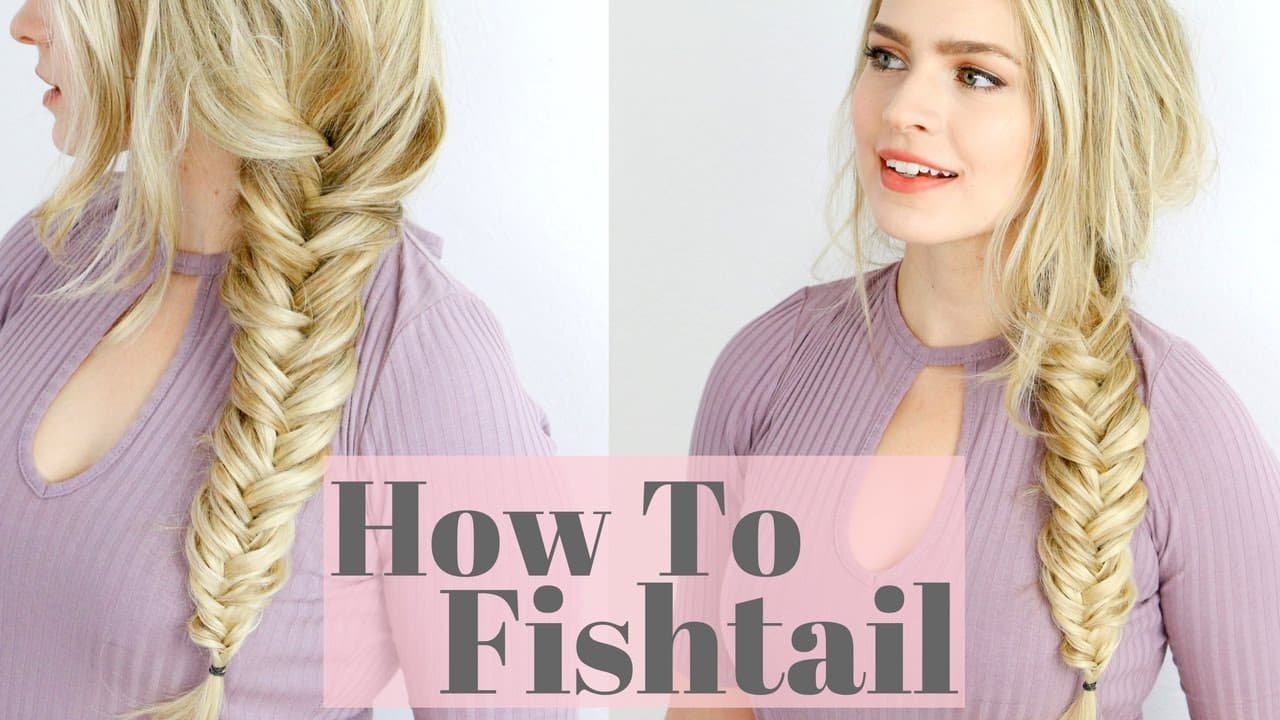
Brush and Prep the Hair
0:30
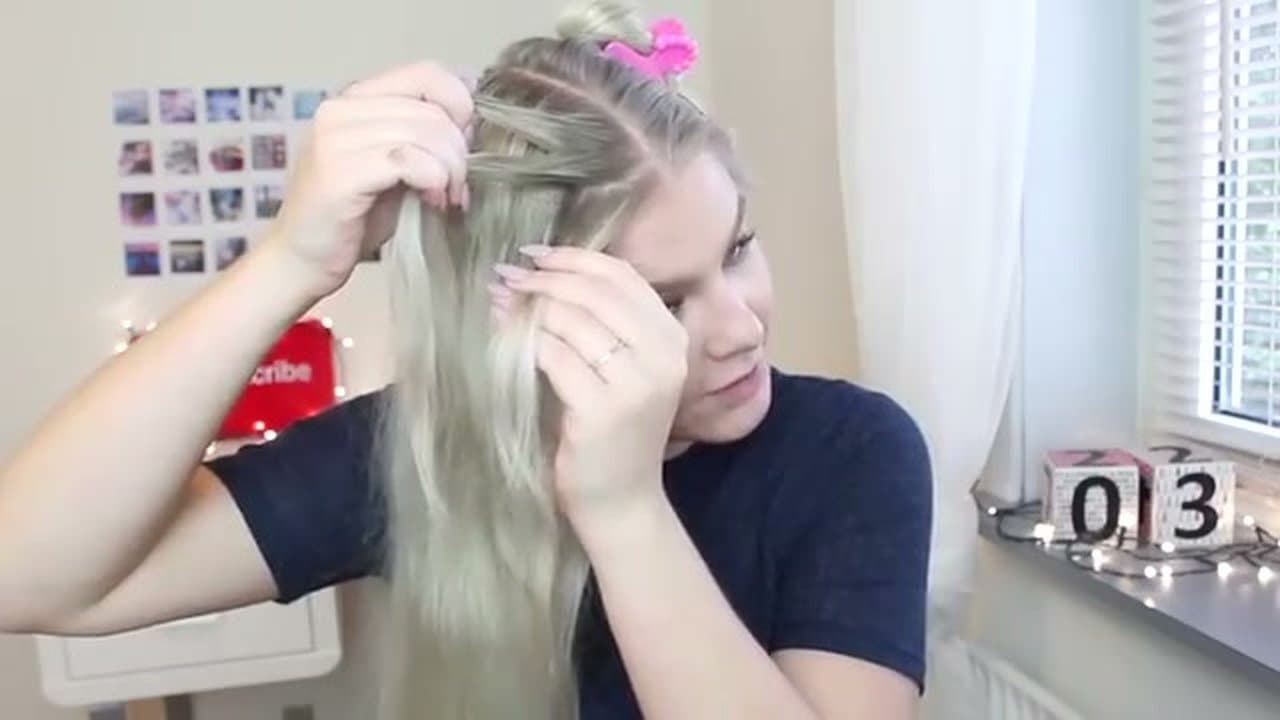
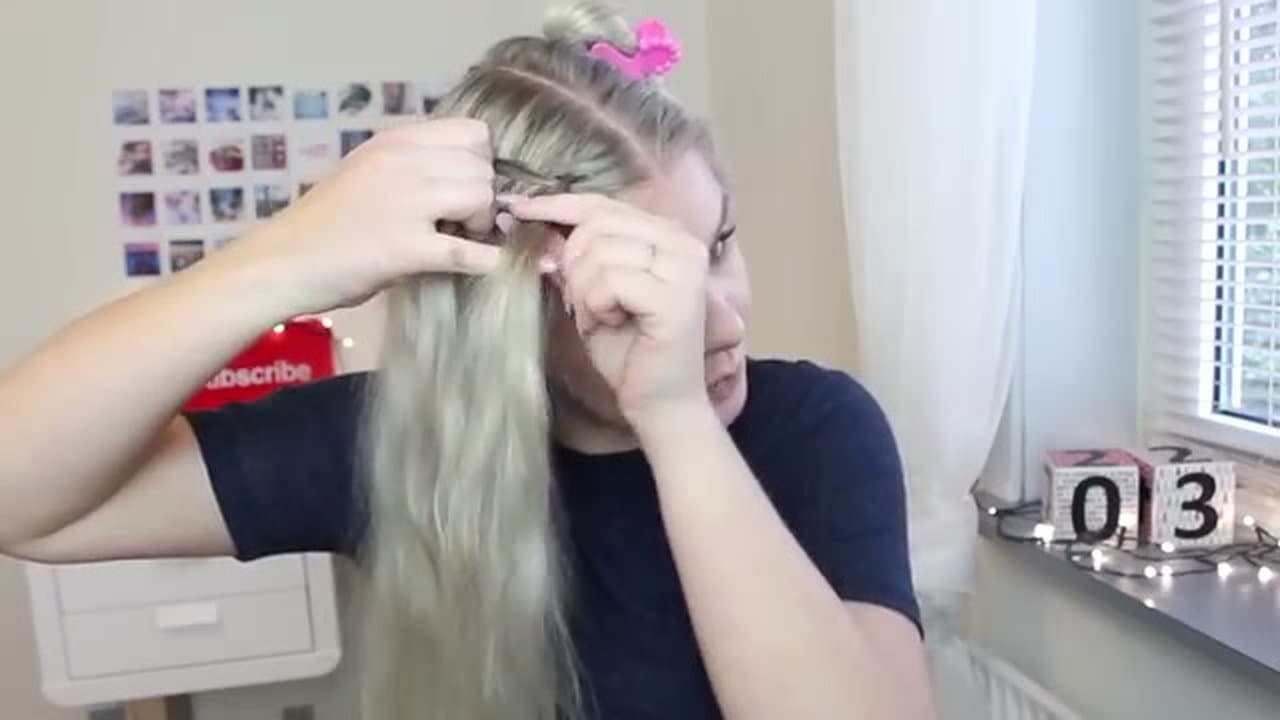
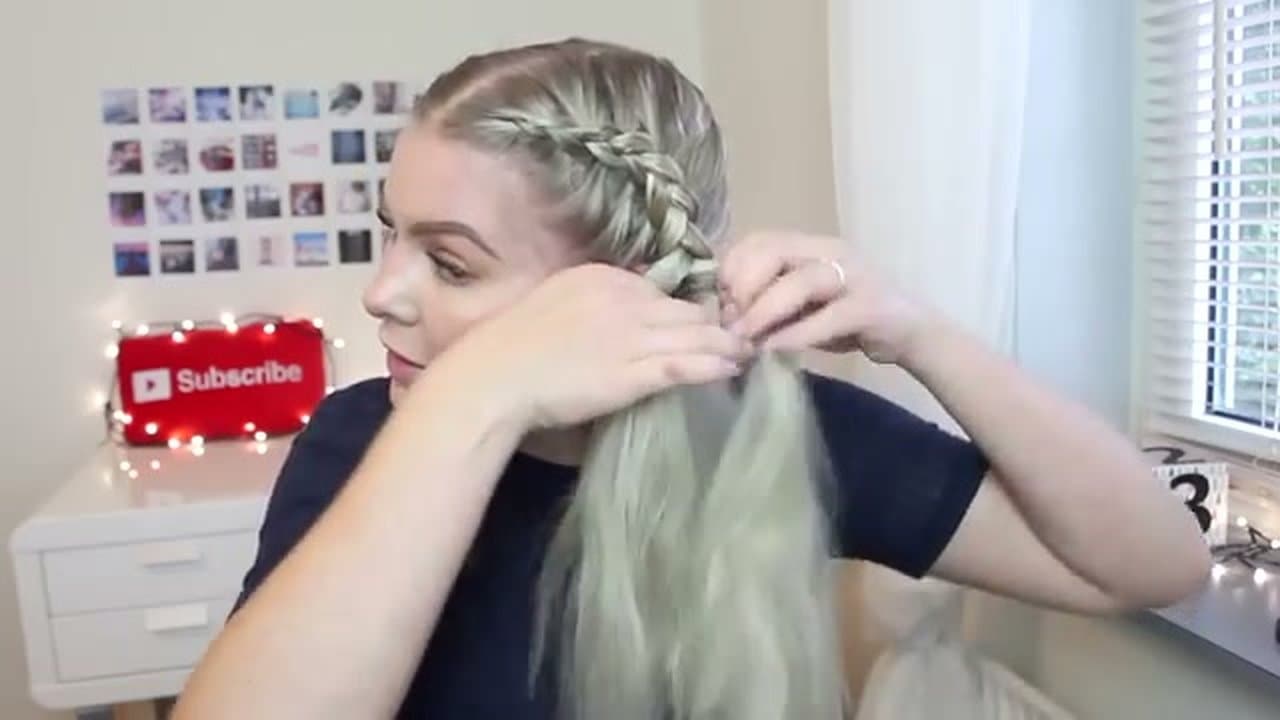
Brush your hair so it's smooth and tangle-free. Then add a quick mist of texture spray or a small dose of dry shampoo at the roots.
Slick, freshly-washed hair is too slippery for a clean braid. The texture spray gives the strands a slight grip so the under-crosses hold their position as you work.
Tip
If your hair is naturally fine, work in some texture spray a half-day before braiding. Hair that has settled with the spray works in even better than spray applied right before braiding.