1
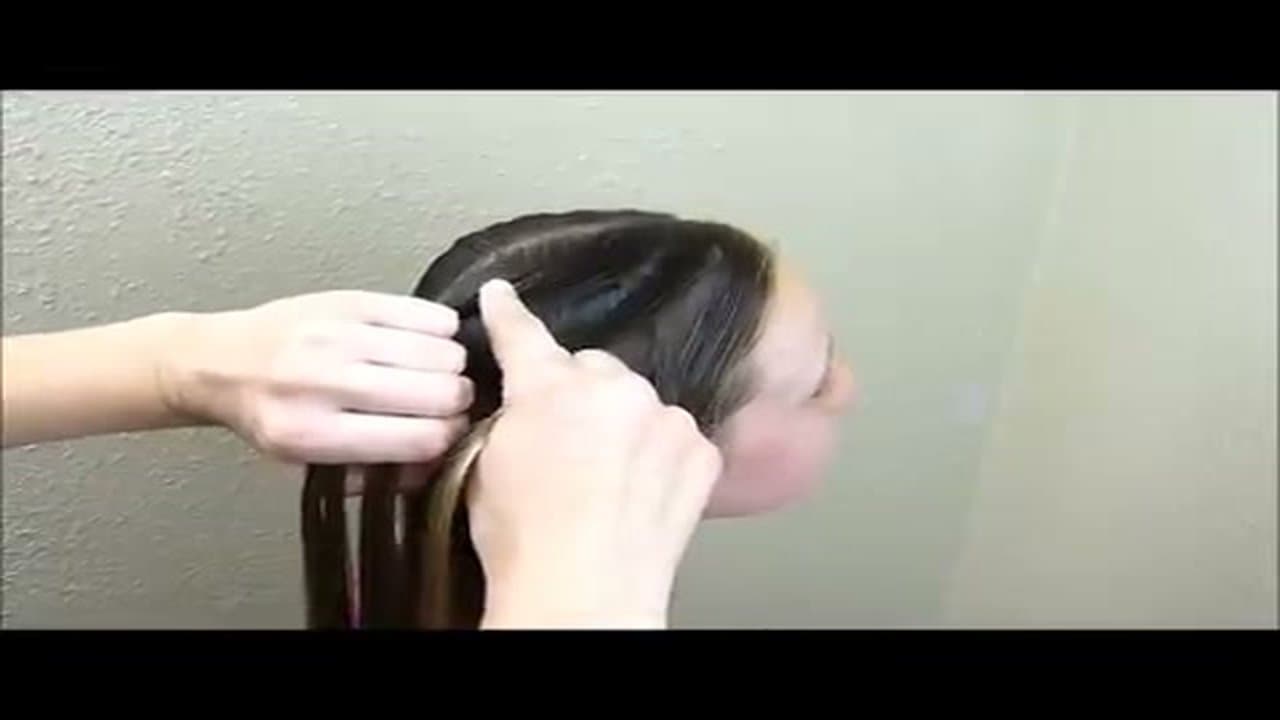
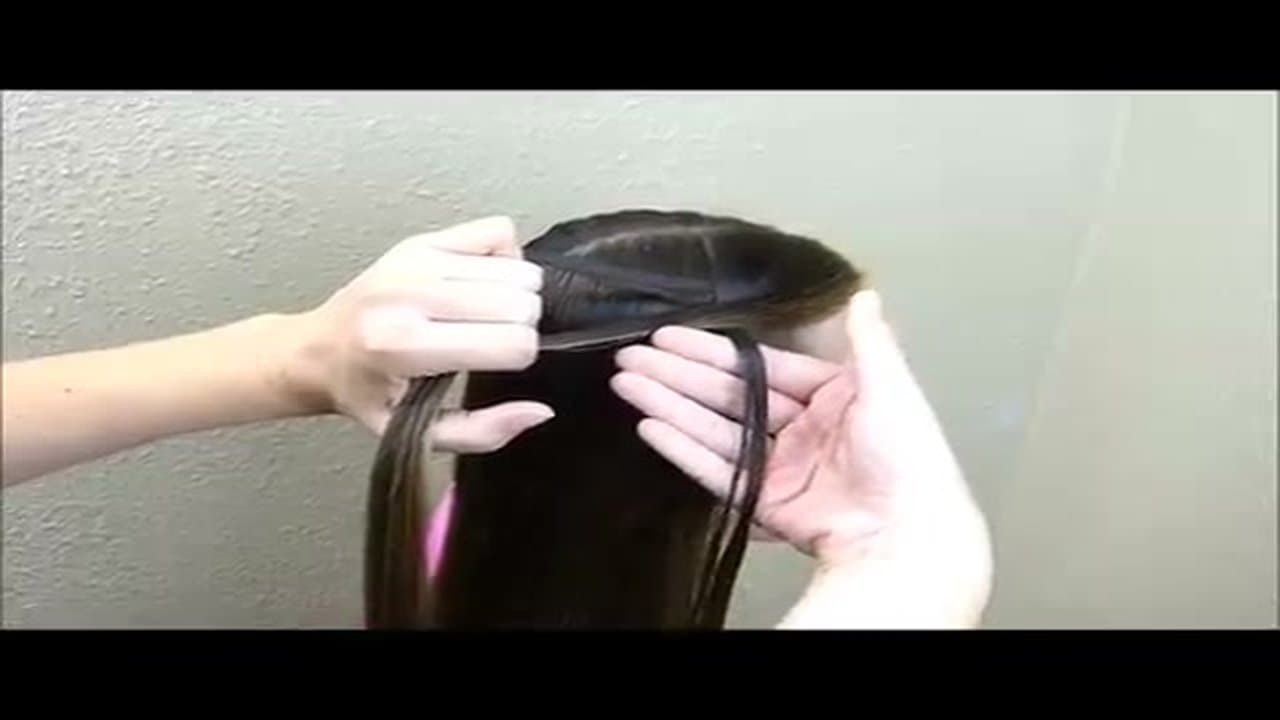
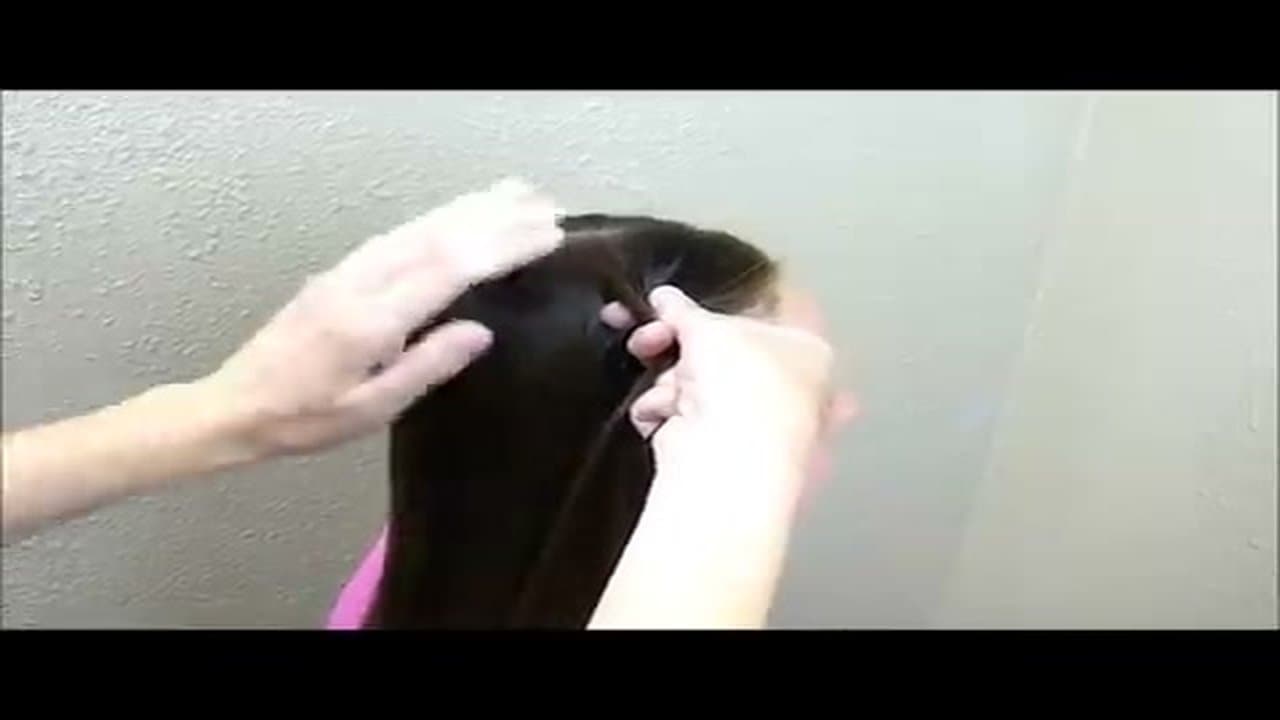
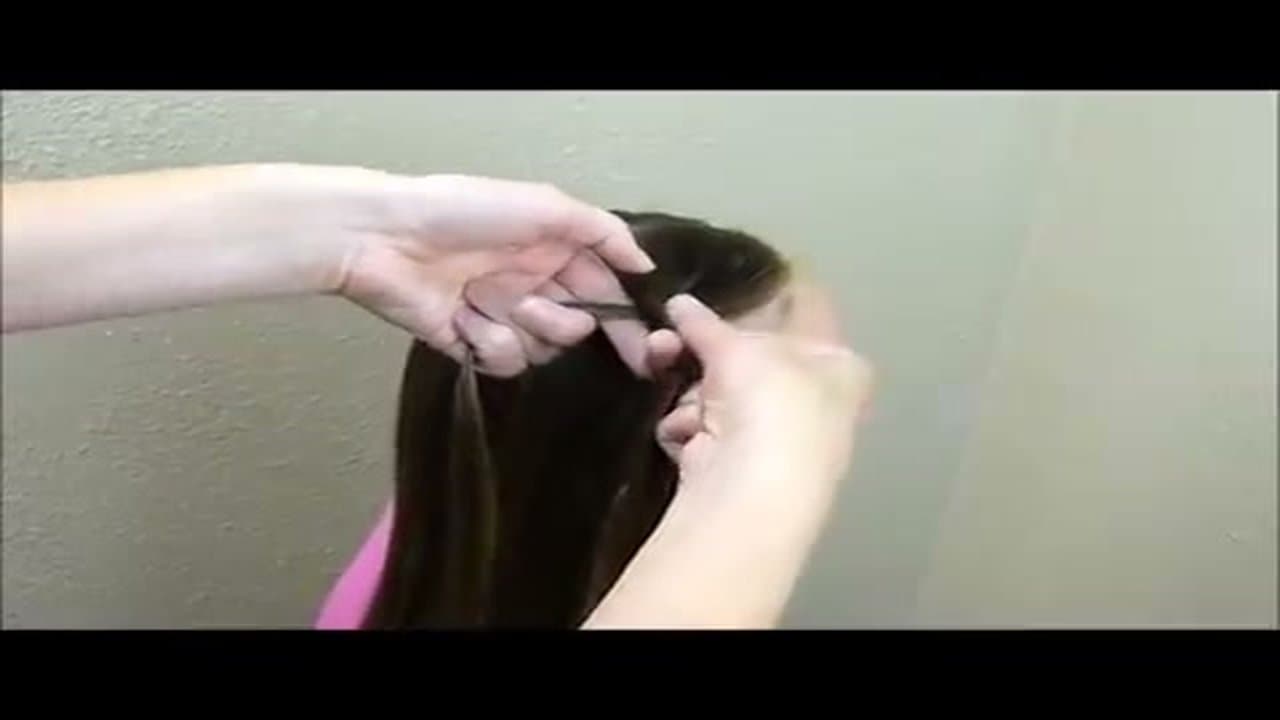
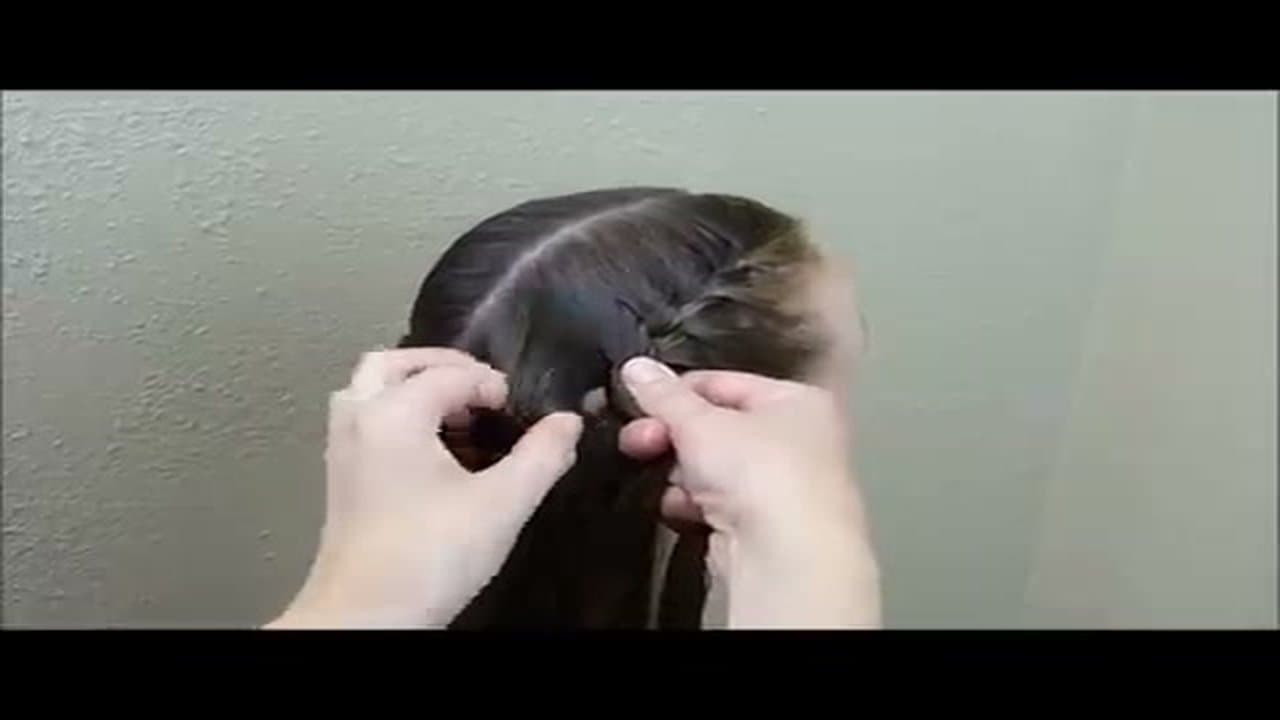
Split the Top Section Into Three
0:41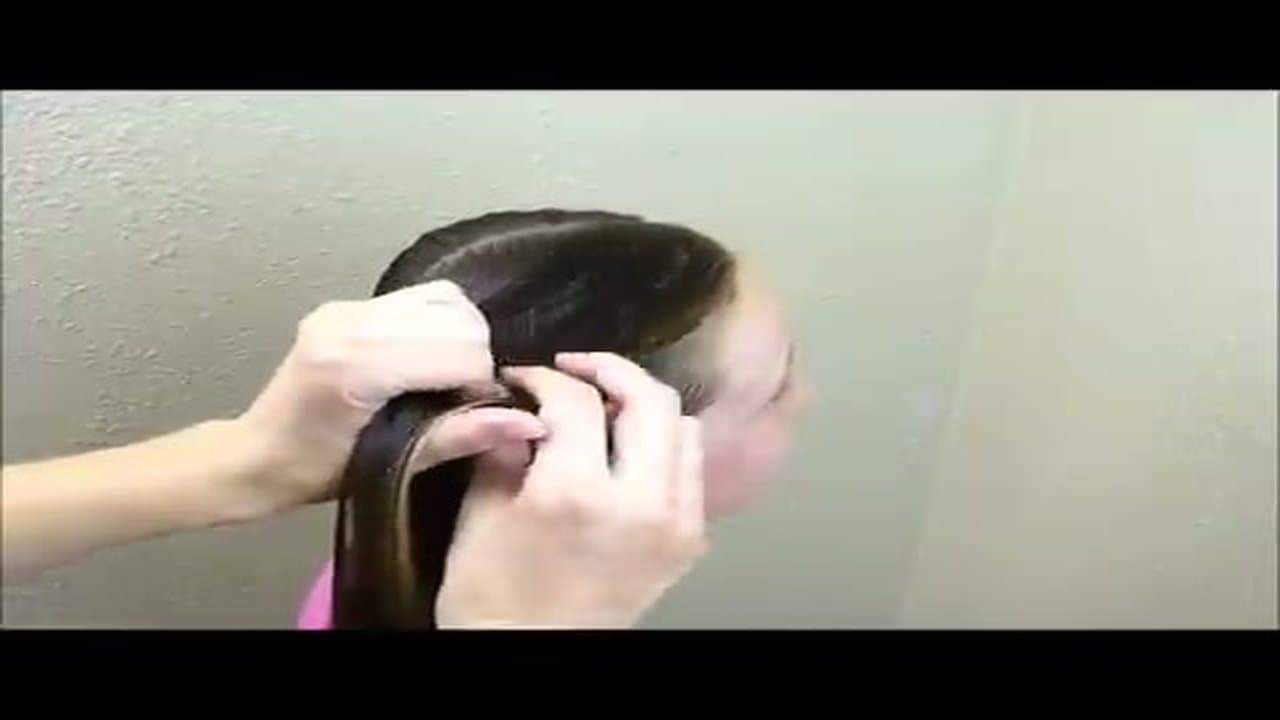
Grab a section of hair at the top of where you want the braid to start. Mist it with a little water to keep flyaways down. Split that section into three roughly equal strands. Keep them separated with your fingers.