1
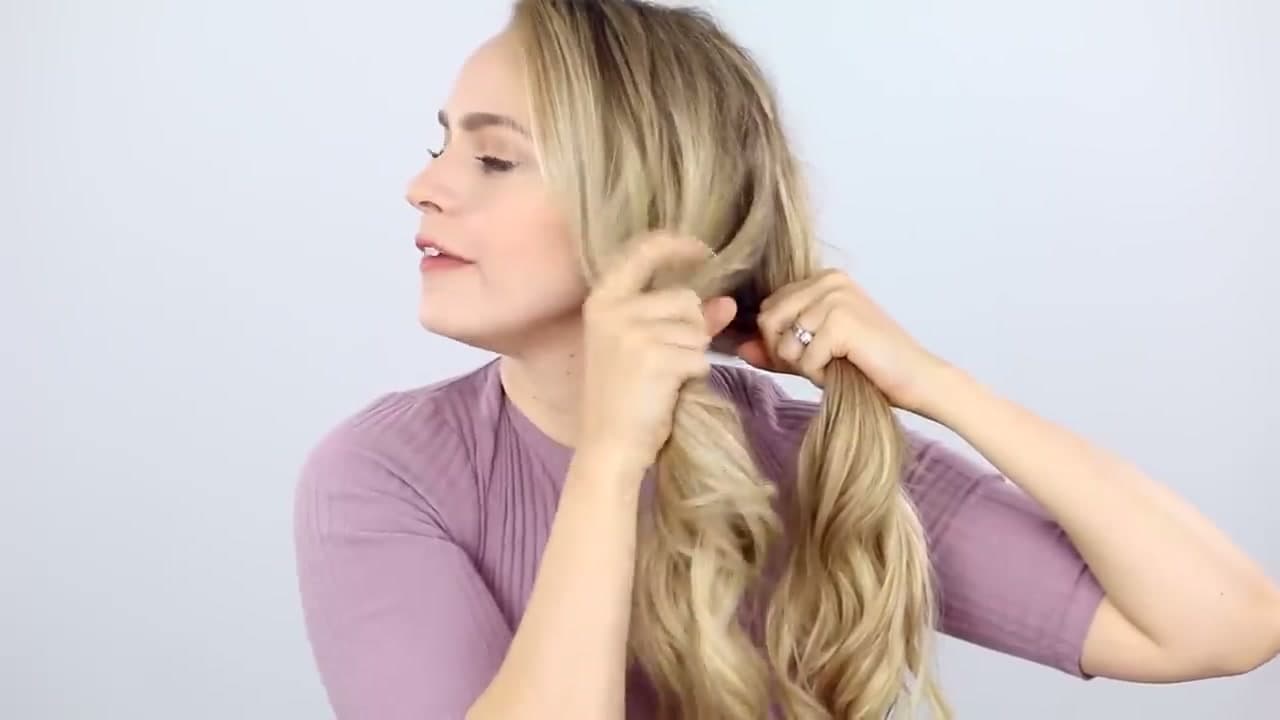
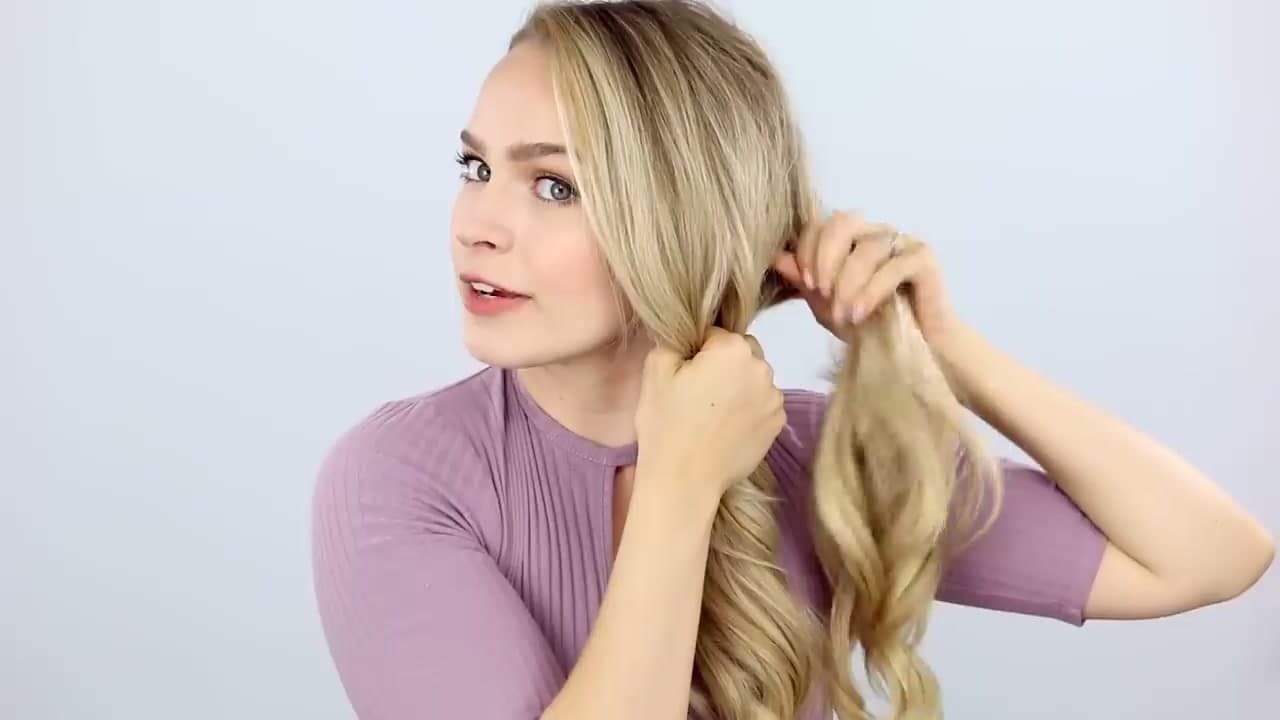
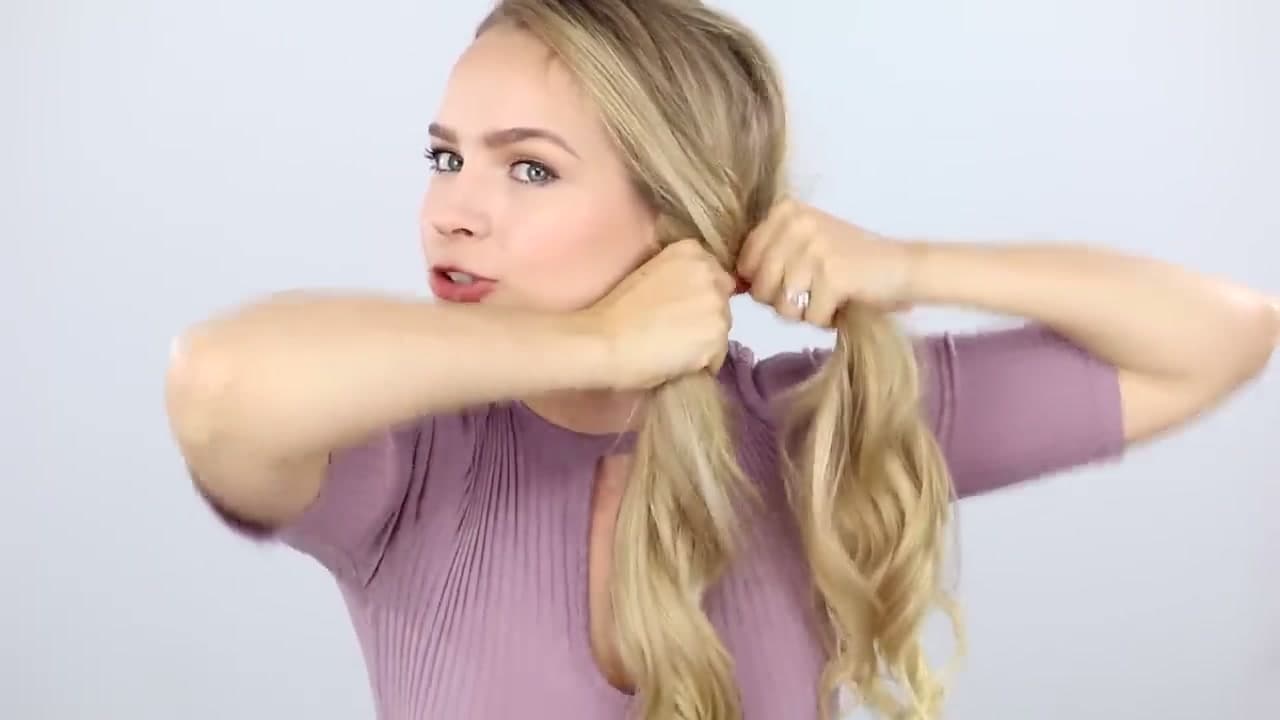
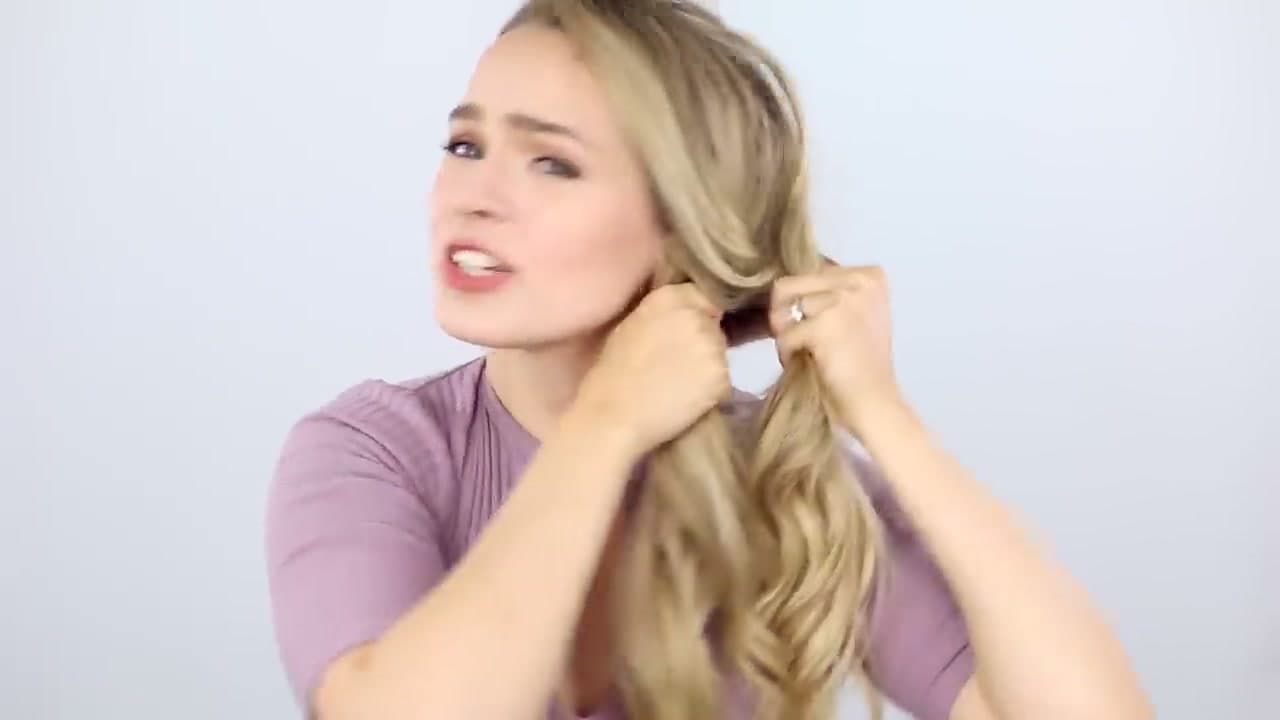
Split Your Hair Into Two Sections
2:13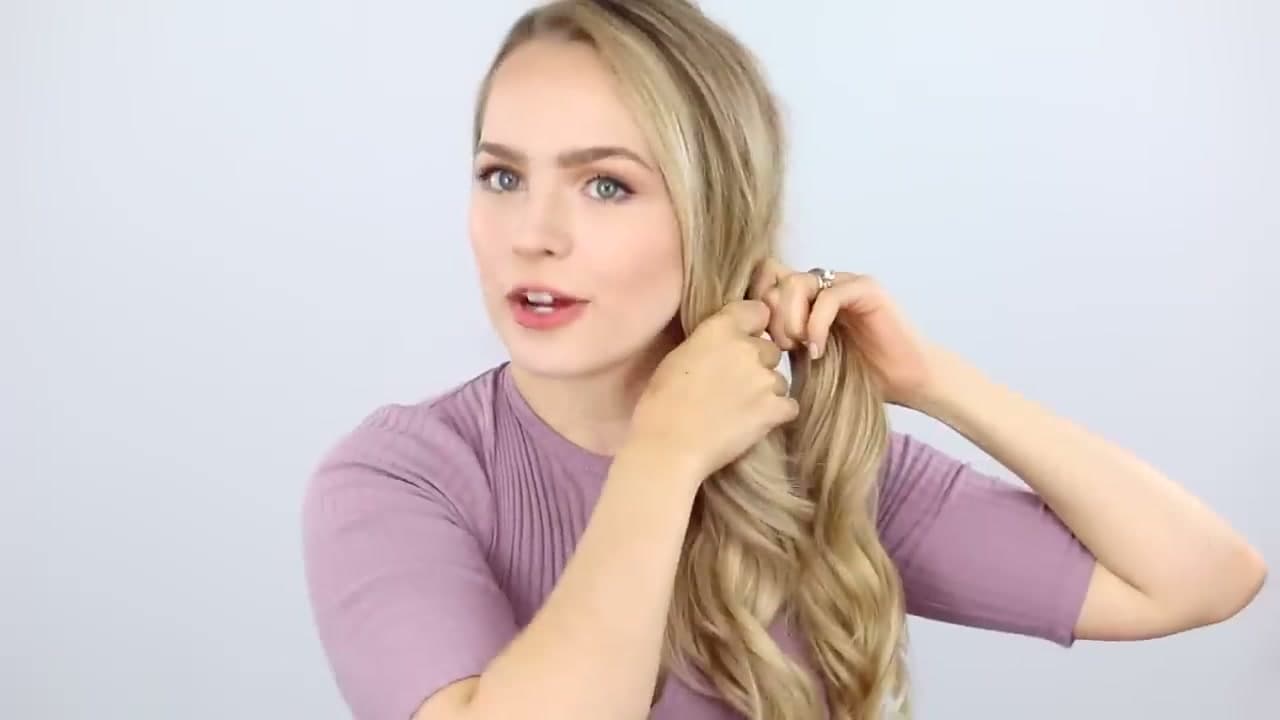
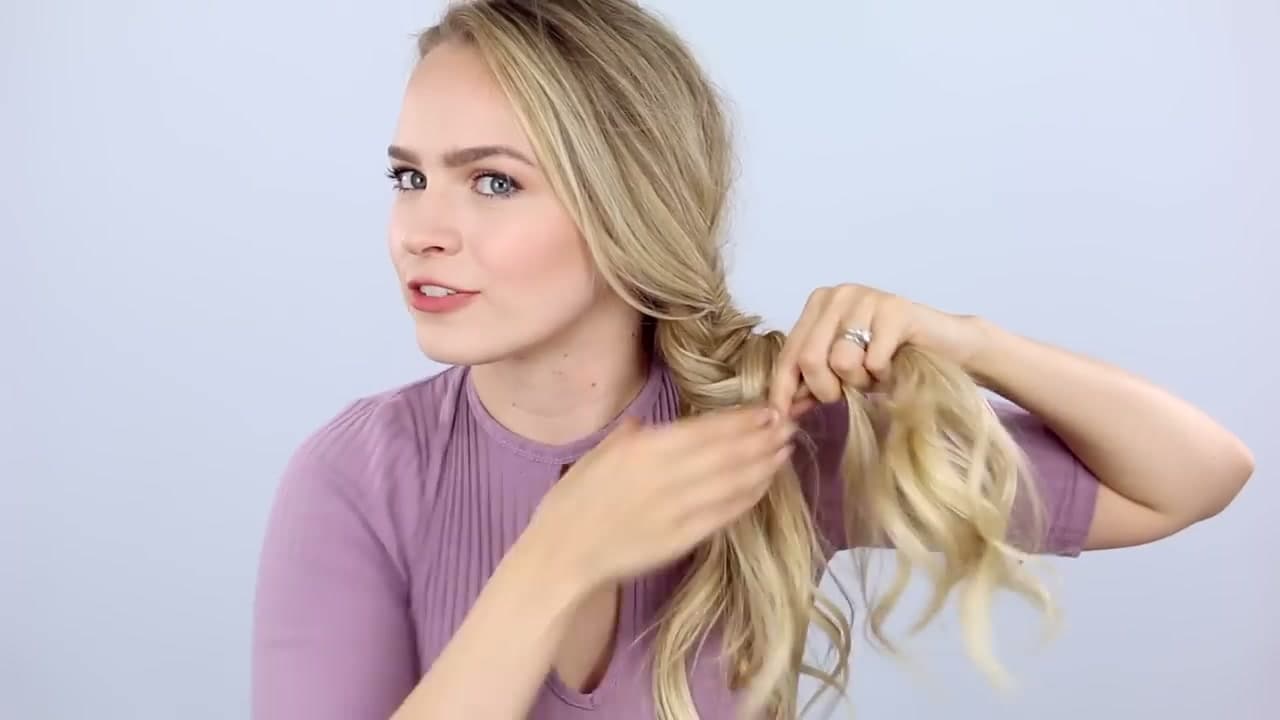
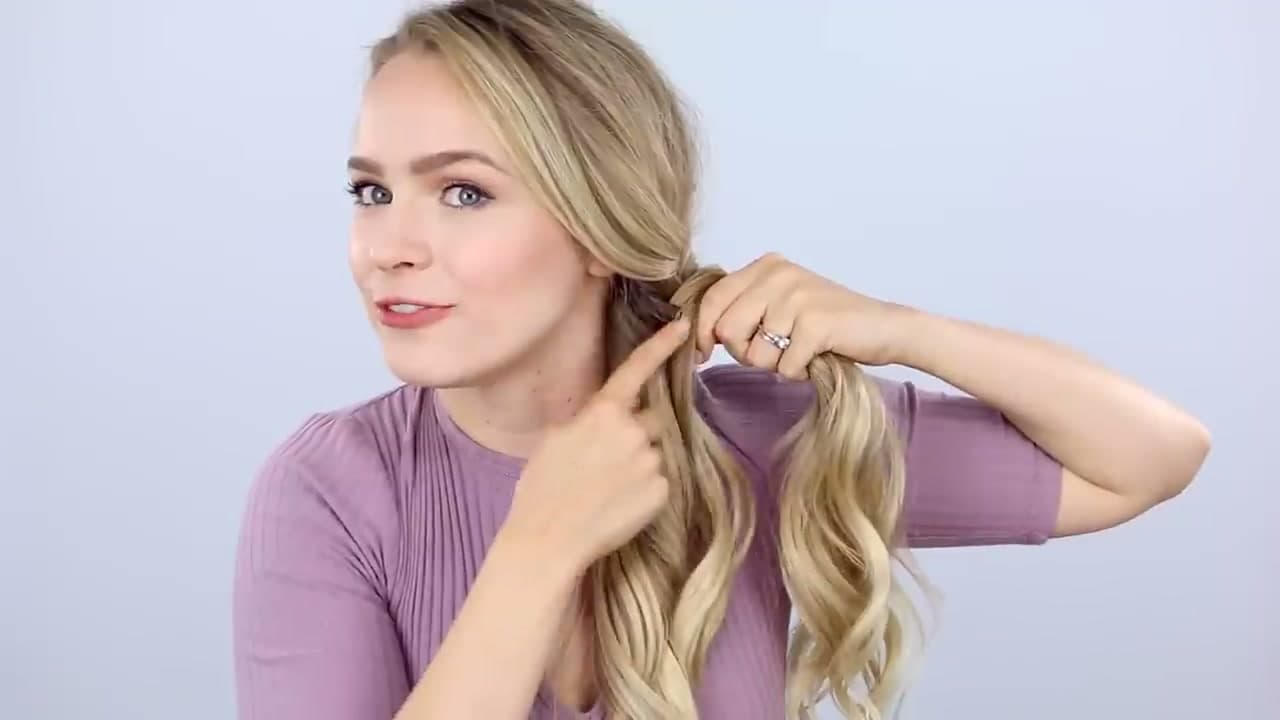
Brush your hair smooth and pull it over one shoulder so you can see what you are doing. Split it into two equal sections at the back of your head. Hold each section like a flag pole - wrap your whole hand around it and keep your hands as high as you can, right against the base of where the braid will form. That is the entire structure of this braid: two sections, that's it.
Watch this prep moment at 2:13 in the video.
Tip
If your hair is freshly washed and slippery, a light spritz of water or a small amount of texture spray gives the strands enough grip to hold position while you work.