1
Rinse the Wheels First
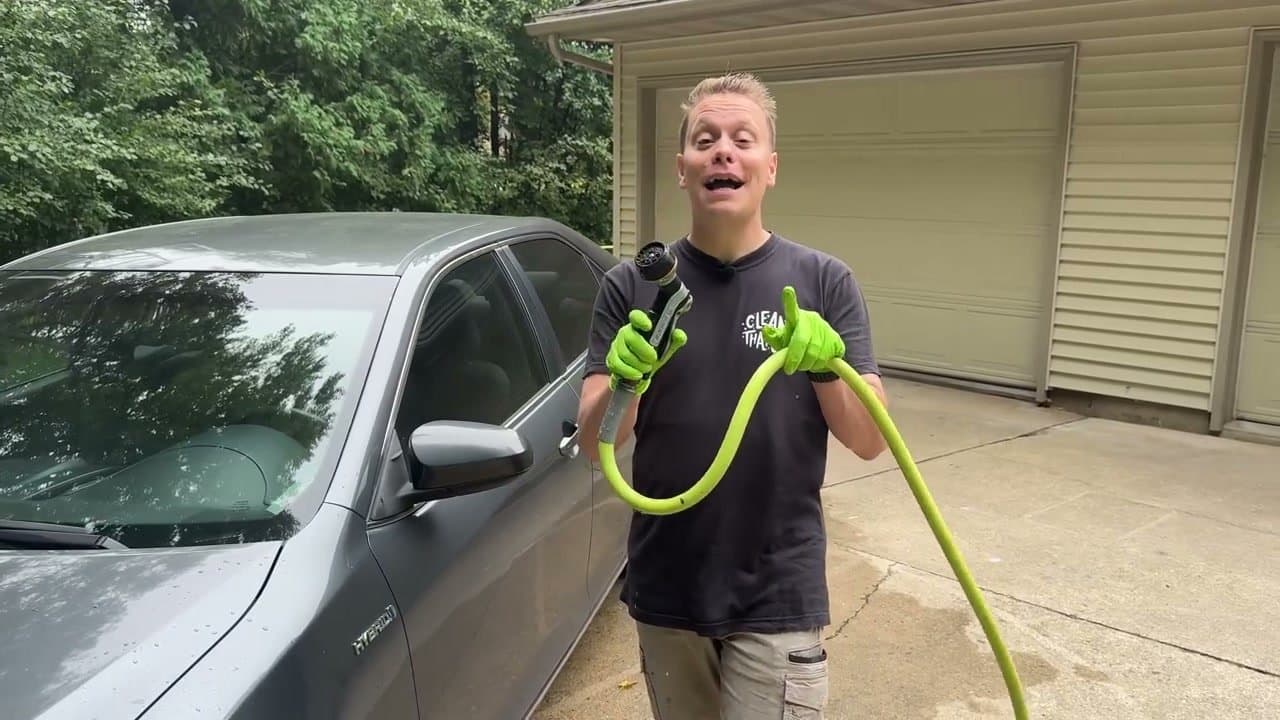
0:18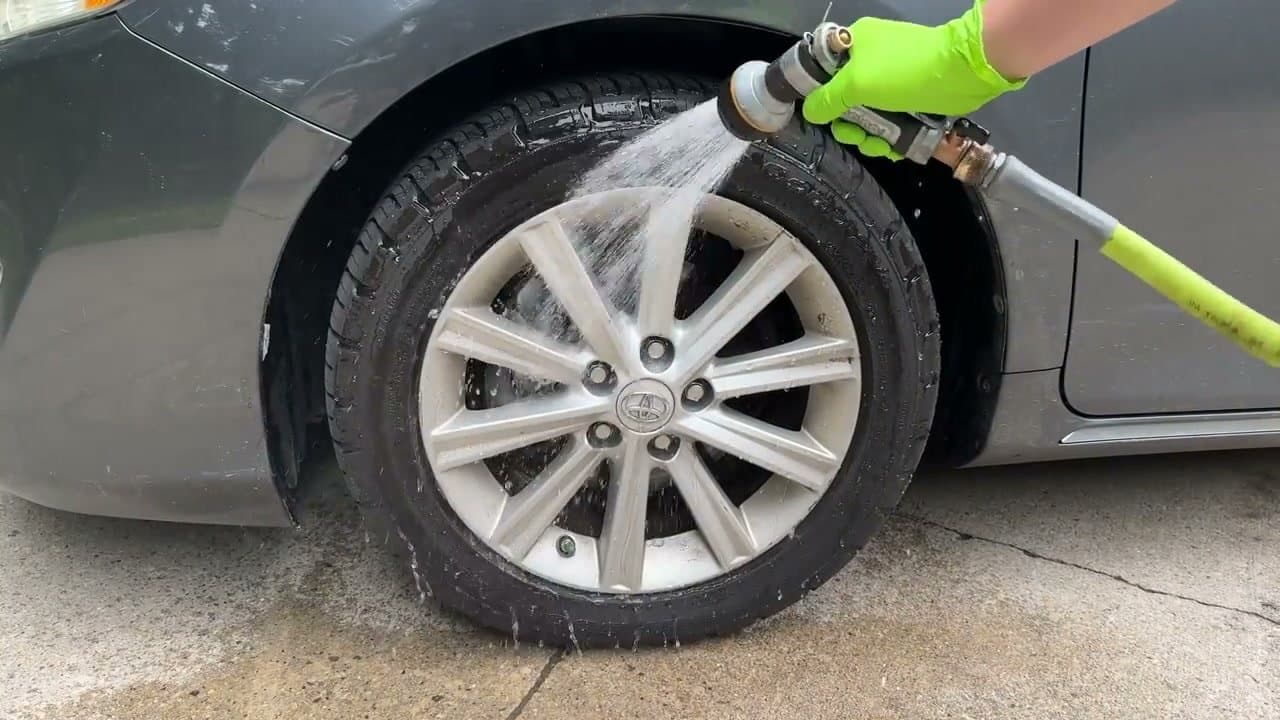
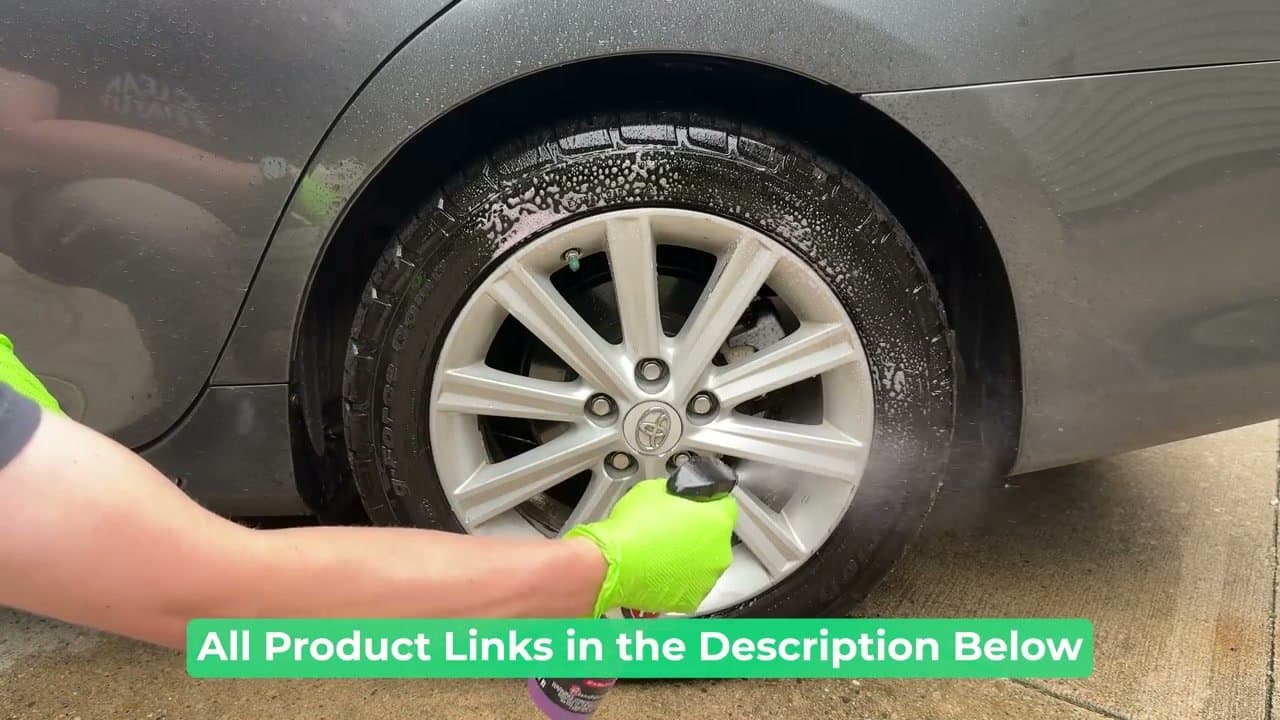
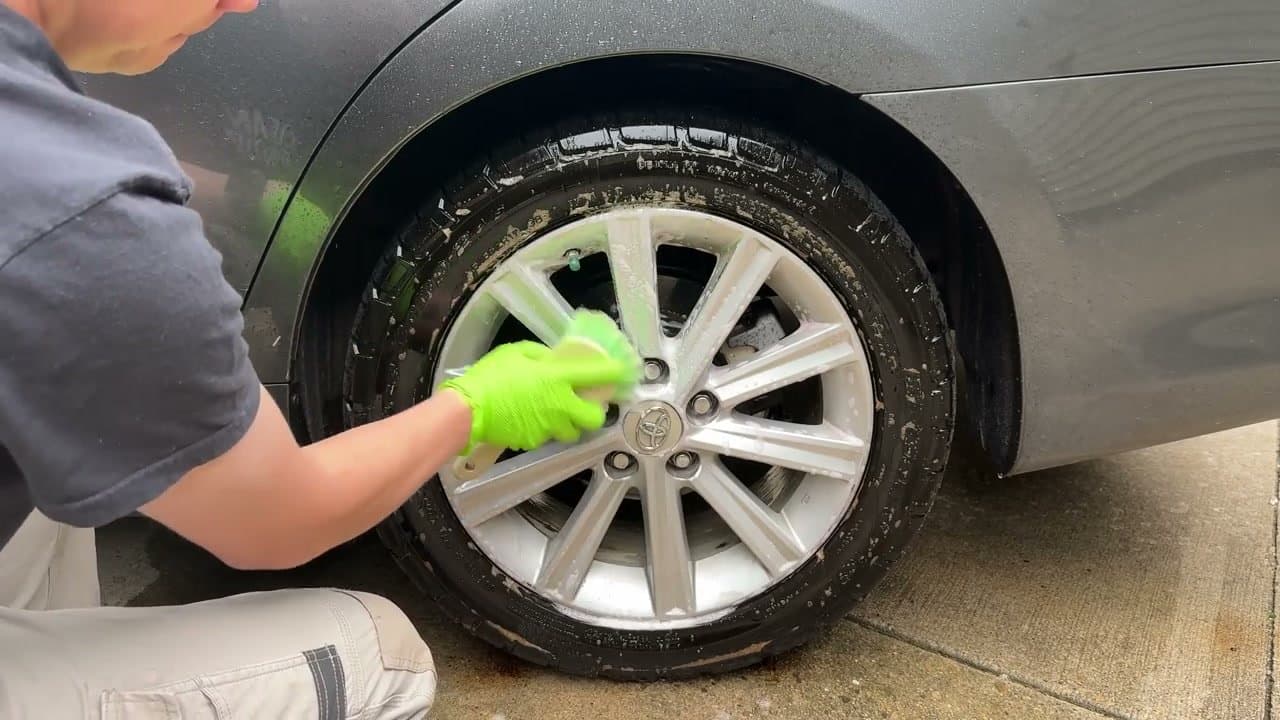
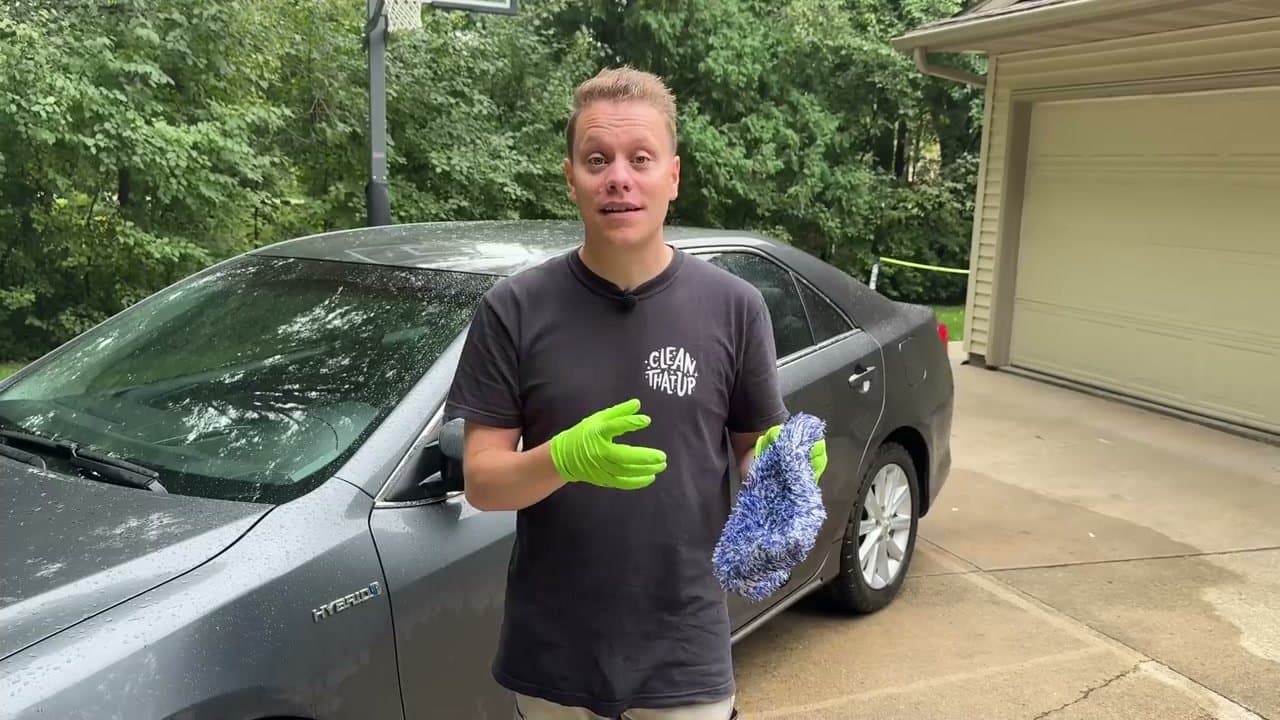
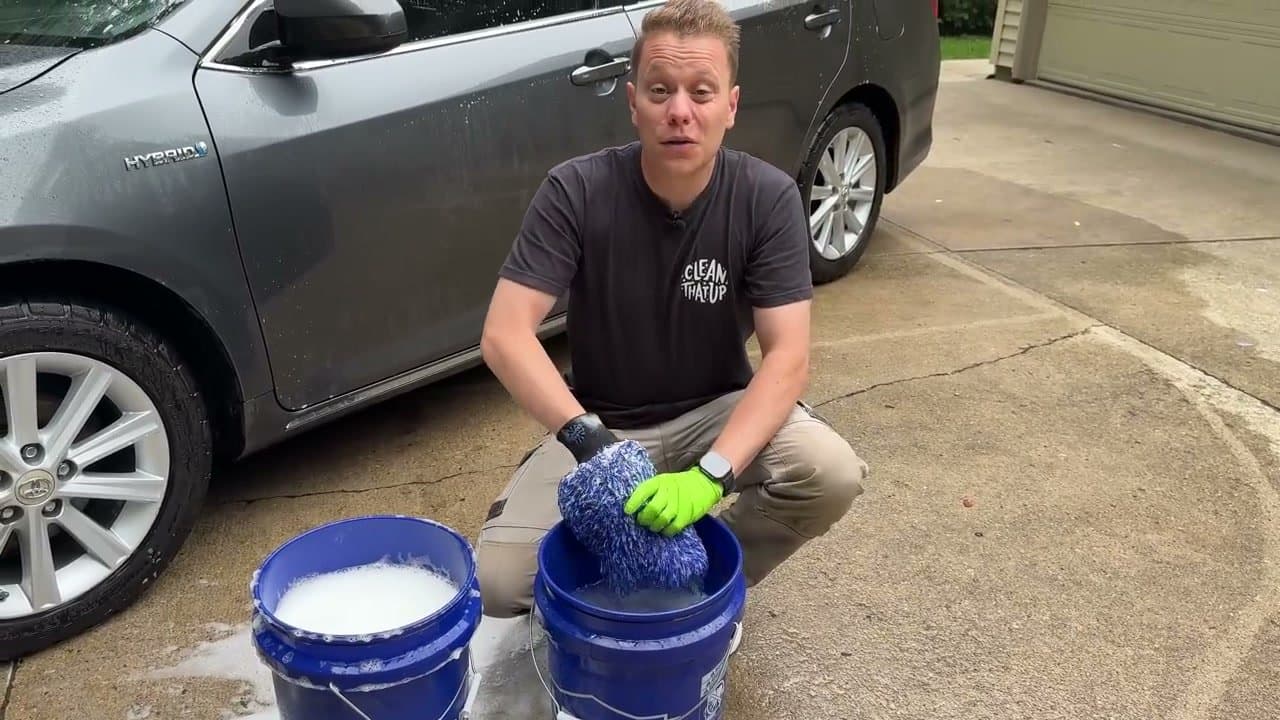
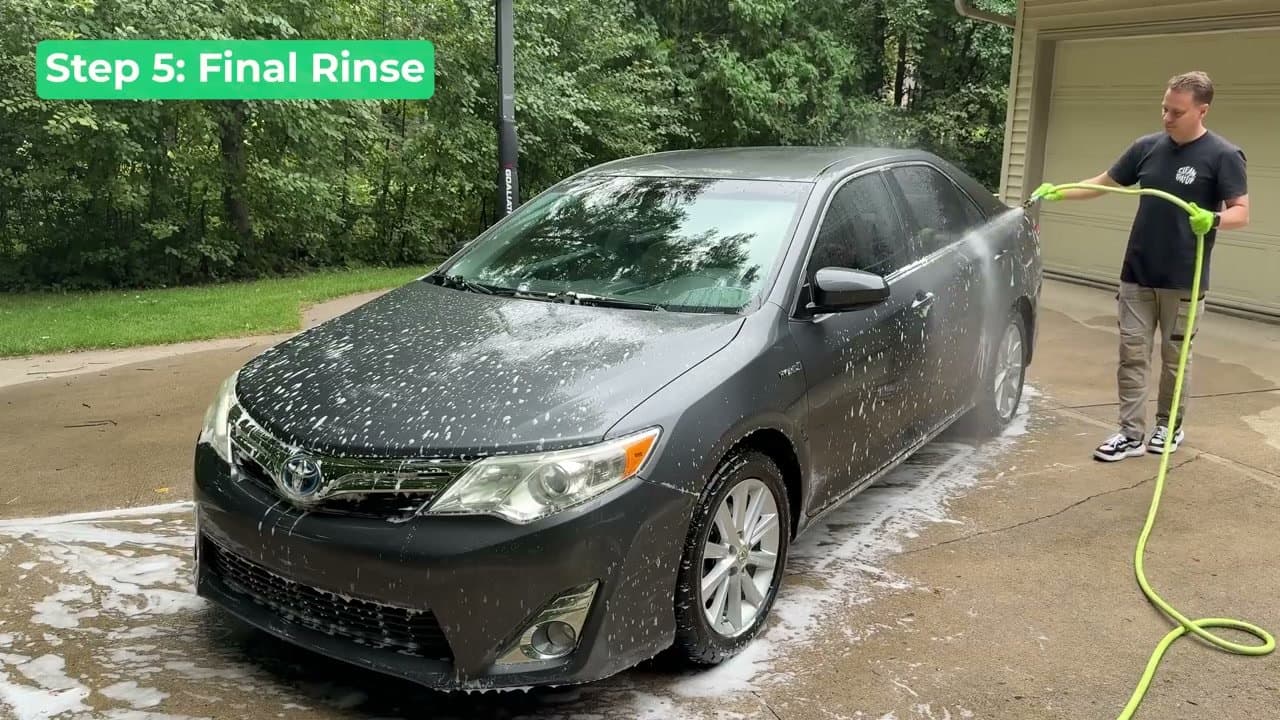
Start at the wheels, not the body. Grab the hose and rinse all four wheels to knock off the loose dirt, brake dust, and road grime. The wheels are the dirtiest part of the car, so getting them out of the way first means you don't redeposit that grit on the paint later.