How to Do a Messy Bun

LifestyleEasy5:518 steps

Based on a video by Zoella.

The messy bun is supposed to look like you barely tried. That's the trick, and that's why it's so hard - a messy bun done wrong just looks sloppy. Done right, it looks like you spent 30 seconds and happened to nail it.

This tutorial works through a video from Zoella that's pulled over 12 million views for one reason: it actually explains the 'loosening' part, which is what turns a tight pile of hair into the lived-in look. Most tutorials skip it.

You need two hair bands, a handful of bobby pins in your color, and a can of flexible-hold hairspray. That's it. Give yourself five minutes for the first attempt. By the third time you do it, it's a 90-second styling move.

Step-by-Step Guide

1

Start with Day-Old Hair

0:50
Step 1: Start with Day-Old Hair

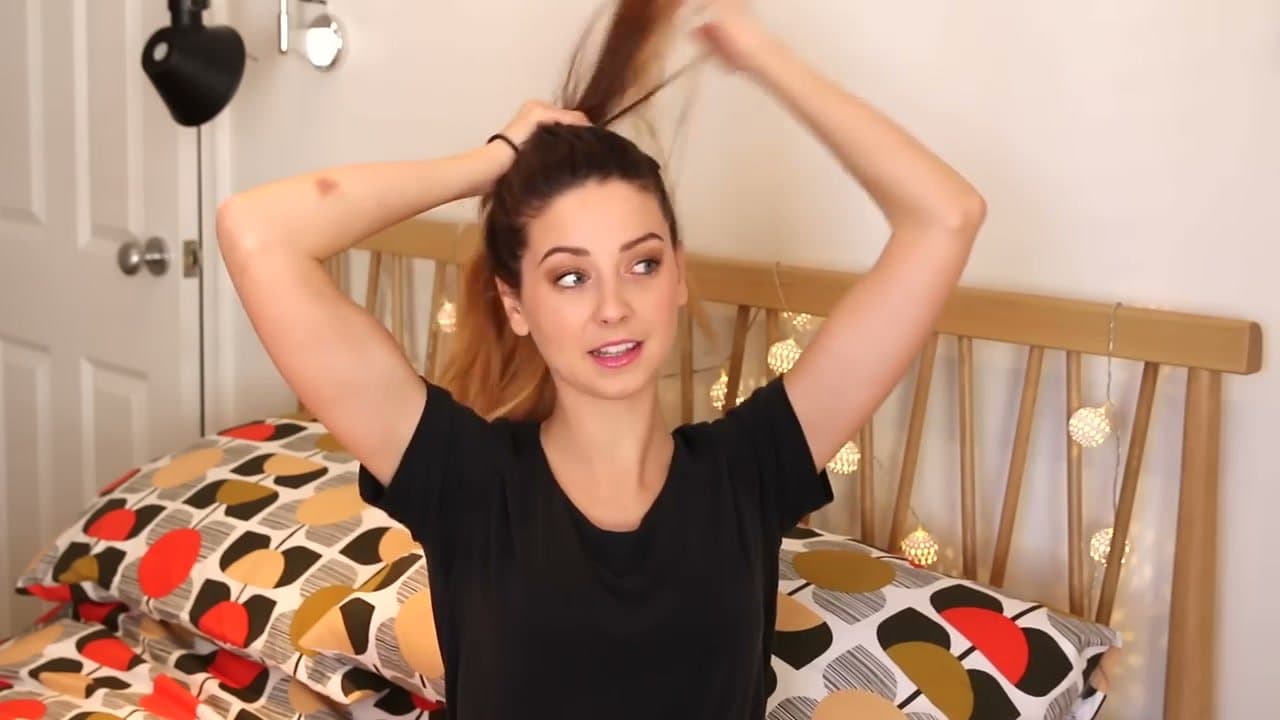
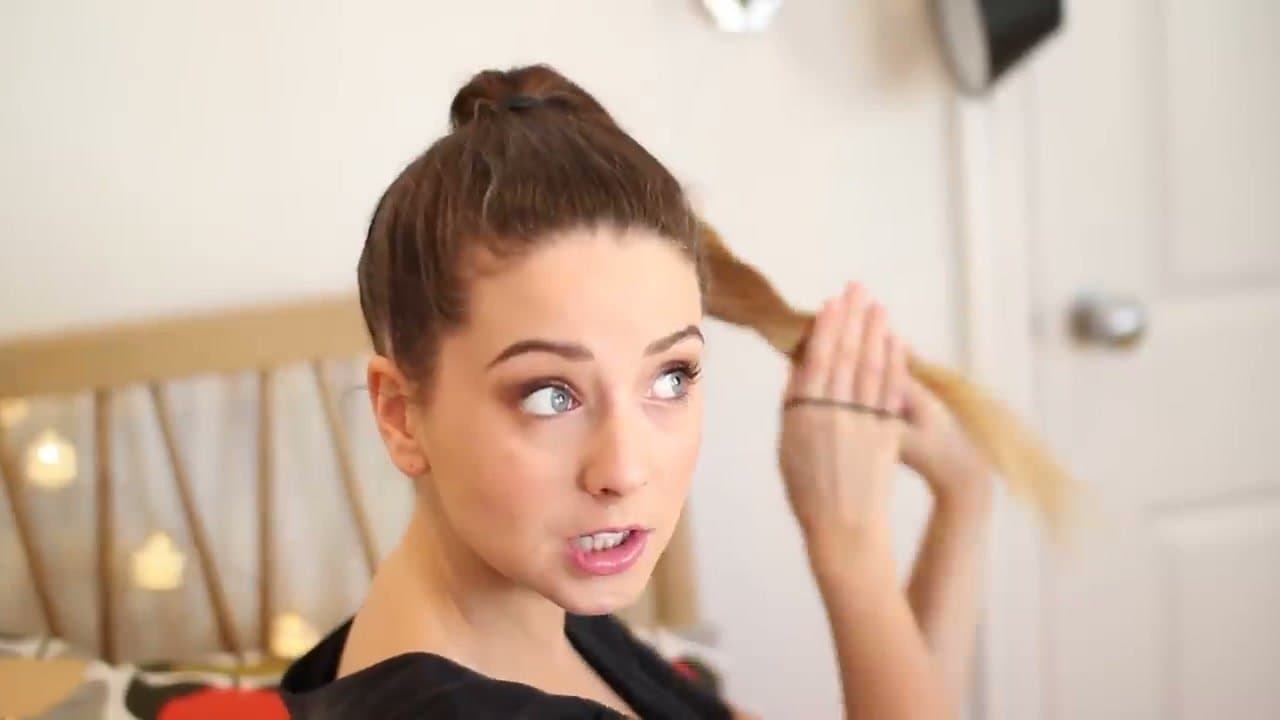
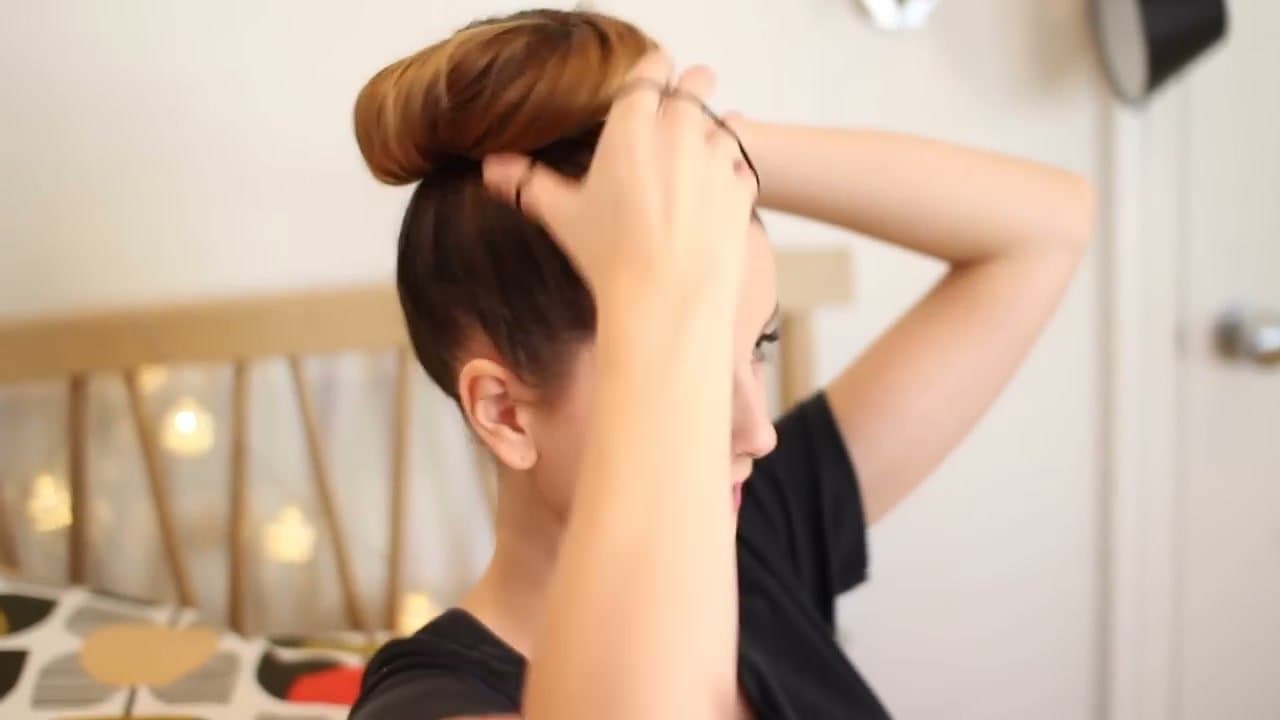
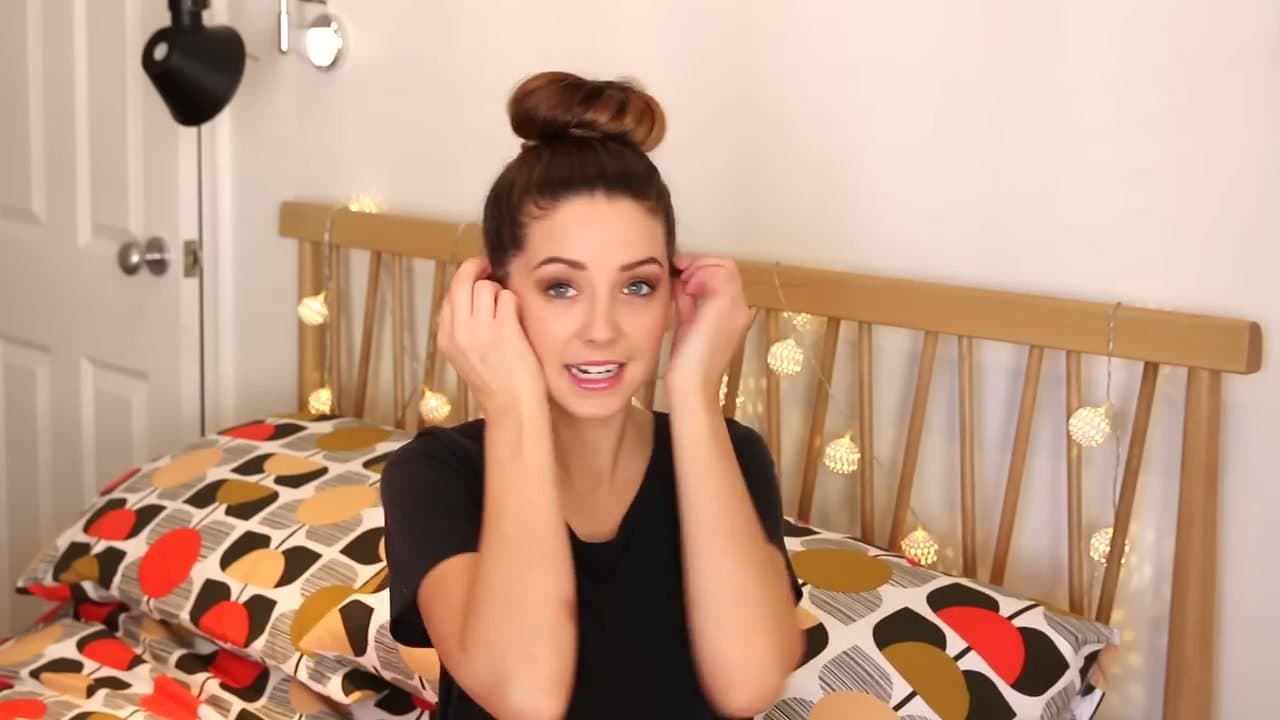
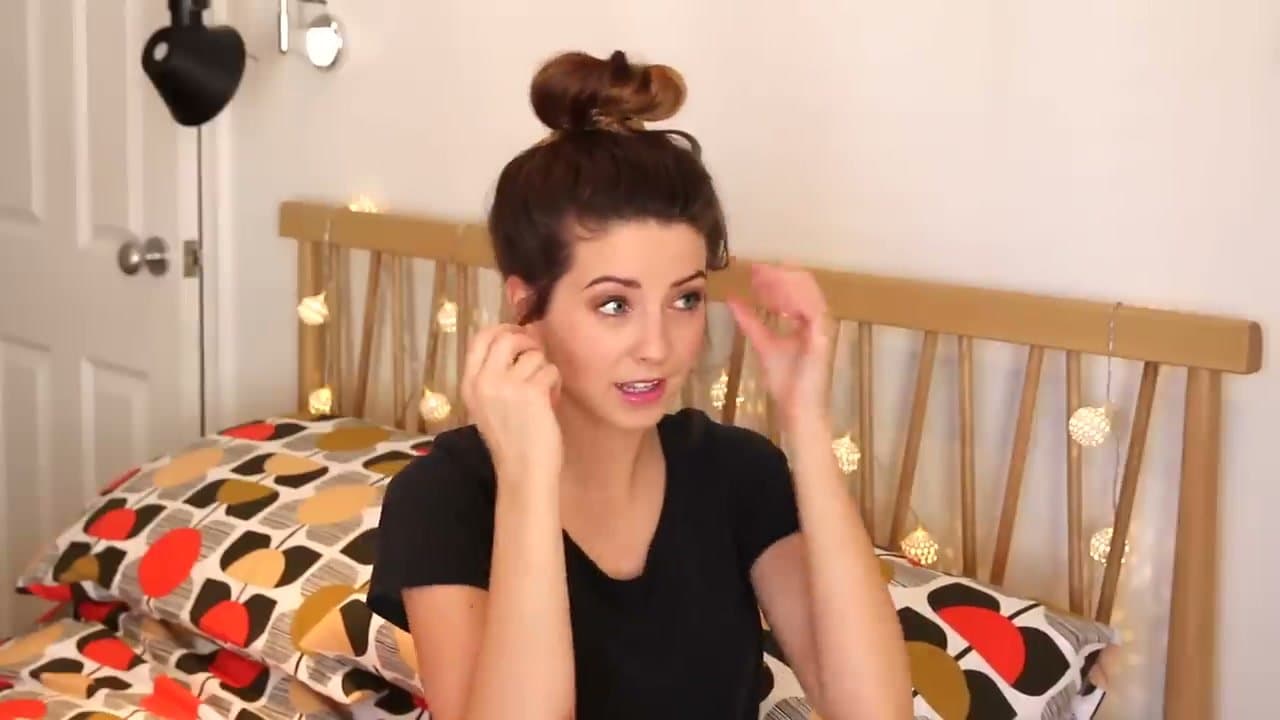
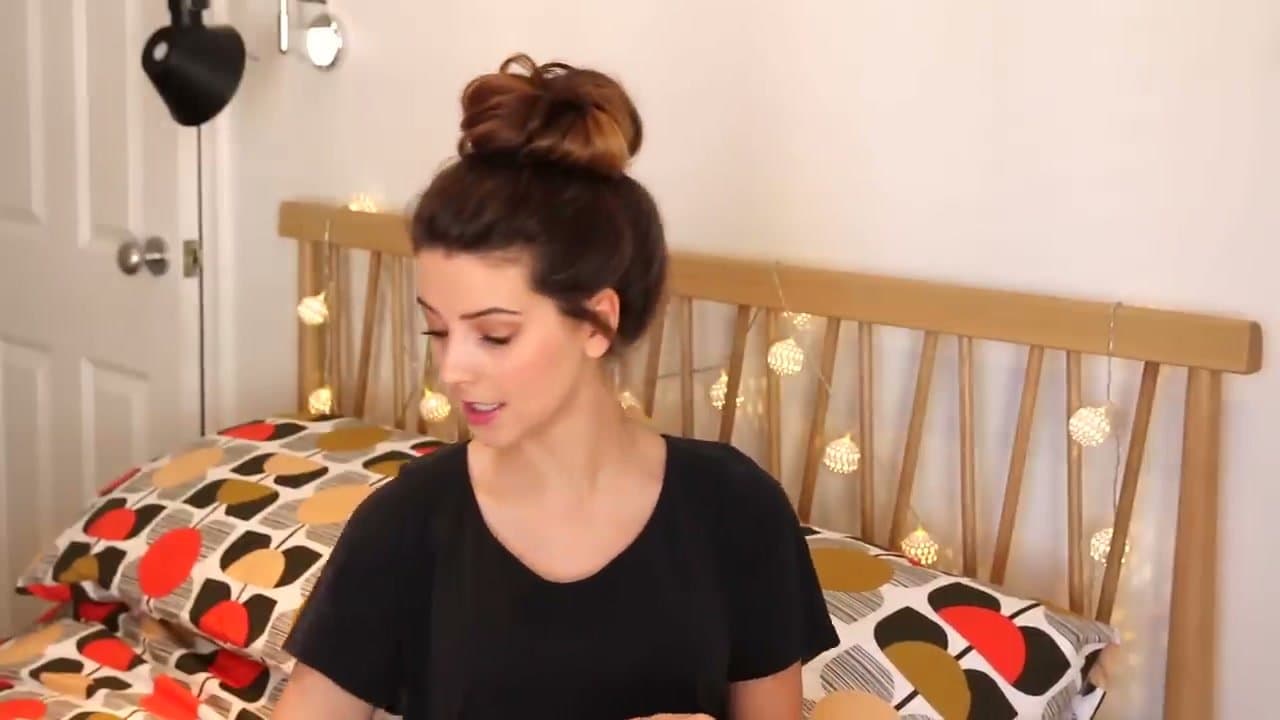
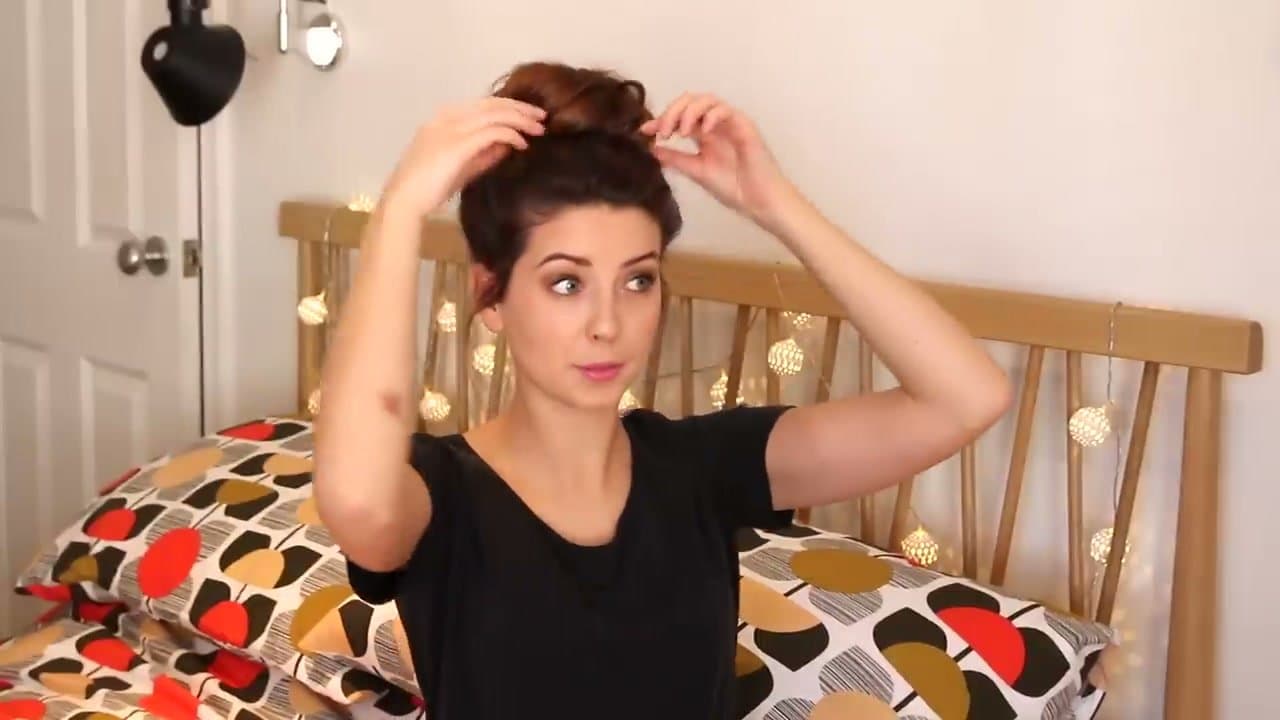
Skip the messy bun if your hair is freshly washed. Clean hair is too slippery to hold the shape. Second-day hair has natural texture from your scalp's oils, which is exactly what you want.

If your hair feels too clean, work a small amount of dry shampoo or texturizing spray into the roots before you start. Day-three hair also works.

Watch this moment in the video.

Tip

Dry shampoo is the fastest way to fake day-old hair if you just washed. Spray into the roots, let it sit for 30 seconds, then massage in.

Products used in this step

2

Pull Your Hair into a High Ponytail

1:35
Step 2: Pull Your Hair into a High Ponytail

Gather all your hair at the crown of your head and secure with a hair band. High and loose is the target, roughly where you'd wear a baseball cap.

Neatness doesn't matter. This bun is supposed to look messy, so stray pieces at this stage are features, not bugs.

If your arms get tired reaching back, flip your head upside down and gather the hair that way. Once the band is on, flip back up.

Watch this moment in the video.

Tip

Seamless elastic hair bands (the ones without a metal clasp) are gentler on hair and don't leave a dent when you take them out.

Products used in this step

3

Twist the Ponytail

2:03
Step 3: Twist the Ponytail

Grip the ponytail with one hand and twist it from base to tip. You're not trying to rope it tight. A loose twist of two or three turns is plenty.

The twist holds the shape as you wrap in the next step. Without the twist, the bun ends up flat and wide instead of rounded.

Watch this moment in the video.

Tip

Twist in whichever direction feels natural. The direction doesn't matter, but keep it consistent so the bun wraps cleanly.

4

Coil Around the Base and Secure

2:30
Step 4: Coil Around the Base and Secure

Coil the twisted ponytail around the hair band at its base, like winding a hose around its spool. Tuck the end under.

Take a second hair band and slip it over the coiled bun to pin everything down. It doesn't need to look neat. The scraggly bits will become part of the final look.

Watch this moment in the video.

Tip

If the coil keeps springing loose, hold it with one hand while the other slips the band over. Don't try to do it one-handed.

5

Pull Hair Loose Around Your Face and Back

3:00
Step 5: Pull Hair Loose Around Your Face and Back

This is the step that turns a neat bun into a messy one. Use your fingers to loosen the hair around your hairline.

Pull a few strands down around your ears, your temples, and the nape of your neck. Work your way around your head.

It feels unnatural right after you've secured everything, but this is what gives the style its volume and softness.

Watch this moment in the video.

Tip

Pull less than you think you need. You can always loosen more. Fixing 'too loose' means starting over.

6

Pull the Bun Itself for Messy Shape

3:35
Step 6: Pull the Bun Itself for Messy Shape

Now target the bun itself. Pinch small sections between your thumb and finger and tug them outward, away from the center.

The bun should go from tight and round to looser and more sculpted. Don't pull so hard that it falls apart.

If a piece pops out, pin it back in the next step.

Watch this moment in the video.

Tip

Look in the mirror from three angles: front, side, back. The bun should look shaped from every angle, not just the one you can see straight on.

7

Shape and Secure with Bobby Pins

4:05
Step 7: Shape and Secure with Bobby Pins

Bobby pins let you fine-tune the shape. If your bun is lopsided, slide a pin through the heavy side and anchor it to the underlying hair.

Add pins wherever the bun needs more hold, usually two or three at the back to lock it in place.

Use matte pins in your hair color for an invisible finish.

Watch this moment in the video.

Tip

Insert bobby pins with the open side down (toward your scalp) and the wavy side up. Most people do the opposite and wonder why they slide out.

Products used in this step

8

Lock It In with Flexible Hairspray

4:38
Step 8: Lock It In with Flexible Hairspray

Finish with a flexible-hold spray, not a crunchy stiff one. Zoella uses TRESemmé Ultimate Hold; any 'flexible' or 'touchable' hairspray works.

Mist 10 to 12 inches away from your head. Close enough and you'll get wet patches; too far and nothing lands.

A strong-hold spray freezes the style and kills the soft, lived-in look you spent the last 5 minutes building.

Watch this moment in the video.

Tip

Hairspray works better warm. If you're in a cold room, hold the can in your hand for 30 seconds before spraying - the mist comes out finer and lands more evenly.

Products used in this step

Products Used

Your Guide

Zoella

As an Amazon Associate we earn from qualifying purchases. Links on this page may be affiliate links - clicking them and buying doesn't change your price, but helps support ShowMeStepByStep.

Related Tutorials