How to Draw Hands

CraftsMedium10:007 stepsBrowse more →
Also in:Painting

By ShowMeStepByStepPublished Updated

Based on a video by Draw like a Sir.

Hands are the part most artists avoid. Marcel from Draw like a Sir spent a week building this beginner tutorial that breaks the whole hand into shapes you can already draw - a brick for the palm, three equal segments per finger, and a fan of knuckles across the back of the hand.

Once you understand why each piece sits where it does, drawing hands stops being a guessing game. The rules in this tutorial work for any angle, any pose. Watch the video first, then come back here and use the step images as reference while you sketch along.

Step-by-Step Guide

1

Step 1: Block in the Palm as a Brick

1:45
Step 1: Step 1: Block in the Palm as a Brick

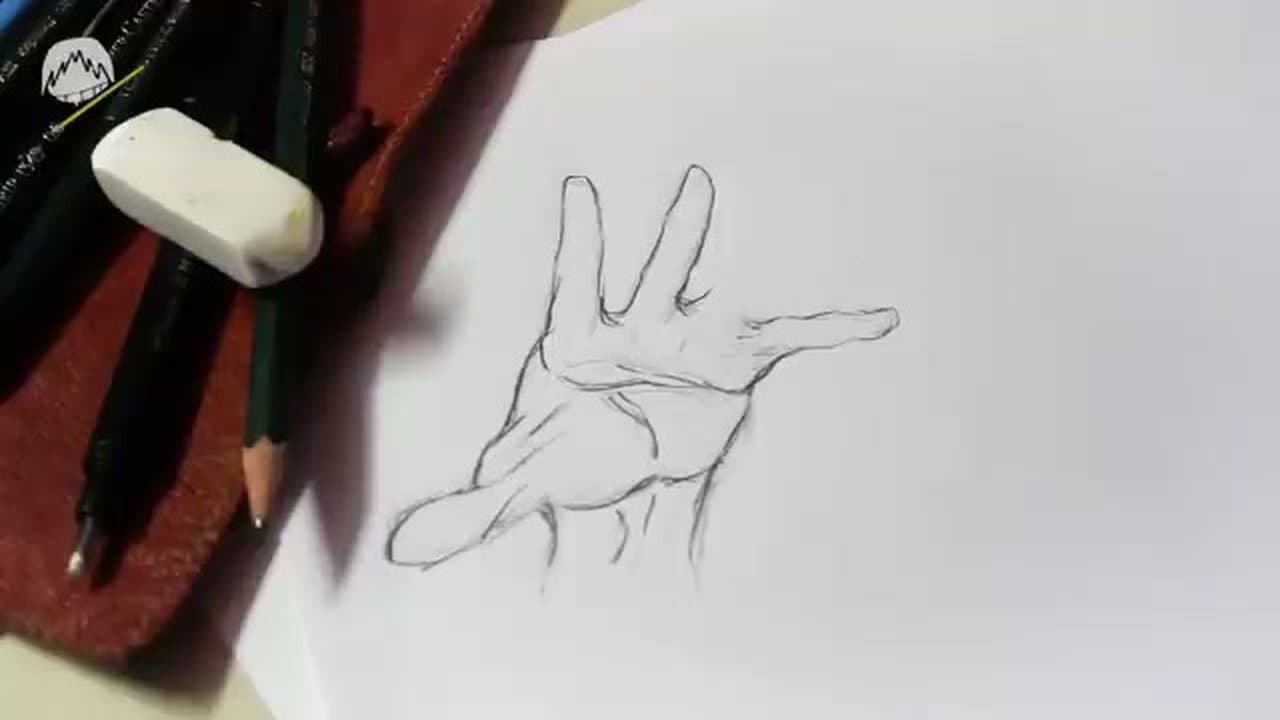
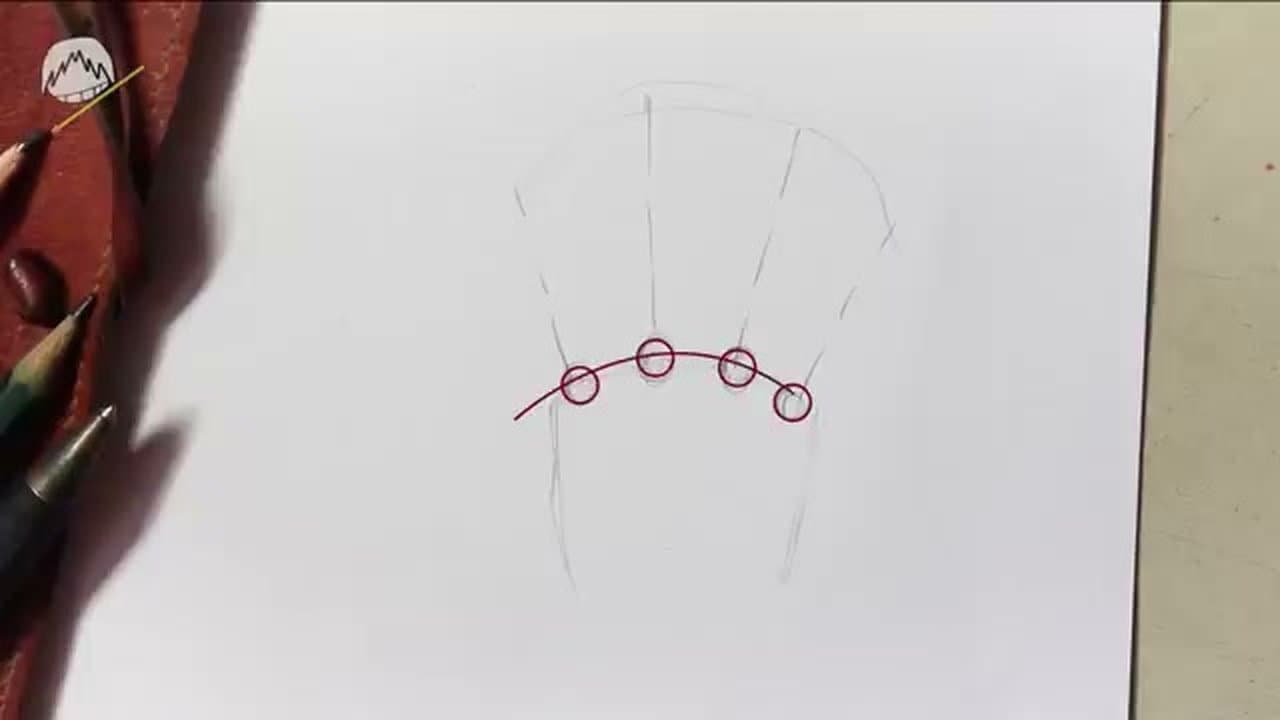
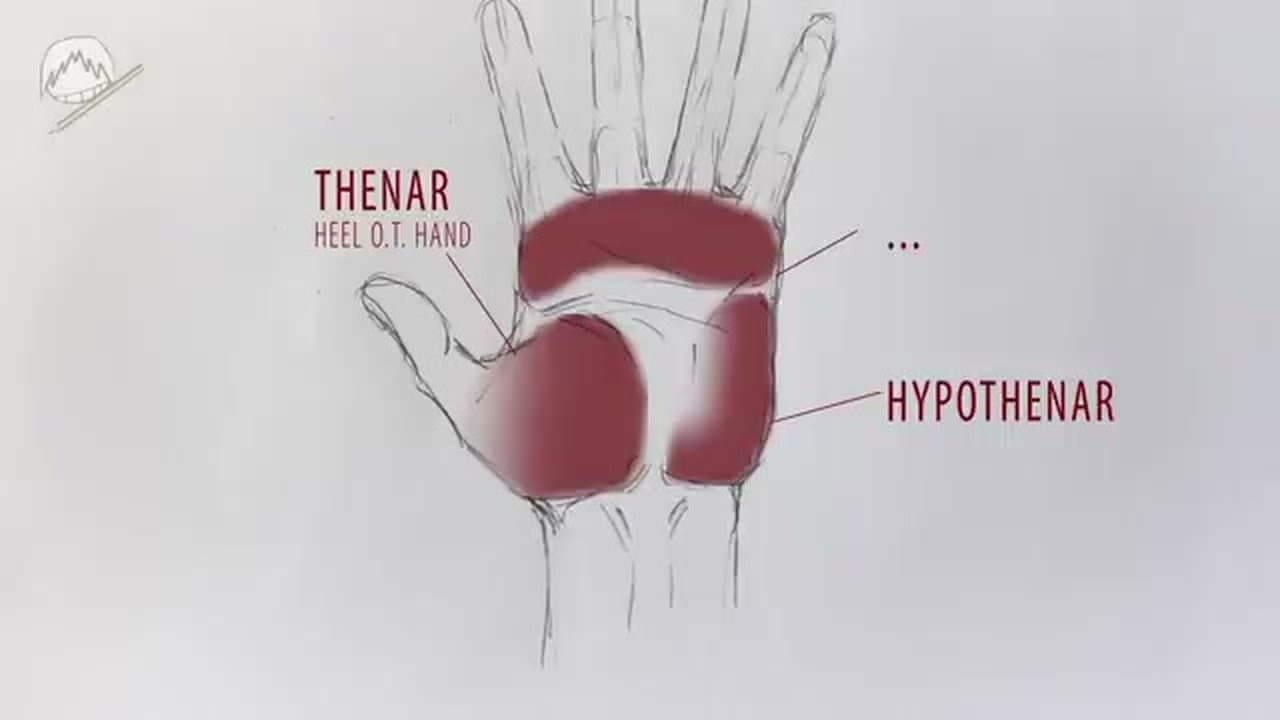
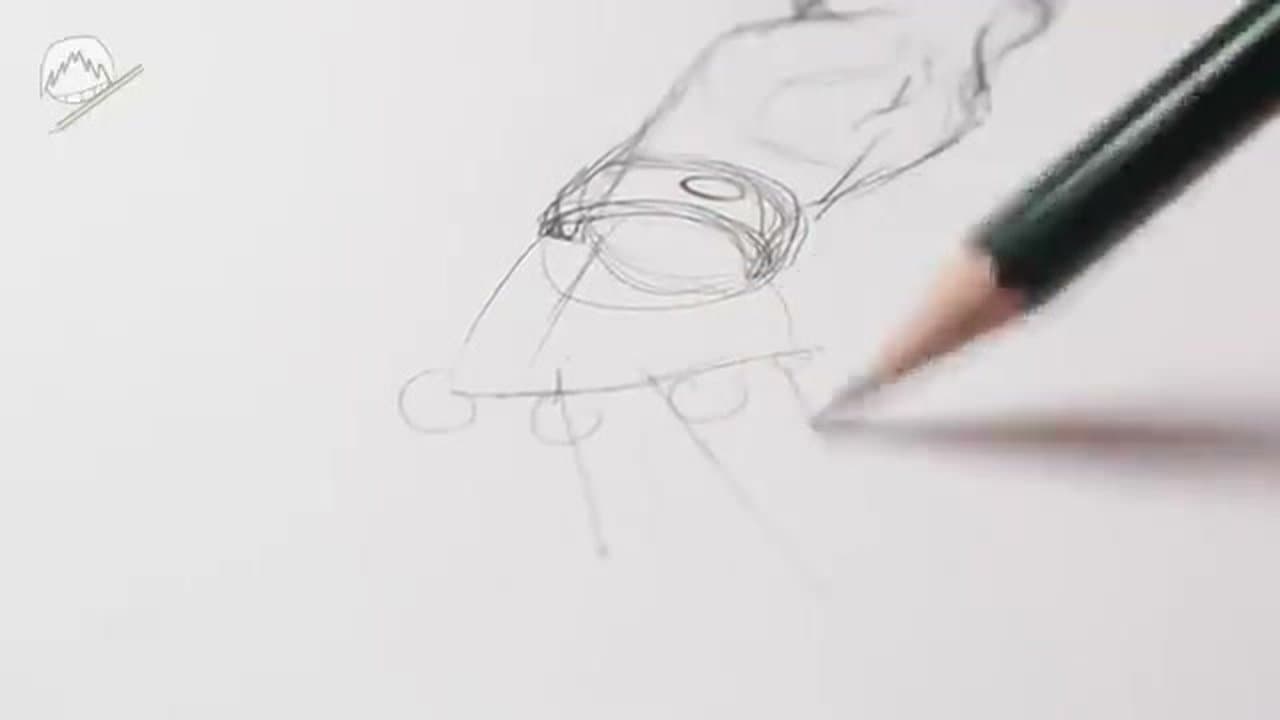
Start every hand with a simple rectangular brick for the palm. The proportions matter here. The palm is roughly the same length as the middle finger, and a little wider than it is tall when the fingers are extended.

Draw it lightly. This is your foundation, not your final line. Getting this rectangle right protects you from the most common beginner problem of fingers and palm sliding out of proportion.

Tip

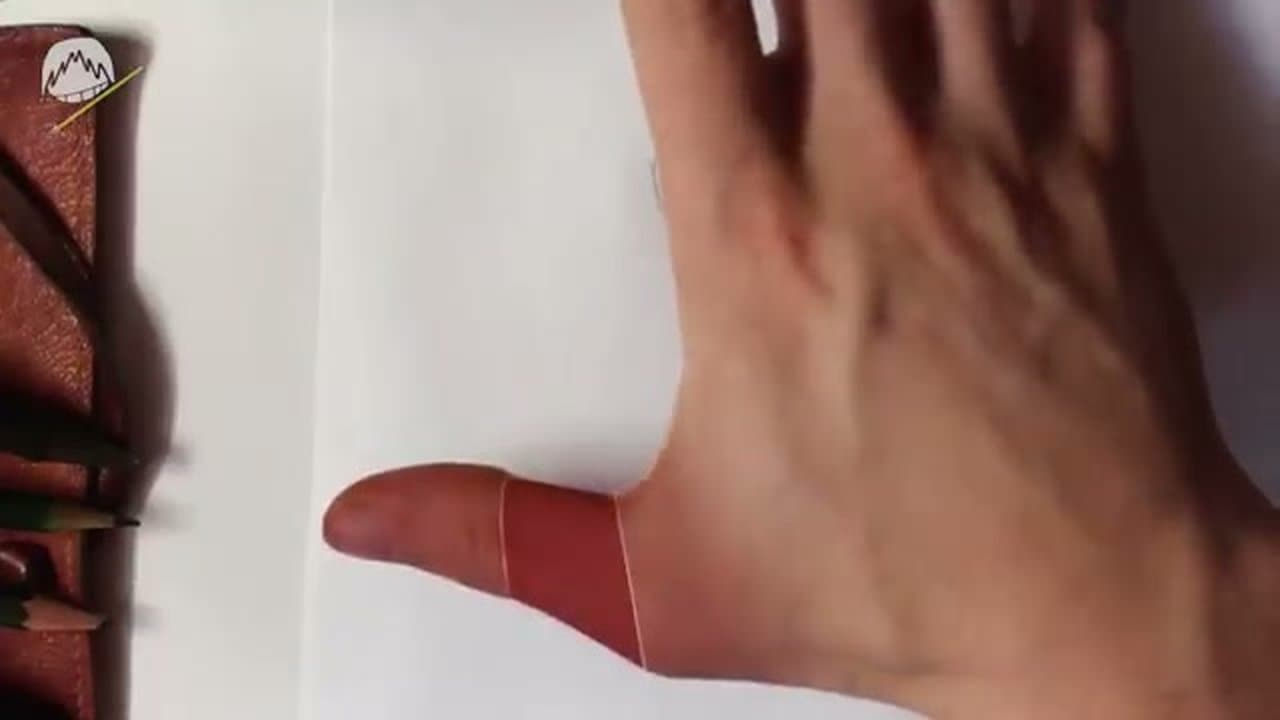
Hold your own hand flat and look at it. The palm really is a rectangle. Trust the shape even when it feels too simple.

2

Step 2: Sketch Stickman Fingers and a Thumb

2:25
Step 2: Step 2: Sketch Stickman Fingers and a Thumb

On top of the brick, draw four straight lines for fingers and one shorter line angling off the side for the thumb. Stickman style is fine. You're plotting placement, not detail.

The middle finger is the longest. Index and ring are roughly equal. The pinky is shortest. The thumb attaches lower on the side of the palm than most people draw it - around halfway down, not up at the top corner.

3

Step 3: Build Each Finger from Three Equal Segments

3:15
Step 3: Step 3: Build Each Finger from Three Equal Segments

Every finger has three bones, and for drawing purposes treat them as three equal-length segments. Draw each finger with three short strokes instead of one long line. The break points become your knuckle joints.

The knuckle where the finger meets the palm belongs to the back of the hand, not to the finger itself. Measure your three segments starting from the first finger joint, not from where the finger meets the palm. That keeps the proportions honest.

Tip

Round the fingertip but leave the top flat where the nail sits. A perfectly round oval looks like a sausage and reads wrong instantly.

4

Step 4: Place Knuckles Along a Curved Fan

4:35
Step 4: Step 4: Place Knuckles Along a Curved Fan

The knuckles are not in a straight line. They sit on a curve that fans outward, with the middle finger's knuckle higher than the index and ring, and the pinky knuckle lowest of all.

Draw a light arc across the back of the hand and place each knuckle on it. The same fan shape repeats at every joint down the fingers, which is why fingers fan out slightly when you spread them.

Tip

Draw the knuckles a bit edgy rather than fully round. You're really drawing the tendons that lie on top of the bones, and tendons read more angular than smooth ovals.

5

Step 5: Refine the Palm into Three Muscle Pads

5:30
Step 5: Step 5: Refine the Palm into Three Muscle Pads

The palm is not a flat surface. It has three soft pads. The thenar (the fleshy mound at the base of the thumb), the hypothenar (the long pad on the pinky side), and the base of the fingers (the row of small pads at the top of the palm).

Sketch these as three soft shapes inside the brick. The thenar is the largest and most important because the thumb pivots from it. Once these pads are in place, hands viewed from the palm side or from a sideways angle stop looking flat.

6

Step 6: Construct the Thumb with Three Connected Parts

6:50
Step 6: Step 6: Construct the Thumb with Three Connected Parts

The thumb is not a stubby oval glued to the side of the hand. Like every finger, it has three parts. The base sits inside the thenar pad, then a middle segment, then the rounded fingertip.

The pivot is at the base, deep in the muscle of the thumb pad, which is why the thumb can swing across the palm. Draw all three parts with three strokes, the same way you drew the fingers, and the thumb will start looking like a real thumb instead of an afterthought.

Tip

If the thumb still looks off, check from a side view. Most beginners draw the thumb too short. The middle segment is usually the part that gets skipped.

7

Step 7: Add Fingernails, Creases, and Clean Outlines

7:40
Step 7: Step 7: Add Fingernails, Creases, and Clean Outlines

With the construction in place, do a clean line pass. Tighten the silhouette, then add the small details that sell the drawing as a hand. Fingernails sit on the top half of the last segment of each finger. Creases land at every joint where the finger bends.

The deepest creases are at the base of each finger, the middle knuckle, and across the palm in the natural fold lines. Erase your construction lines as you go and only keep the marks that describe form.

Tip

Theory only takes you so far. Once your construction makes sense, fill a page with quick hand sketches from your own reference. Muscle memory catches up faster than you expect.

Products Used

☐ The Checklist

How to Draw Hands

Tools
4
Materials
2
Steps
7
Video
10 min

Your Guide

Draw like a Sir

As an Amazon Associate we earn from qualifying purchases. Links on this page may be affiliate links - clicking them and buying doesn't change your price, but helps support ShowMeStepByStep.

Tags

What's next

Weekly Digest

Liked this crafts tutorial?

Pick the categories you want to hear about. Weekly digest of new step-by-step tutorials. No spam, easy unsubscribe.

Send me tutorials about

We only email about new tutorials. Easy unsubscribe anytime.