1
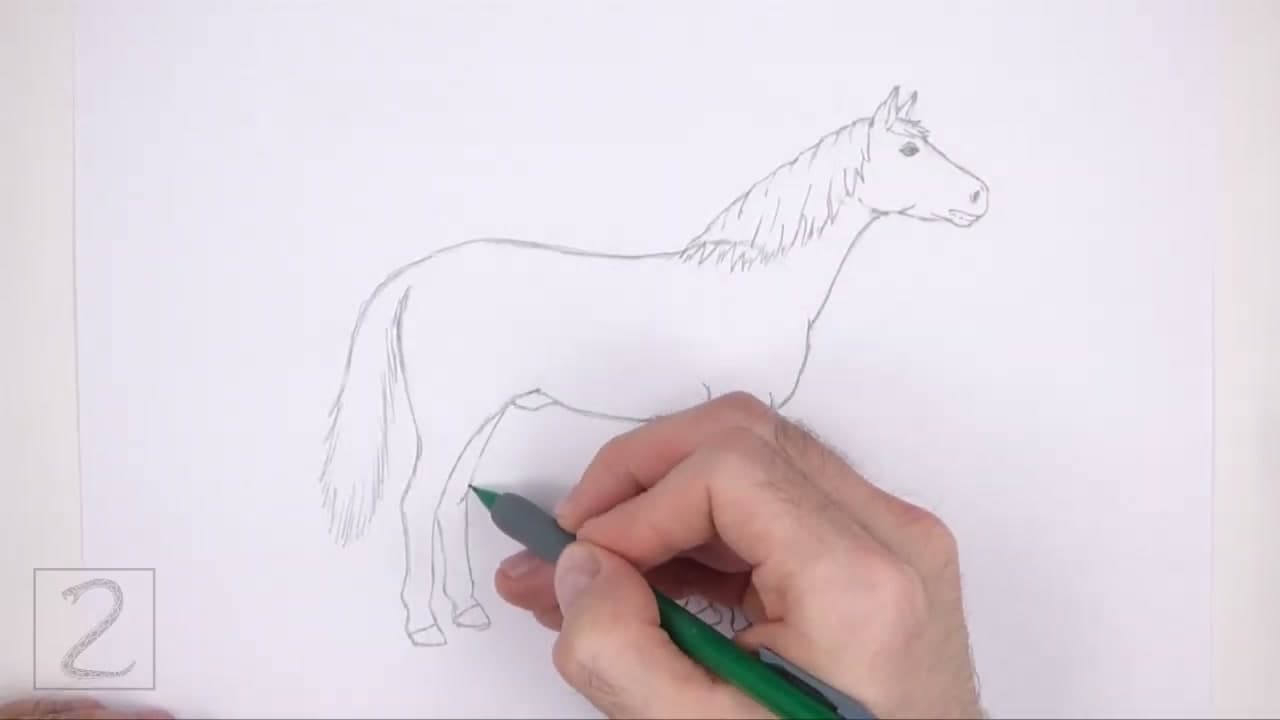
Step 1: Sketch the Body Proportions With Two Circles
1:25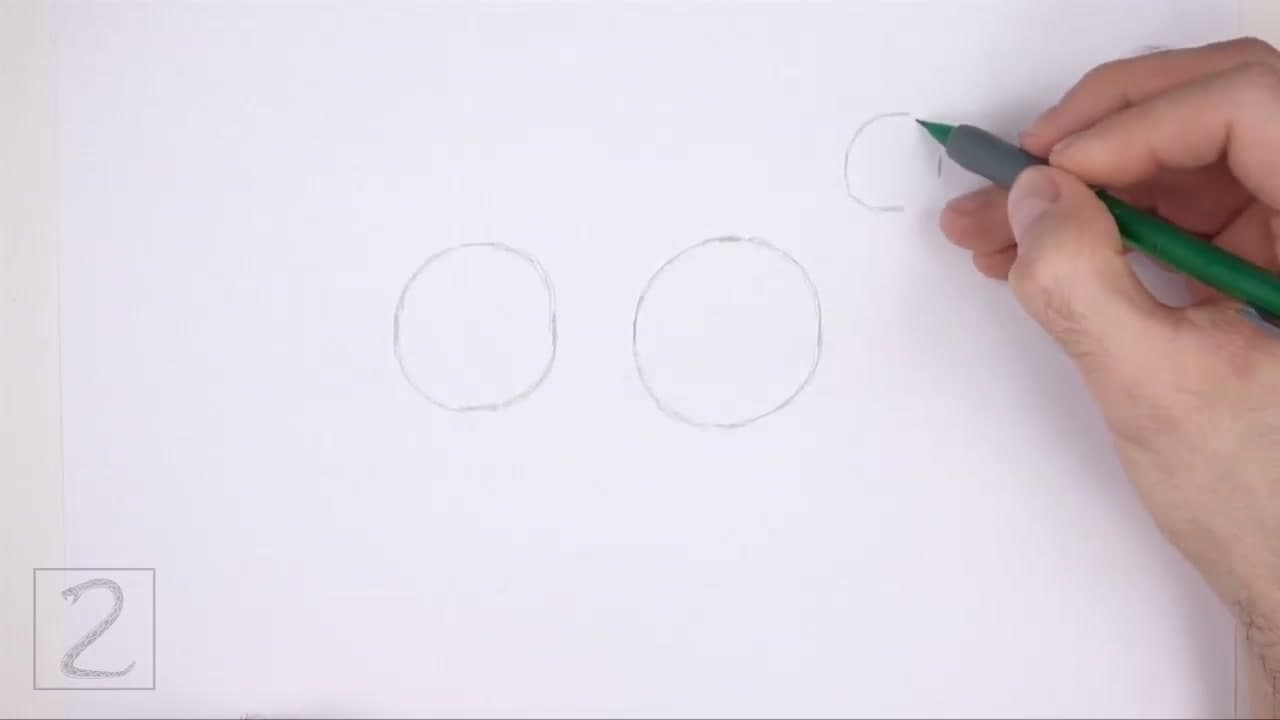
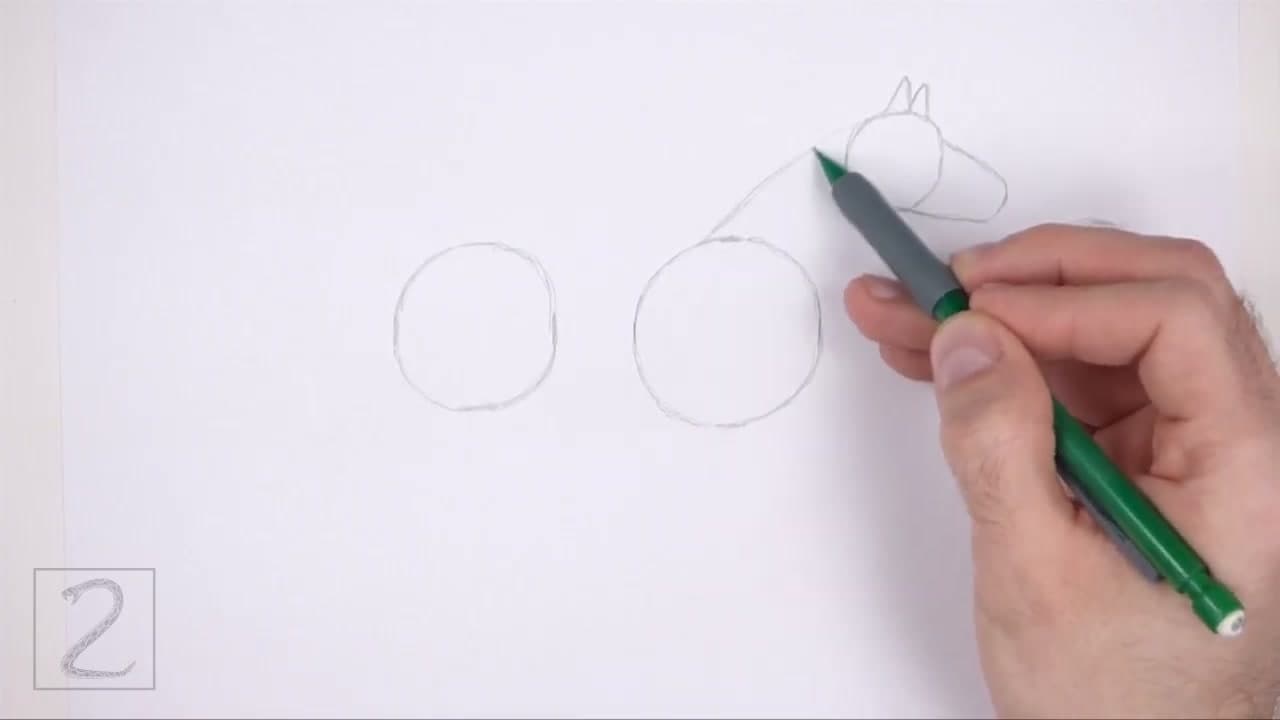
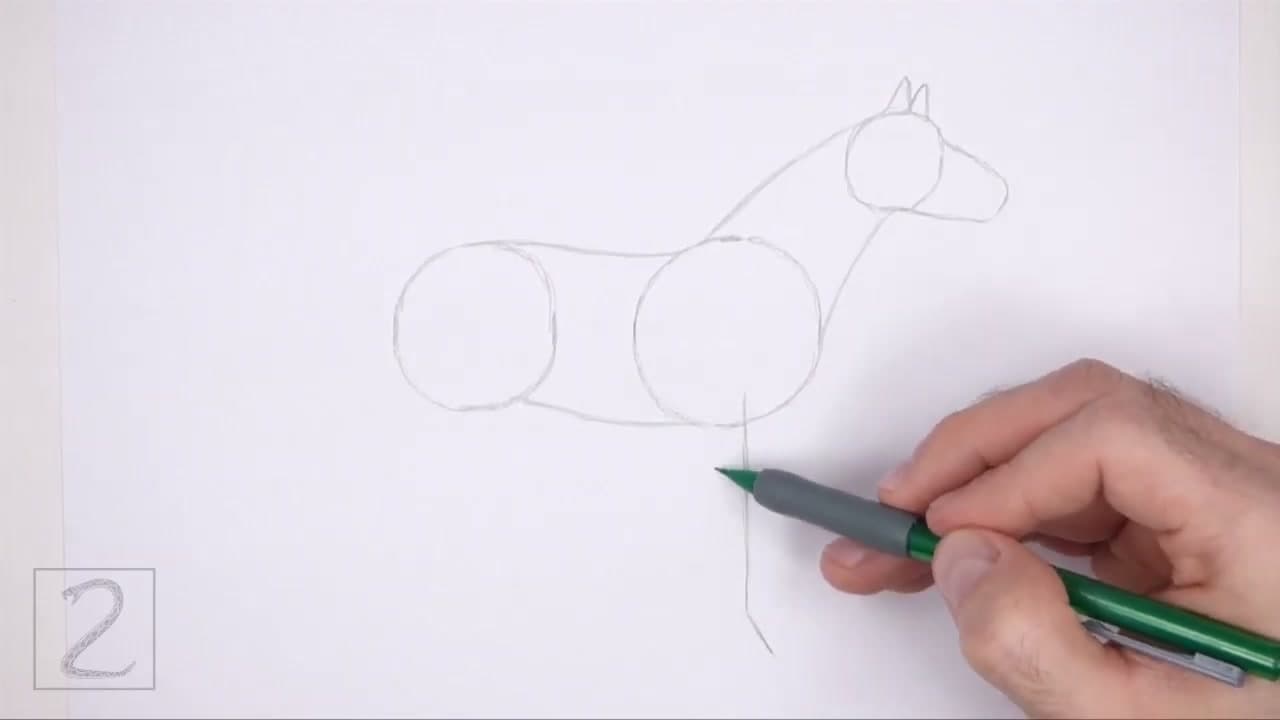
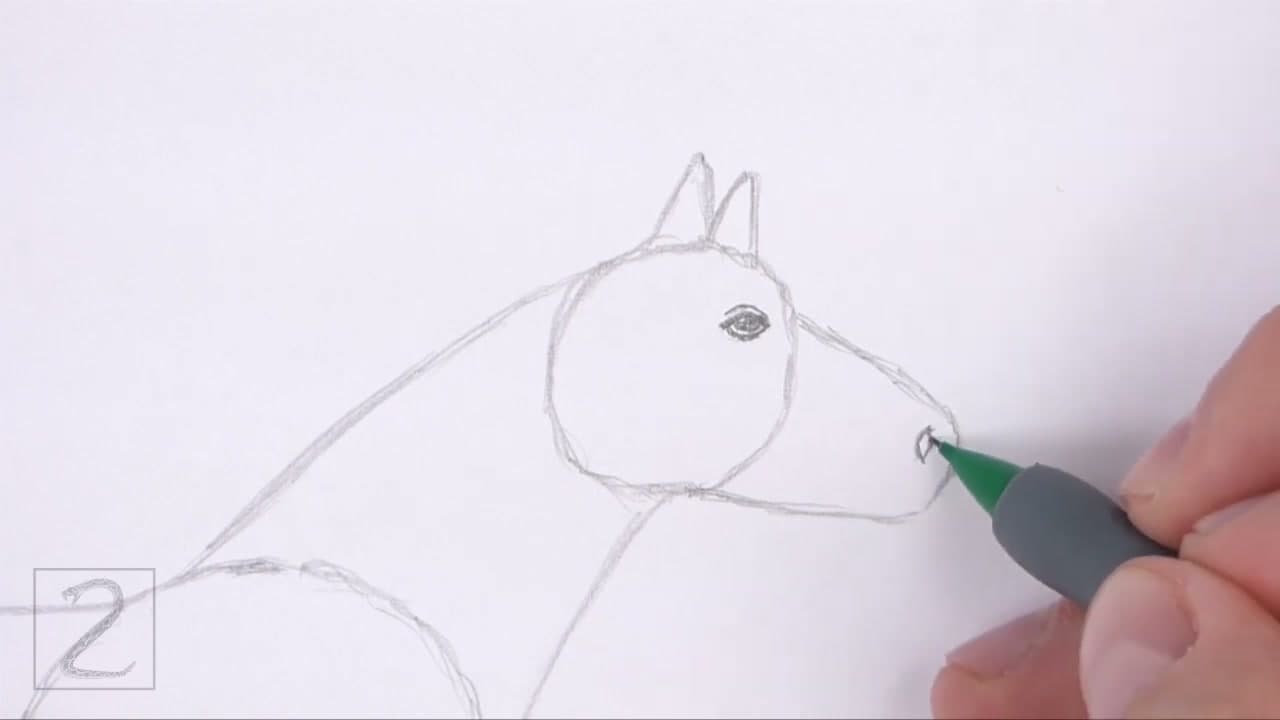
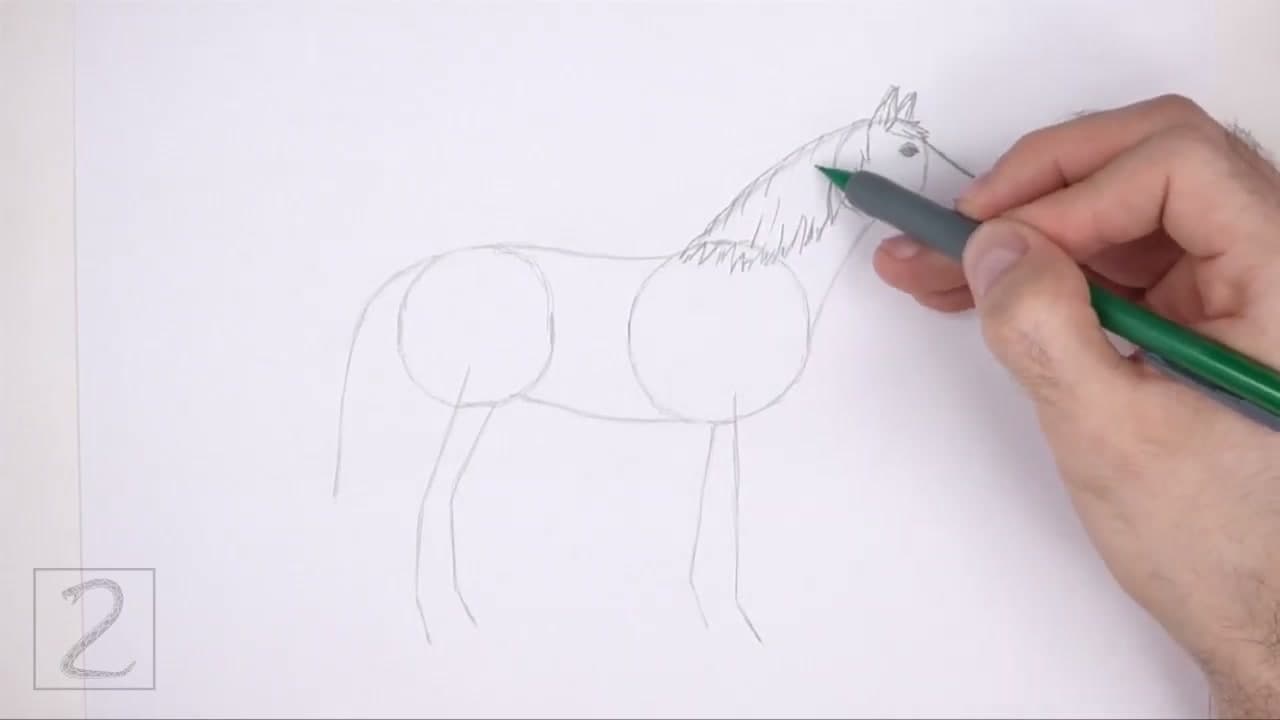
Place your paper in landscape. Draw a circle near the right-center for the front of the body - this is the chest area. Use the four marks method: make a small tick top, bottom, left, and right where the circle's edge should land, then connect the marks with curved lines.
Drop a second, slightly smaller circle to the left for the hindquarters. Don't push it too far left or the body will stretch too long. Both circles should sit on roughly the same horizontal line. Keep your pencil light. These are guides and you'll erase them later.
Tip
If a freehand circle wobbles, trace the edge of a coin, a roll of tape, or any round object. The circles don't need to be perfect, but they should be close in shape.