1
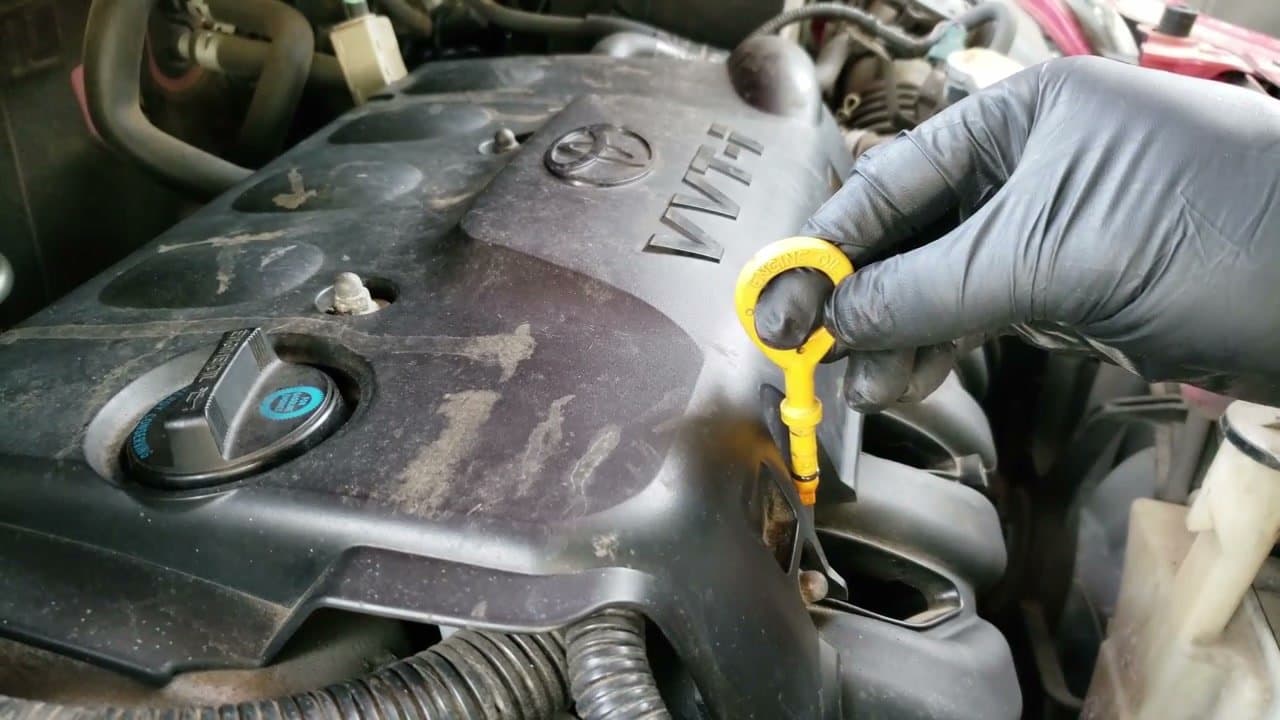
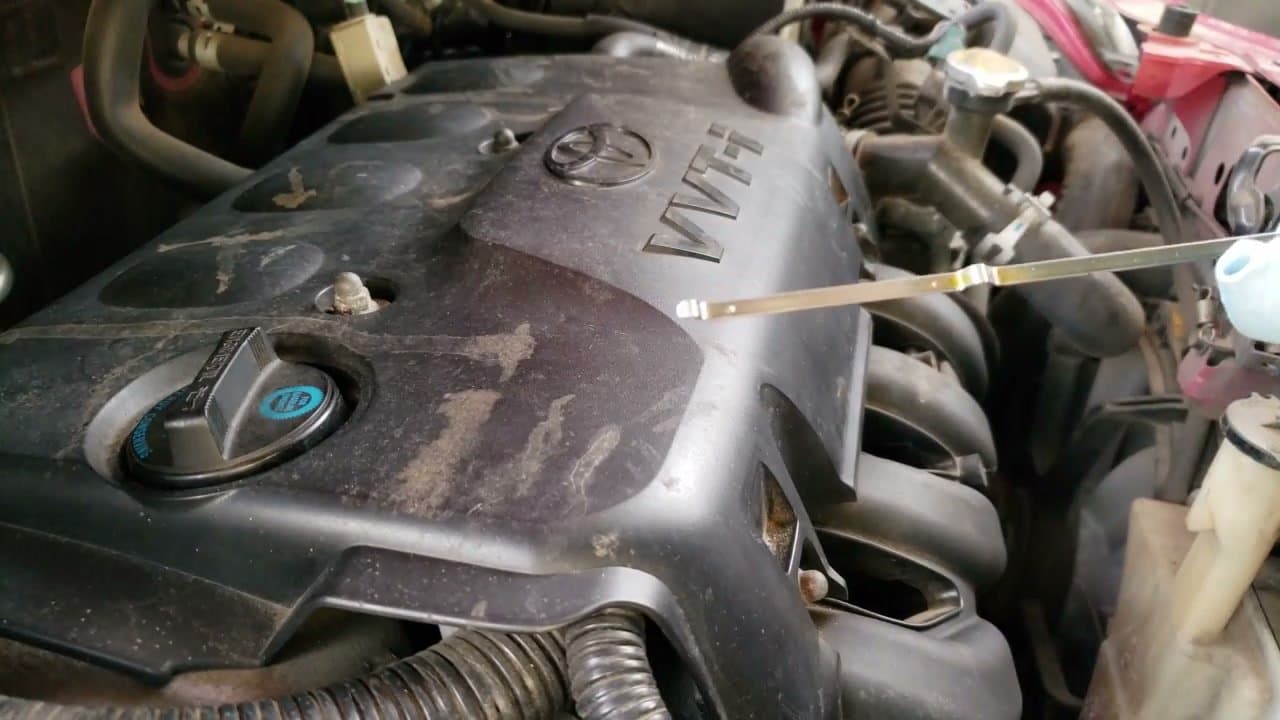
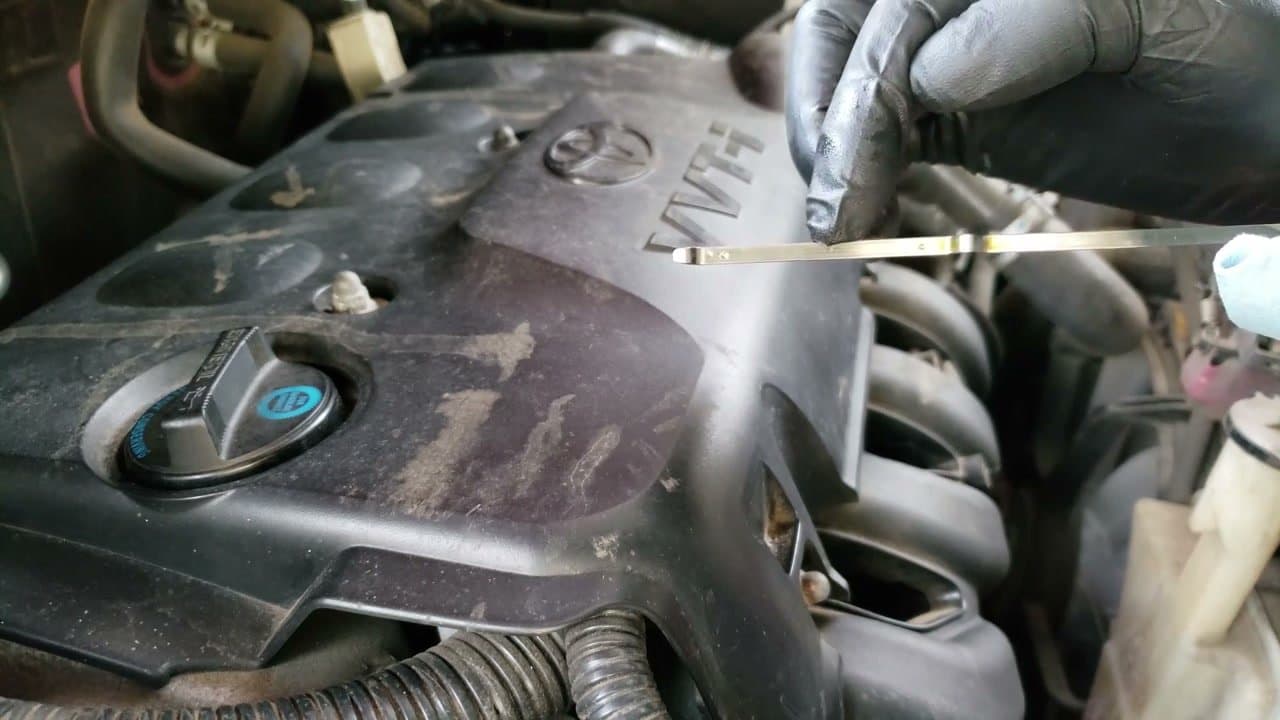
Park Level, Engine Off, Wait 10 Minutes
0:30
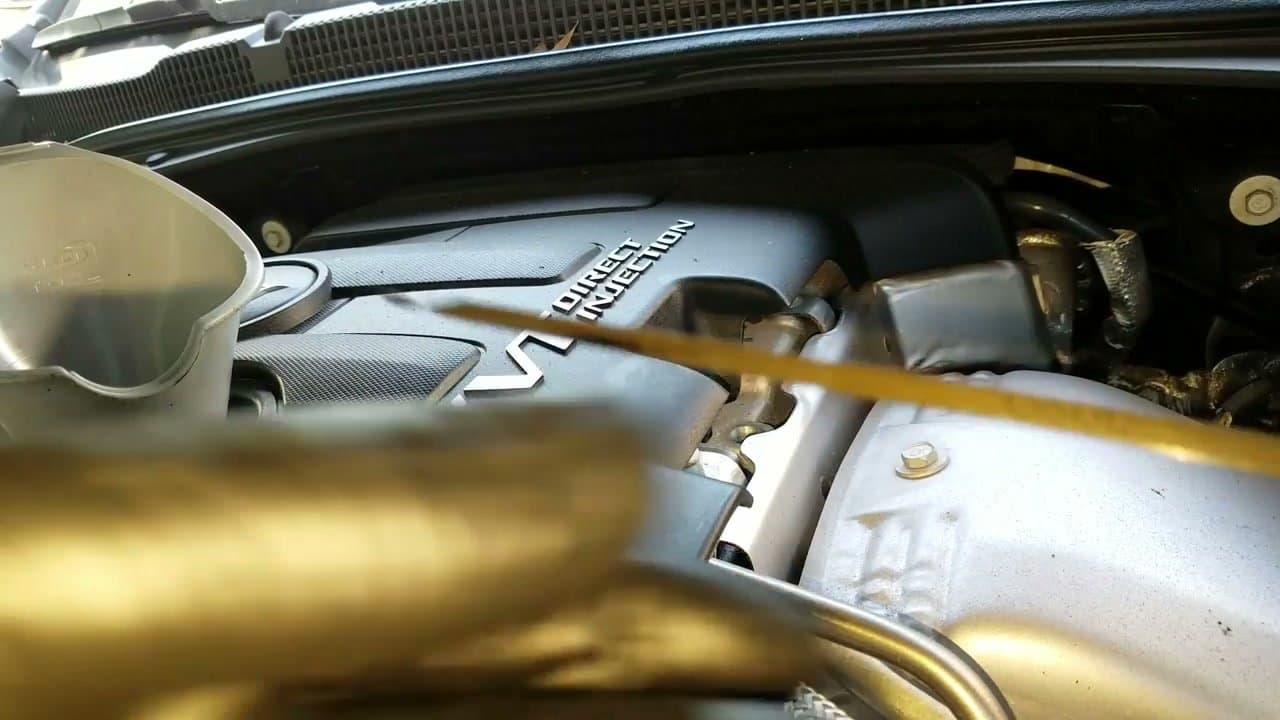
Park the car on level ground and turn the engine off. The longer the engine has been resting, the more accurate your reading. Ten minutes is a good minimum.
Why wait? Oil needs time to drain back into the oil pan at the bottom of the engine. Checking right after driving gives a falsely low reading because oil is still circulating up top.
Tip
First thing in the morning, before you start the car, is the ideal time - the oil has settled all night.