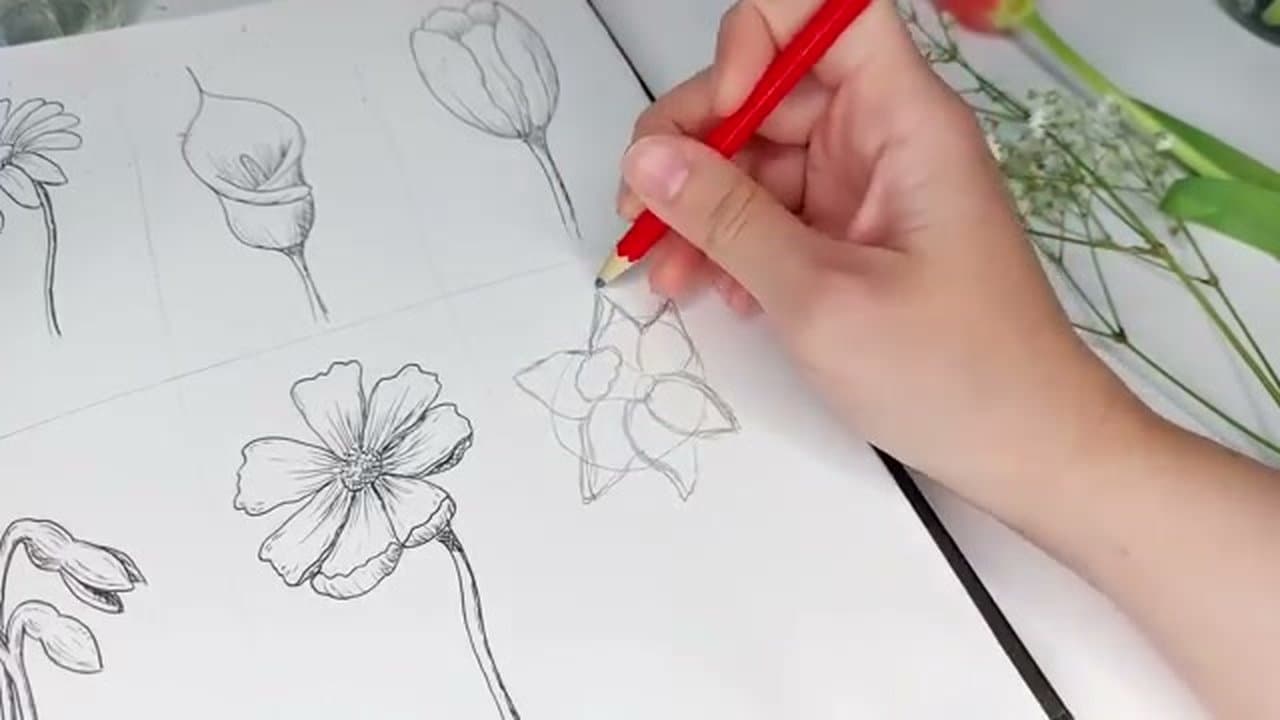
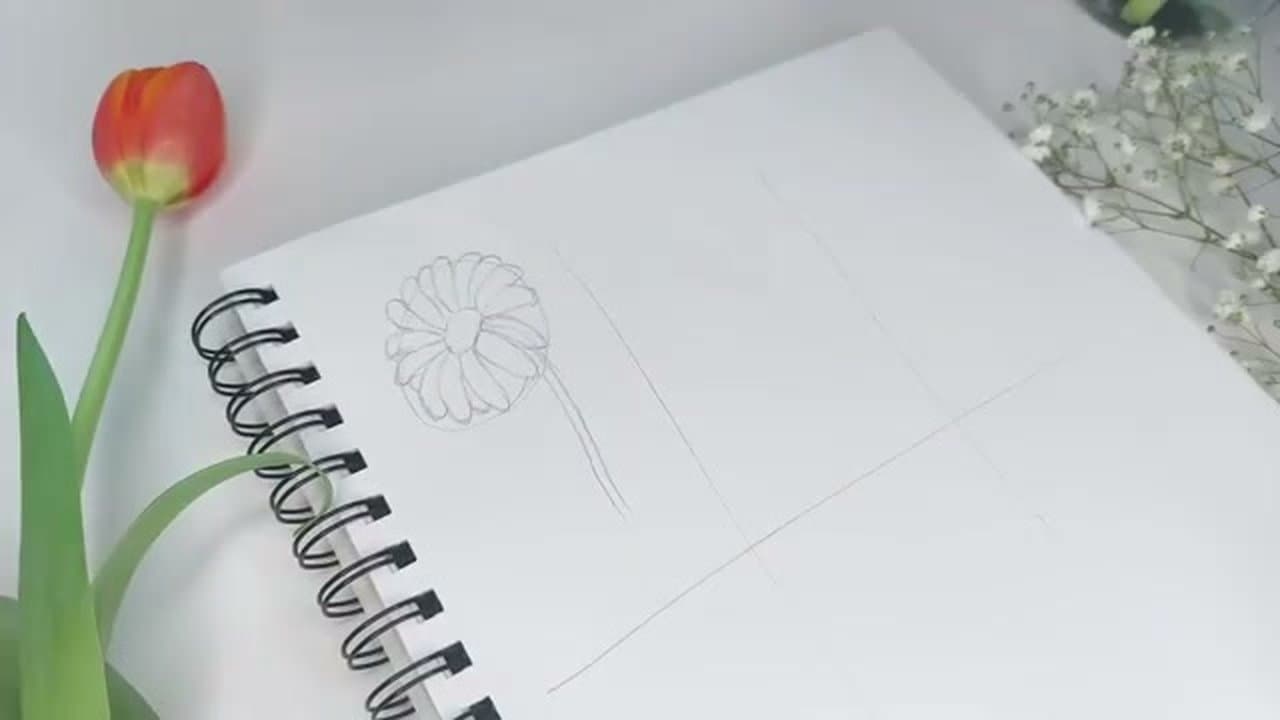
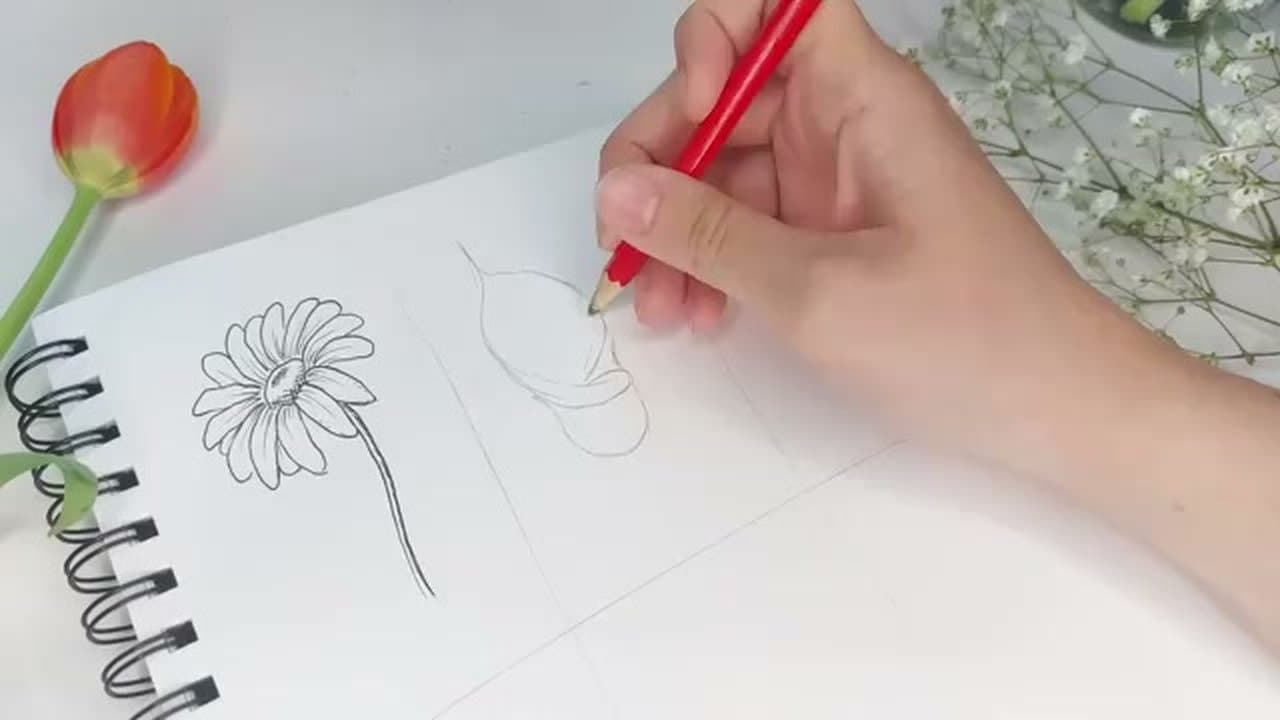
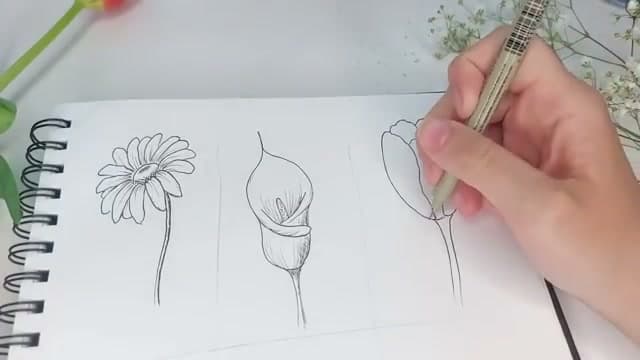
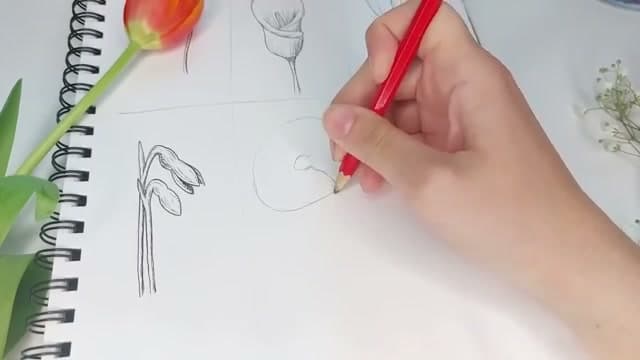
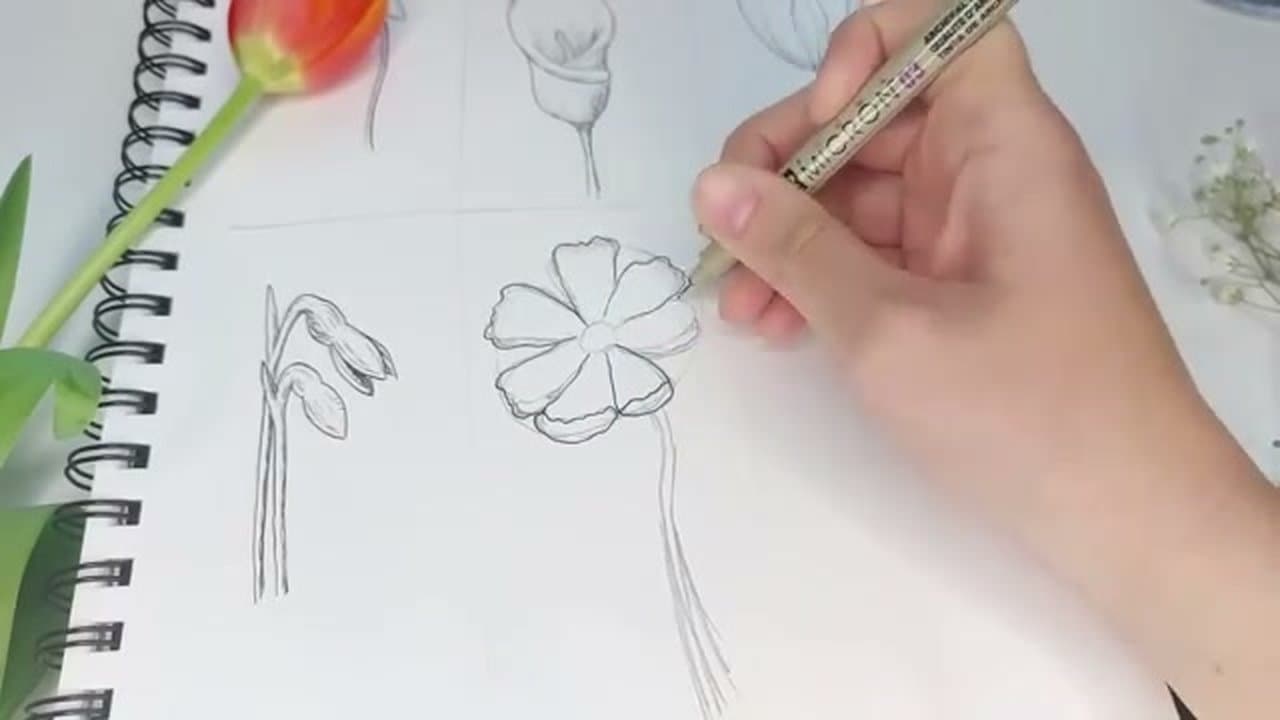
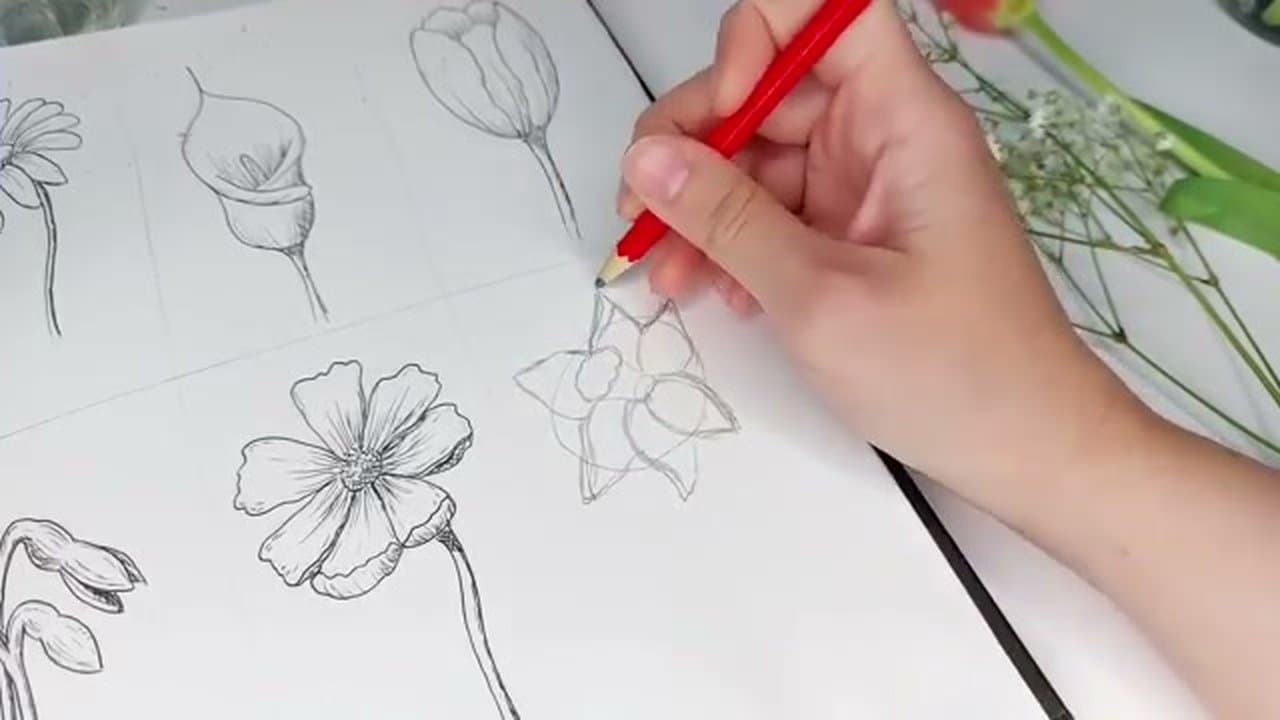
Drawing realistic flowers feels like an advanced skill, but every flower is a few simple shapes layered up with the right shadows. Jennifer Beaupre walks through six different flowers in this tutorial, each one teaching a slightly different shape language - circles for the daisy and cosmos, soft curves for the calla lily, fluttery edges for the tulip and daffodil, and bulby teardrops for the snowdrop.
The technique is the same for all six. Sketch loosely in pencil, outline with a 03 fine liner, erase the pencil, then go back in with a 01 for contour lines, shadow strokes and cross-hatching. The hatching is what turns a flat sketch into something that could sit in a botanical book.
Plan on about an hour for all six, 6-10 minutes each. Skip to whichever flower you want most, or repeat one across the page.
The center-and-petals formula
Nearly every flower starts the same way: place the center, draw a guide shape for the outer edge, then hang petals between the two. The center tells you where the flower faces. A round center means it looks straight at you. Squash that circle into an oval and the whole flower tilts, so the petals on the near side get shorter and the far ones hide behind the center.
Count and petal shape do the rest. Get those two right and the flower reads as itself even in a rough sketch.
What makes each of the six read as that flower
- Daisy - lots of narrow petals around a big textured center. The count can be loose.
- Calla lily - one wrapped, cone-like petal with a single spike up the middle. No separate petals at all.
- Tulip - a closed cup taller than it is wide, with wavy edges.
- Snowdrop - three drooping teardrop petals hanging from a bent stem.
- Cosmos - exactly seven tapered petals with wiggly edges, a few flipped up at the tips.
- Daffodil - six flat petals in a star behind a ruffled trumpet.
For more petals and harder folds, try the rose or the sunflower next.
Stems, leaves and drawing a bouquet
A stem is two lines that stay the same distance apart, and it should enter the flower at the center, not at the edge. Tuck it behind the head so it looks attached. Leaves come off the stem at an angle and point upward. Daffodils and tulips get long, strappy leaves; daisies get small jagged ones. The leaf tutorial covers veins and folded edges.
For a bouquet, draw the biggest flower first near the middle, then tuck smaller ones around and behind it. Overlap is the secret. Let one flower cover part of another and vary which way each head faces. Gather every stem to one point low in the bunch.
Adding color
Fine liner ink is waterproof once dry, so you can color right over it. Colored pencils work well: lay a light base, then darken the same spots you hatched. Watercolor is faster - a pale wash over the ink lets the line work do the shading for you. The flower painting tutorial goes further with brushes. Leave the paper white at the petal tips where the light hits.
Common mistakes
- Every petal the same. Real petals vary. Change the length and angle a little each time.
- Stem glued to the side of the head. Line it up with the center.
- Erasing too soon. Wait until the ink is fully dry, or the eraser drags it into gray streaks.
- Too much hatching. Shadows belong at the petal base and where petals overlap. Stop before the flower goes gray.
If the sketching and shading here feel like guesswork, the fundamentals - pencil grades, the light-pass method and picking a light source - are at how to draw.