How to Propagate a Monstera (Water Propagation, Step by Step)

GardeningEasy10:597 stepsBrowse more →

By ShowMeStepByStepPublished

Based on a video by Sheffield Made Plants.

Propagating a monstera is one of the most satisfying things you can do with a houseplant. Take a cutting with a node, root it in a jar of water, and in a few weeks you've turned one plant into two. This walkthrough follows Sheffield Made Plants, who breaks down water propagation the right way so your cutting actually roots instead of rotting.

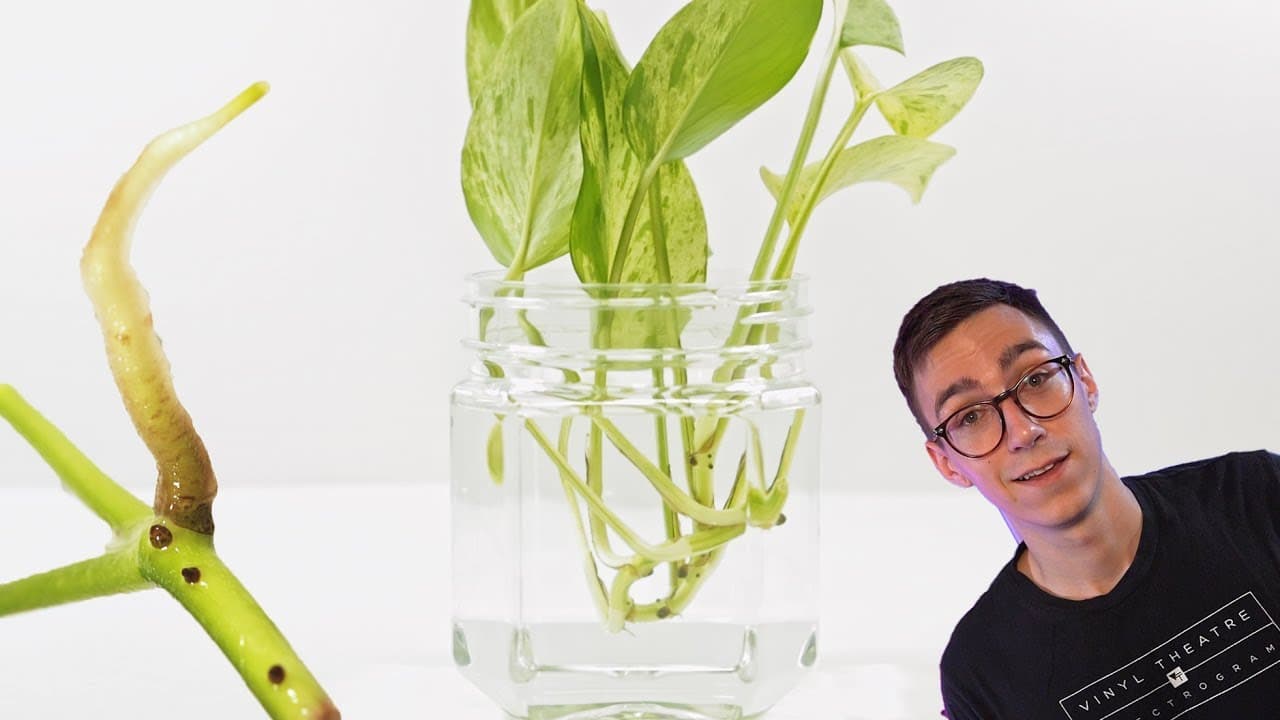
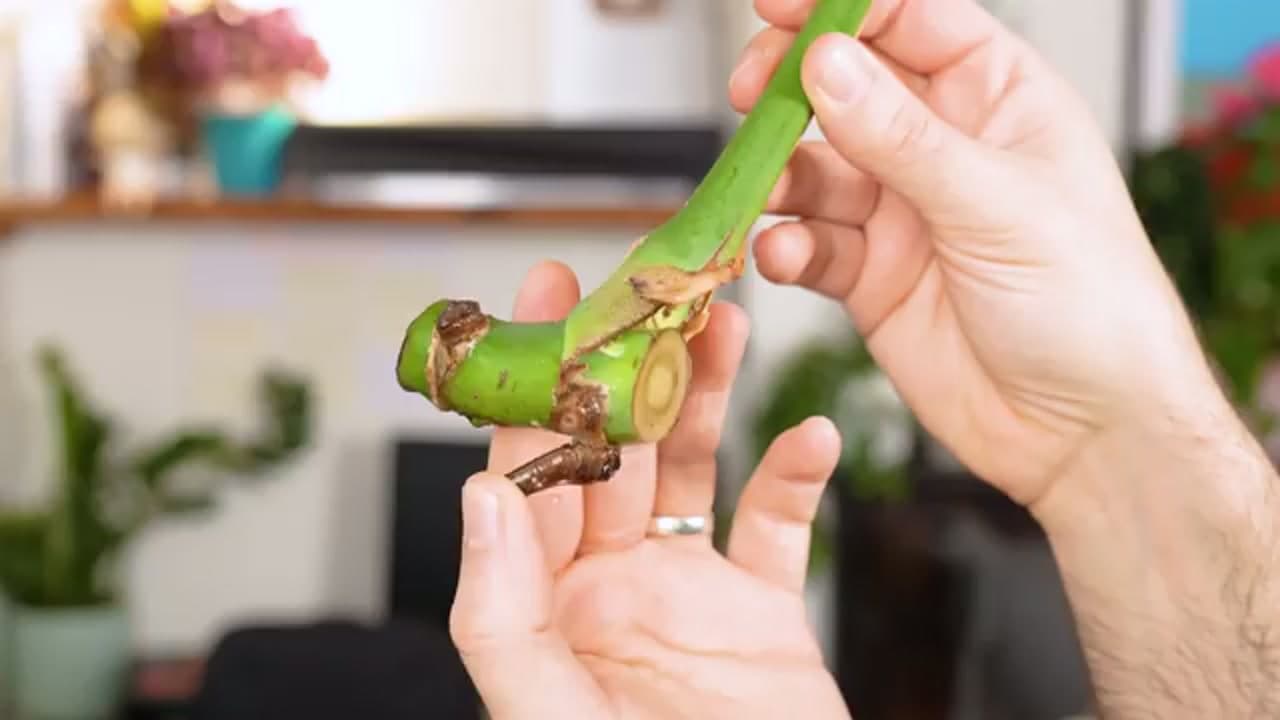
The whole method rests on one thing: the node. That's the swollen band where a leaf meets the stem, and it's the only part that grows new roots. Get a node and an aerial root on your cutting and the rest is mostly patience. You'll cut below the node, drop the cutting in water, change the water weekly, and pot it up once the roots are a couple of inches long.

If you like this, the same water-in-a-jar approach works on loads of other houseplants. Try propagating pothos or a spider plant next, and when your rooted cutting outgrows its nursery pot, here's how to repot a plant without setting it back.

Step-by-Step Guide

7 steps · about 11 minutes.Check off each step as you go and your progress saves automatically.

1

Step 1: Find a Node and Aerial Root

1:10
Step 1: Step 1: Find a Node and Aerial Root

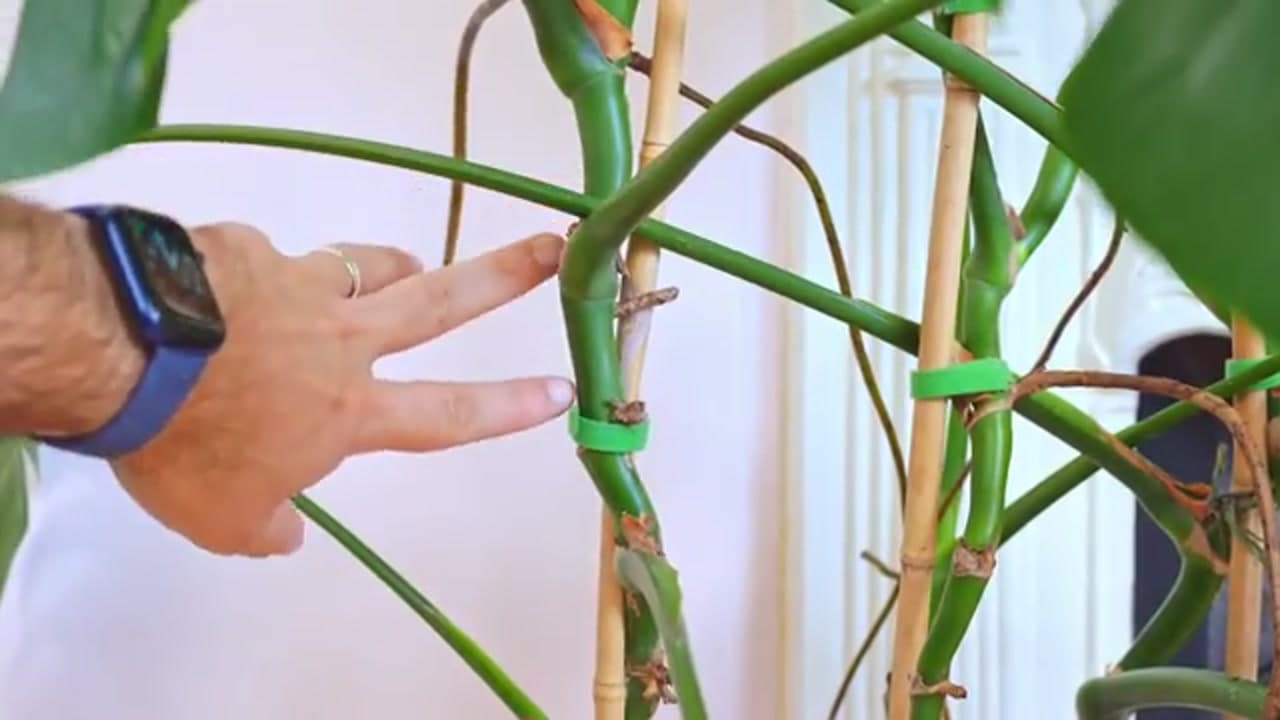
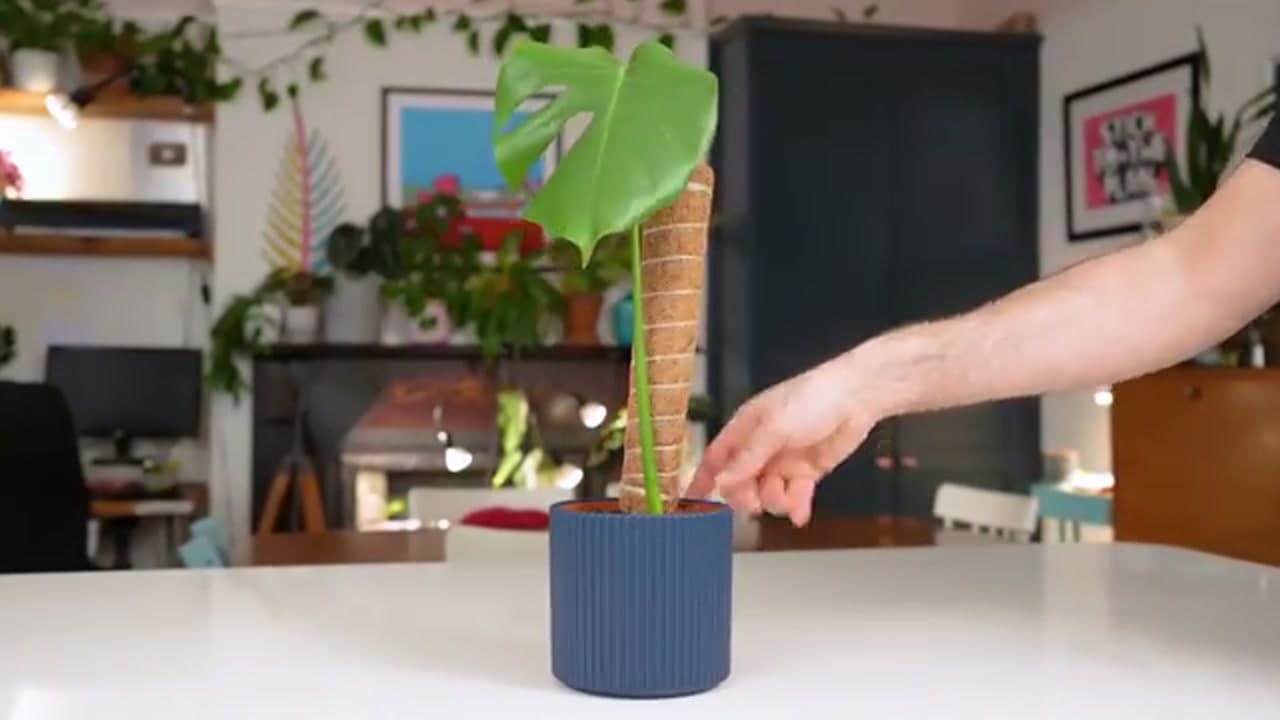
Look along a healthy stem for a node. That's the slightly swollen band where a leaf meets the stem. Right next to it you'll usually spot an aerial root, a brown nub or short root reaching out into the air.

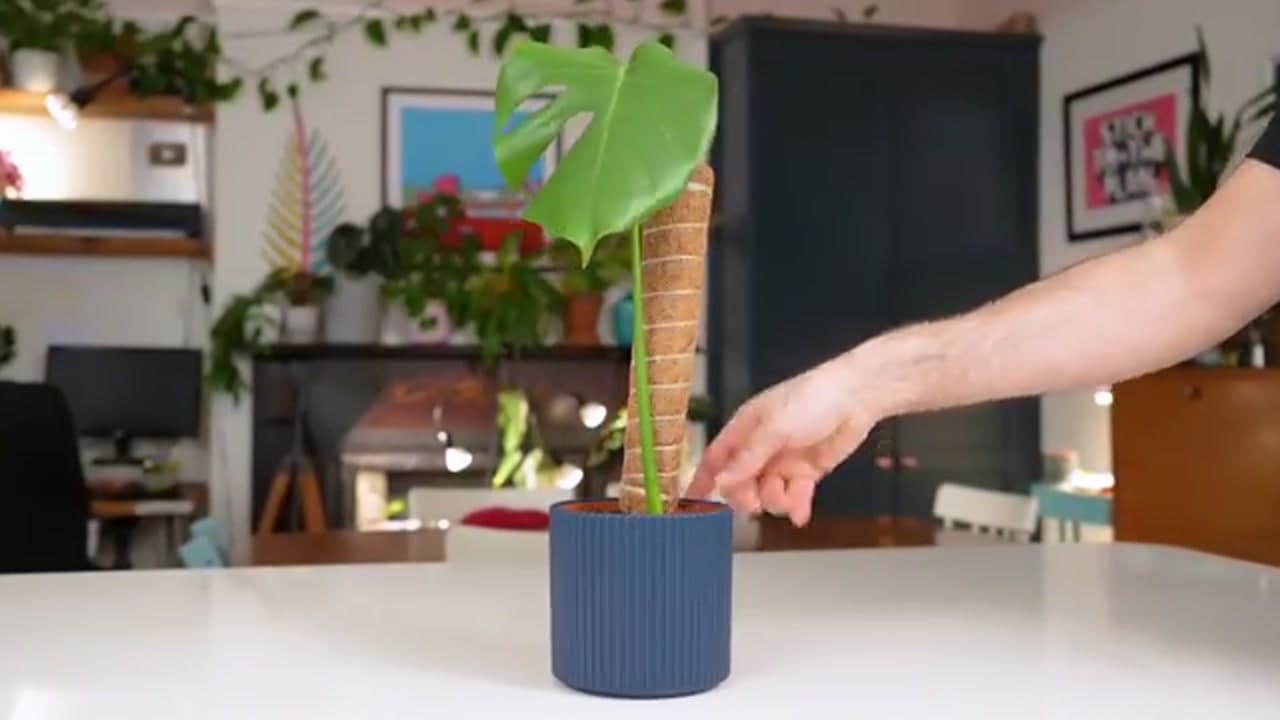
This is the part that grows new roots once it hits water, so it has to be on every cutting you take. No node, no new plant. A stem trained up a moss pole or trellis makes these easy to spot.

Tip

Watch this step Run your finger down the stem and feel for the swollen ring. The aerial root sits within an inch of it. If a section has neither, skip past it and keep looking.
2

Step 2: Cut Cleanly Below the Node

4:00
Step 2: Step 2: Cut Cleanly Below the Node

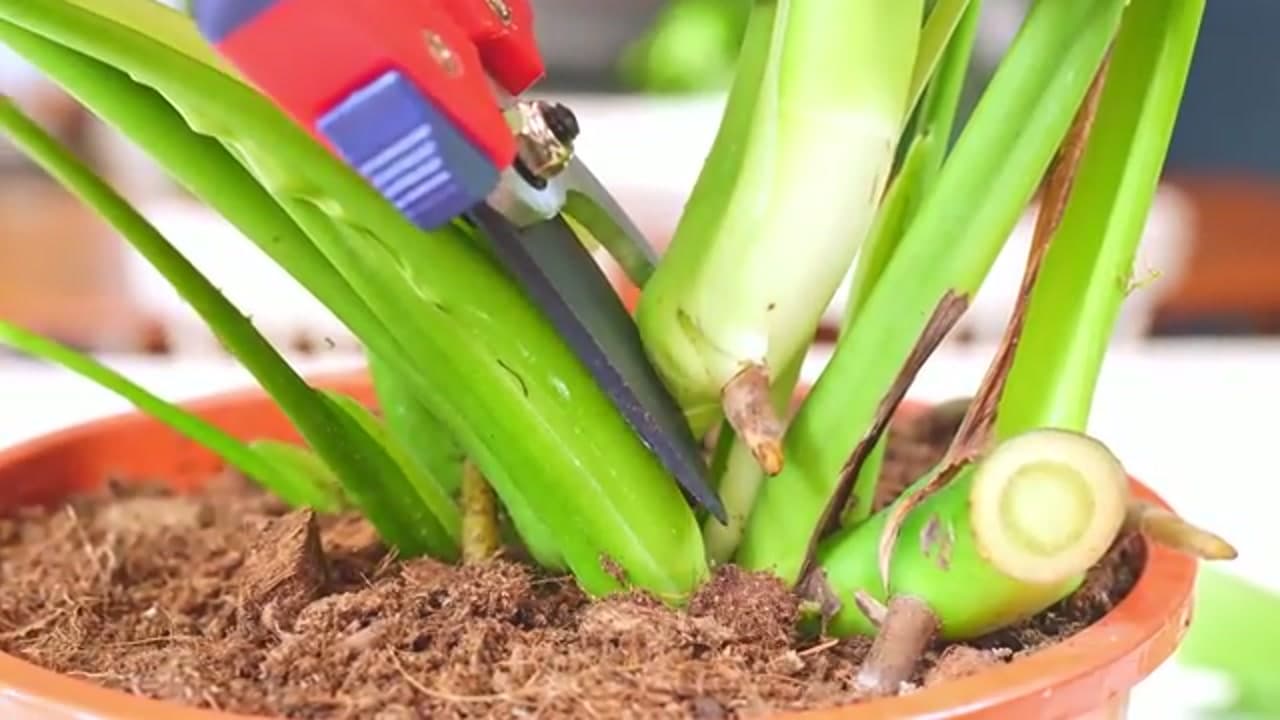
Position sharp pruners just below the node and make one clean cut. A single decisive snip heals faster than a crushed or ragged cut, and it gives the cutting a wide surface to root from.

Cutting below the node keeps the node and aerial root attached to your new cutting. That's the whole point. Wipe your blades with rubbing alcohol first so you don't pass anything nasty between plants.

Tip

Watch this step Bypass pruners cut cleaner than the anvil type, which tend to crush a soft stem. If the stem is thick, a sharp knife works too.

3

Step 3: Check Over the Cutting

7:30
Step 3: Step 3: Check Over the Cutting

Give the cutting a once-over. You want at least one leaf, one node, and ideally an aerial root you can see. One good leaf per cutting is plenty. Too many leaves and the cutting loses water faster than it can drink.

Strip off any lower leaves that would end up sitting under the waterline. Submerged leaves rot and foul the water, which slows everything down.

Tip

Watch this step A cut end that's gone brown and dry roots better than a fresh wet one. Let a very fresh cut air-dry for an hour before it goes in water if you like.

Products used in this step

4

Step 4: Put the Cutting in Water

6:45
Step 4: Step 4: Put the Cutting in Water

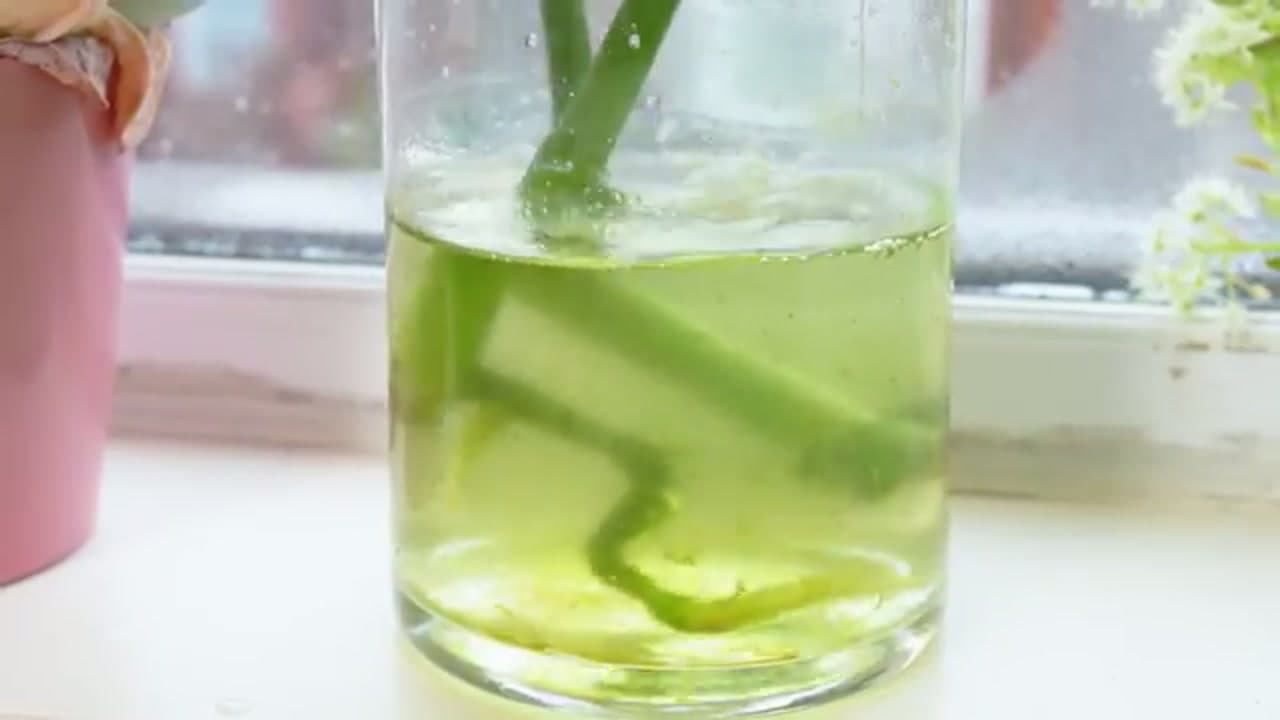
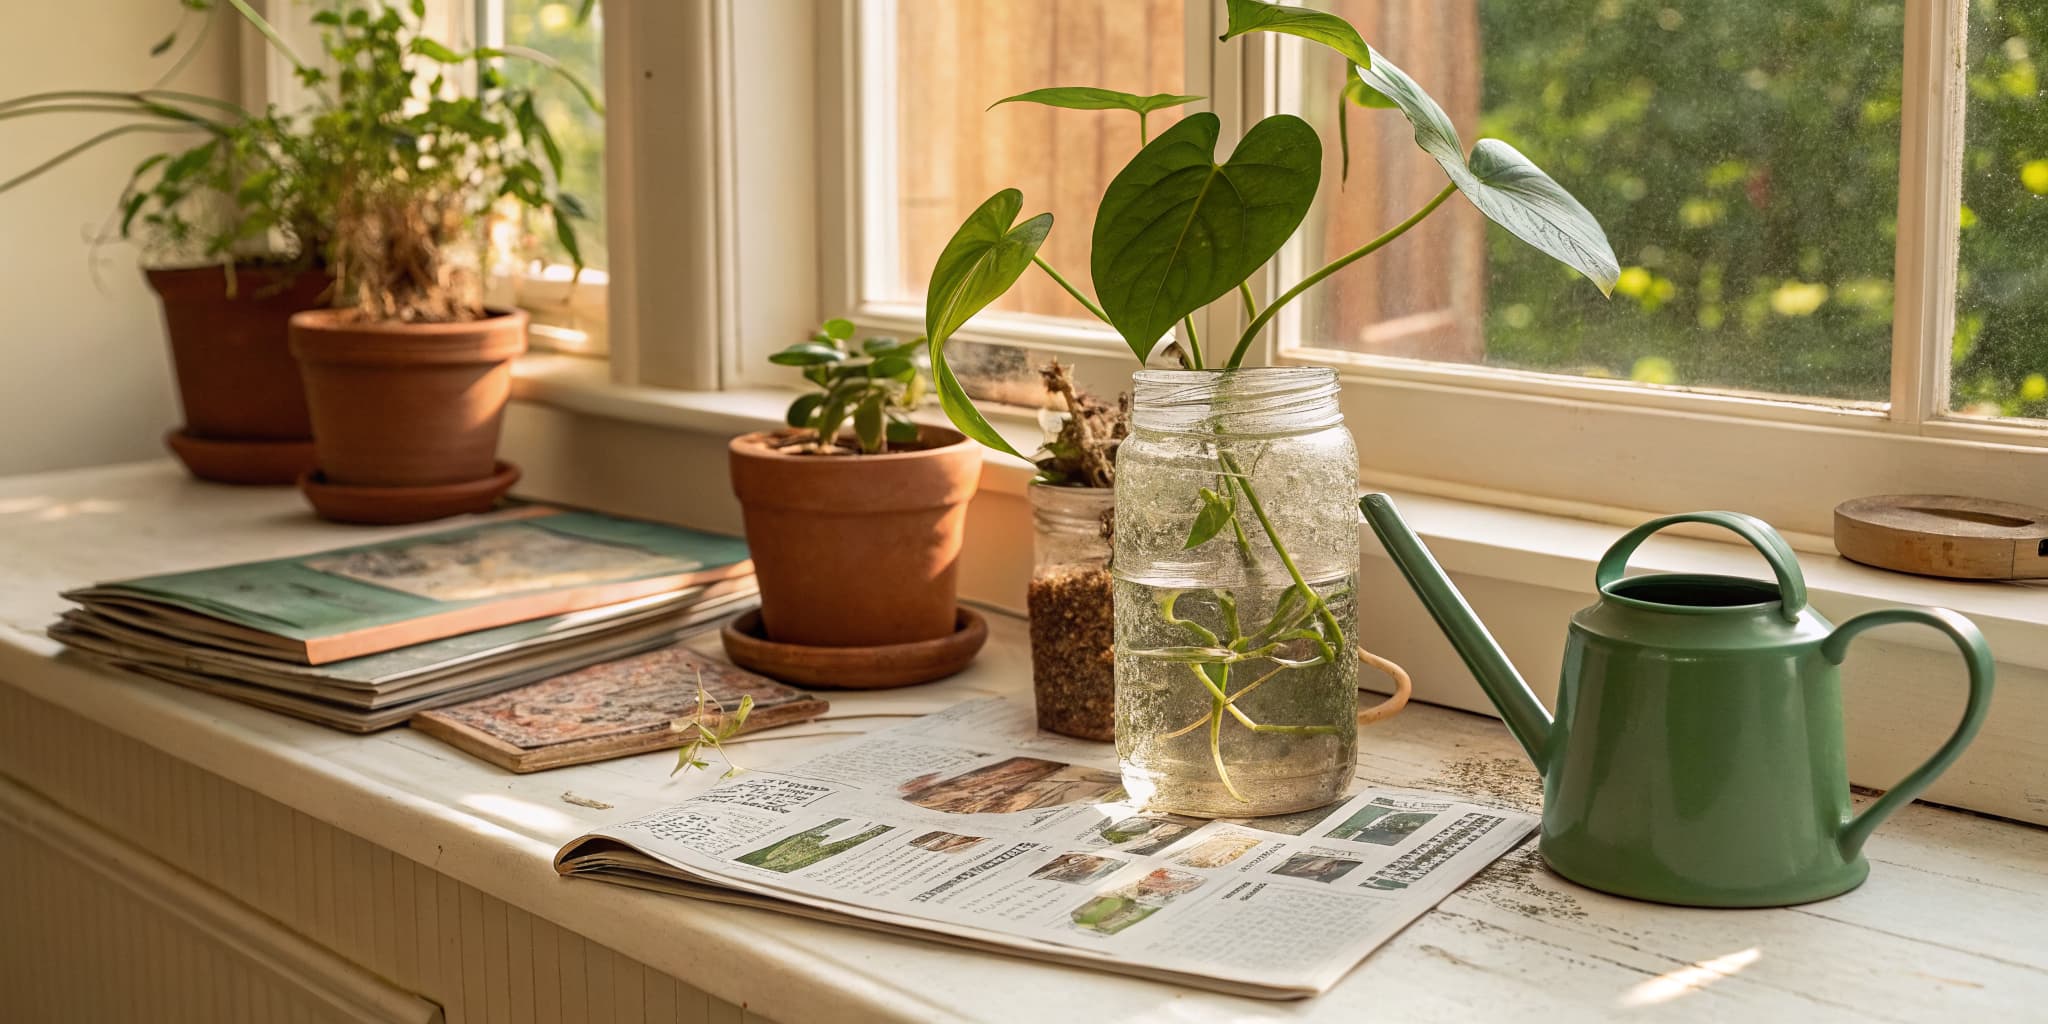
Stand the cutting in a clear glass jar or vase of water. Keep the node and aerial root under the surface and the leaf up in the air. A clear container lets you watch the roots come in without pulling the cutting out and disturbing it.

Set the jar somewhere bright but out of scorching direct sun. Filtered water or tap water left out overnight both work fine.

Tip

Watch this step A narrow-necked propagation vase holds the cutting upright so the leaf doesn't drag it over. A splash of liquid rooting hormone in the water can speed things up.

5

Step 5: Change the Water and Wait for Roots

8:15
Step 5: Step 5: Change the Water and Wait for Roots

Swap the water once a week. Fresh water carries the oxygen the cutting needs and stops it from turning slimy at the base. Top it up if the level drops between changes.

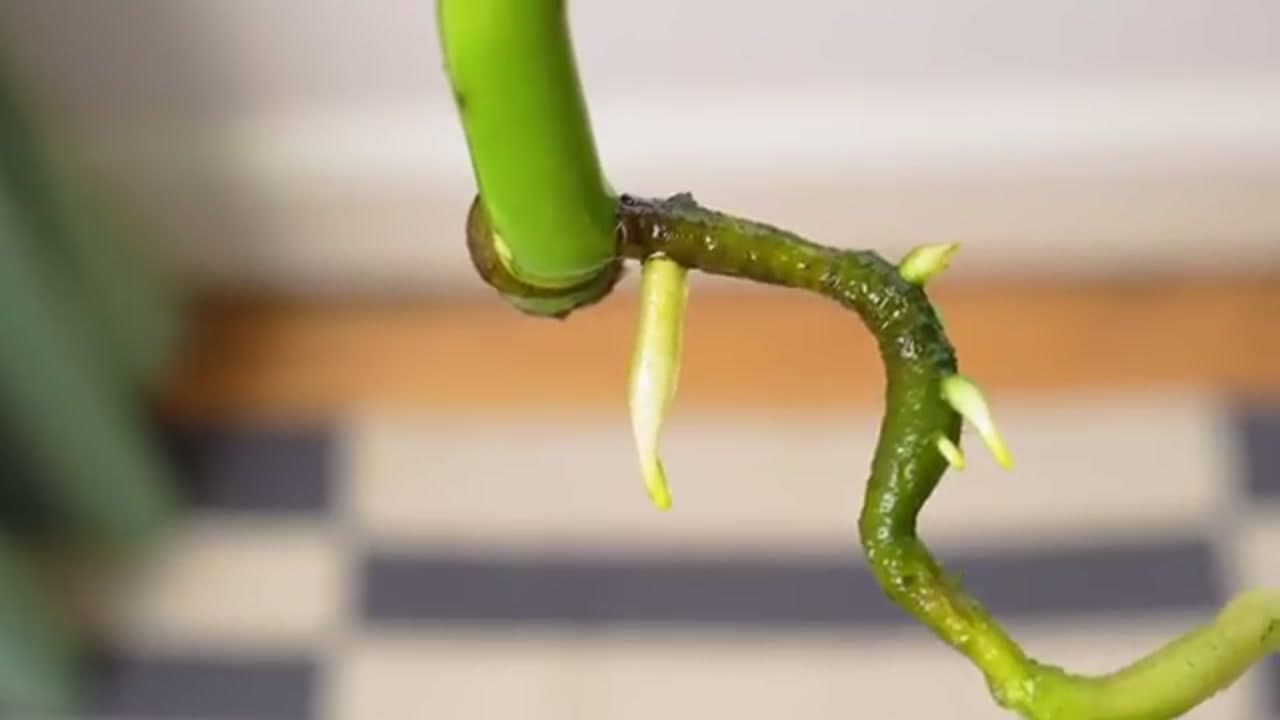
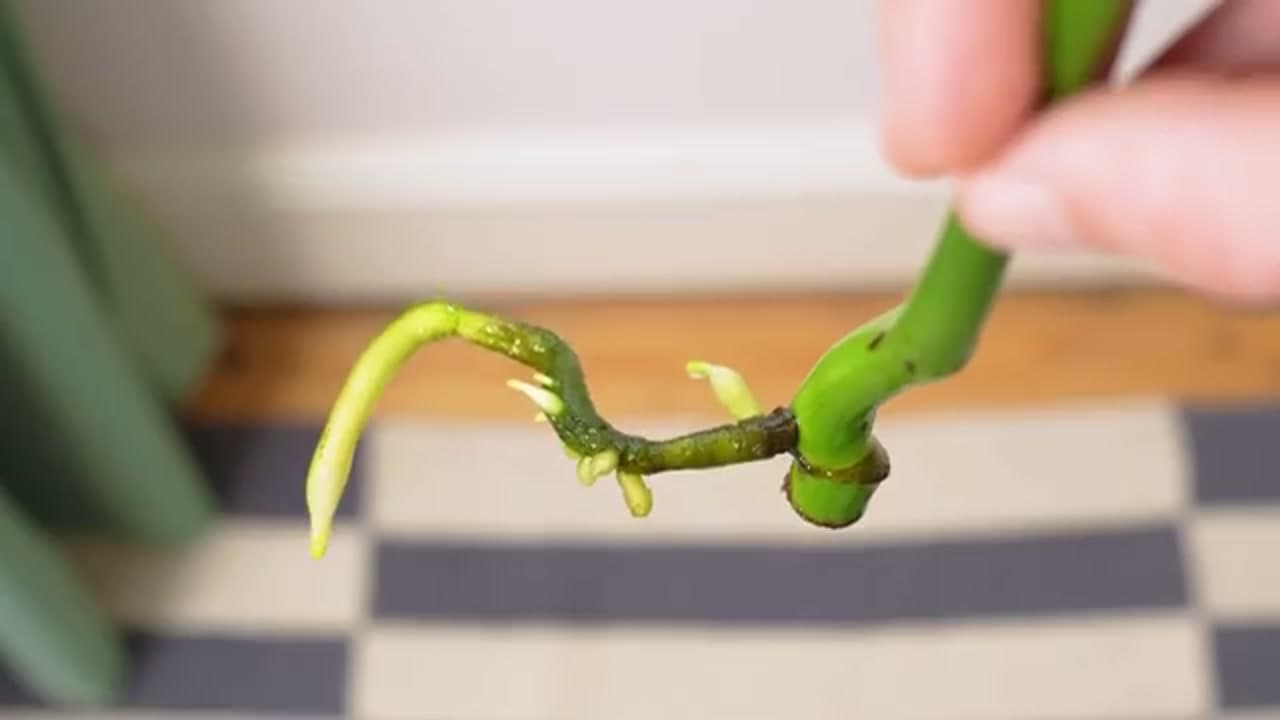
Give it a few weeks. You'll start to see pale new roots pushing out of the node and the aerial root. This is the slow part, so leave it be and let the roots do their thing.

Tip

Watch this step Roots come in faster when the water stays warm, around room temperature. A spot on a bright windowsill in spring or summer is ideal.

Products used in this step

6

Step 6: Check the Roots Before Potting

8:05
Step 6: Step 6: Check the Roots Before Potting

Once the new roots are a couple of inches long and starting to branch, lift the cutting out and take a look. Short single roots aren't ready yet. You want a small handful of roots that can grip soil and pull up water.

Rushing a cutting into a pot before it has enough root is the most common way to lose one, so let it build a decent root system in water first.

Tip

Watch this step Water roots are a little more brittle than soil roots, so handle them gently when you move the cutting across. A few will break and that's fine.

Products used in this step

7

Step 7: Pot Up in Aroid Mix

10:15
Step 7: Step 7: Pot Up in Aroid Mix

Move the rooted cutting into a chunky, well-draining aroid mix. Nestle the roots in, then firm the mix gently around the base so the cutting stands up on its own. Add a moss pole if the stem needs something to climb.

Water it in well and let the excess drain away. Keep it somewhere bright but out of harsh direct sun for the first couple of weeks while it settles into soil.

Tip

Watch this step A bagged aroid mix with bark and perlite drains far better than plain potting soil, which stays too wet for a monstera. Keep the mix just damp, not soggy, while the cutting establishes.

Products Used

☐ The Checklist

How to Propagate a Monstera (Water Propagation, Step by Step)

Tools
3
Materials
4
Steps
7
Video
11 min

Your Guide

Sheffield Made Plants

As an Amazon Associate we earn from qualifying purchases. Links on this page may be affiliate links - clicking them and buying doesn't change your price, but helps support ShowMeStepByStep.

Tags

Sunday How-To

New gardening tutorials, every Sunday

One short email with the week's best step-by-step guides. Free, no spam, unsubscribe anytime.

Did this work for you?

What's next

Related collections

Curated theme pages that include this tutorial.

Weekly Digest

Liked this gardening tutorial?

Pick the categories you want to hear about. Weekly digest of new step-by-step tutorials. No spam, easy unsubscribe.

Send me tutorials about

We only email about new tutorials. Easy unsubscribe anytime.