How to Install a Rain Barrel

GardeningEasy11:157 stepsBrowse more →
Also in:Adulting

By ShowMeStepByStepPublished

Based on a video by This Old House.

Every inch of rain that lands on your roof runs off into the street. This Old House landscape contractor Jenn Nawada and carpenter Nathan Gilbert put that water to work by turning an old whiskey barrel into a rain barrel plumbed right into the downspout.

You get free water for the garden and you keep runoff out of the storm drain. The build takes an afternoon and most of it is base prep, not plumbing. Once you draw from the spigot, pair it with a drip irrigation system or run a hose to your raised garden beds.

Thanks to Jenn and Nathan at Ask This Old House for the walkthrough. The oak barrel came from Midwest Barrel Company. Watch the full video for the watershed lesson that kicks it off.

Step-by-Step Guide

1

Assemble the Downspout Diverter

4:15
Step 1: Assemble the Downspout Diverter

Before touching the gutter, lay out the diverter pieces and dry-fit them. Nathan matches the outlet and elbow sections to the existing downspout run right on the work table. Doing this first lets you see exactly where each cut goes and how the water will turn toward the barrel. Nothing gets fastened yet - you are just checking the fit so the finished run drops cleanly into the barrel lid.

Tip

Dry-fit the whole run first. It is a lot easier to adjust a piece on the table than up on the wall.
2

Attach the Downspout to the Gutter

4:45
Step 2: Attach the Downspout to the Gutter

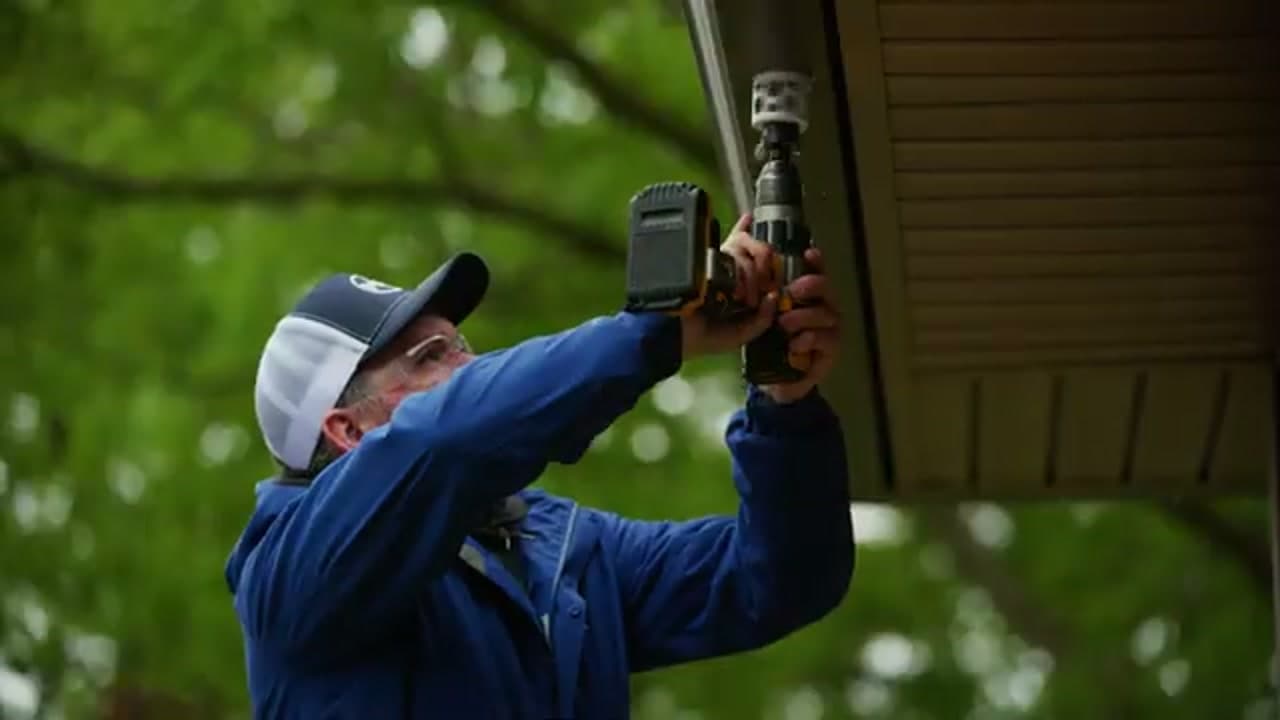
With the pieces cut to size, Nathan drills the diverter section up into the gutter outlet. He fastens the run to the siding with gutter straps and rivets so it stays put in wind and heavy rain. The goal is a straight, well-supported path from the gutter down into the barrel. Take your time getting the fasteners tight - a loose downspout will rattle and leak at the joints.

Tip

Support the downspout every few feet. A full run of water is heavier than it looks.

3

Dig Out and Prep the Base Area

6:50
Step 3: Dig Out and Prep the Base Area

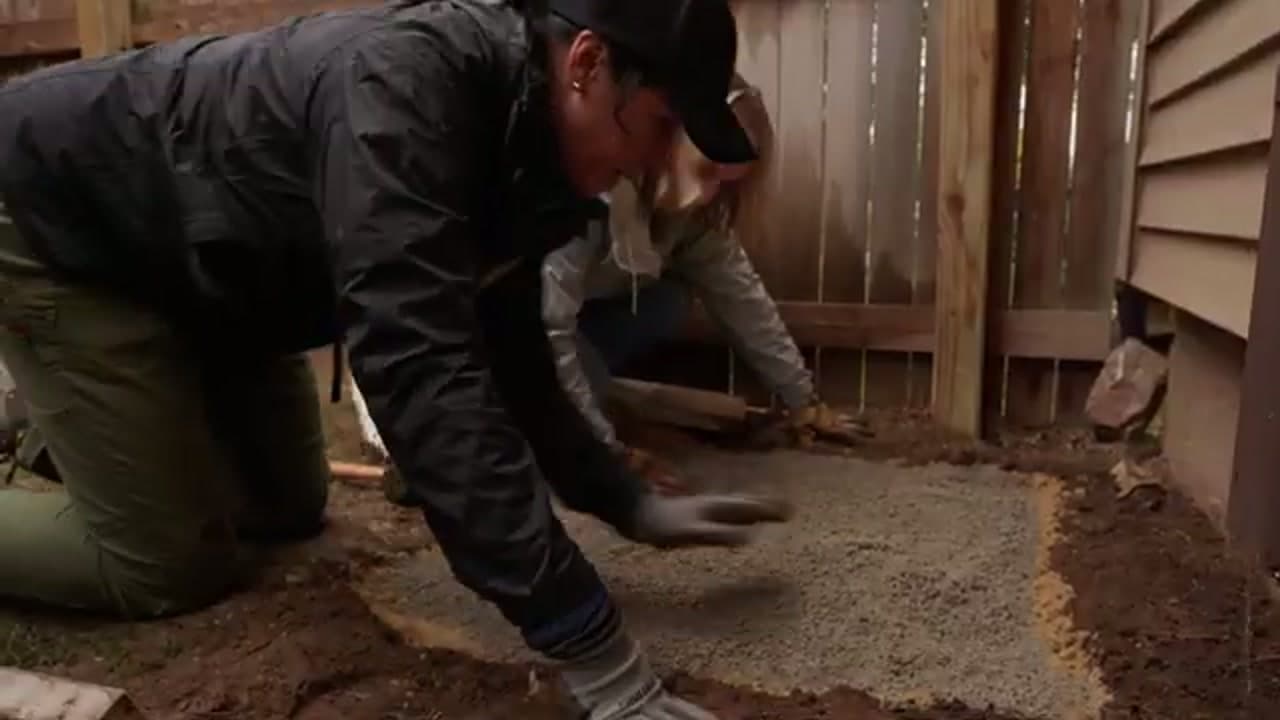
A full barrel weighs a few hundred pounds, so the ground under it has to be solid. Jenn and the homeowner clear the topsoil next to the downspout and pack in a bed of paver base or sand. They smooth it by hand and firm it down as they go. Skip this and the barrel will slowly sink and lean, which strains the downspout connection and eventually spills water where you do not want it.

Tip

Make the pad a little wider than the barrel so the whole footprint sits on solid ground.

4

Level the Base

7:00
Step 4: Level the Base

Set a long level across the packed base and check it in both directions. Jenn screeds the sand flat with a 2x4 and keeps checking until the bubble sits centered. A level base means the barrel and its block stand will not tip once they fill with water. This is the step people rush, and it is the one that keeps everything upright for years.

Tip

Check the level from two directions, not just one. A pad can be flat side to side and still slope front to back.

5

Drill the Spigot Hole in the Barrel

8:15
Step 5: Drill the Spigot Hole in the Barrel

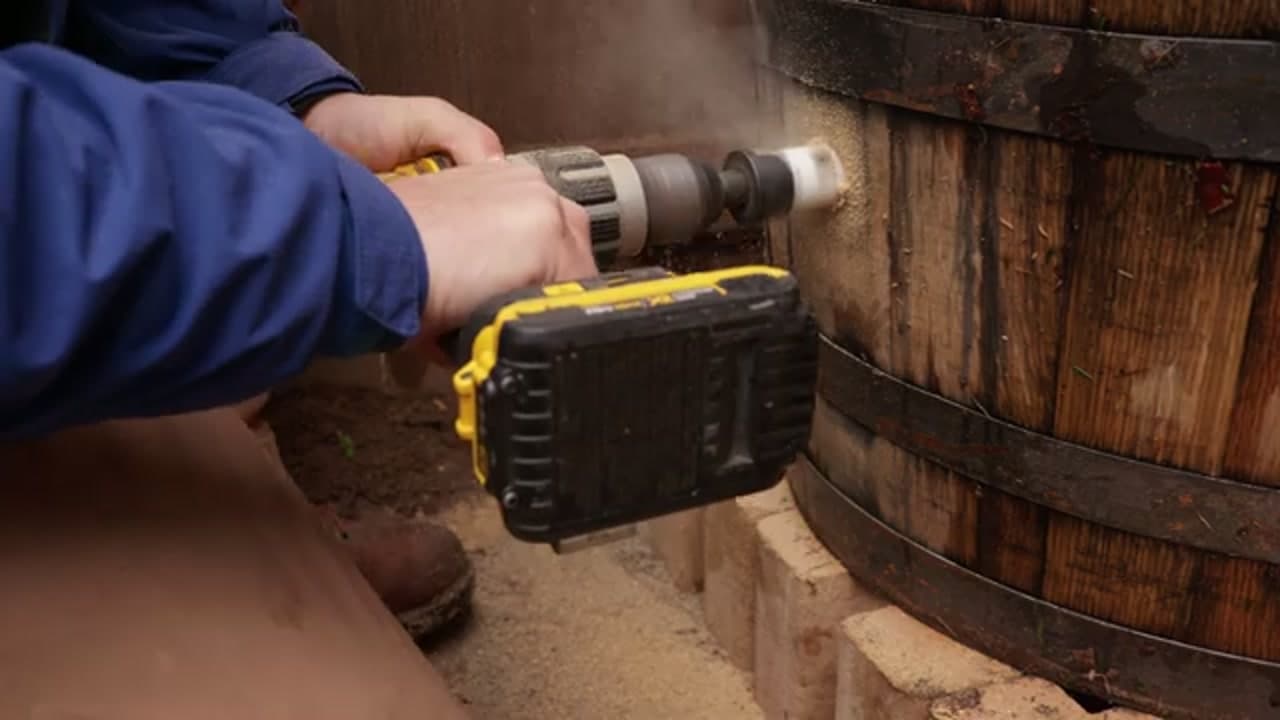
Nathan bores a hole near the bottom of the barrel with a hole saw sized to the spigot threads. Placing it low lets you drain almost all the water you collect. Go slow and let the saw do the work so the oak staves do not split. Sawdust will fly, so wear eye protection. Test the fit with the spigot before you move on.

Tip

Match the hole saw to the threaded body of the spigot, not the handle. Too big and it will never seal.

6

Install the Spigot and Set the Barrel

8:20
Step 6: Install the Spigot and Set the Barrel

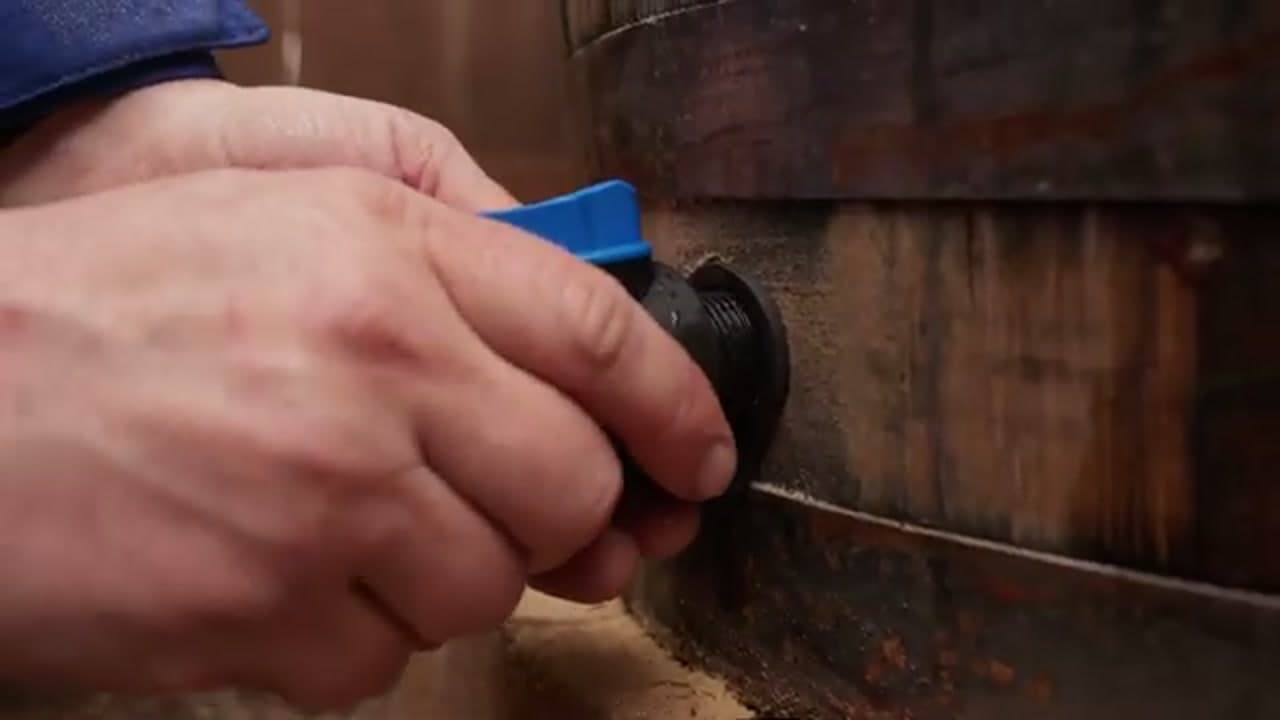
Wrap the spigot threads with teflon tape and thread the hose bibb into the fresh hole. Snug it down so the seal holds without cracking the wood. Then lift the barrel onto its block base under the downspout and settle it in. A quarter turn of the blue handle should open and close cleanly. That connection is what turns a barrel of rain into water on demand.

Tip

Teflon tape wraps clockwise so it tightens as you thread the spigot in, not out.

7

Draw Water for the Garden

10:40
Step 7: Draw Water for the Garden

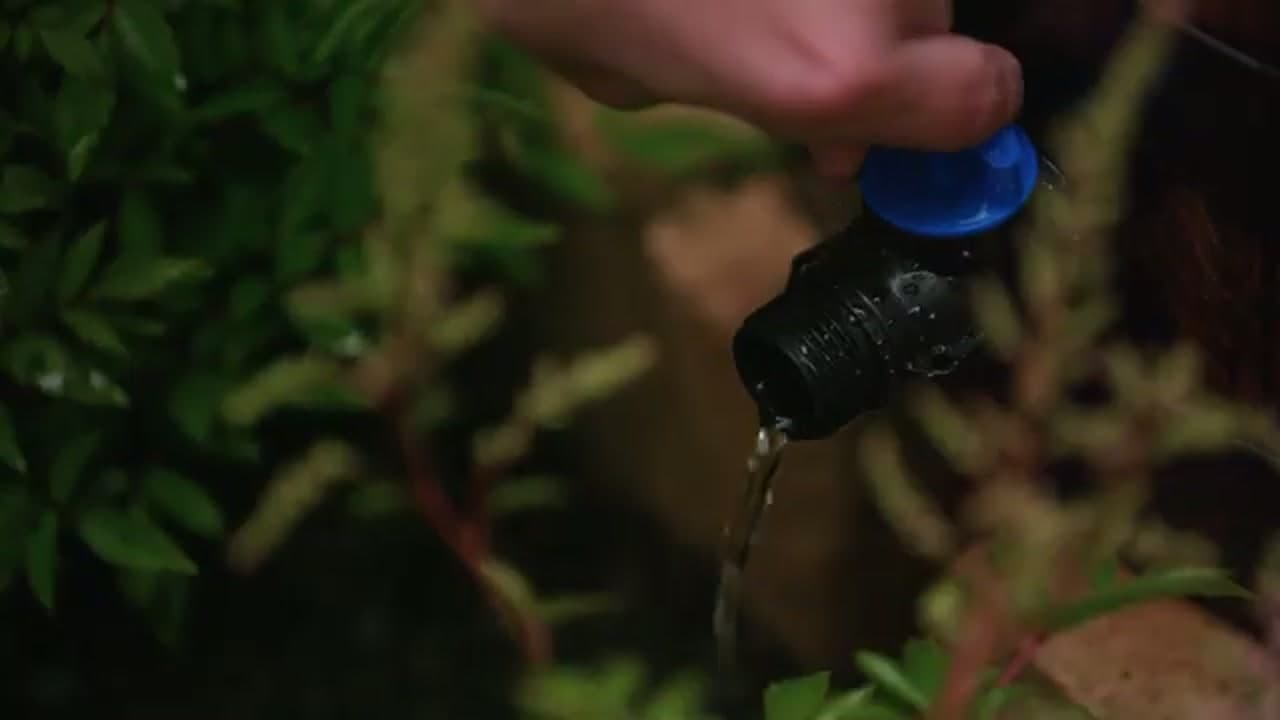
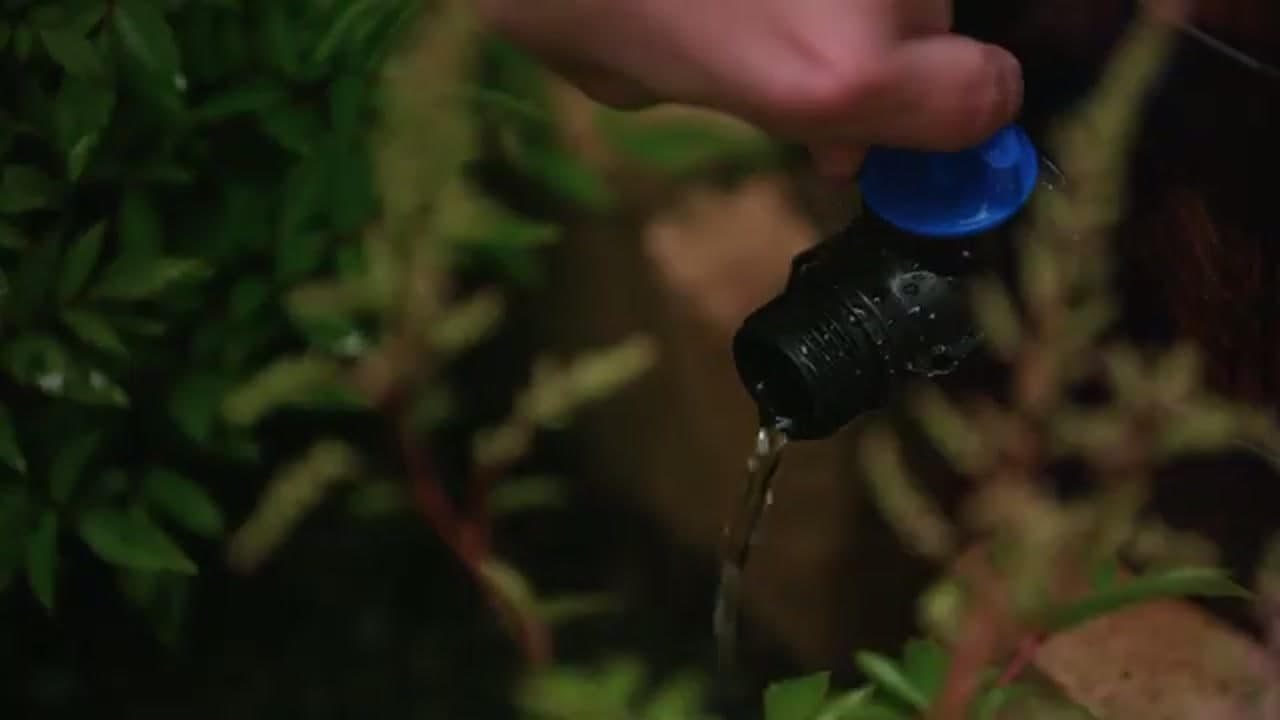
Now the payoff. Open the spigot and let gravity do the work. You can fill a watering can right at the barrel or thread on a garden hose to reach the beds. After a good storm this barrel holds enough to keep nearby plants going through a dry stretch. It is free water you were sending down the storm drain, now feeding the garden a few feet away.

Tip

Raising the barrel on blocks gives you more head pressure, which makes filling a can under the spigot far easier.

Products Used

☐ The Checklist

How to Install a Rain Barrel

Tools
7
Materials
7
Steps
7
Video
11 min

Your Guide

This Old House

As an Amazon Associate we earn from qualifying purchases. Links on this page may be affiliate links - clicking them and buying doesn't change your price, but helps support ShowMeStepByStep.

Tags

Sunday How-To

New gardening tutorials, every Sunday

One short email with the week's best step-by-step guides. Free, no spam, unsubscribe anytime.

Did this work for you?

What's next

Related collections

Curated theme pages that include this tutorial.

Weekly Digest

Liked this gardening tutorial?

Pick the categories you want to hear about. Weekly digest of new step-by-step tutorials. No spam, easy unsubscribe.

Send me tutorials about

We only email about new tutorials. Easy unsubscribe anytime.