How to Install a Drip Irrigation System

GardeningMedium19:038 stepsBrowse more →

By ShowMeStepByStepPublished

Based on a video by Garden Answer.

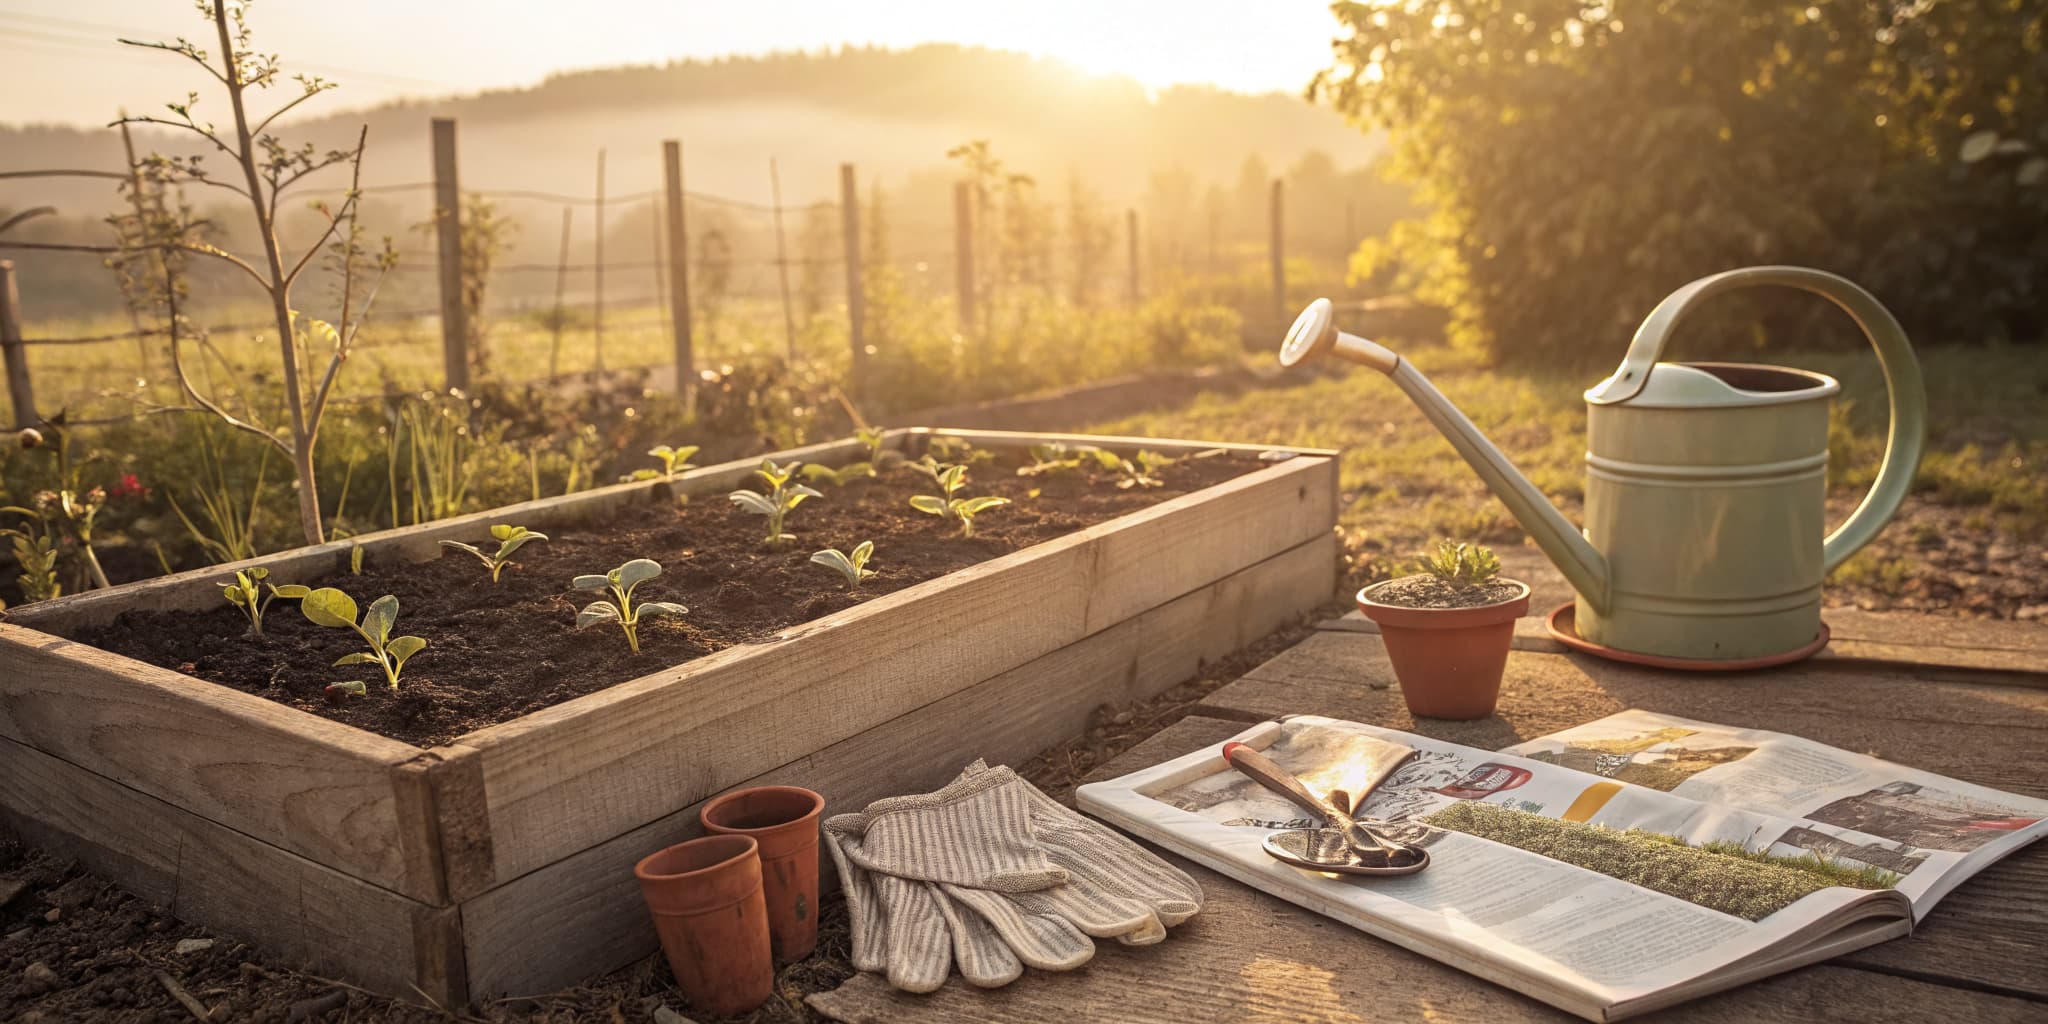
Hand watering a whole garden of raised beds gets old fast. In this project, Laura from Garden Answer sets up a complete drip irrigation system that runs off one outdoor hose faucet and waters every bed on a schedule.

You will start at the spigot with a hose timer, a pressure regulator, and a filter. From there you run 1/2-inch mainline tubing out to the beds, lay drip lines down each one, and connect them with simple barbed fittings. Once it is done, the timer handles the watering for you.

This pairs well with your raised beds if you are still building out the garden. Follow along and you can have the whole system running in an afternoon.

Step-by-Step Guide

1

Attach the Hose Timer to the Spigot

5:00
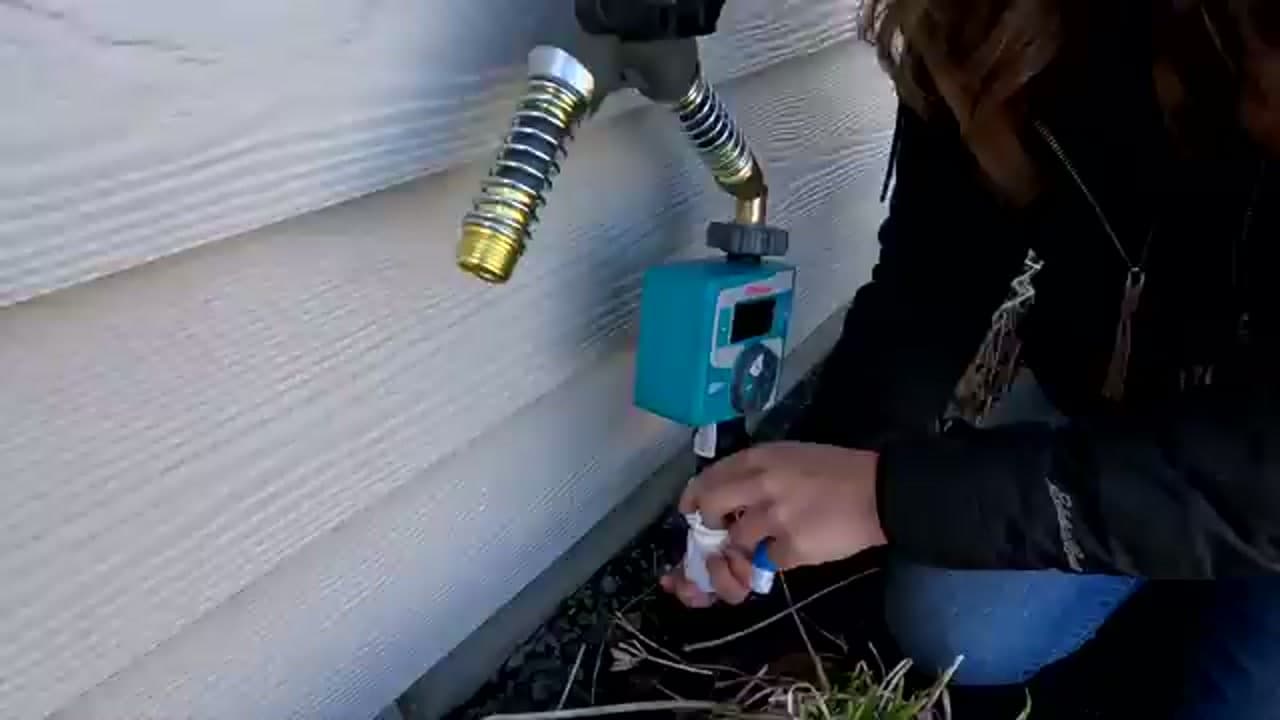
Step 1: Attach the Hose Timer to the Spigot

Start right at the outdoor faucet. Thread the backflow adapter onto the spigot, then screw the hose timer onto that. Hand-tighten each connection so it is snug and does not drip. The timer is the brain of the system, so give it a solid, straight connection at the faucet before you add anything below it.

Tip

A backflow preventer keeps garden water from siphoning back into your household supply. Some spigots have one built in, but adding your own is cheap insurance.
2

Add the Pressure Regulator and Filter

5:05
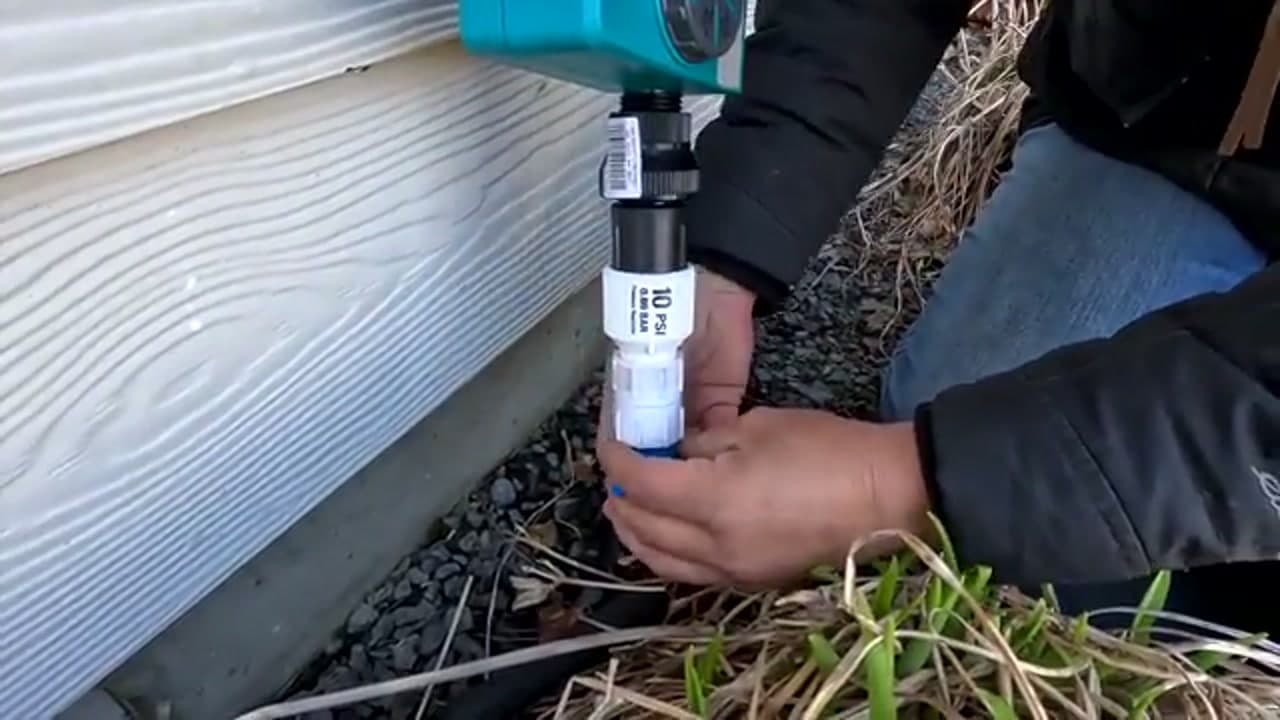
Step 2: Add the Pressure Regulator and Filter

Drip tubing runs at low pressure, so household water will blow it apart without a regulator. Screw the 10 PSI pressure regulator onto the bottom of the timer, then add the inline filter. The filter catches grit and sediment before it reaches the tiny emitter openings and clogs them. Snug both down by hand.

3

Connect the Mainline Tubing

5:40
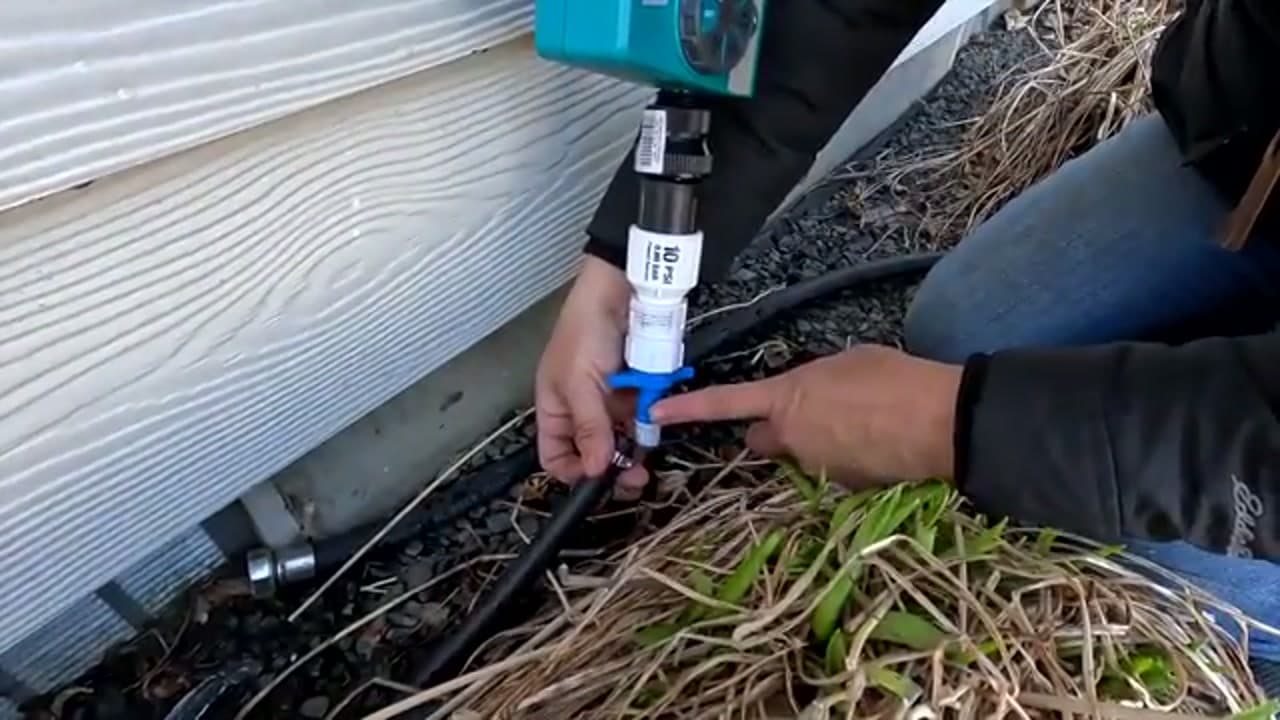
Step 3: Connect the Mainline Tubing

Now join the 1/2-inch mainline tubing to the bottom of the filter with a swivel adapter fitting. This is the tube that carries water from the faucet out to the garden. Push it firmly onto the barbed fitting so it seats fully. Give it a tug to make sure it will not pop off once the water is running.

4

Run the Mainline to the Beds

8:20
Step 4: Run the Mainline to the Beds

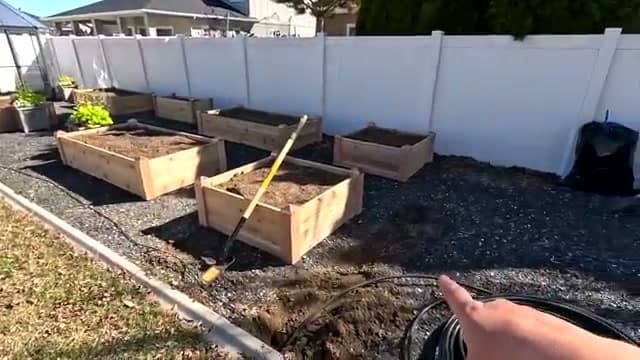
Roll the mainline out from the spigot toward the raised beds. Run it along the house foundation and any edging or gravel paths so it stays tucked out of the way and out of the mower's path. Bring it right up to the first bed. Leave a little slack so you are not fighting the tubing when you make connections.

Tip

Let black tubing sit in the sun for a few minutes first. It softens up and is much easier to straighten and route.

Products used in this step

5

Lay Drip Tubing Along Each Bed

9:00
Step 5: Lay Drip Tubing Along Each Bed

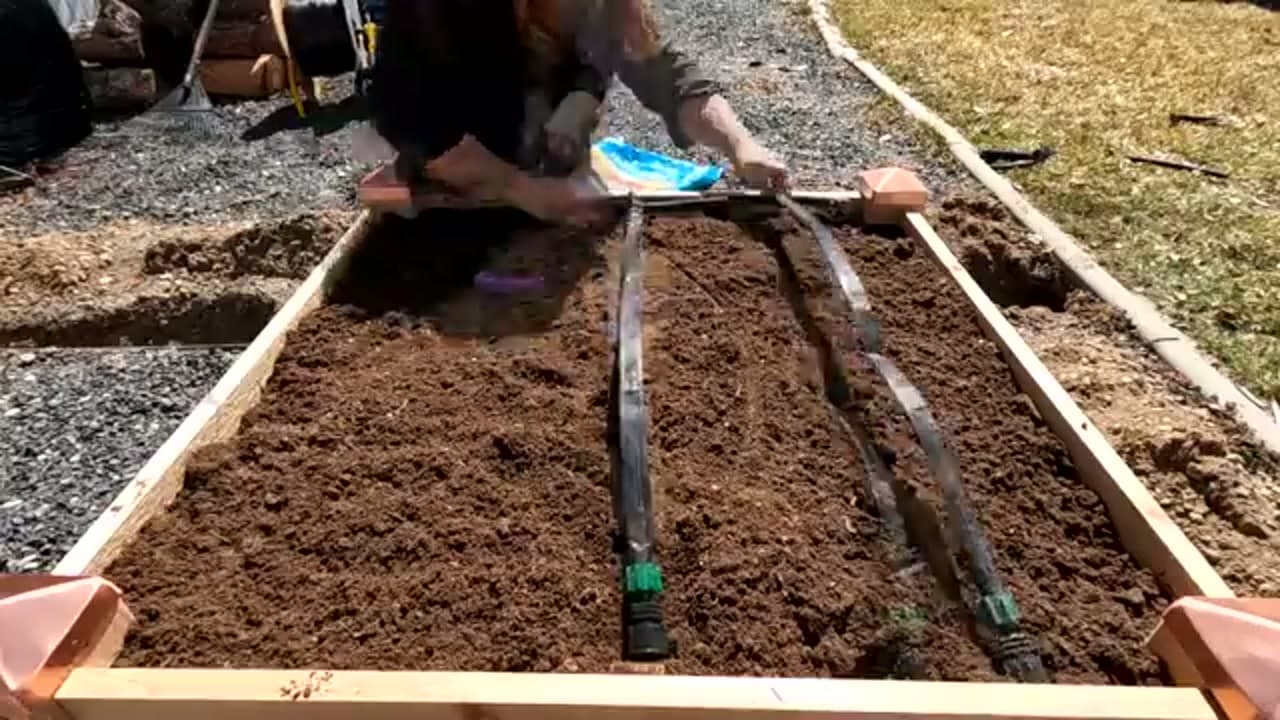
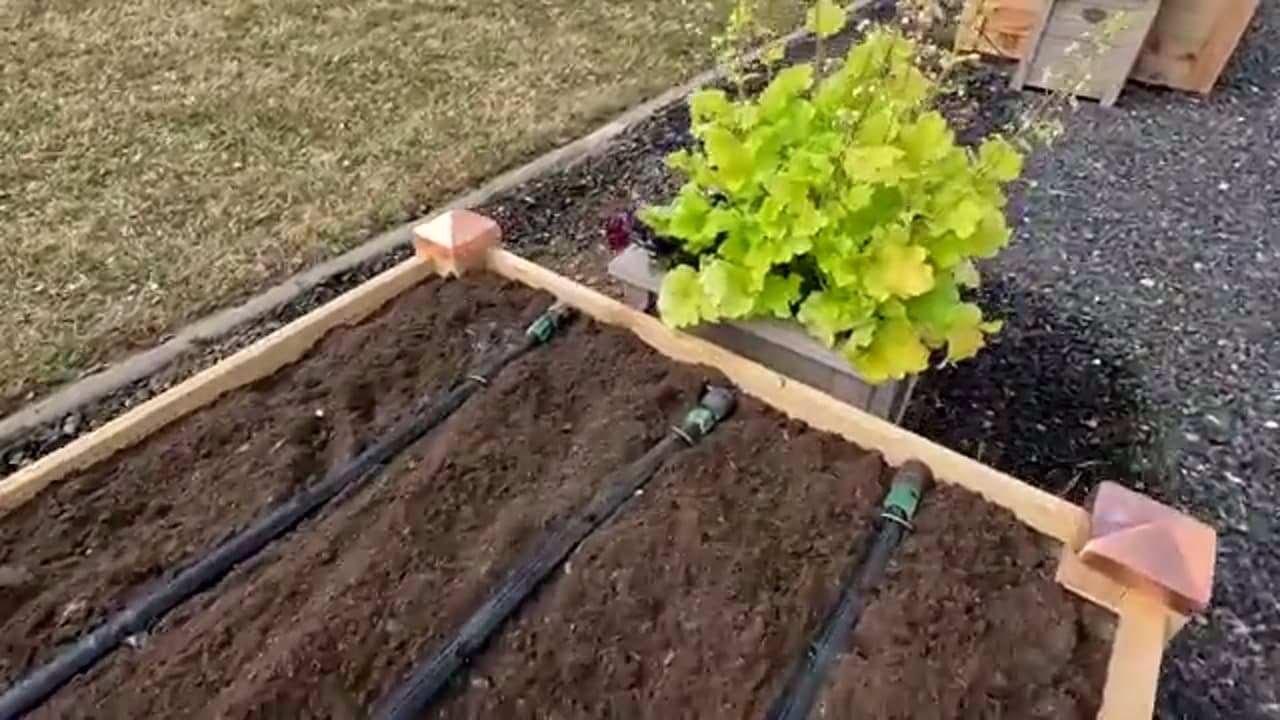
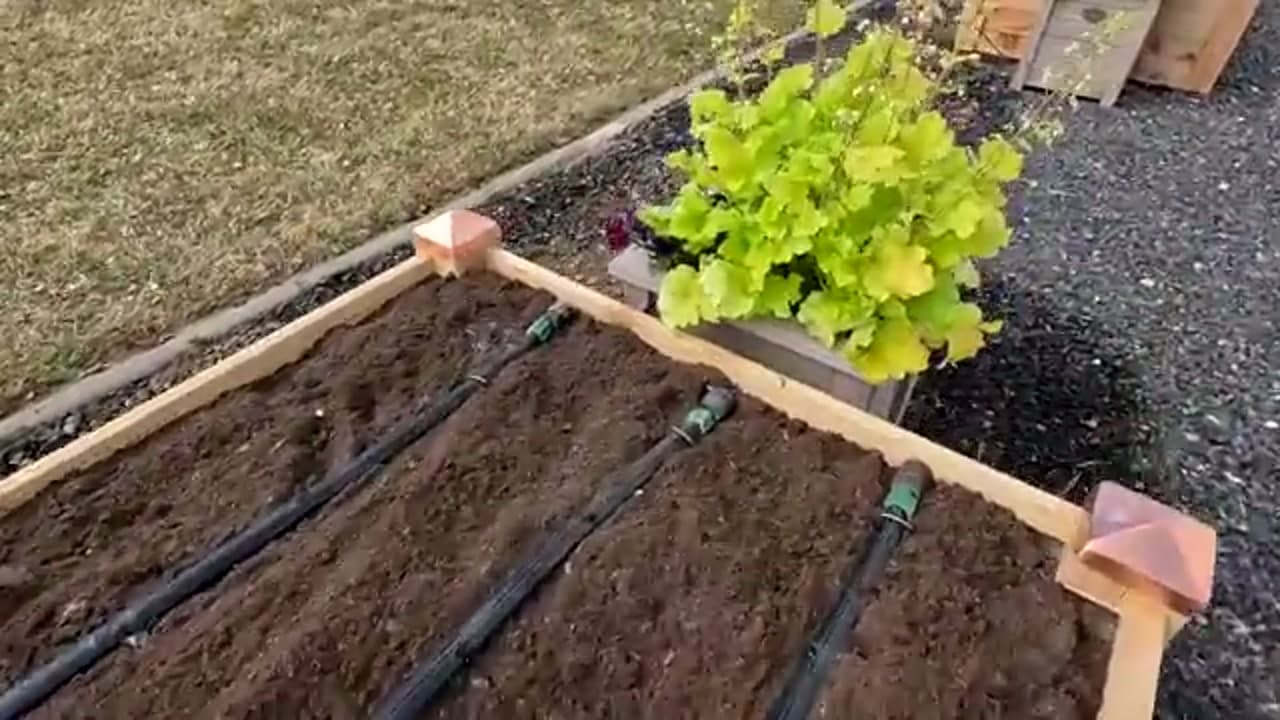
Run the drip lines down the length of each raised bed. Space them evenly across the soil so every planting row sits within reach of water. For most beds, two or three parallel lines cover the whole surface. Lay them out first and eyeball the spacing before you commit to any connections.

6

Connect the Drip Lines to the Mainline

12:20
Step 6: Connect the Drip Lines to the Mainline

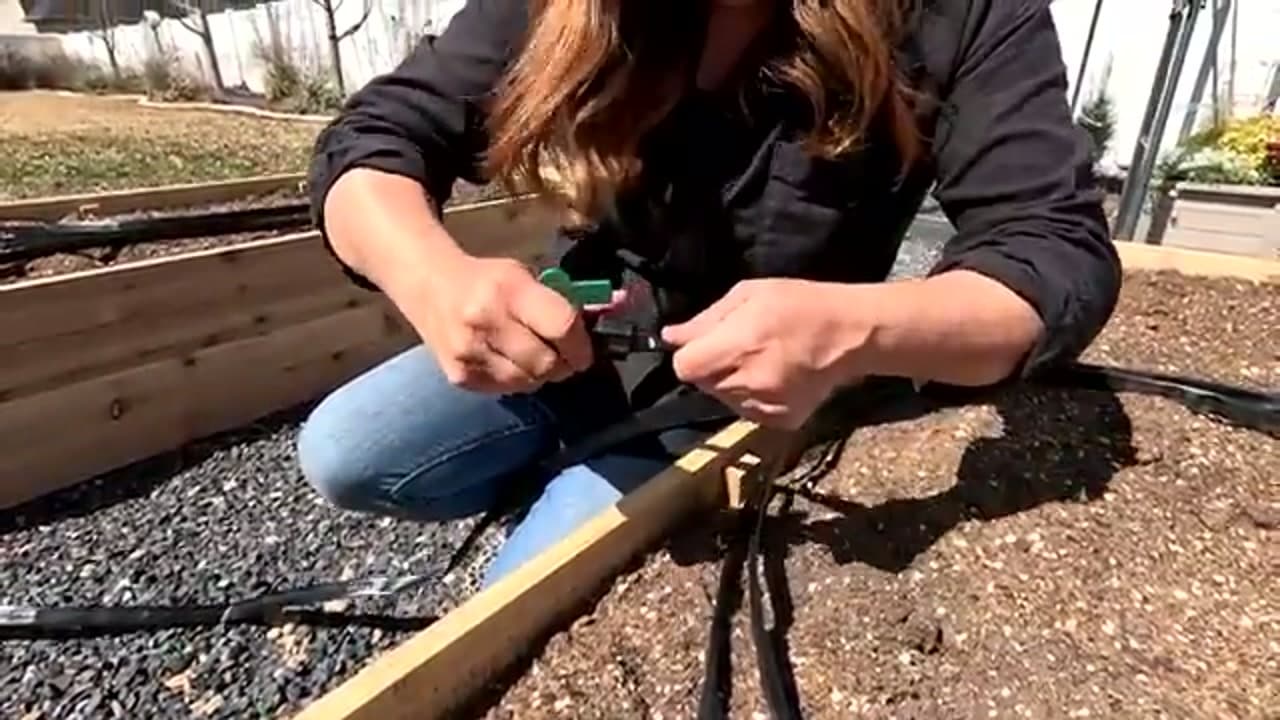
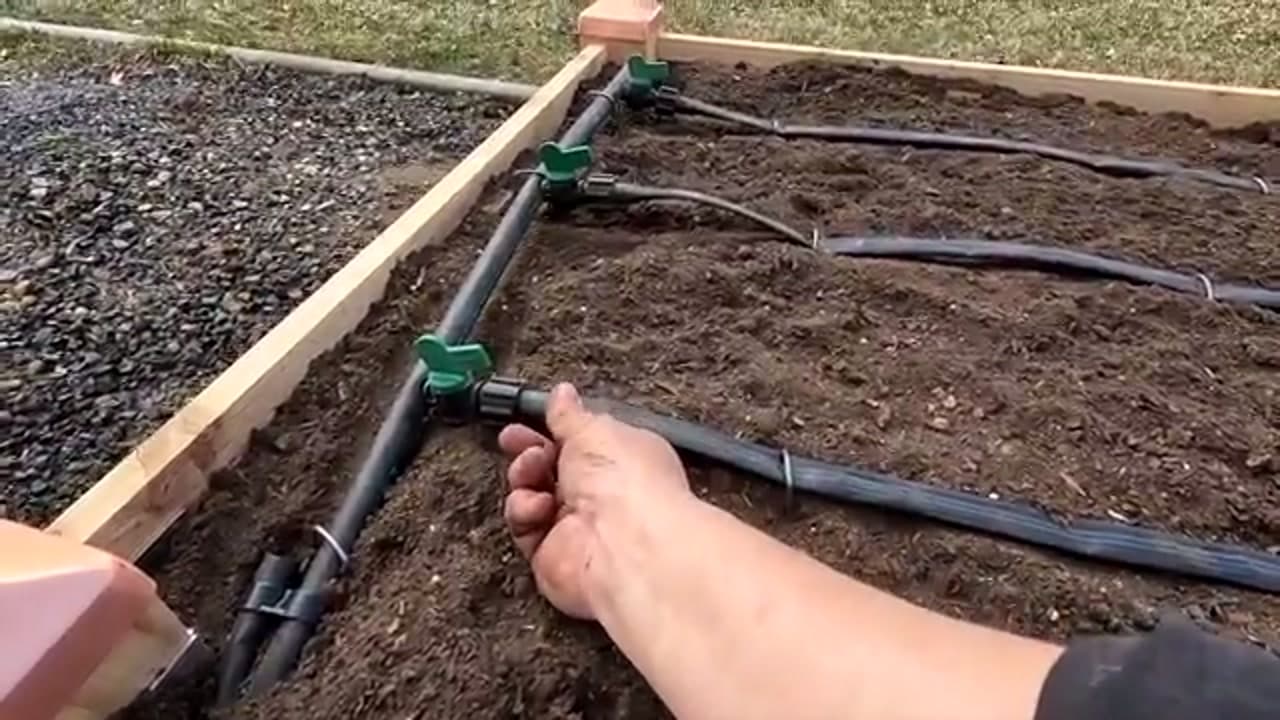
Where each bed meets the mainline, punch a hole and insert a barbed valve fitting, then push the drip line onto it. The green shut-off valves are worth the extra couple of dollars. They let you turn one bed off while the rest keep watering, which is handy when a bed is empty or resting between seasons.

Tip

Use the hole punch tool made for drip tubing. A knife or screwdriver tears an uneven hole that leaks around the fitting.

7

Cap the Ends and Finish the Runs

16:20
Step 7: Cap the Ends and Finish the Runs

Work your way across the manifold, connecting the last emitter lines into the bed. Push each tube fully onto its barbed connector so it holds under pressure. Then cap or fold-and-clamp the open ends of every run. Sealed ends are what build the pressure that pushes water evenly out of every emitter down the line.

8

Test the System and Set the Timer

16:50
Step 8: Test the System and Set the Timer

Turn the water on and let it flush through for a minute to clear any debris. Walk each bed and check that every line is dripping and nothing is spraying from a loose fitting. Fix any leaks, then program the timer for your watering schedule. From here the system waters right at the soil, so your beds stay evenly moist with no hand watering.

Tip

Early morning is the best watering window. The soil soaks it in before the heat of the day and leaves stay dry, which cuts down on disease.

Products Used

☐ The Checklist

How to Install a Drip Irrigation System

Tools
3
Materials
5
Steps
8
Video
19 min

Your Guide

Garden Answer

As an Amazon Associate we earn from qualifying purchases. Links on this page may be affiliate links - clicking them and buying doesn't change your price, but helps support ShowMeStepByStep.

Tags

Sunday How-To

New gardening tutorials, every Sunday

One short email with the week's best step-by-step guides. Free, no spam, unsubscribe anytime.

Did this work for you?

What's next

Related collections

Curated theme pages that include this tutorial.

Weekly Digest

Liked this gardening tutorial?

Pick the categories you want to hear about. Weekly digest of new step-by-step tutorials. No spam, easy unsubscribe.

Send me tutorials about

We only email about new tutorials. Easy unsubscribe anytime.