How to Regrow Lettuce From Scraps in Water

GardeningEasy4:076 stepsBrowse more →

By ShowMeStepByStepPublished

Based on a video by Jenn Stavropoulos.

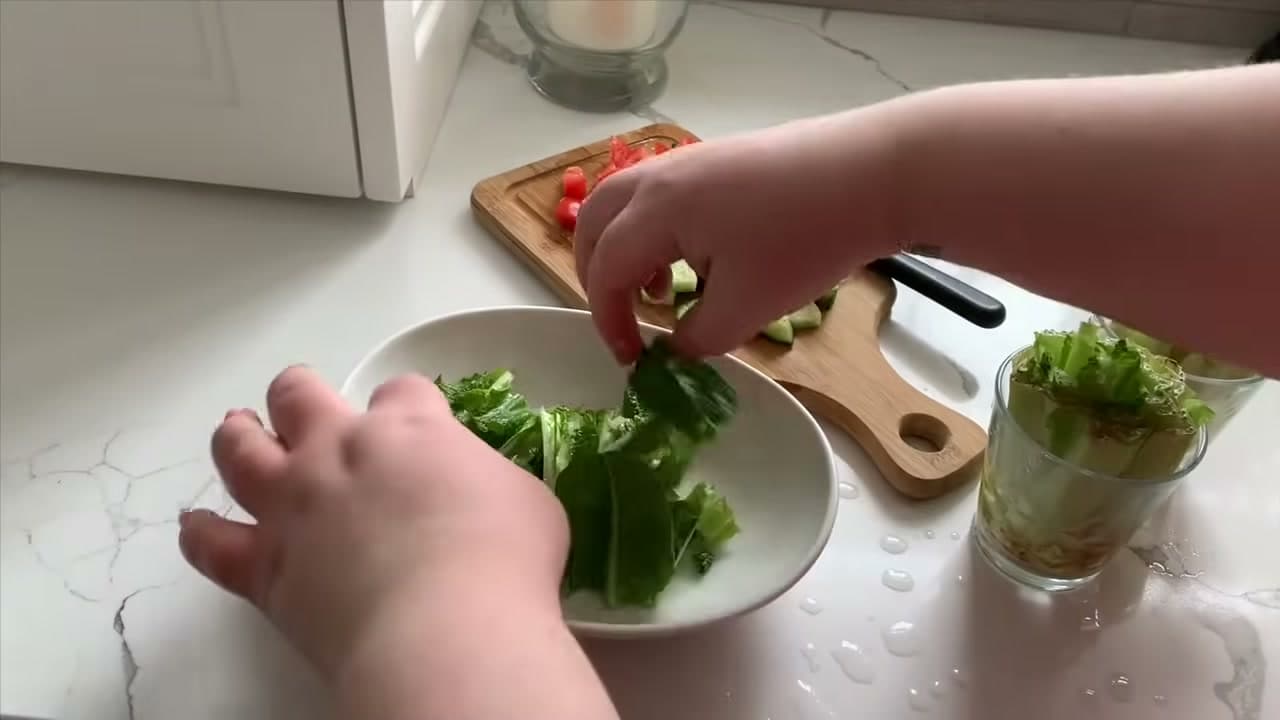
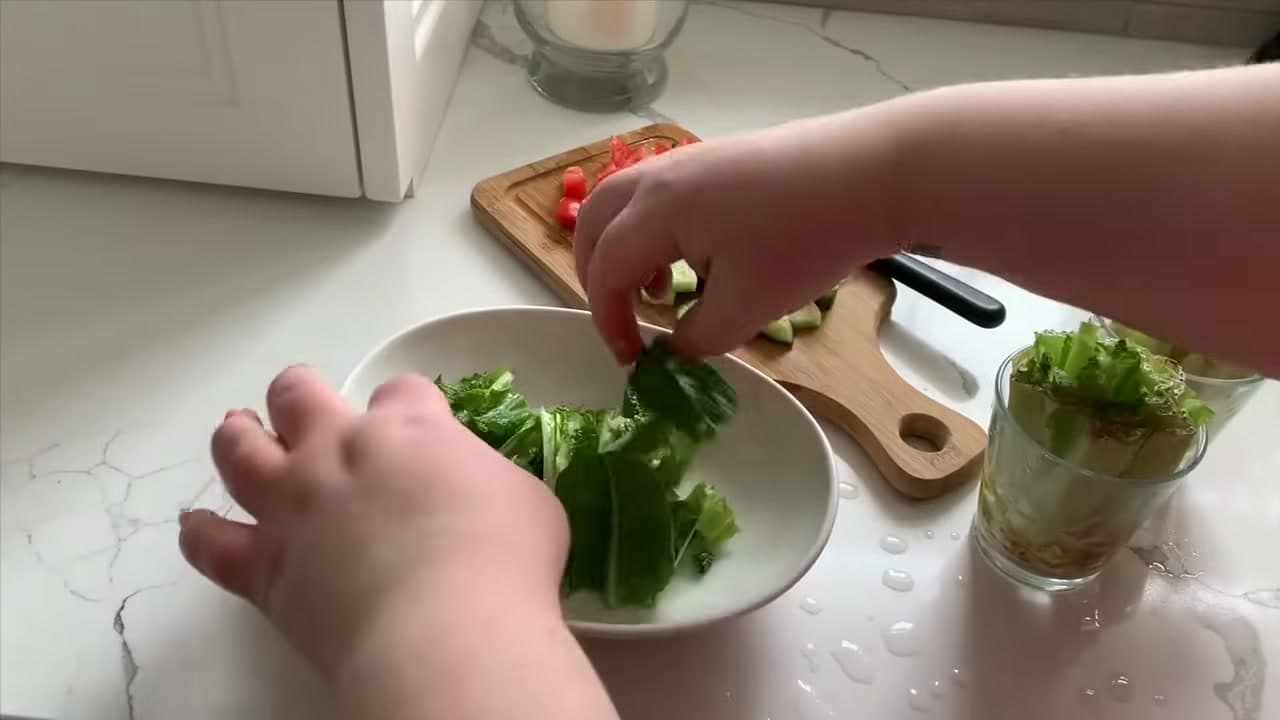
The bottom of a head of romaine usually goes straight in the trash. It doesn't have to. Set that leftover stump in a little water on a sunny windowsill and the center starts pushing out fresh green leaves within a few days. Jenn Stavropoulos walks through the whole thing in her video, and it costs you nothing but a glass and some tap water.

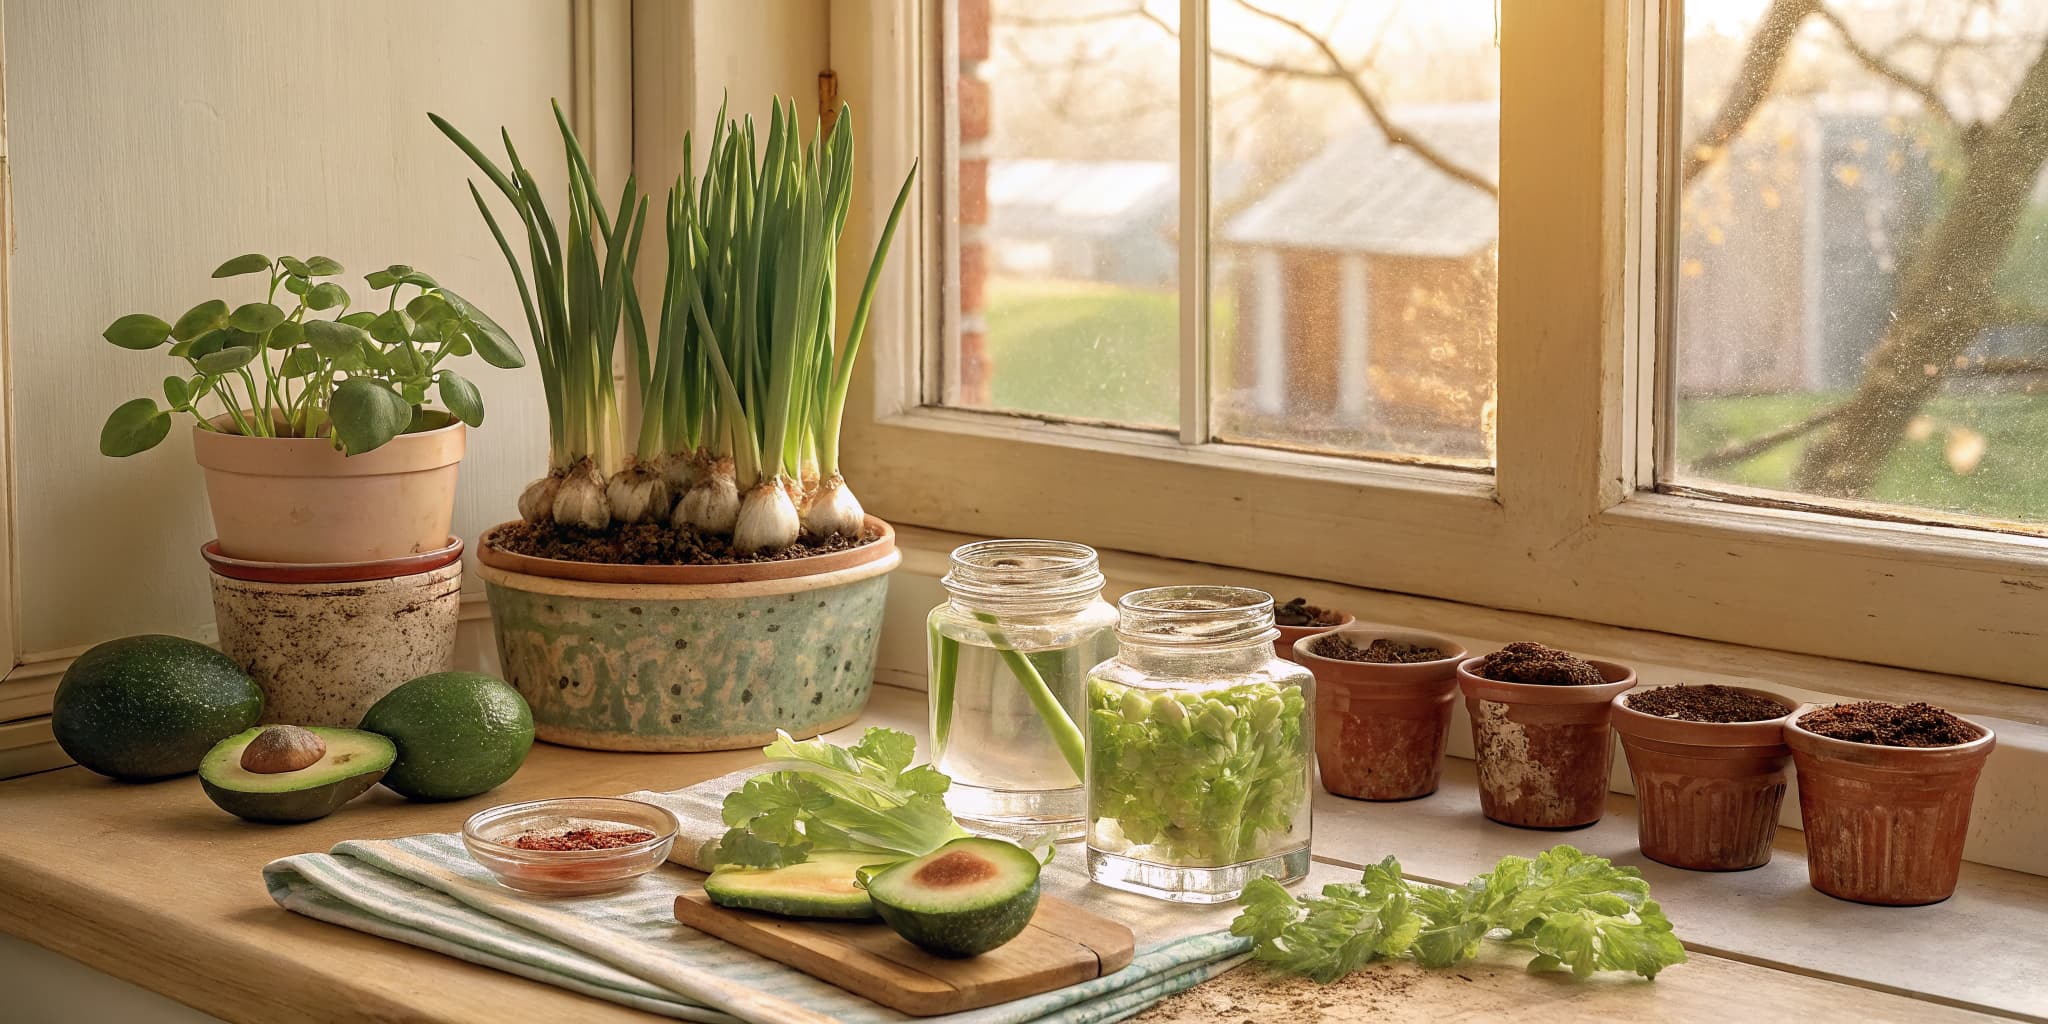
This is the same trick that works for a handful of other kitchen scraps. If you like this one, try regrowing green onions, regrowing celery, and growing ginger from a store-bought root. They all follow the same put-it-in-water-and-wait pattern, so once you've got lettuce going, the rest are easy add-ons on the same windowsill.

A quick note on what to expect. Water-grown lettuce gives you a couple of good flushes of tender inner leaves, not a full head. It's perfect for topping a sandwich or padding out a salad, and it buys you extra harvests off produce you already paid for. Once the base has rooted and thrown out its first leaves, you can pot it up in soil for a bigger crop, or just keep cutting and enjoy the free greens. Once it's growing well, here's how to harvest lettuce the right way so the plant keeps producing.

Step-by-Step Guide

6 steps · about 4 minutes.Check off each step as you go and your progress saves automatically.

1

Step 1: Save the Lettuce Base

0:15
Step 1: Step 1: Save the Lettuce Base

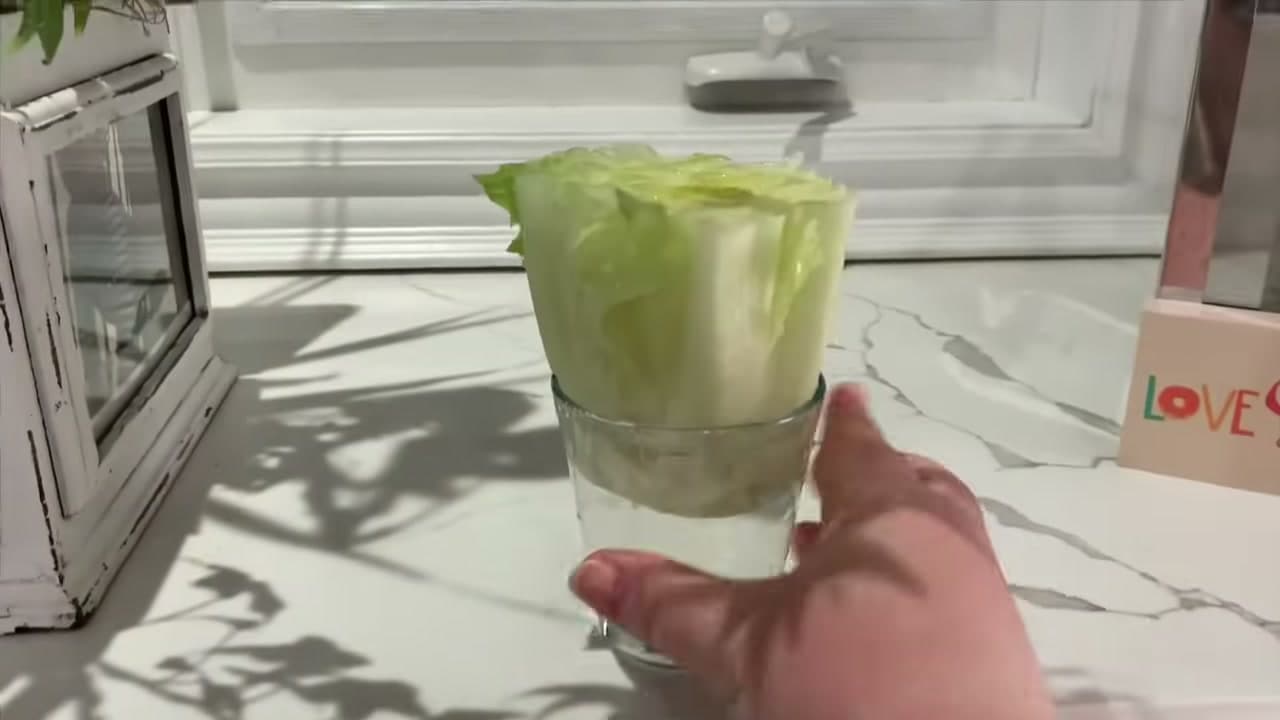
Next time you break down a head of romaine, keep the bottom. Instead of chopping right to the end, cut straight across and leave the last two to three inches of the solid stem base in one piece. That white core is the part that regrows, so you want it whole and undamaged.

Leaf lettuce and romaine both work well for this. Skip anything that's already going soft or brown at the base. A firm, fresh-looking stump has the best shot at sending up new leaves.

Tip

Watch this step Cut the base a little taller than you think you need. A longer stump holds more water and sits more steadily in the glass without tipping.

Products used in this step

2

Step 2: Stand It in Shallow Water

0:45
Step 2: Step 2: Stand It in Shallow Water

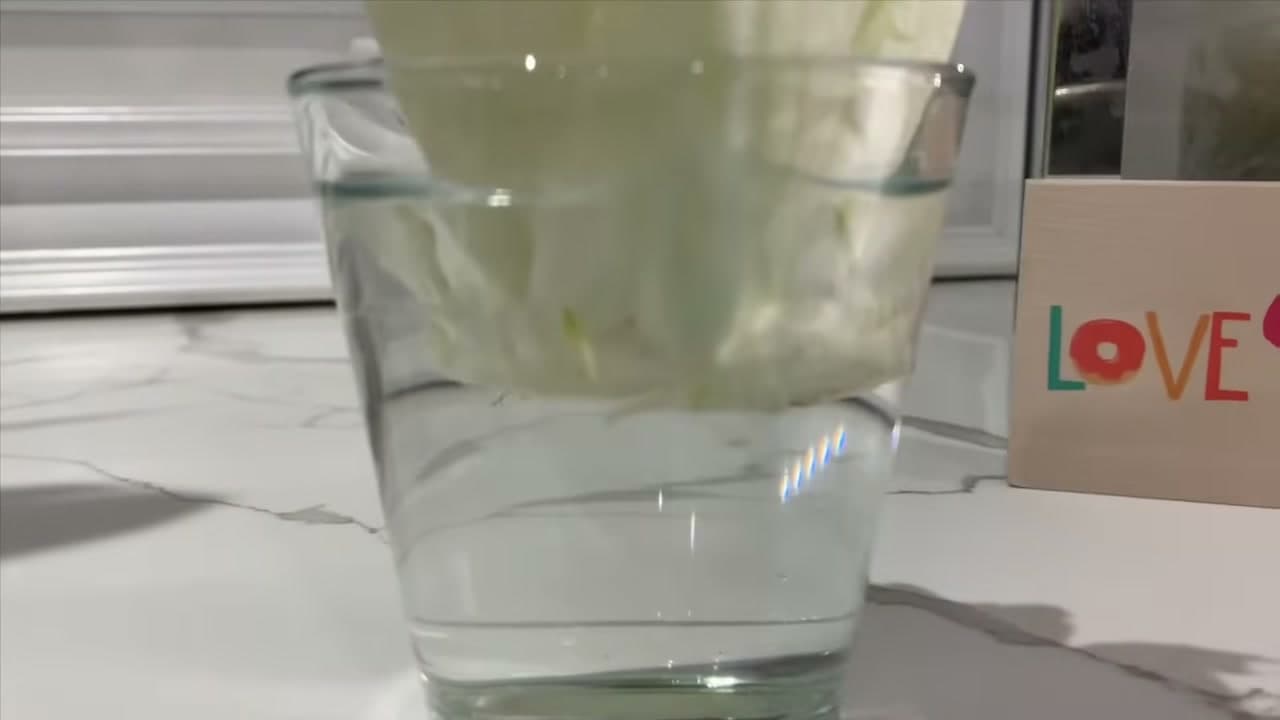
Set the base cut-side up in a short, wide glass or a small dish. Pour in enough water to cover the bottom inch of the stump, no more. The base should sit in shallow water, not float and not drown. Too much water and the whole thing gets soggy and rots.

A clear glass earns its keep here. You can watch the water level, spot the first tiny roots, and see when it's time for a refill without guessing.

Tip

Watch this step Pick a glass that grips the base a bit. If the stump wobbles, a narrower glass or a small dish inside a mug keeps it upright while it roots.

3

Step 3: Put It on a Bright Windowsill

1:35
Step 3: Step 3: Put It on a Bright Windowsill

Move the glass to a windowsill that gets a few hours of light a day. Light is what tells the center to start growing, so a bright spot matters more than warmth here. A south or east-facing window is ideal.

Give the glass a quarter turn every day or two. Lettuce leans toward the light, and turning it keeps the new growth coming up straight instead of flopping to one side.

Tip

Watch this step No sunny window? A cheap desk lamp or grow light a few inches above the base works fine, since the plant just needs steady light to sprout.

Products used in this step

4

Step 4: Change the Water Every Day or Two

1:15
Step 4: Step 4: Change the Water Every Day or Two

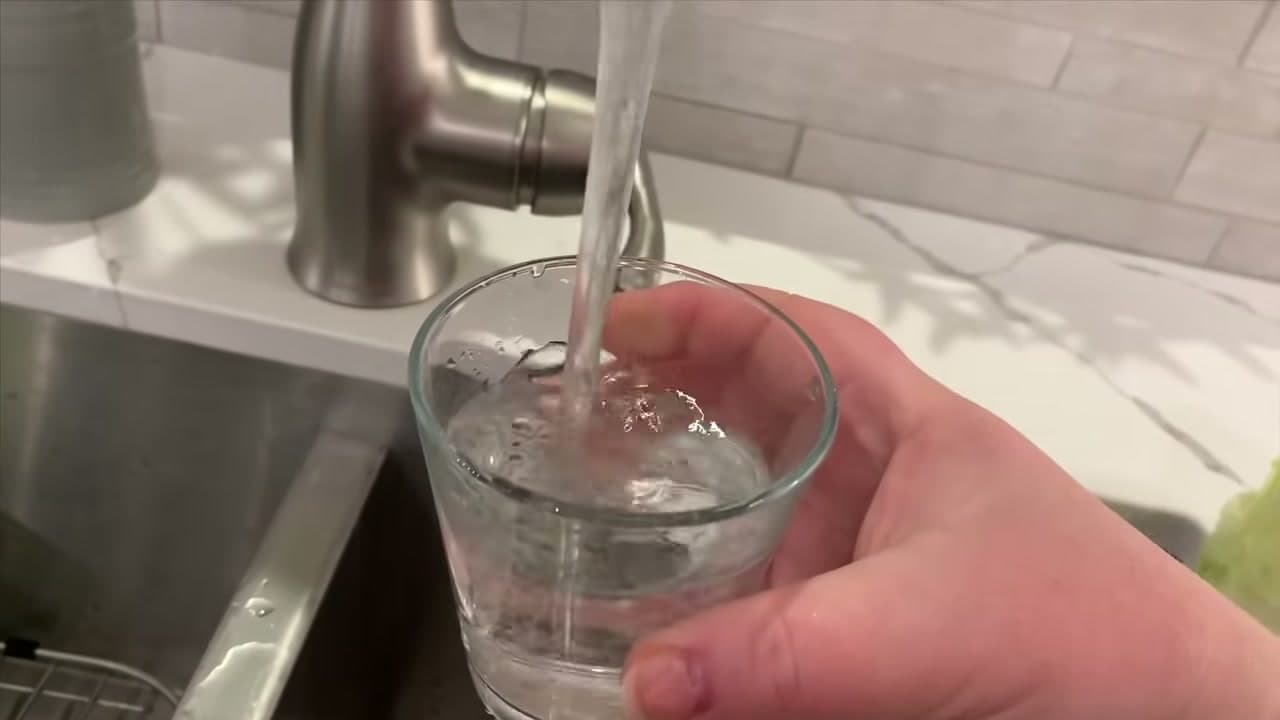
This is the step that makes or breaks it. Every one to two days, tip out the old water, rinse the glass, and refill to the same shallow level with fresh water. Clean water keeps the base firm and stops it from turning slimy.

Old, cloudy water is the number one reason a regrow fails. It starts to smell, the stump softens, and the new growth stalls. Stay on top of the swap and the base keeps sprouting.

Tip

Watch this step If the water clouds fast or the base smells sour, swap it daily for a while. Warm rooms speed up both growth and spoilage.

5

Step 5: Watch the New Center Grow

2:15
Step 5: Step 5: Watch the New Center Grow

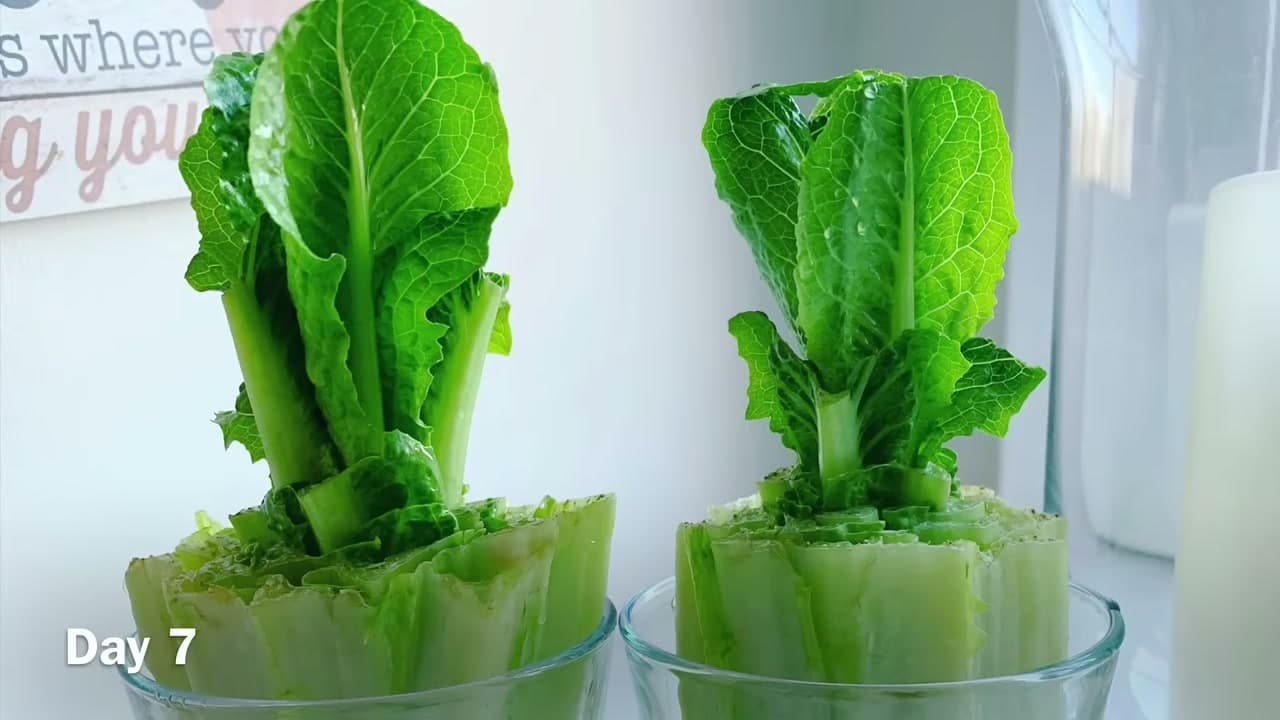
Within a few days a fresh green center pushes up from the middle of the old base. By day six to eleven those inner leaves stretch a few inches tall and deepen to a rich green. It happens faster than you'd expect for something sitting in plain tap water.

The new growth all comes from the heart of the stump, not the outer ring, so leave the base alone and let it work. Keep changing the water and keep it in the light.

Tip

Watch this step The outer ring of the old base will yellow and soften as the center grows. That's normal - just keep the fresh middle leaves and the water clean.

6

Step 6: Harvest, or Pot It Up for More

3:15
Step 6: Step 6: Harvest, or Pot It Up for More

Once the new leaves are a few inches tall, start using them. Snip or pinch the outer leaves and let the center keep going, or cut the whole flush at once for a salad. A water-grown base gives you a couple of good harvests before it runs out of steam.

Want more than a couple of cuttings? Once you see roots, move the base into a small pot of potting soil. In soil it can push out a lot more leaves than it ever will in a glass of water.

Tip

Watch this step Harvest in the morning when the leaves are crisp and full of water. Cut, don't tear, so the remaining plant heals cleanly and keeps producing.

Products Used

☐ The Checklist

How to Regrow Lettuce From Scraps in Water

Tools
3
Materials
3
Steps
6
Video
4 min

Tools we recommend

Your Guide

Jenn Stavropoulos

As an Amazon Associate we earn from qualifying purchases. Links on this page may be affiliate links - clicking them and buying doesn't change your price, but helps support ShowMeStepByStep.

Tags

Sunday How-To

New gardening tutorials, every Sunday

One short email with the week's best step-by-step guides. Free, no spam, unsubscribe anytime.

Did this work for you?

What's next

Related collections

Curated theme pages that include this tutorial.

Weekly Digest

Liked this gardening tutorial?

Pick the categories you want to hear about. Weekly digest of new step-by-step tutorials. No spam, easy unsubscribe.

Send me tutorials about

We only email about new tutorials. Easy unsubscribe anytime.