How to Grow a Pineapple Top in Water

GardeningEasy8:196 stepsBrowse more →

By ShowMeStepByStepPublished

Based on a video by The Ripe Tomato Farms.

That leafy crown you usually toss in the trash can grow into a real pineapple plant. This tutorial comes from The Ripe Tomato Farms, the same channel behind our green onion regrow guide, and it uses the water method instead of sticking the top straight into soil. Rooting in water is more reliable, and you get to watch the roots form through the glass.

The idea is simple. You cut the crown off a store-bought pineapple, peel back the lower leaves to expose a short section of bare stem, then rest that stem in a jar of water on a windowsill. Over a few weeks, white roots push out and a fresh green shoot appears in the center. Once the crown has a solid mass of roots, it moves into a pot of soil and carries on as a houseplant.

This is a great one to try with kids because there is no rush and almost nothing to buy. If you like turning kitchen leftovers into plants, it pairs well with regrowing celery and growing ginger from a piece of root. Want another slow-burn edible to grow alongside it? Take a look at growing strawberries too.

Step-by-Step Guide

6 steps · about 8 minutes.Check off each step as you go and your progress saves automatically.

1

Step 1: Cut the Top Off the Pineapple

2:46
Step 1: Step 1: Cut the Top Off the Pineapple

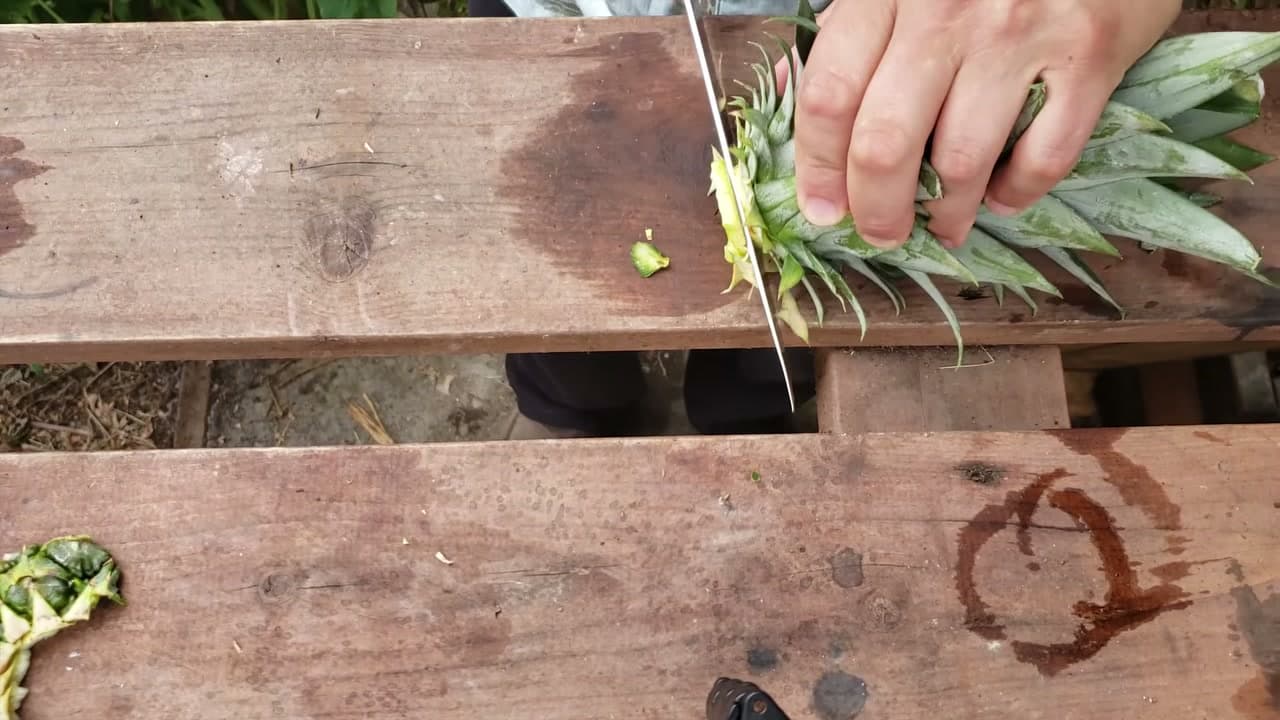
Start with a fresh store-bought pineapple that has a healthy green crown. Lay it on a cutting board, grip the leaves with one hand, and slice straight across just under the base of the leaves with a sharp knife.

Aim to keep the whole leafy top plus a thin sliver of fruit attached. You do not want a big chunk of the sweet flesh riding along, since leftover fruit sitting in water is the first thing to rot. A clean, close cut sets you up for the rest.

Tip

Watch this step Pick a pineapple with firm, green center leaves. A dried-out or yellowing crown has a much harder time rooting.

Products used in this step

2

Step 2: Peel the Lower Leaves to Expose the Stem

3:18
Step 2: Step 2: Peel the Lower Leaves to Expose the Stem

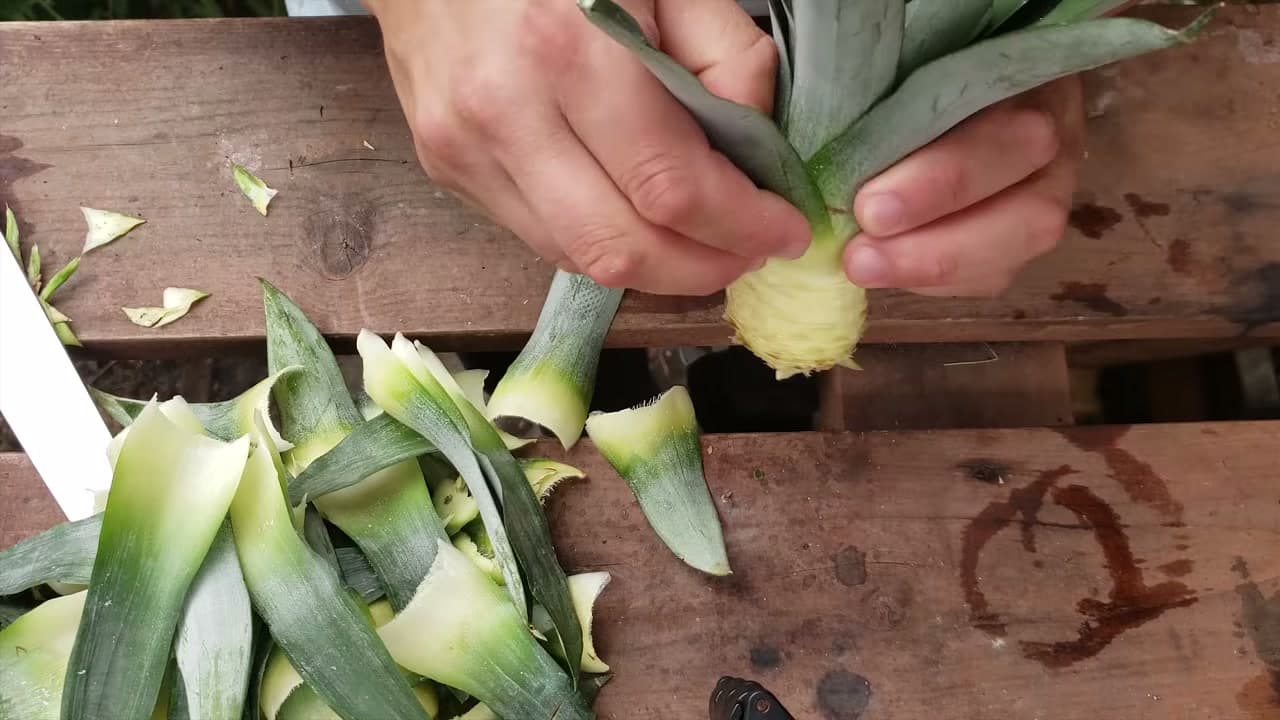
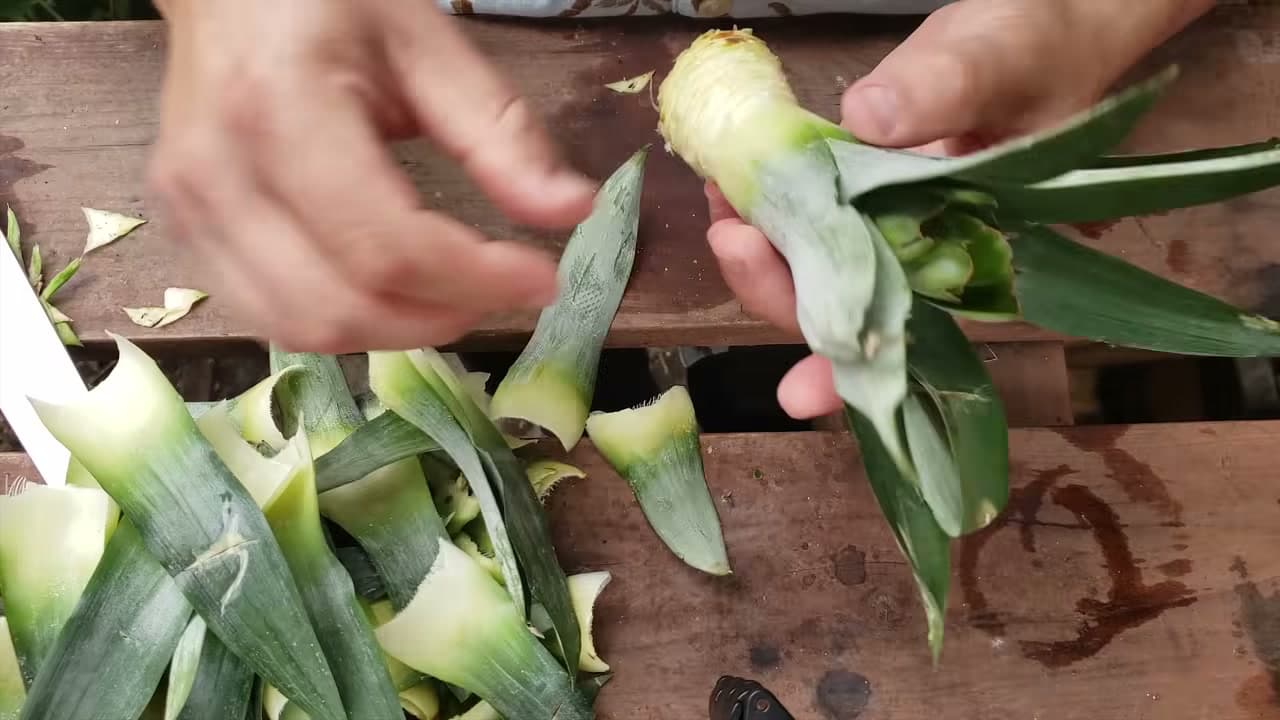
Now strip the lower leaves off the crown, working from the bottom up. Pull each leaf downward and it should snap off cleanly, leaving a small ring on the stem where it was attached.

Keep peeling until you have roughly an inch of bare, pale stem showing below the leafy tuft. Those little rings and bumps are the spots where new roots break out, so exposing them is the whole point of this step. Set the stripped leaves aside for the compost.

Tip

Watch this step If a leaf tears instead of snapping off cleanly, twist it a little as you pull. The goal is a clean scar, not a ragged strip of leftover leaf.

Products used in this step

3

Step 3: Trim the Base and Let It Dry

3:24
Step 3: Step 3: Trim the Base and Let It Dry

Check the bottom of the crown and trim away any leftover fruit still clinging to the stem. Any soft flesh left down there will turn slimy in water and can spoil the whole thing before roots ever appear.

Once it is clean, set the crown somewhere dry and out of direct sun for a day or two. Letting the cut end dry and callus over is an old succulent trick, and it gives the stem a protective seal so it soaks up water instead of rotting.

Tip

Watch this step Stand the crown upright in an empty cup while it dries so air can reach the cut end from all sides.

Products used in this step

4

Step 4: Suspend the Stem in Water

3:42
Step 4: Step 4: Suspend the Stem in Water

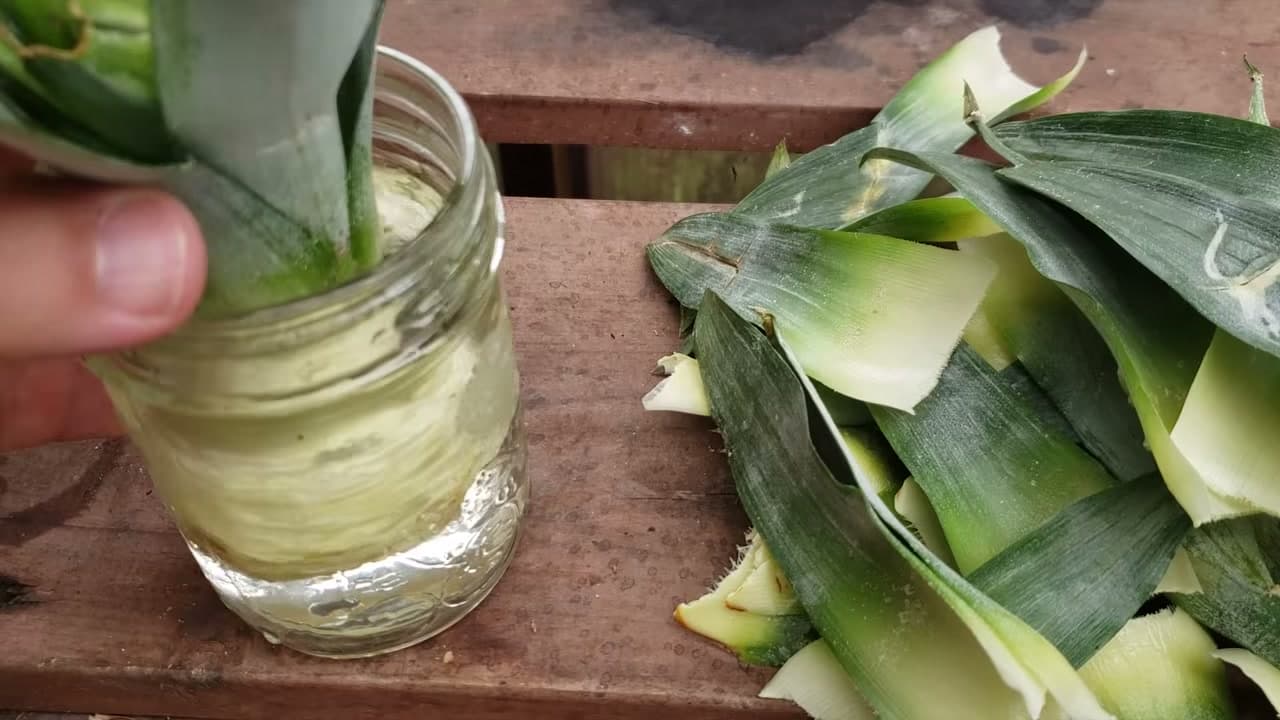
Fill a small glass jar or cup with water and rest the crown in it so only the bare stem is submerged. The leaves should sit above the rim, dry and out of the water. A narrow-mouth jar helps here because it holds the crown upright without any support.

Set the jar on a bright windowsill with indirect light. Top up the water as the level drops, and keep an eye that the leaves themselves never end up sitting in the water.

Tip

Watch this step A short, wide-based jar tips over less easily. If your crown is top-heavy, a jar with a heavy glass bottom keeps it steady.

Products used in this step

5

Step 5: Wait for Roots and Refresh the Water

4:30
Step 5: Step 5: Wait for Roots and Refresh the Water

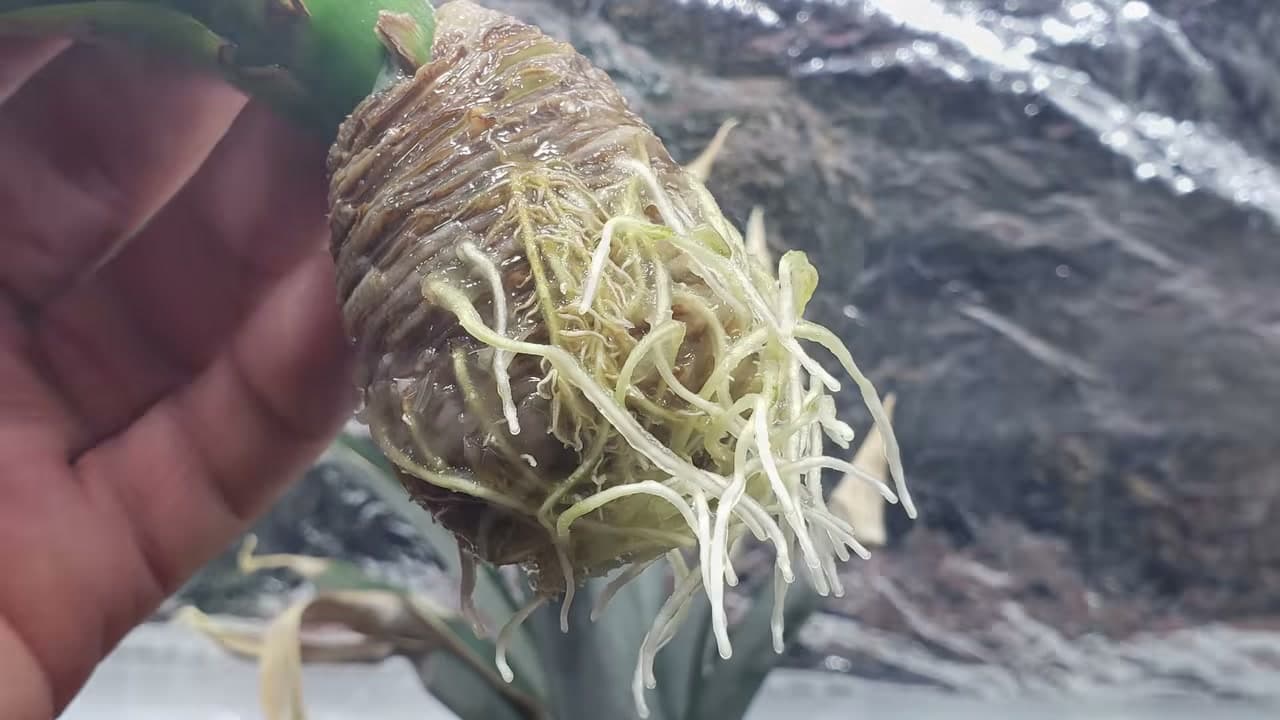
This is where patience pays off. Over the next few weeks, white roots push out from the bare stem, often starting around 10 to 14 days in. Change the water every few days so it stays clear, since cloudy water invites rot and stalls the roots.

Watch for a fresh green shoot pushing up from the center of the crown too. When the stem has a thick tangle of roots and that new growth is going, the plant is ready to move into soil.

Tip

Watch this step Roots that are a couple of inches long transplant best. Too short and they struggle in soil, too long and they tangle and break.

Products used in this step

6

Step 6: Pot Up the Rooted Crown

6:54
Step 6: Step 6: Pot Up the Rooted Crown

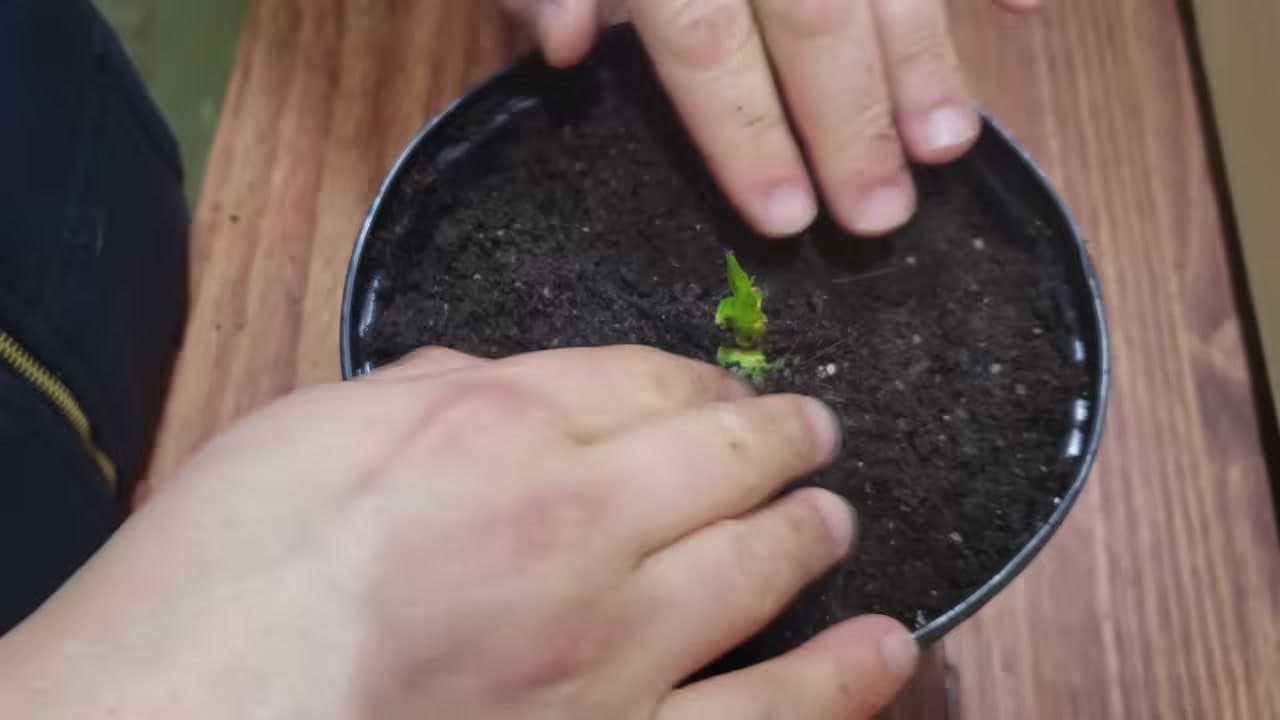
Time to move it into soil. Fill a pot with well-draining potting mix and press a small hollow in the center. Settle the rooted crown in so the roots are tucked under and the leaf base rests right at the surface, then firm the soil gently around it.

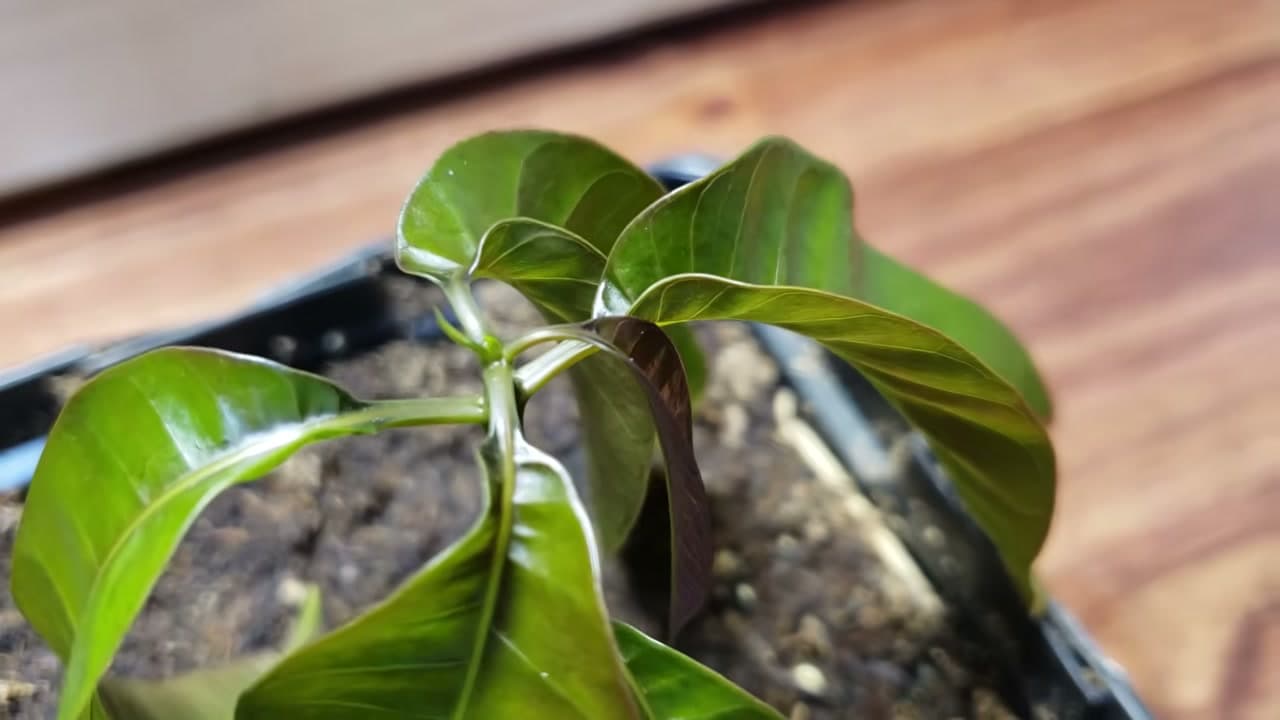
Water it in and keep the pot somewhere warm and bright while the plant settles. From here it grows on like any houseplant, and with time and a lot of patience it can even fruit.

Tip

Watch this step Use a pot with a drainage hole and a chunky mix. Pineapples hate soggy roots, so fast-draining soil keeps the base from rotting.

Products Used

☐ The Checklist

How to Grow a Pineapple Top in Water

Tools
3
Materials
4
Steps
6
Video
8 min

Tools we recommend

Your Guide

The Ripe Tomato Farms

As an Amazon Associate we earn from qualifying purchases. Links on this page may be affiliate links - clicking them and buying doesn't change your price, but helps support ShowMeStepByStep.

Tags

Sunday How-To

New gardening tutorials, every Sunday

One short email with the week's best step-by-step guides. Free, no spam, unsubscribe anytime.

Did this work for you?

What's next

Related collections

Curated theme pages that include this tutorial.

Weekly Digest

Liked this gardening tutorial?

Pick the categories you want to hear about. Weekly digest of new step-by-step tutorials. No spam, easy unsubscribe.

Send me tutorials about

We only email about new tutorials. Easy unsubscribe anytime.