How to Grow a Cherry Tree from Seed (Paper Towel Method)

GardeningEasy9:157 stepsBrowse more →

By ShowMeStepByStepPublished

Based on a video by Greenthumbs Garden.

You do not need a nursery seedling to start a cherry tree. The pits left in the bowl after a summer snack are seeds, and with a little patience they will sprout into young trees you can grow on a windowsill or balcony. Greenthumbs Garden shows the whole run in this video, from cracking open a handful of pits to potting up the seeds once their roots break out.

The one part people skip is the cold spell. Cherry seeds need a long chill to wake up, the same cold winter they would get if they dropped under the parent tree. You fake that in your fridge. The seeds sit on a damp paper towel for a couple of months, and when you unwrap the foil you find fat white roots already reaching out. That moment is the whole point of the method, and it works with pits from shop-bought cherries just as well as ones off a tree.

If you like the idea of raising trees and plants from kitchen scraps, this pairs well with a few others on the site. Try growing an avocado from seed, a mango tree from seed, or a lemon tree from seed. For the wider picture on getting any seed going indoors, our guide on how to start seeds indoors covers the basics.

Step-by-Step Guide

7 steps · about 9 minutes.Check off each step as you go and your progress saves automatically.

1

Step 1: Crack Open the Cherry Pits

1:36
Step 1: Step 1: Crack Open the Cherry Pits

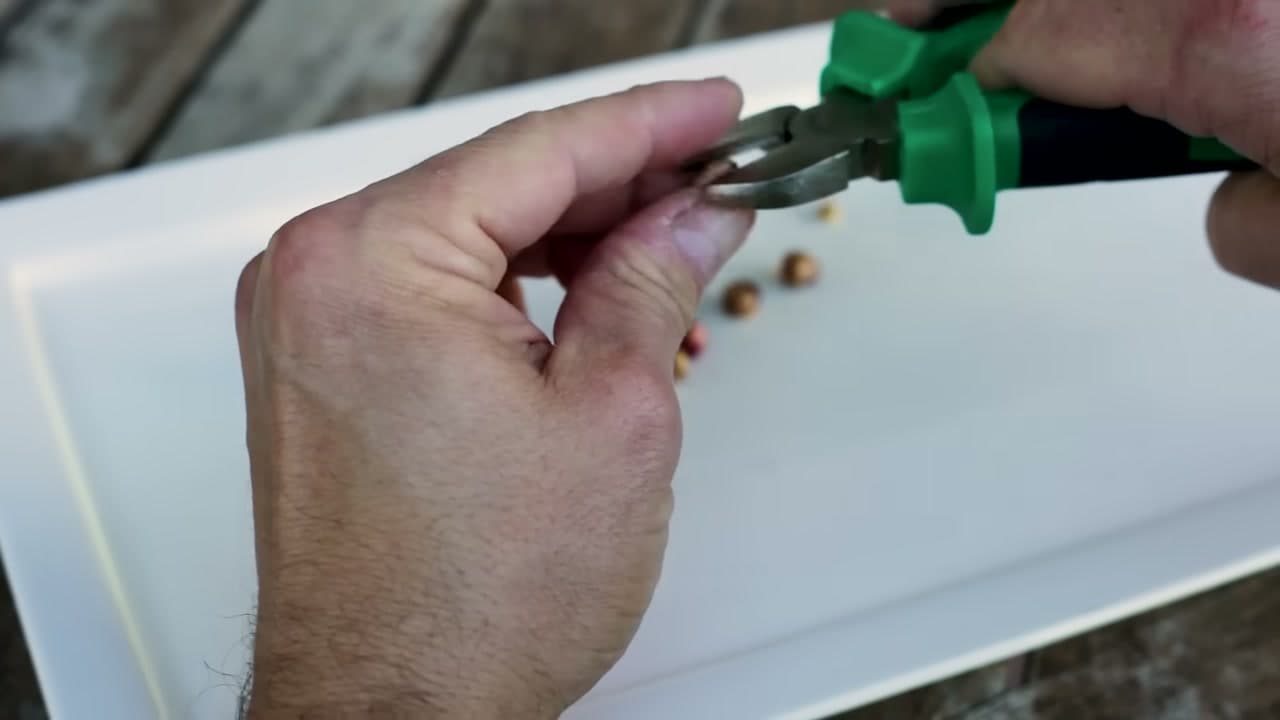
Every cherry pit is a hard shell with a small seed tucked inside. To get the seed out, grip a pit at one end with a pair of wire cutters or side snips and squeeze until the shell cracks. A cheap pair from the hardware shop makes this quick.

Aim right at the tip, not the middle. Snip too far in and you slice the seed in half. Work each pit the same way over a plate so nothing rolls off the table.

Tip

Watch this step Crack more pits than you think you need. Some shells come up empty and not every seed will take, so a dozen gives you a safe margin.

2

Step 2: Rehydrate the Seeds in Water

2:36
Step 2: Step 2: Rehydrate the Seeds in Water

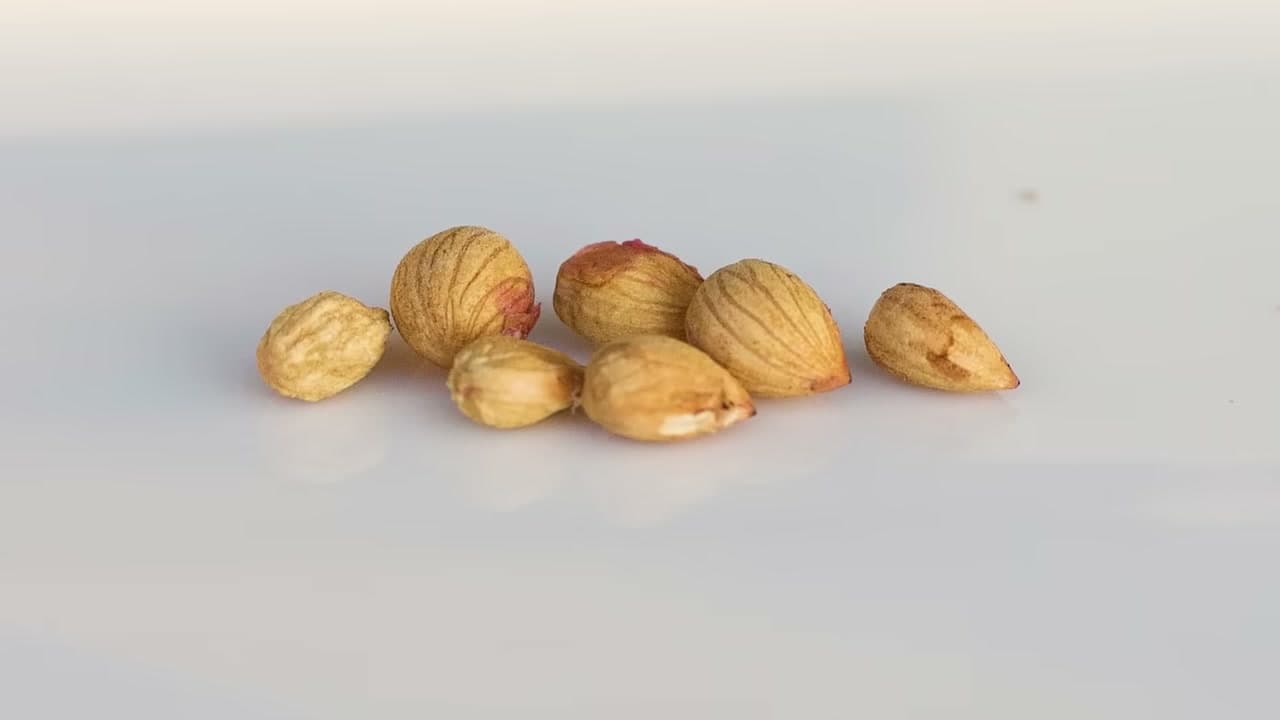
Peel the cracked shells away and you are left with the small almond-shaped seeds. These have dried out inside the pit, so they need a drink before they will do anything.

Drop the seeds into a glass of room-temperature water. Leave them three or four hours. They plump up as they soak, and when they settle to the bottom of the glass you know they have taken on enough moisture and are ready for the next step.

Tip

Watch this step Toss any seeds that still float after a few hours. A floater usually means the seed inside is hollow or damaged and will not sprout.

Products used in this step

3

Step 3: Lay the Seeds on a Damp Paper Towel

3:24
Step 3: Step 3: Lay the Seeds on a Damp Paper Towel

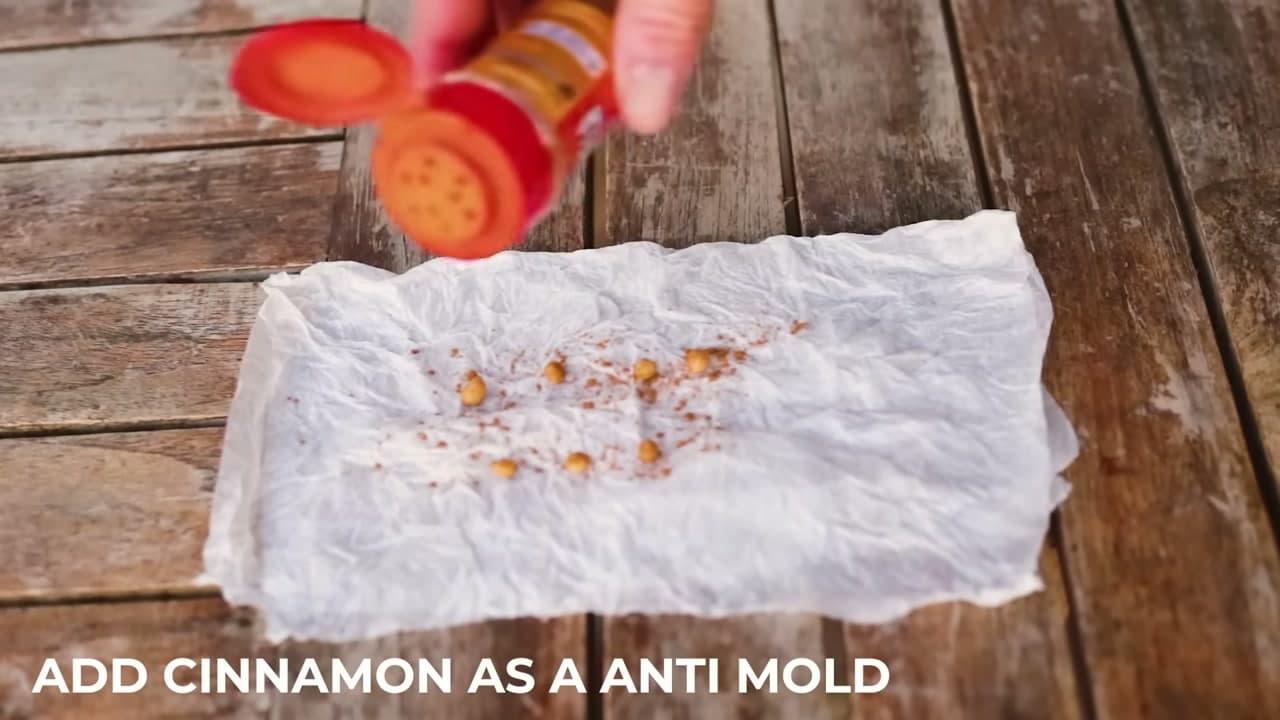
Wet a sheet of kitchen paper under the tap, then wring out the extra water so it is damp rather than dripping. Spread the rehydrated seeds across it in a single layer.

Now dust a little ground cinnamon over the top. Cinnamon is a natural anti-mould, and it earns its place because the seeds are about to sit in a cold, closed space for months. That is plenty of time for fungus to take hold, and the cinnamon keeps it in check.

Tip

Watch this step A light dusting is all you need. Cinnamon fights mould without hurting the seed, so there is no reason to coat them heavily.

4

Step 4: Wrap, Label and Chill in the Fridge

3:48
Step 4: Step 4: Wrap, Label and Chill in the Fridge

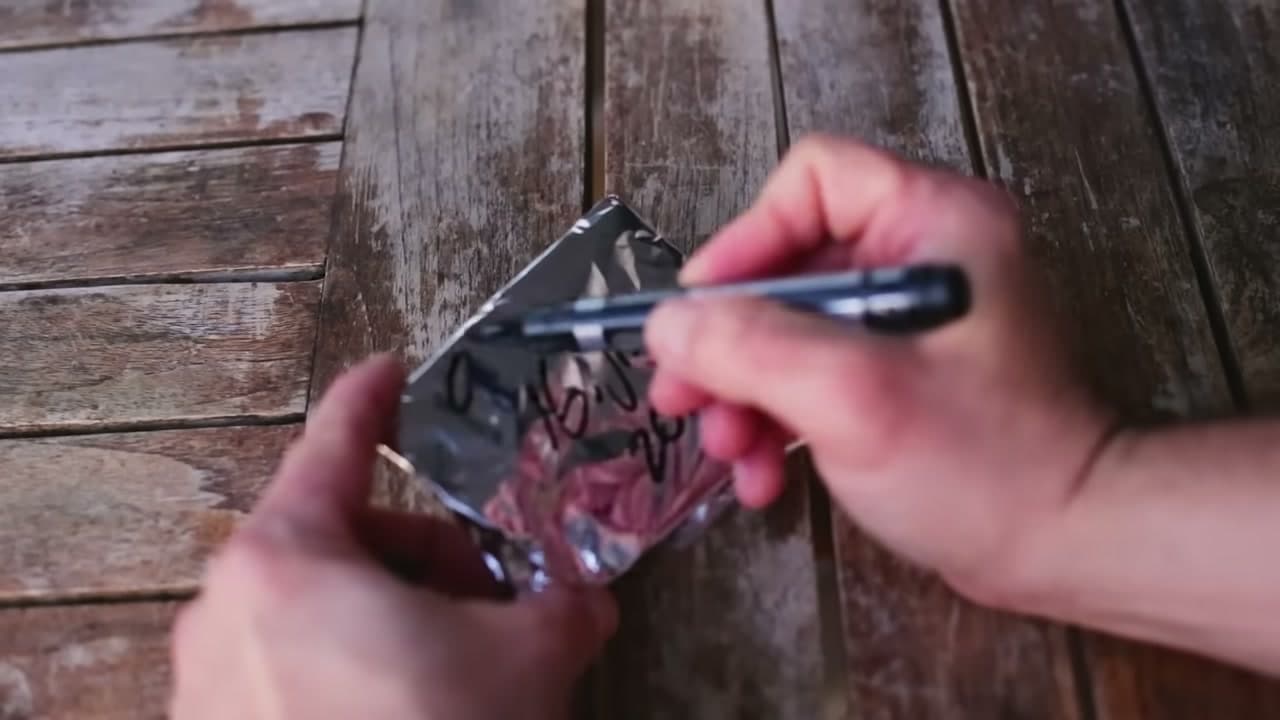
Fold the damp paper around the seeds, then wrap the whole bundle in a square of aluminium foil so it holds its moisture. Write today's date on the outside with a marker. Cherry seeds take a few months in the cold, so a date saves you guessing later.

Put the packet in the fridge. The cold tricks the seed into thinking winter has passed, which is what breaks its dormancy. Check it around the two to three month mark and do not rush it.

Tip

Watch this step Start seeds in autumn and check them by December. Leave them too long and the roots grow into the paper, which makes them tricky to free without snapping.

5

Step 5: Check the Seeds for White Roots

5:18
Step 5: Step 5: Check the Seeds for White Roots

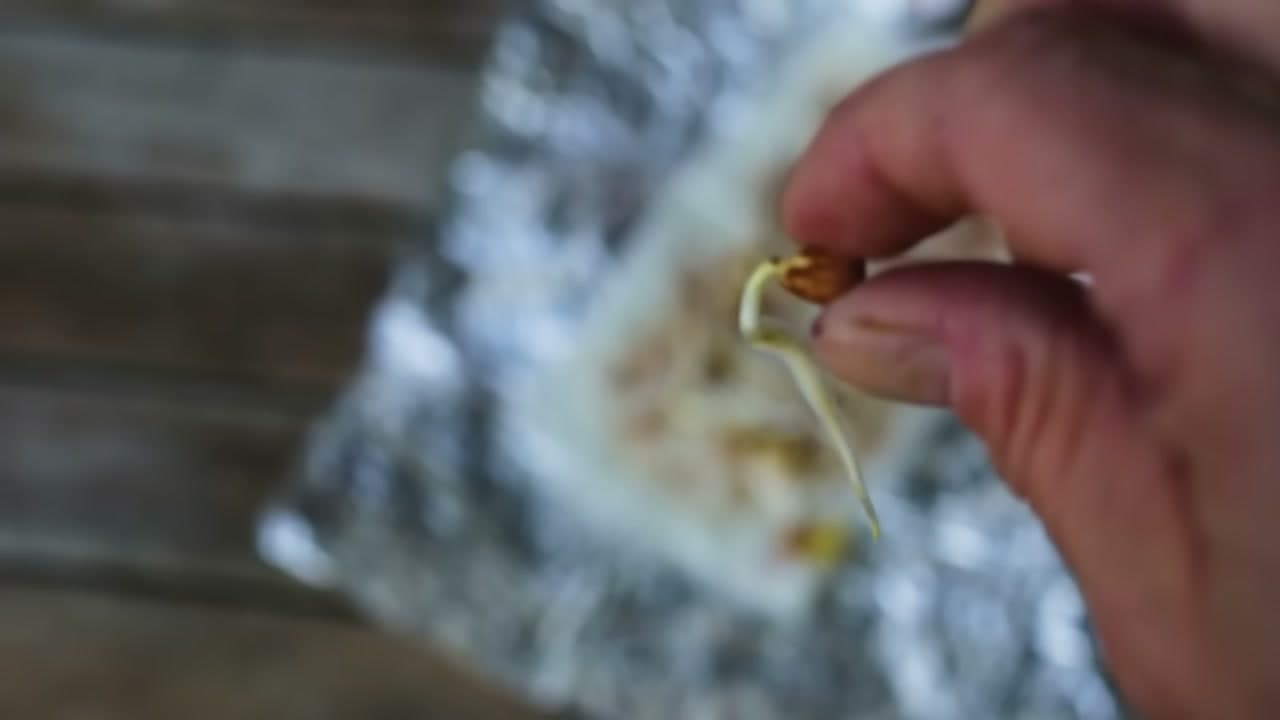
After the chill, take the packet out and unwrap it. This is the payoff. The seeds that made it will have pushed out long white roots, and some may already curl over like bean sprouts.

That root is your green light. It means the seed is alive and ready to plant. Handle the packet gently here, because the roots are soft and can catch on the paper. Anything still bare with no root either needs longer or was a dud.

Tip

Watch this step If a root has grown into the paper towel, tear the paper around it rather than pulling the seed free. A snapped root will not recover.

Products used in this step

6

Step 6: Pot Up the Sprouted Seeds

6:00
Step 6: Step 6: Pot Up the Sprouted Seeds

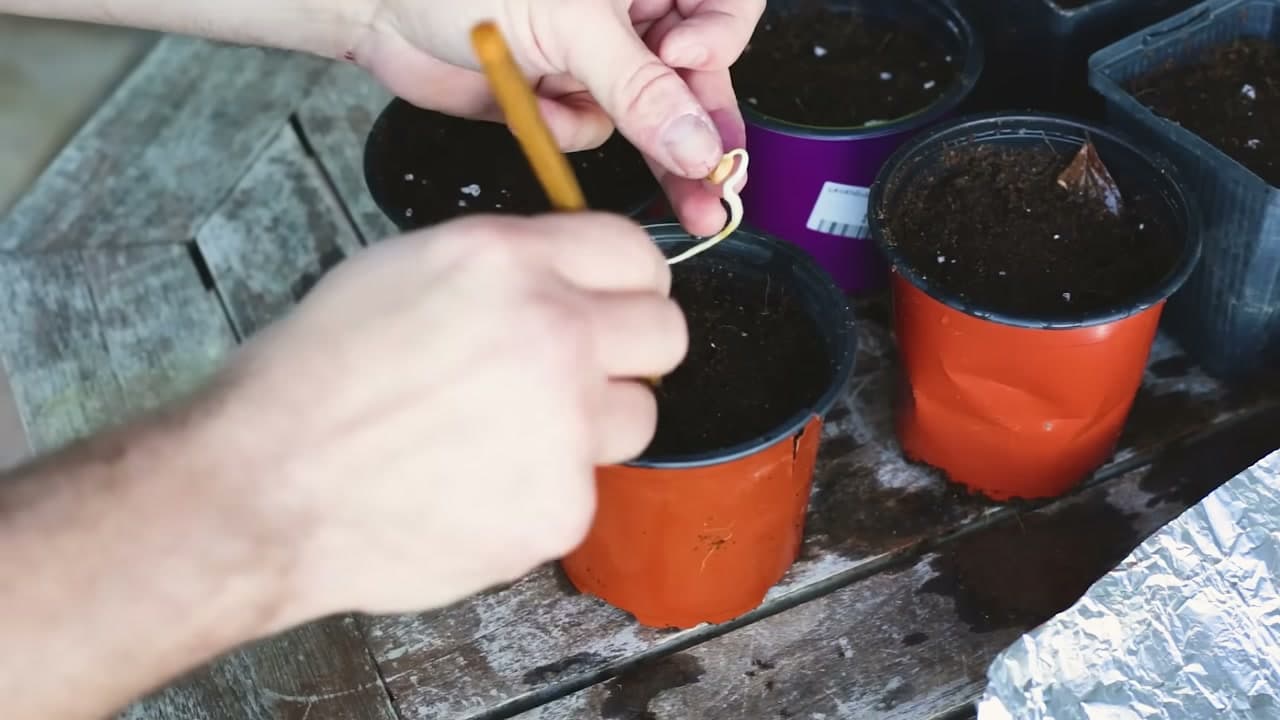
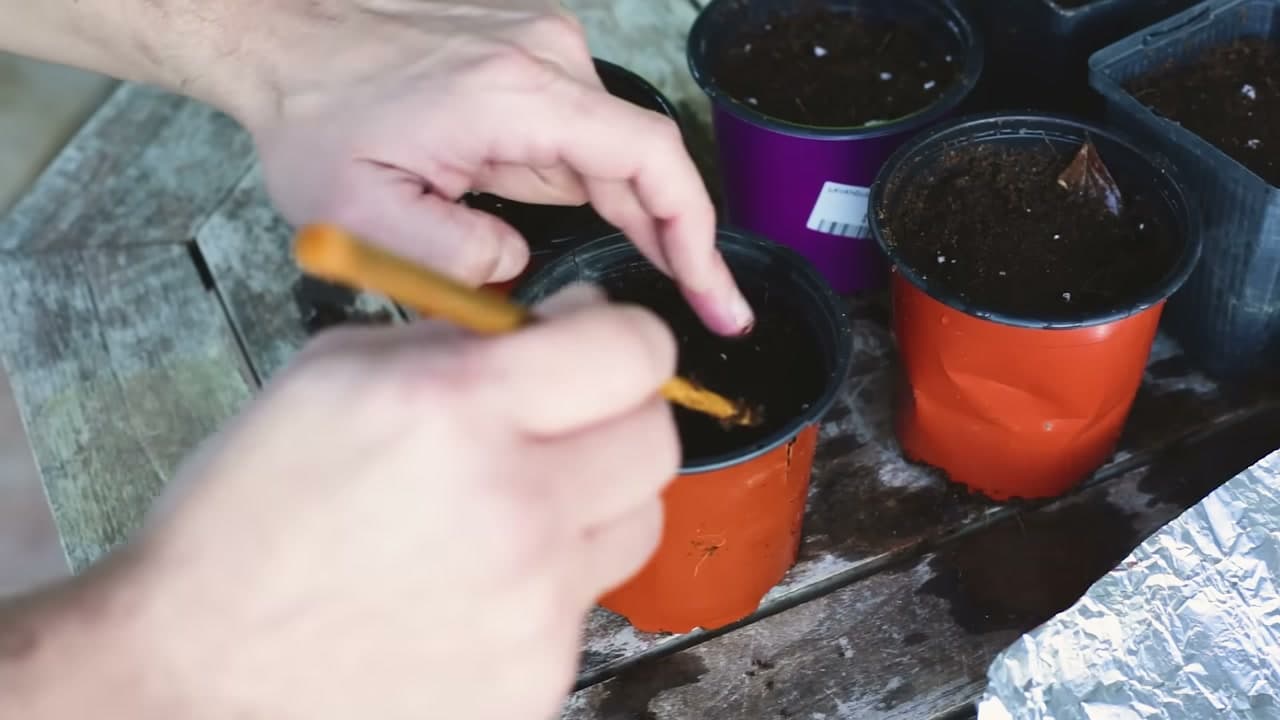
Fill small pots with a good potting mix and water them before you plant, so the seed does not get washed around when you soak it later. Make a hole with a chopstick, about as deep as the root is long.

Lower a sprouted seed in root-first and let the little shoot sit near the surface. Take your time with the ones that have grown longer roots, since those are the most delicate to move from the paper into the soil.

Tip

Watch this step One seed per pot keeps the roots from tangling. It also means you can pot on the strongest seedlings later without disturbing the rest.

7

Step 7: Firm In, Water and Move to a Bright Window

6:36
Step 7: Step 7: Firm In, Water and Move to a Bright Window

Close the soil gently around each seed so the root has full contact and no air pockets, which would let it dry out. Firm it in with a fingertip and give the pot a light watering.

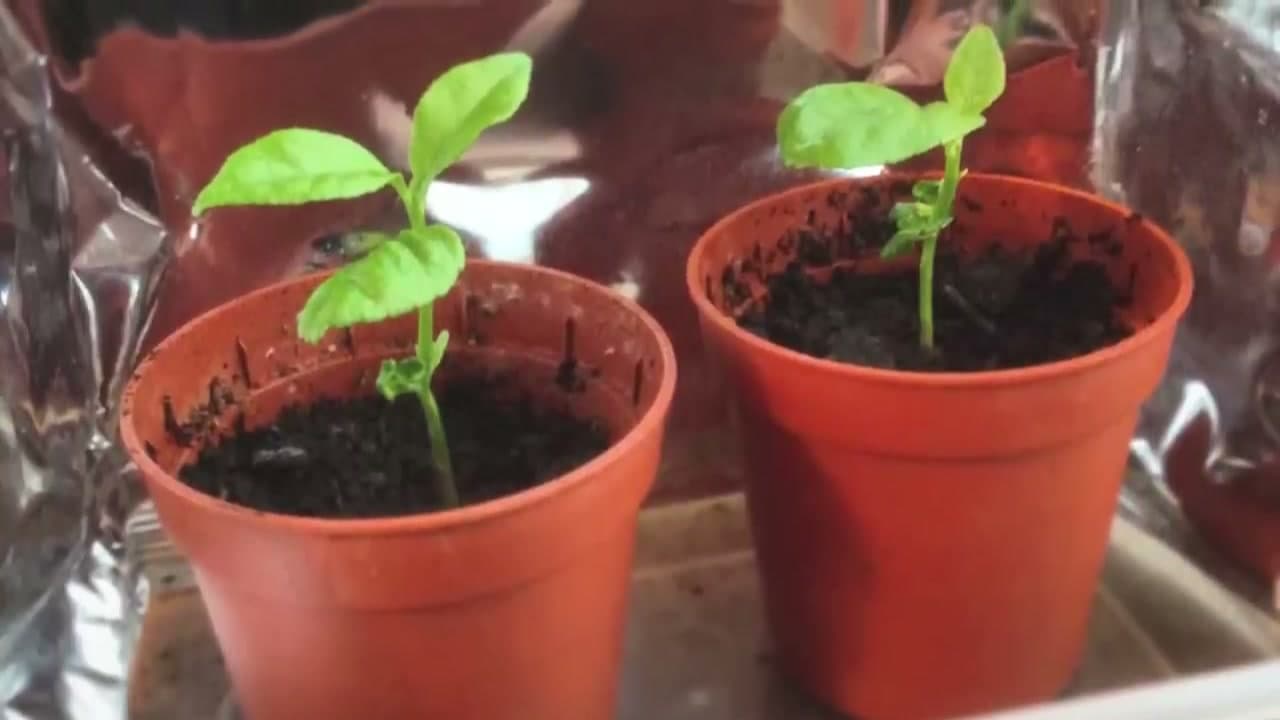
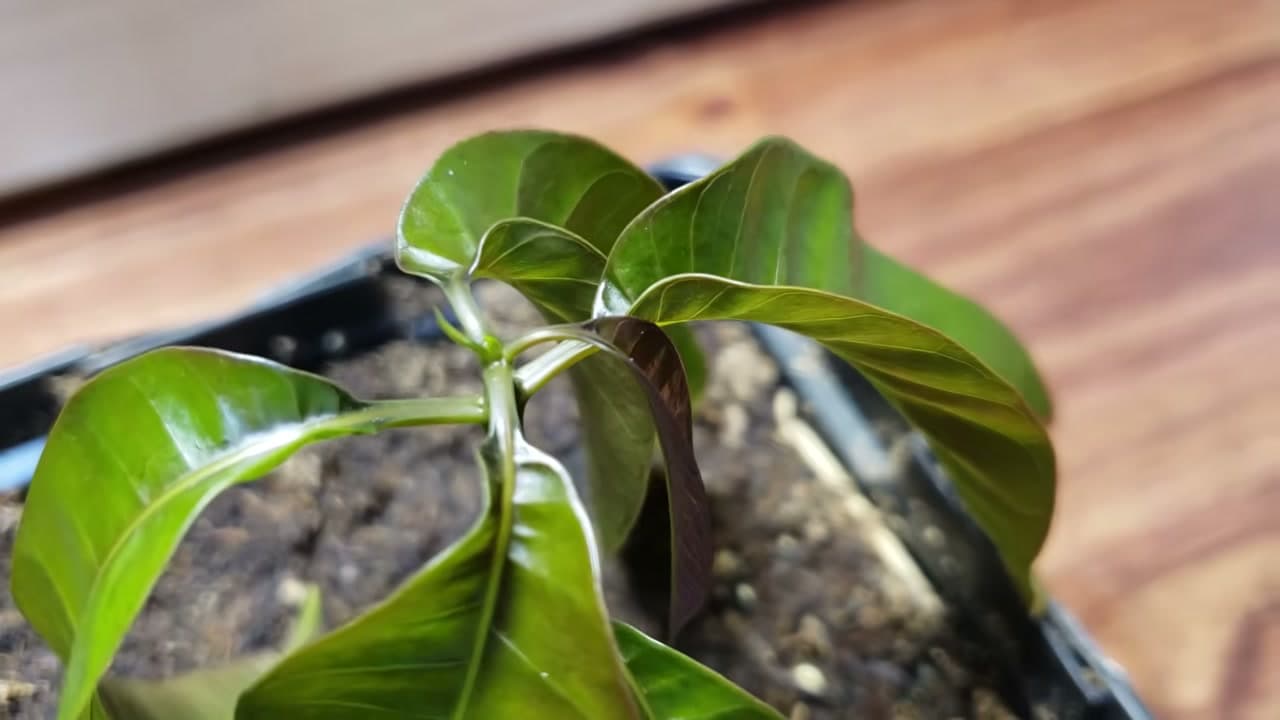
Now find a bright windowsill. The young seedlings want plenty of light but shelter from harsh midday sun, strong wind and heavy rain. Let them build some strength indoors before you think about moving them outside.

Tip

Watch this step Keep the soil damp but never soggy while the seedling establishes. Cherry roots rot fast in a pot that stays waterlogged.

Products used in this step

Products Used

☐ The Checklist

How to Grow a Cherry Tree from Seed (Paper Towel Method)

Tools
7
Materials
5
Steps
7
Video
9 min

Tools we recommend

Your Guide

Greenthumbs Garden

As an Amazon Associate we earn from qualifying purchases. Links on this page may be affiliate links - clicking them and buying doesn't change your price, but helps support ShowMeStepByStep.

Tags

Sunday How-To

New gardening tutorials, every Sunday

One short email with the week's best step-by-step guides. Free, no spam, unsubscribe anytime.

Did this work for you?

What's next

Related collections

Curated theme pages that include this tutorial.

Weekly Digest

Liked this gardening tutorial?

Pick the categories you want to hear about. Weekly digest of new step-by-step tutorials. No spam, easy unsubscribe.

Send me tutorials about

We only email about new tutorials. Easy unsubscribe anytime.