How to Grow an Avocado from Seed (Step by Step)

GardeningEasy6:536 stepsBrowse more →

By ShowMeStepByStepPublished

Based on a video by Daisy Dawes.

You do not need a garden or a single specialty tool to grow an avocado. The seed you would normally toss straight in the bin will sprout roots and a leafy stem if you park it over a glass of water on a bright windowsill. Daisy Dawes runs through the whole thing in one clean overhead demo, from cutting the fruit to potting up the rooted seed, and the payoff is a genuine little tree you grew from a scrap.

Here is the honest part up front. A seed from a shop-bought avocado almost never fruits, and if it did you would wait around ten years for it. So grow this one for the plant itself. It is a fun, slow science project that ends with a real houseplant, and it costs you nothing but a pit you already paid for. Children love watching the seed crack and the white taproot push down through the water.

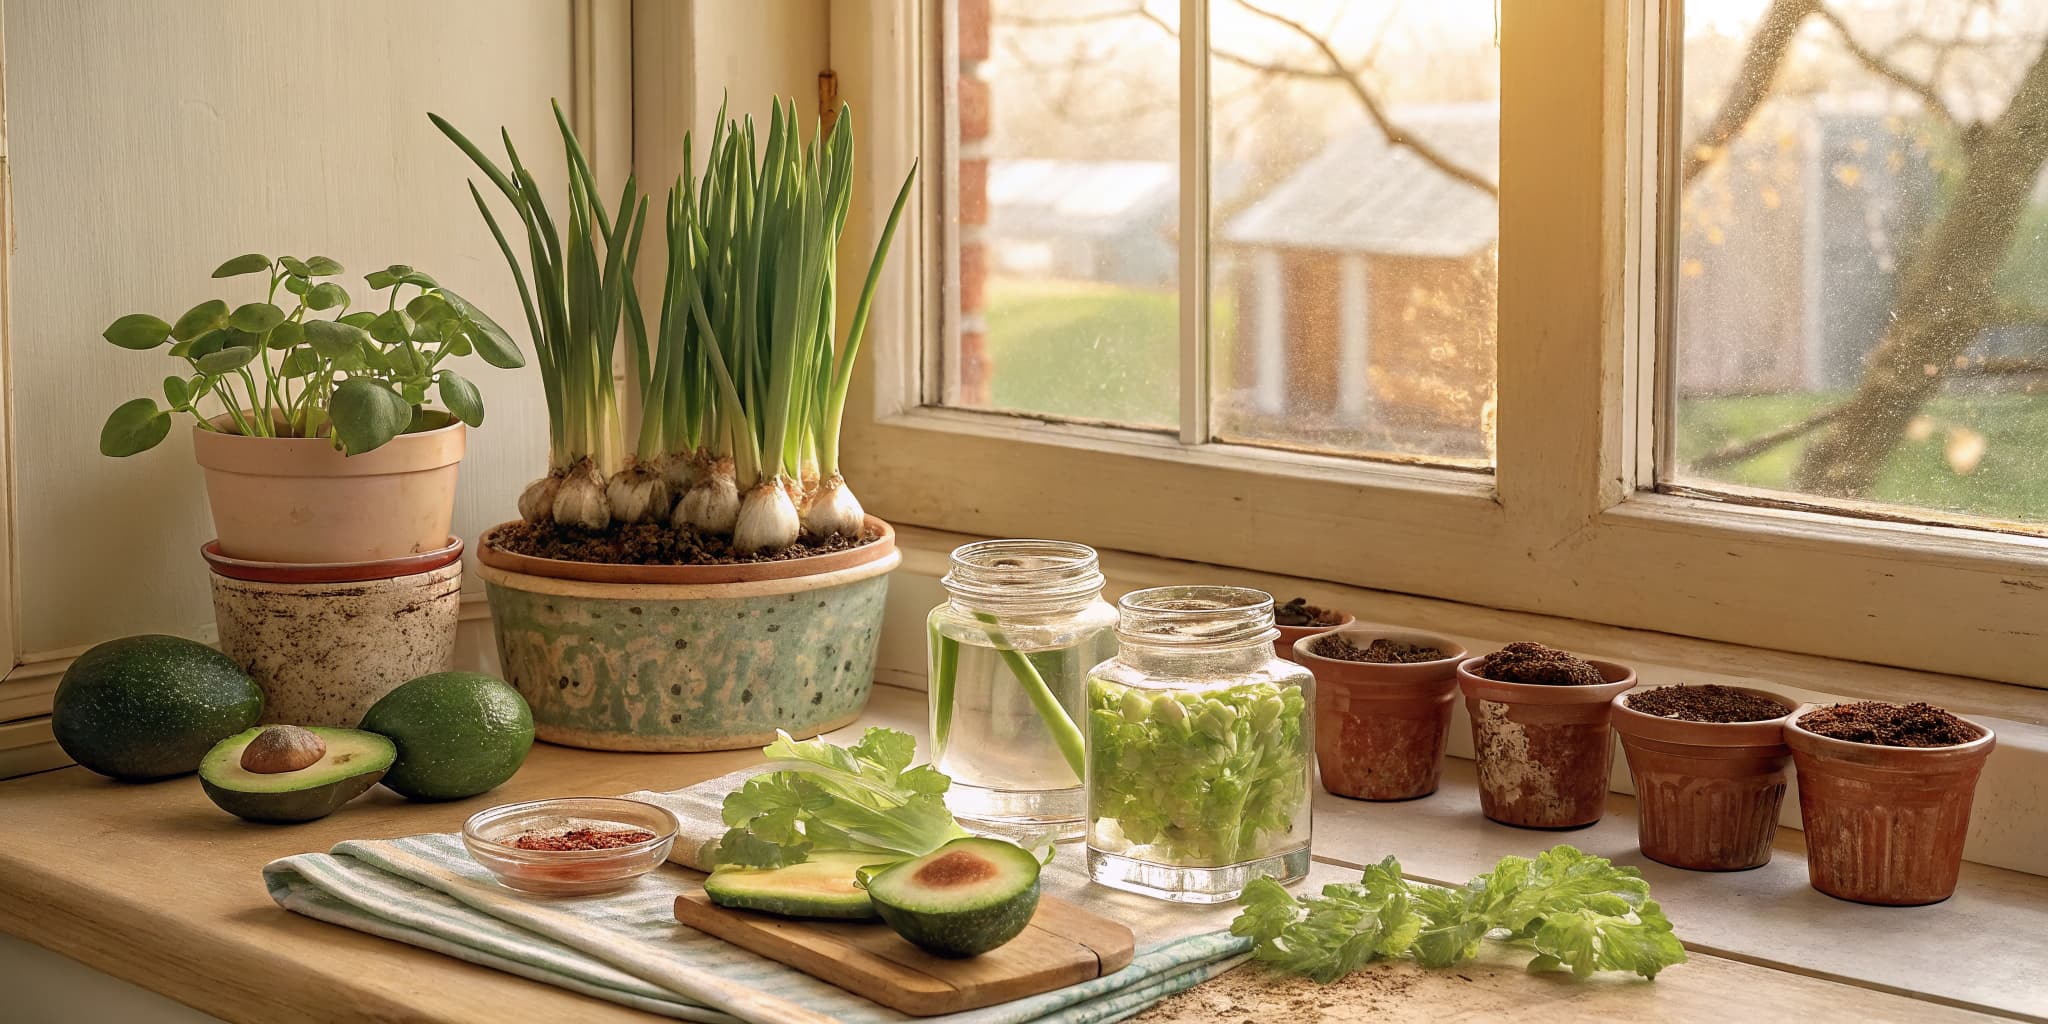
The method is simple enough that the trickiest bit is patience. Peel the seed, prop it on toothpicks so the fat end sits in water, then change the water and wait. Once you catch the propagation habit, the same windowsill will happily start other kitchen scraps: try growing a pineapple top, growing ginger from a piece of root, or regrowing celery from the base.

Step-by-Step Guide

6 steps · about 7 minutes.Check off each step as you go and your progress saves automatically.

1

Step 1: Cut the Avocado and Remove the Seed

0:08
Step 1: Step 1: Cut the Avocado and Remove the Seed

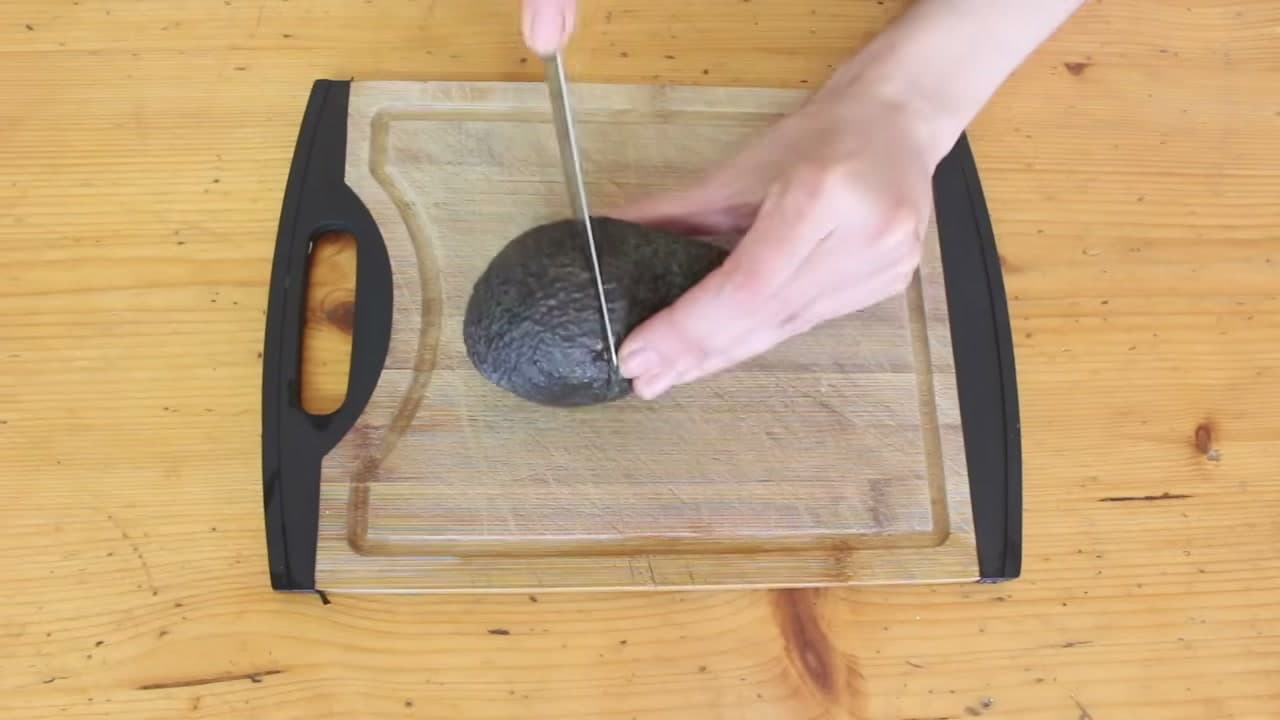
Pick a good ripe avocado. Bigger fruit tends to give a bigger, stronger seed, so grab a large one if you can. Cut around the middle of the avocado rather than lengthwise. Slicing across the middle keeps the knife well clear of the seed, so you will not nick the part that matters.

Twist the two halves apart and lift the pit out. It will be slippery and coated in fruit, which is fine. You are done with the flesh now, so scoop it out and make guacamole while the seed does its thing.

Tip

Watch this step Cut around the widest part of the fruit, not through it end to end. That angle protects the flat bottom of the seed where the roots will form.
2

Step 2: Clean and Peel the Seed

0:40
Step 2: Step 2: Clean and Peel the Seed

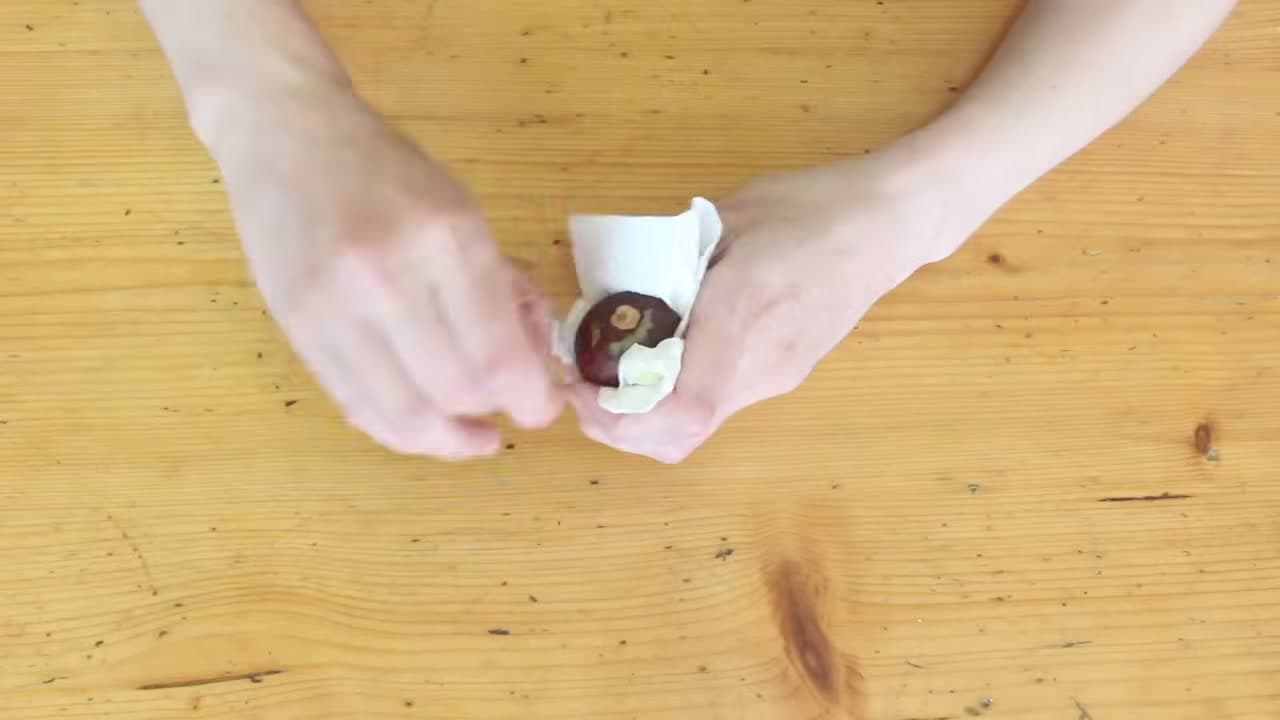
Give the seed a good wipe with a paper towel to get the slime off. Then find an edge on the brown outer skin and peel it away. It comes off in papery flakes, and it is oddly satisfying, a bit like picking off old nail varnish.

Peeling is worth the two minutes. A bare seed sprouts faster, and it stops the skin turning slimy and gross once it sits in water. If the thin veiny under-layer clings on and will not budge, leave it. It falls off on its own later, or it just stays put, and neither hurts the plant.

Tip

Watch this step Look for a spot where the skin is already lifting and start there. Forcing it from a flat patch just tears the skin into tiny bits.

Products used in this step

3

Step 3: Add the Toothpicks

1:42
Step 3: Step 3: Add the Toothpicks

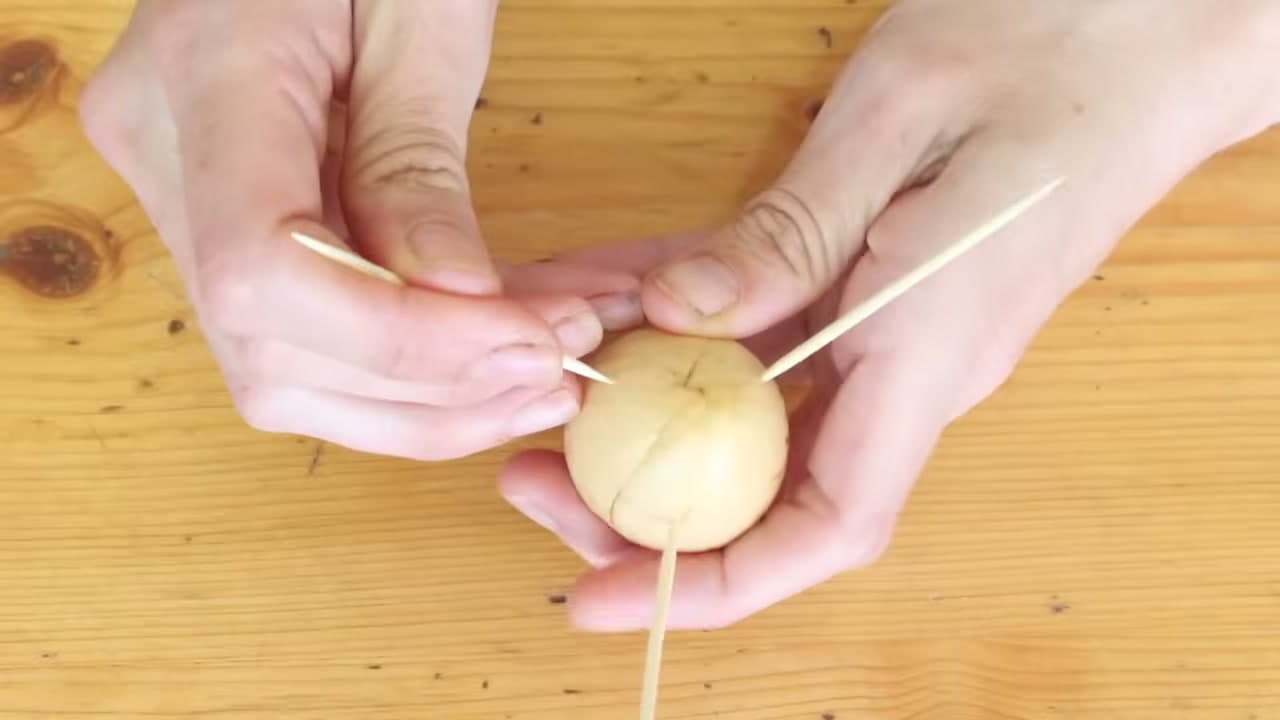
Figure out which way is up first. The pointy end is the top and the fat end with the little round dimple is the bottom. The roots come out of that flat bottom, so it needs to point down into the water while the pointy end sits up in the air.

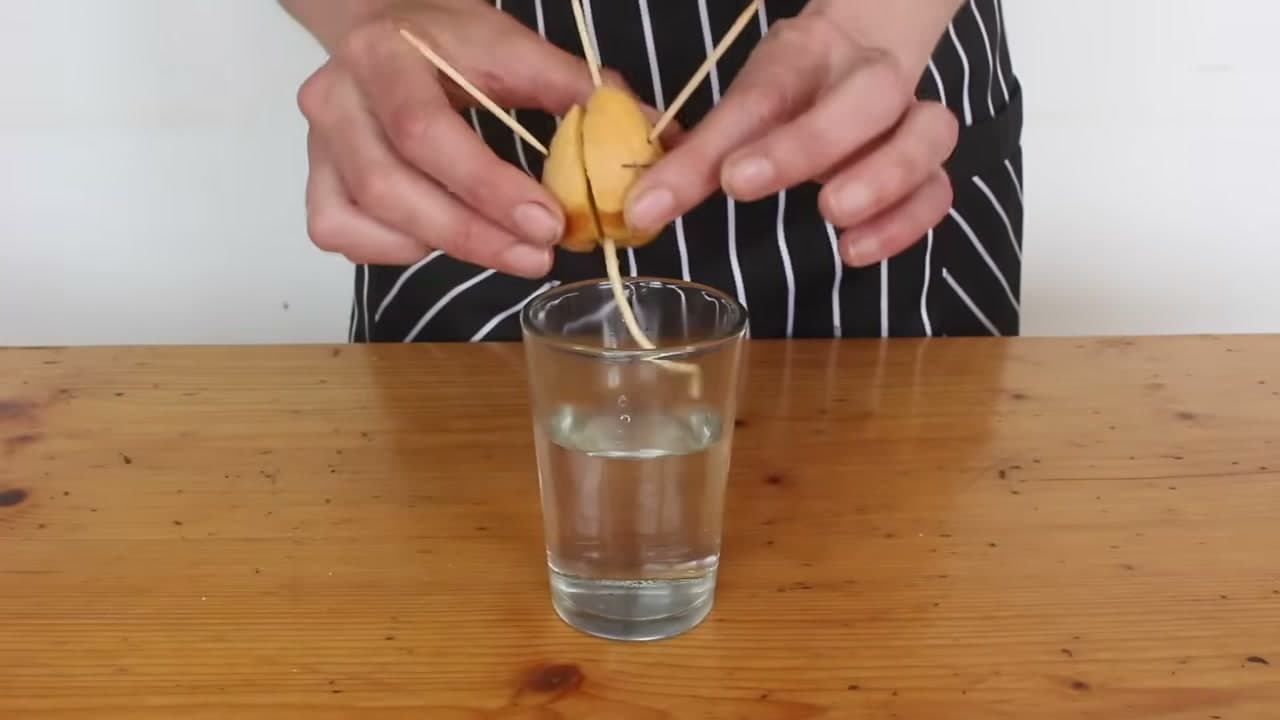
Push three or four toothpicks into the flat sides of the seed, about a third of the way down from the top. Try to miss those crackly line marks. You do not need to go in deep, just enough that they hold. Angle them slightly downward so the seed balances level on the rim of a glass.

Tip

Watch this step Space the toothpicks evenly around the seed like spokes. Three or four gives a stable tripod so the pit does not tip and slide into the glass.

Products used in this step

4

Step 4: Suspend the Seed Over Water

1:58
Step 4: Step 4: Suspend the Seed Over Water

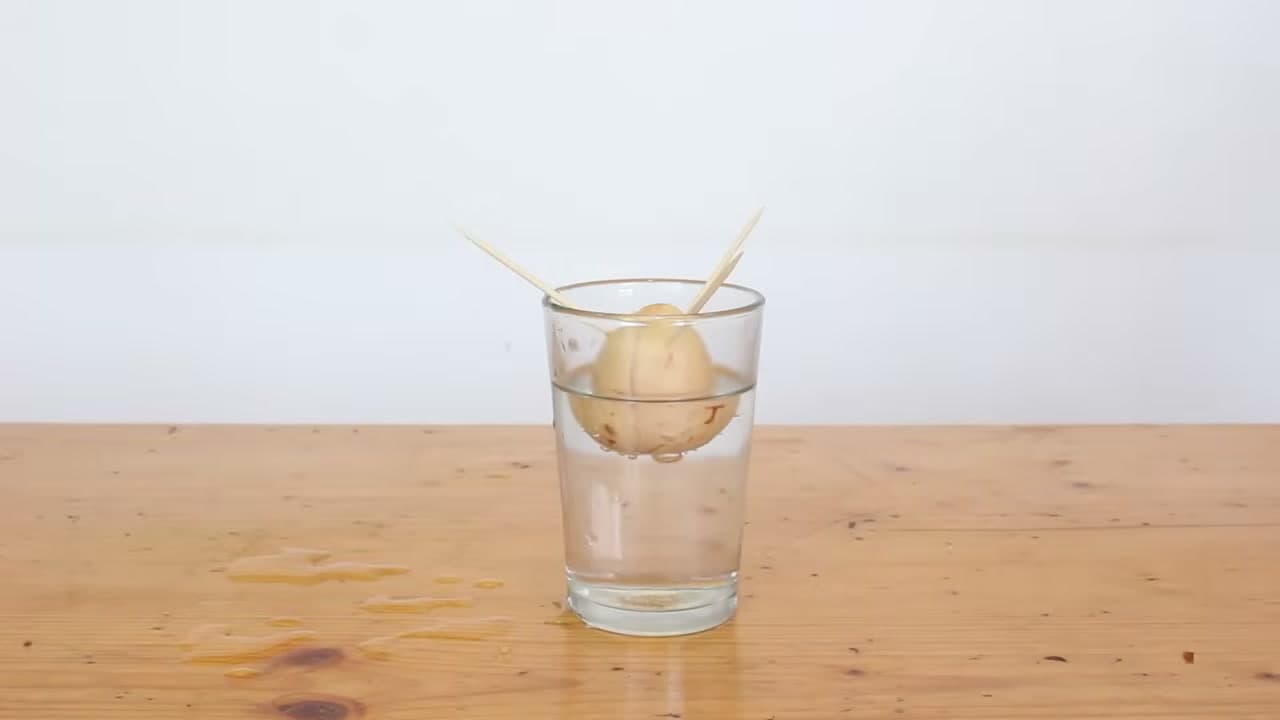
Rest the toothpicks on the rim of a glass or jar so the fat bottom of the seed hangs down inside. Fill the glass with water until it covers roughly the bottom half of the seed. The bottom needs to stay wet while the top stays dry and in the air.

Put the glass somewhere with bright indirect light, like a warm windowsill out of harsh direct sun. Start a few seeds at once if you can. They do not all sprout, and a couple of spares means you are much more likely to end up with at least one healthy plant.

Tip

Watch this step A clear glass lets you watch the roots grow, which is half the fun. It also makes it obvious when the water is getting low or cloudy.

5

Step 5: Change the Water and Wait for Roots

2:56
Step 5: Step 5: Change the Water and Wait for Roots

Every couple of days, swap the water out for fresh rather than just topping it up. The plant pulls oxygen from the water, and old water goes stinky and buggy fast. A quick change keeps the seed healthy and the glass clean.

Then it is a waiting game. The first sign of life is a crack across the bottom of the seed. That split widens and a thick white taproot pushes down into the water. A green stem follows from the top, though it can take a while. If you see roots but no stem yet, be patient. Give up on a seed only if nothing happens after about two months.

Tip

Watch this step Peek into the crack in the seed as it opens. You can often spot the tiny stem forming inside before it ever pokes out the top.

6

Step 6: Pot It Up in Soil

4:00
Step 6: Step 6: Pot It Up in Soil

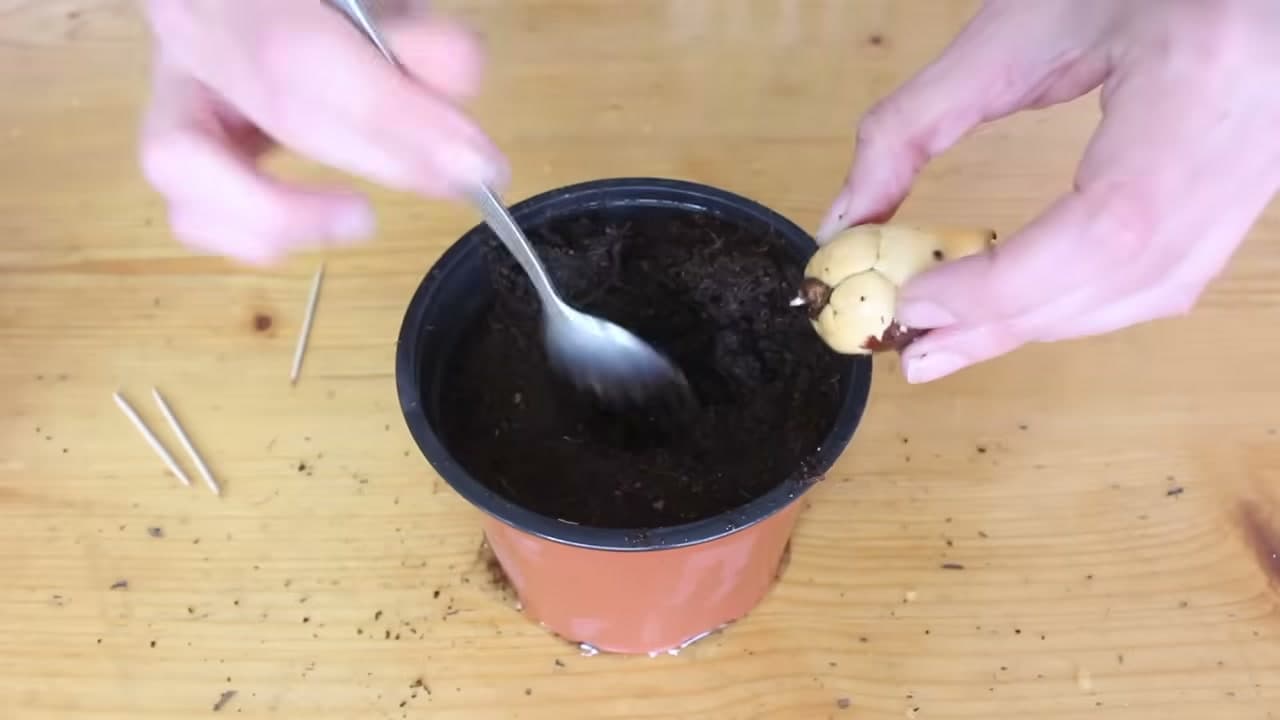
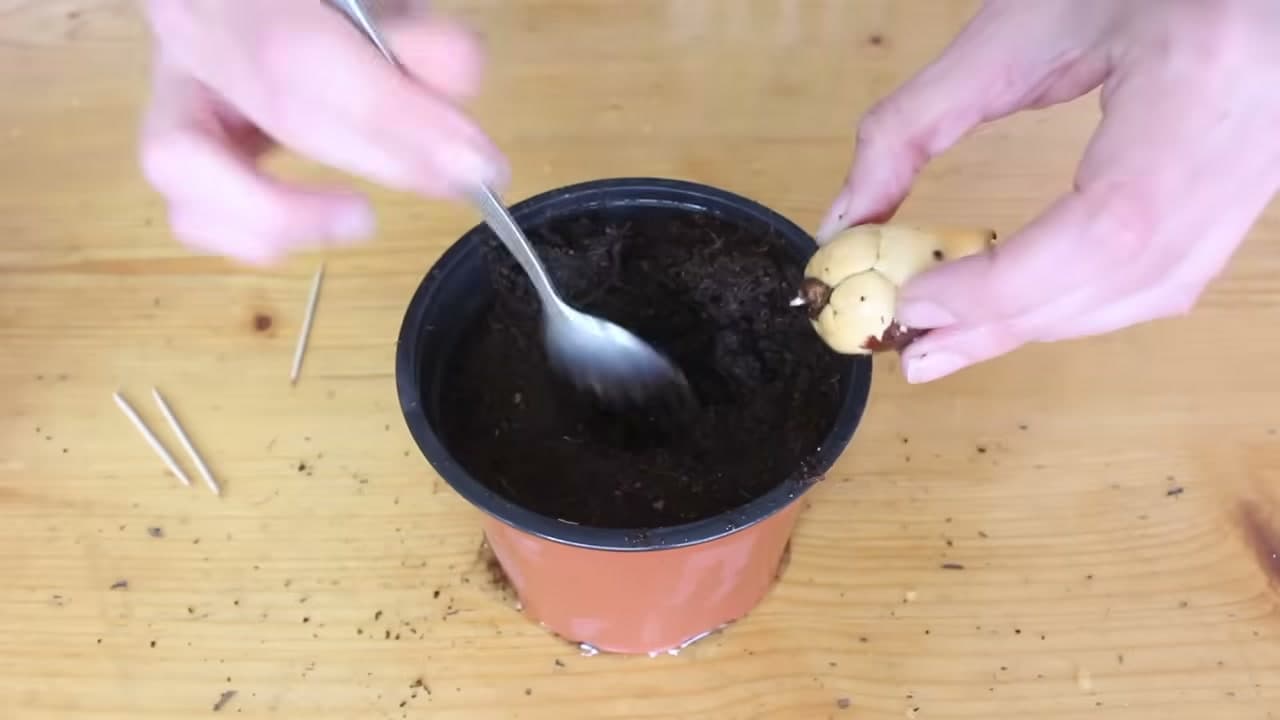
Once a taproot is well on its way, move the seed to soil. Taproots turn brittle as they get long, so transplant sooner rather than later. Fill a six-inch pot with regular potting soil, since avocados do not like to sit soggy or bone dry, and give it a good water.

Dig a hole in the top of the soil and pull the toothpicks out. Lower the seed in so it sits about halfway buried with the root pointing straight down. If the root is long, make a deeper channel with a spoon and ease it in gently. Water again to settle the soil around it, then keep the pot in the same bright indirect light.

Tip

Watch this step Never shove the seed down or twist it into the soil. That snaps the fragile taproot. Make the hole big enough and let the seed drop in cleanly.

Products Used

☐ The Checklist

How to Grow an Avocado from Seed (Step by Step)

Tools
5
Materials
3
Steps
6
Video
7 min

Tools we recommend

Your Guide

Daisy Dawes

As an Amazon Associate we earn from qualifying purchases. Links on this page may be affiliate links - clicking them and buying doesn't change your price, but helps support ShowMeStepByStep.

Tags

Sunday How-To

New gardening tutorials, every Sunday

One short email with the week's best step-by-step guides. Free, no spam, unsubscribe anytime.

Did this work for you?

What's next

Related collections

Curated theme pages that include this tutorial.

Weekly Digest

Liked this gardening tutorial?

Pick the categories you want to hear about. Weekly digest of new step-by-step tutorials. No spam, easy unsubscribe.

Send me tutorials about

We only email about new tutorials. Easy unsubscribe anytime.