How to Grow a Mango Tree from Seed

GardeningEasy13:368 stepsBrowse more →

By ShowMeStepByStepPublished

Based on a video by The Ripe Tomato Farms.

This is The Ripe Tomato Farms showing how to grow a mango tree from a single store-bought seed, and it is one of the most satisfying indoor projects you can start on a kitchen counter. The trick most people miss is that the flat pit you throw away is actually a husk, and the real seed is tucked inside it. Get that seed out, keep it warm and damp, and it sprouts into a glossy-leaved little tree.

You will not be picking mangoes off a windowsill tree, at least not for years. That is not the point. This is about turning kitchen scraps into real plants and watching something grow from almost nothing. If you like it, the same magic works with a avocado from seed and a lemon tree from seed.

Want more free plants from the produce drawer? Try our guides on growing a pineapple from its top and growing sweet potato slips. Between them you can fill a whole windowsill without buying a single seed packet.

Step-by-Step Guide

8 steps · about 14 minutes.Check off each step as you go and your progress saves automatically.

1

Step 1: Cut Open a Ripe Mango

1:35
Step 1: Step 1: Cut Open a Ripe Mango

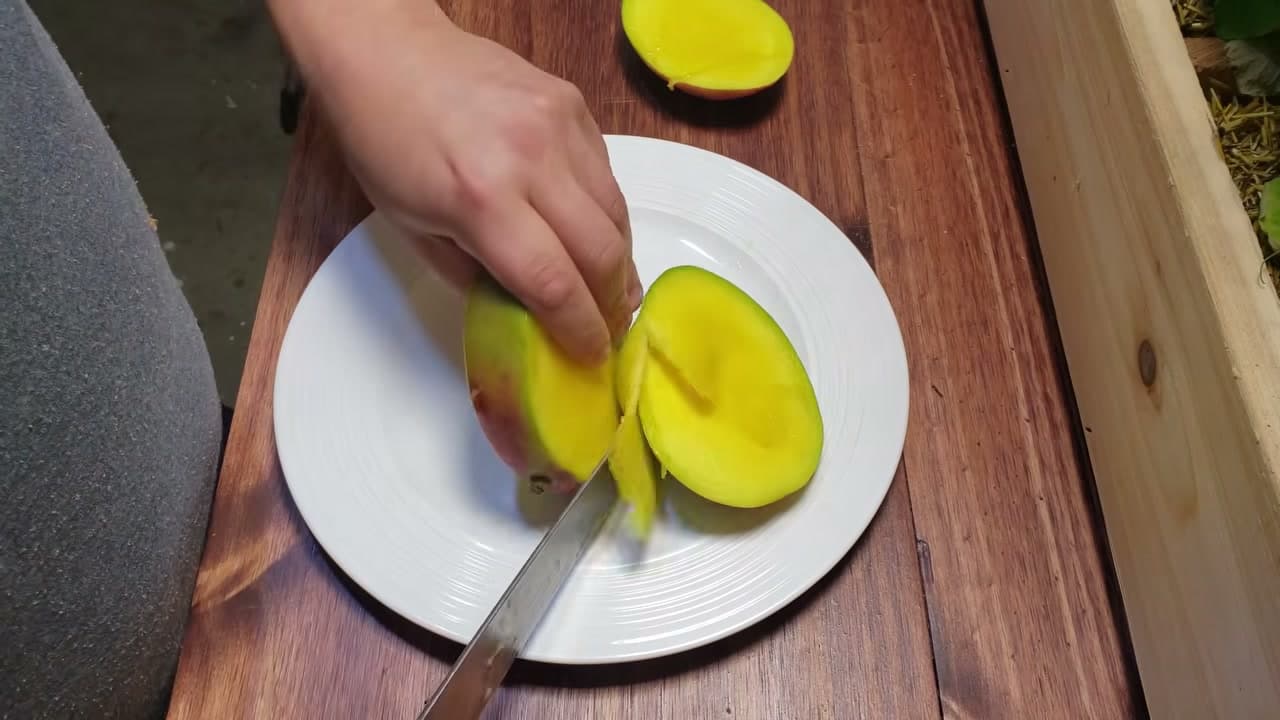
Start with a mango that is soft and ripe, the kind you would want to eat. Slice the cheeks off around the big flat pit in the middle, then eat or save the fruit. What you are after is that pit, which is the seed husk. A ripe fruit means a mature seed inside, so skip the rock-hard grocery mangoes if you can.

Tip

Watch this step Scrape the last of the sweet flesh off the husk with a spoon. Leftover fruit on the husk can grow mold while the seed sprouts.
2

Step 2: Clean and Dry the Husk

3:15
Step 2: Step 2: Clean and Dry the Husk

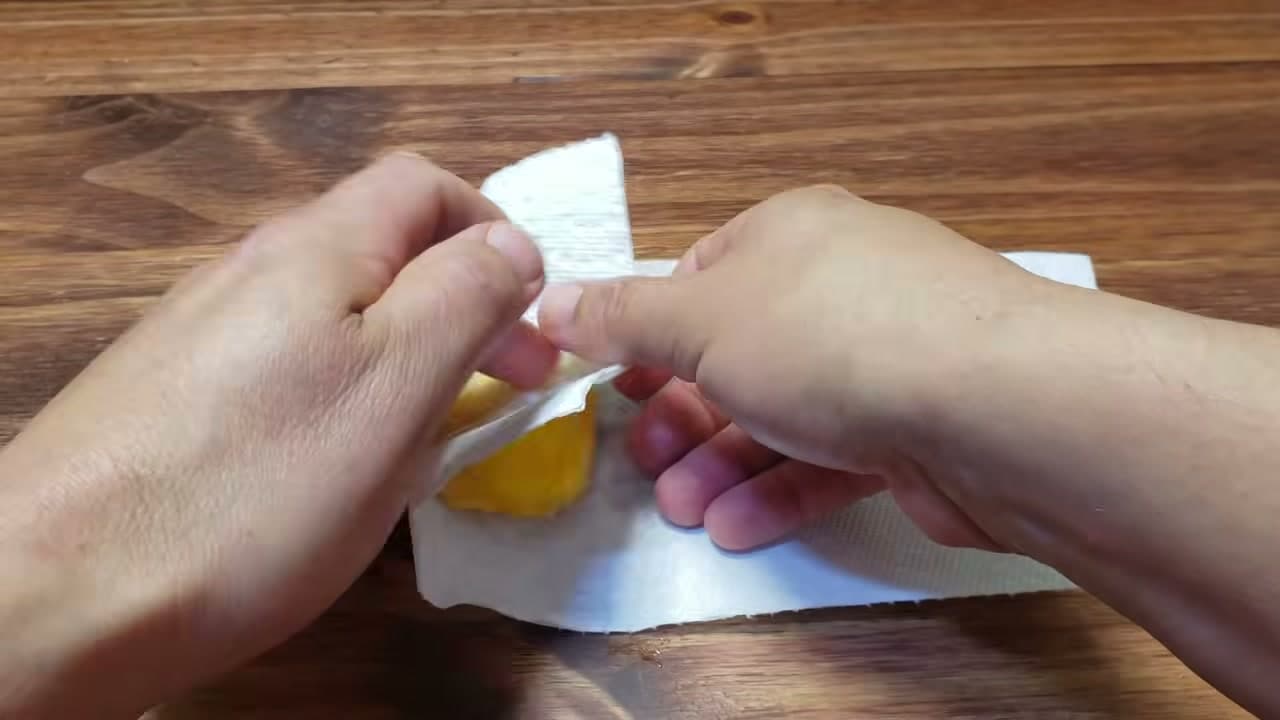
Rinse the stringy fibers off the husk under the tap and rub it clean. Then pat it dry with a paper towel and set it somewhere airy for a day or two. A dry husk is much easier to open without slicing into the seed, and it keeps the whole thing from turning slimy.

Tip

Watch this step Do not let the husk fully dry out for weeks. A day or two is plenty. You want it dry on the outside but the seed inside still fresh.

Products used in this step

3

Step 3: Cut Open the Tough Husk

4:50
Step 3: Step 3: Cut Open the Tough Husk

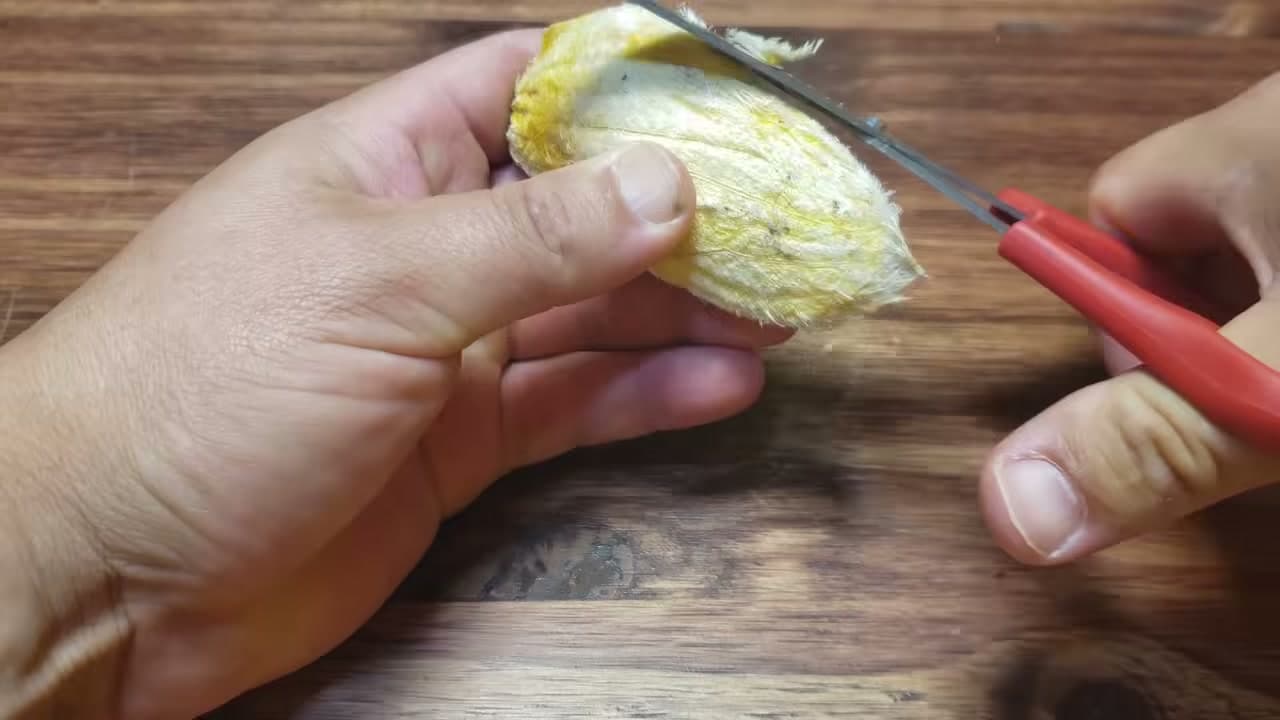
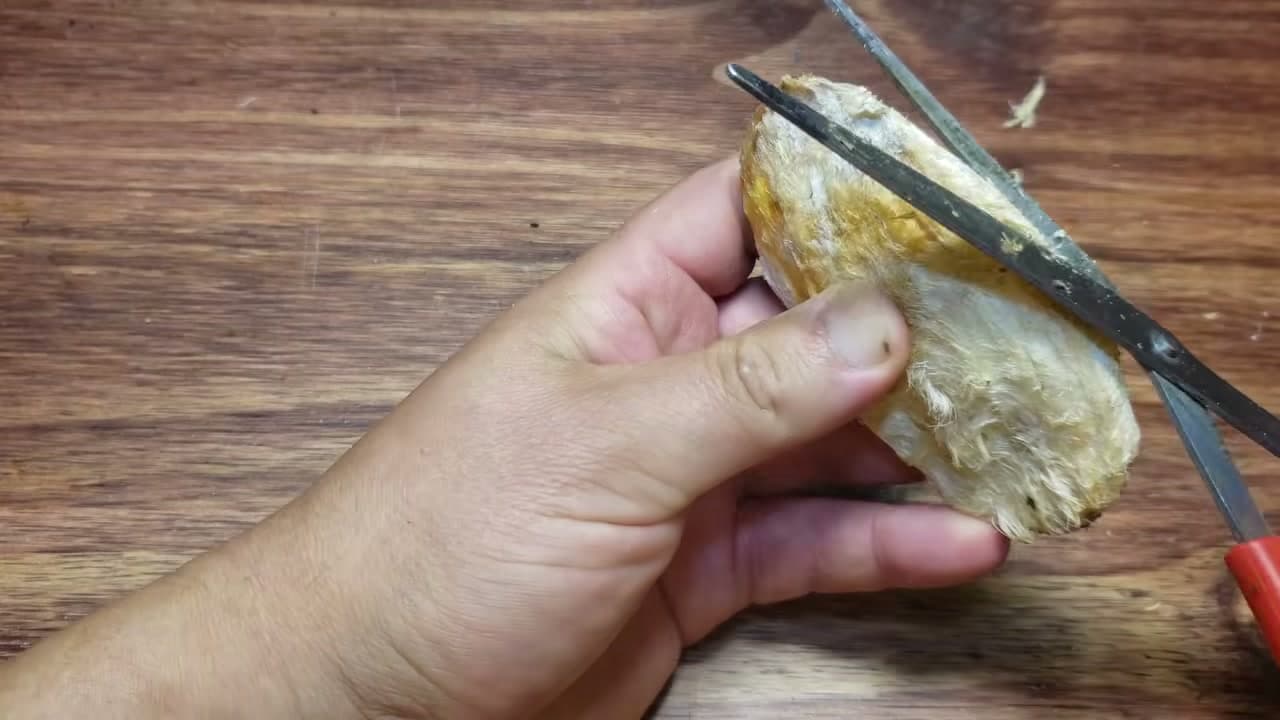
The husk is fibrous and stubborn, so find the seam along the curved edge and snip into it with sturdy scissors. Work from the thin edge, not the fat side, and go slow. You are trying to crack the shell open like a clam, not saw through the seed hiding inside.

Tip

Watch this step Keep your fingers clear of the blades. The husk is slippery and the fibers grab the scissors, so steady it on the table if you need to.

Products used in this step

4

Step 4: Take Out the Inner Seed

6:40
Step 4: Step 4: Take Out the Inner Seed

Pry the husk apart and ease the seed out. It looks like a large lima bean, smooth and pale, sometimes with a purple or pink tint. That tint is a good sign, it means the seed is alive and ready to grow. Handle it gently and do not peel off the thin skin around it.

Tip

Watch this step If the seed is shriveled, gray, or crumbly, it will not sprout. Toss it and open another mango. Fresh, plump, and firm is what you want.

Products used in this step

5

Step 5: Plant the Seed in Moist Soil

8:35
Step 5: Step 5: Plant the Seed in Moist Soil

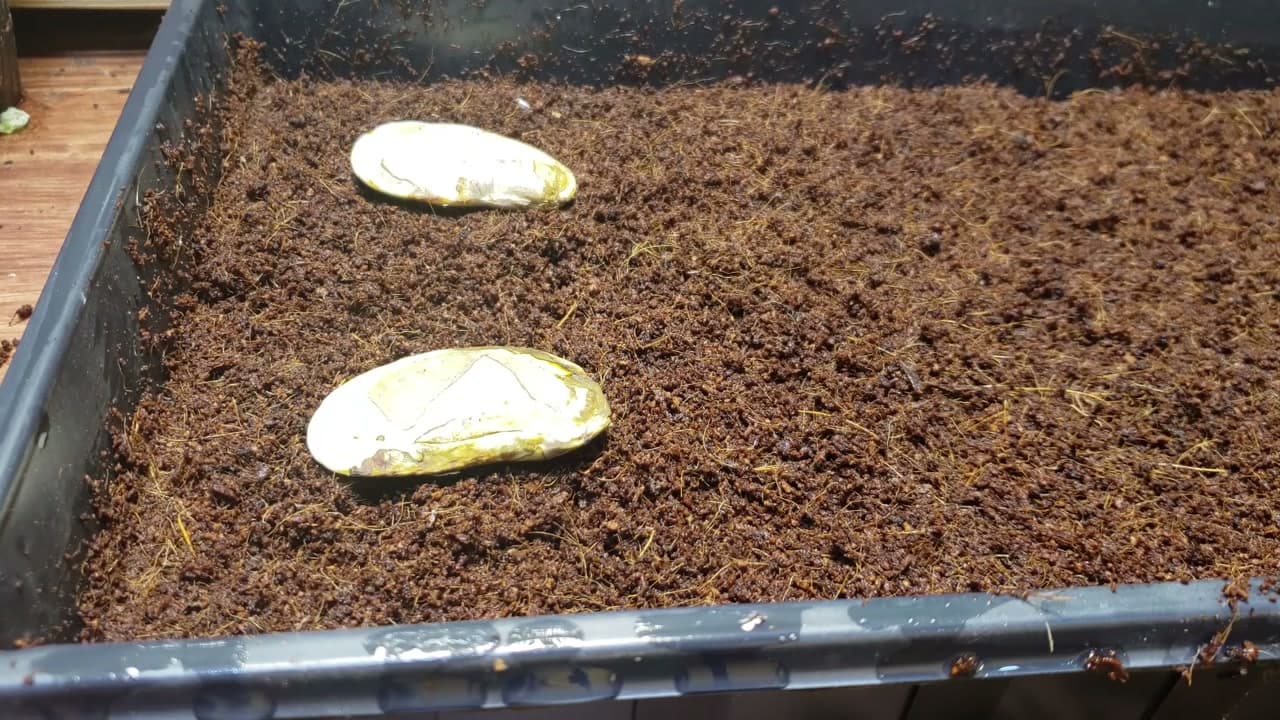
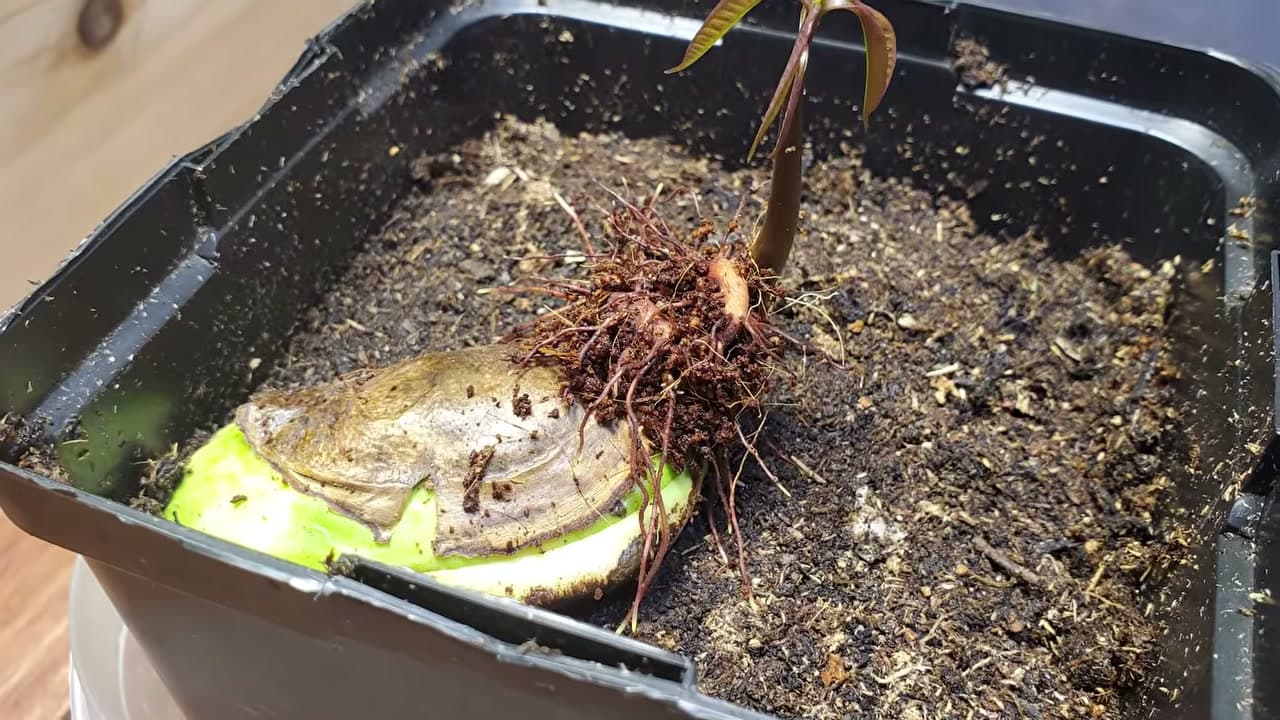
Lay the seed on its side in a tray or pot of moist seed-starting mix and barely cover it, about a half inch of soil on top. On its side is the key, not standing up. The root grows down and the shoot grows up from the same spot, and lying flat lets both find their way.

Tip

Watch this step Keep the soil warm and damp, never soggy. Mango seeds love heat, so the top of the fridge or a seedling heat mat speeds things up.

6

Step 6: Wait for It to Sprout

10:05
Step 6: Step 6: Wait for It to Sprout

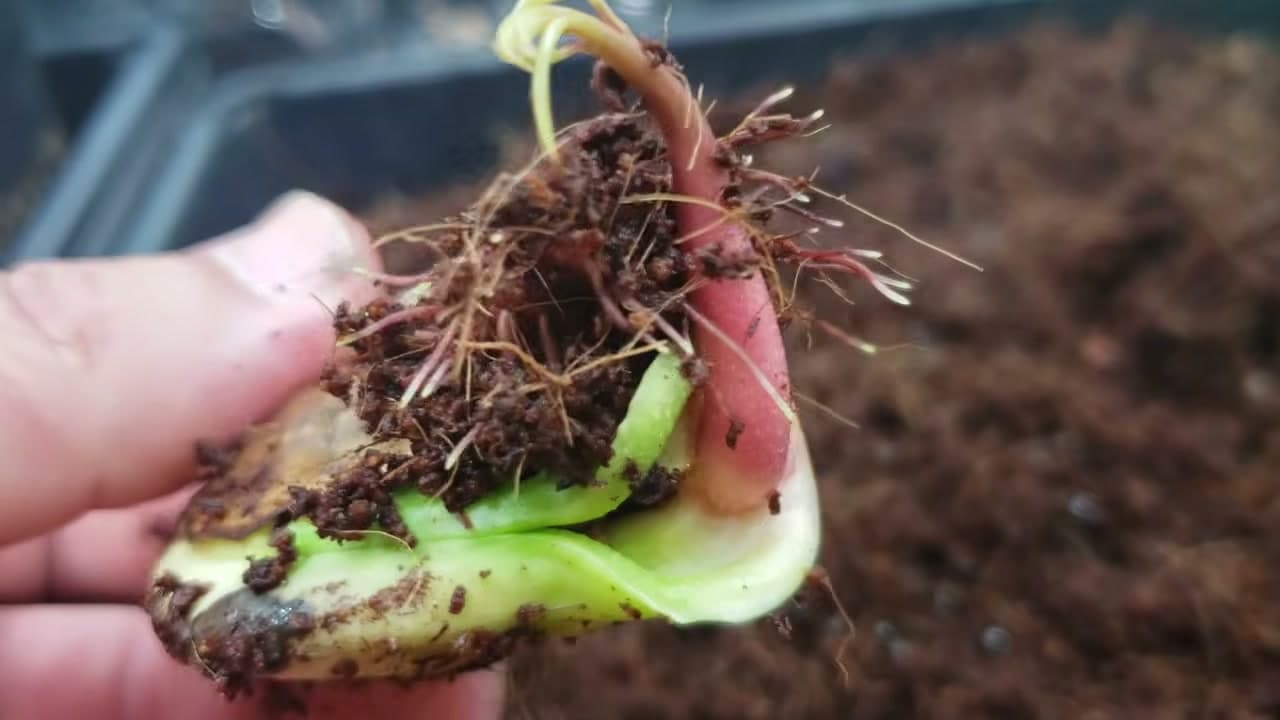
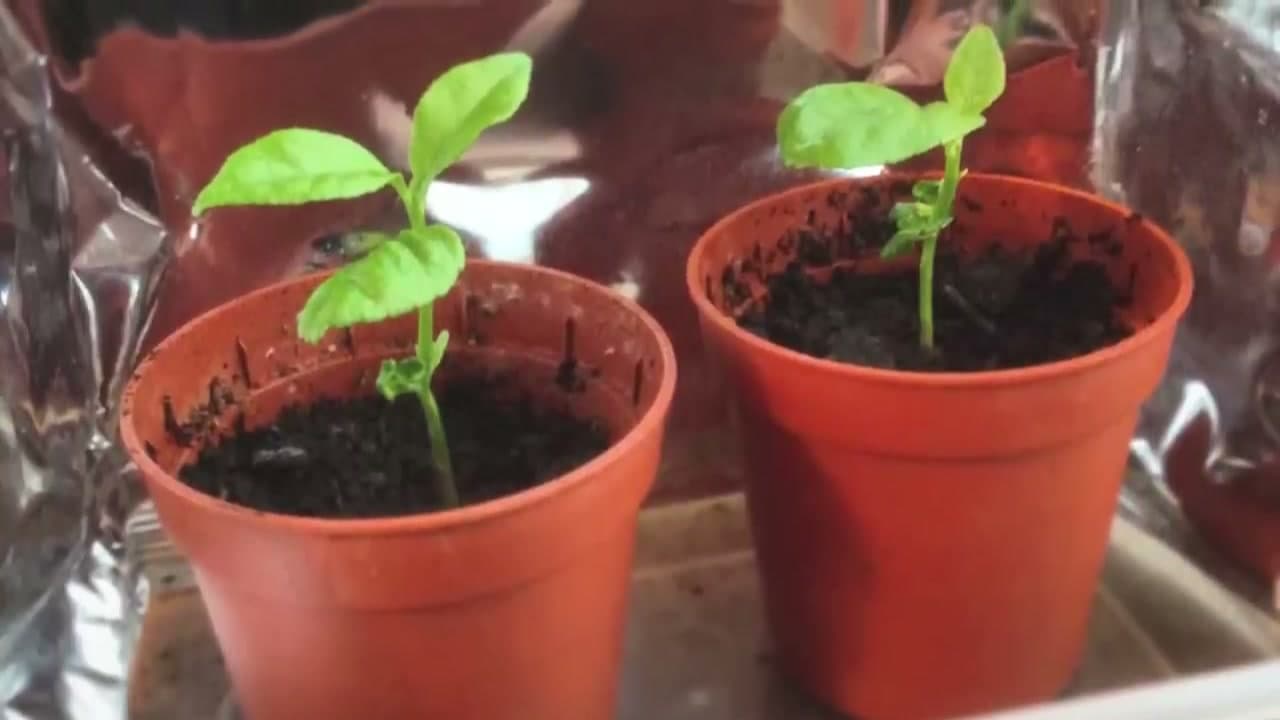
Now the patience part. In one to three weeks a thick shoot and a tangle of roots push out of the seed. Keep the soil moist and warm the whole time. Do not dig around to check on it, just keep it watered and let it work. When you see green breaking the surface, you are past the hard part.

Tip

Watch this step A clear plastic dome or a cut soda bottle over the pot traps humidity and keeps the seed from drying out while it sprouts.

7

Step 7: Pot Up the Sprouted Seed

11:40
Step 7: Step 7: Pot Up the Sprouted Seed

Once the seedling has a real root system and a few inches of stem, move it into its own pot with drainage holes. Settle it so the top of the seed sits just at the soil line and firm the mix around the roots. A deep pot suits a mango because it sends down a long taproot early.

Tip

Watch this step Water it in well after potting, then let the top inch of soil dry before the next drink. Mangoes hate sitting in wet feet.

8

Step 8: Grow On in Bright Light

13:10
Step 8: Step 8: Grow On in Bright Light

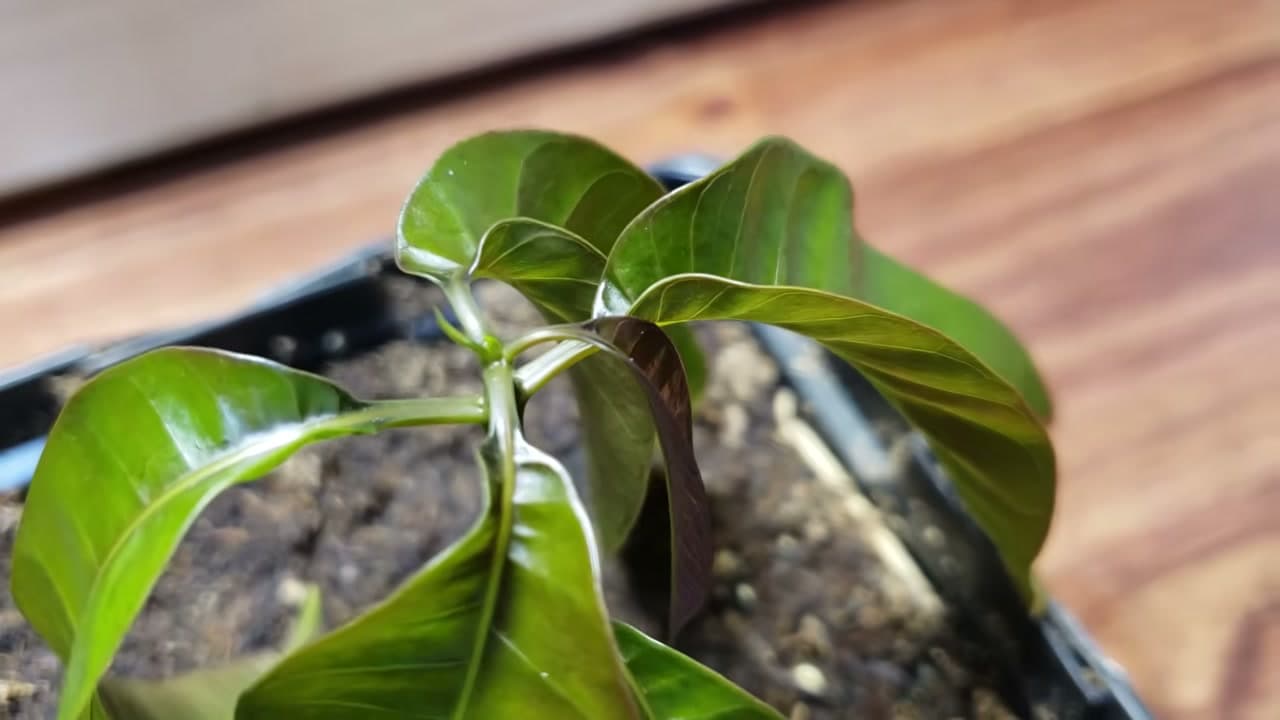
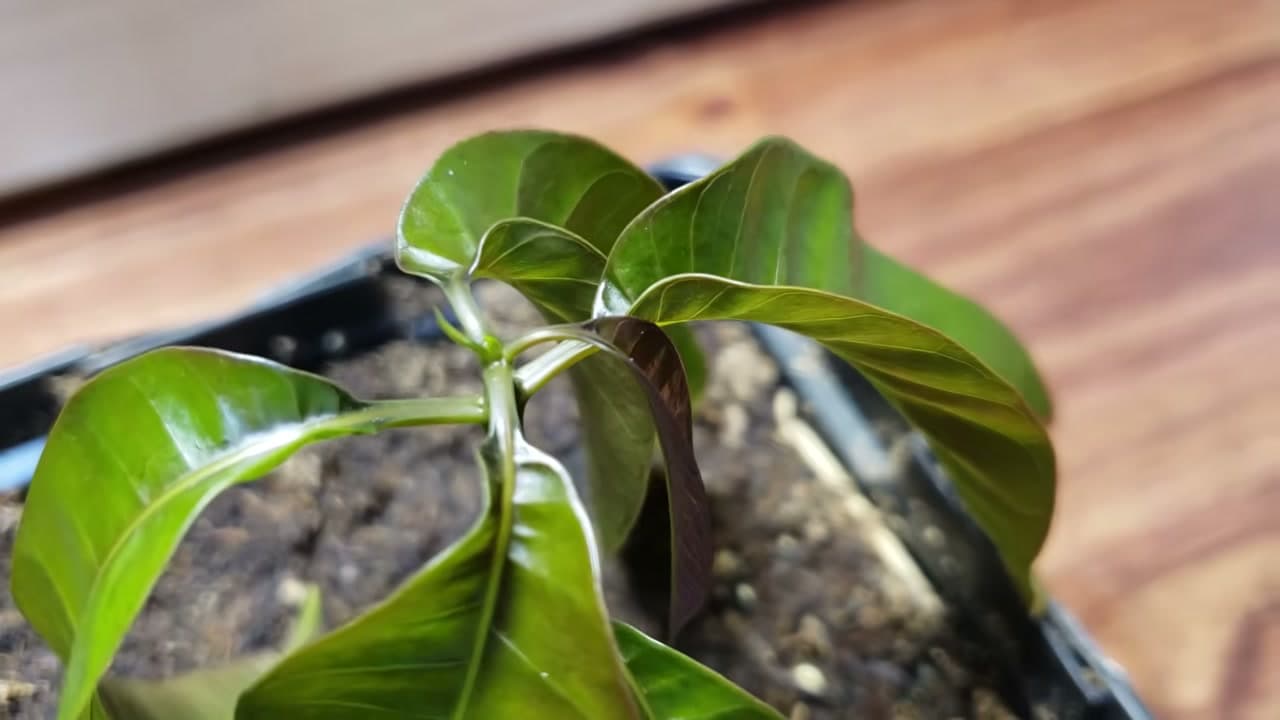
Set your young mango in the brightest window you have, and outside in summer once nights stay warm. The first leaves often come out reddish and floppy, then firm up and turn green as they harden off. It will not fruit for years indoors, but you have grown a real mango tree from a seed you would have thrown away.

Tip

Watch this step No bright window? A small LED grow light keeps the seedling stocky instead of stretched and pale. Rotate the pot weekly so it grows straight.

Products Used

☐ The Checklist

How to Grow a Mango Tree from Seed

Tools
4
Materials
4
Steps
8
Video
14 min

Tools we recommend

Your Guide

The Ripe Tomato Farms

As an Amazon Associate we earn from qualifying purchases. Links on this page may be affiliate links - clicking them and buying doesn't change your price, but helps support ShowMeStepByStep.

Tags

Sunday How-To

New gardening tutorials, every Sunday

One short email with the week's best step-by-step guides. Free, no spam, unsubscribe anytime.

Did this work for you?

What's next

Related collections

Curated theme pages that include this tutorial.

Weekly Digest

Liked this gardening tutorial?

Pick the categories you want to hear about. Weekly digest of new step-by-step tutorials. No spam, easy unsubscribe.

Send me tutorials about

We only email about new tutorials. Easy unsubscribe anytime.