How to Grow a Lemon Tree from Seed

GardeningEasy5:468 stepsBrowse more →

By ShowMeStepByStepPublished

Based on a video by Project Diaries.

This is Project Diaries walking through how to grow a lemon tree from seed, start to seedling, with a clean paper-towel method that lets you watch every seed sprout before it hits the soil. The seeds inside a supermarket lemon are ready to grow the day you cut the fruit. Rinse them, keep them damp, and most of them push out a root within a couple of weeks.

A lemon grown from seed will not fruit for years, and it may not match the parent lemon, but that is not why you do it. A row of glossy citrus seedlings on the windowsill smells amazing and costs you nothing but a lemon you were already going to use. Once you are hooked, try growing a mango tree from seed and an avocado from seed the same way.

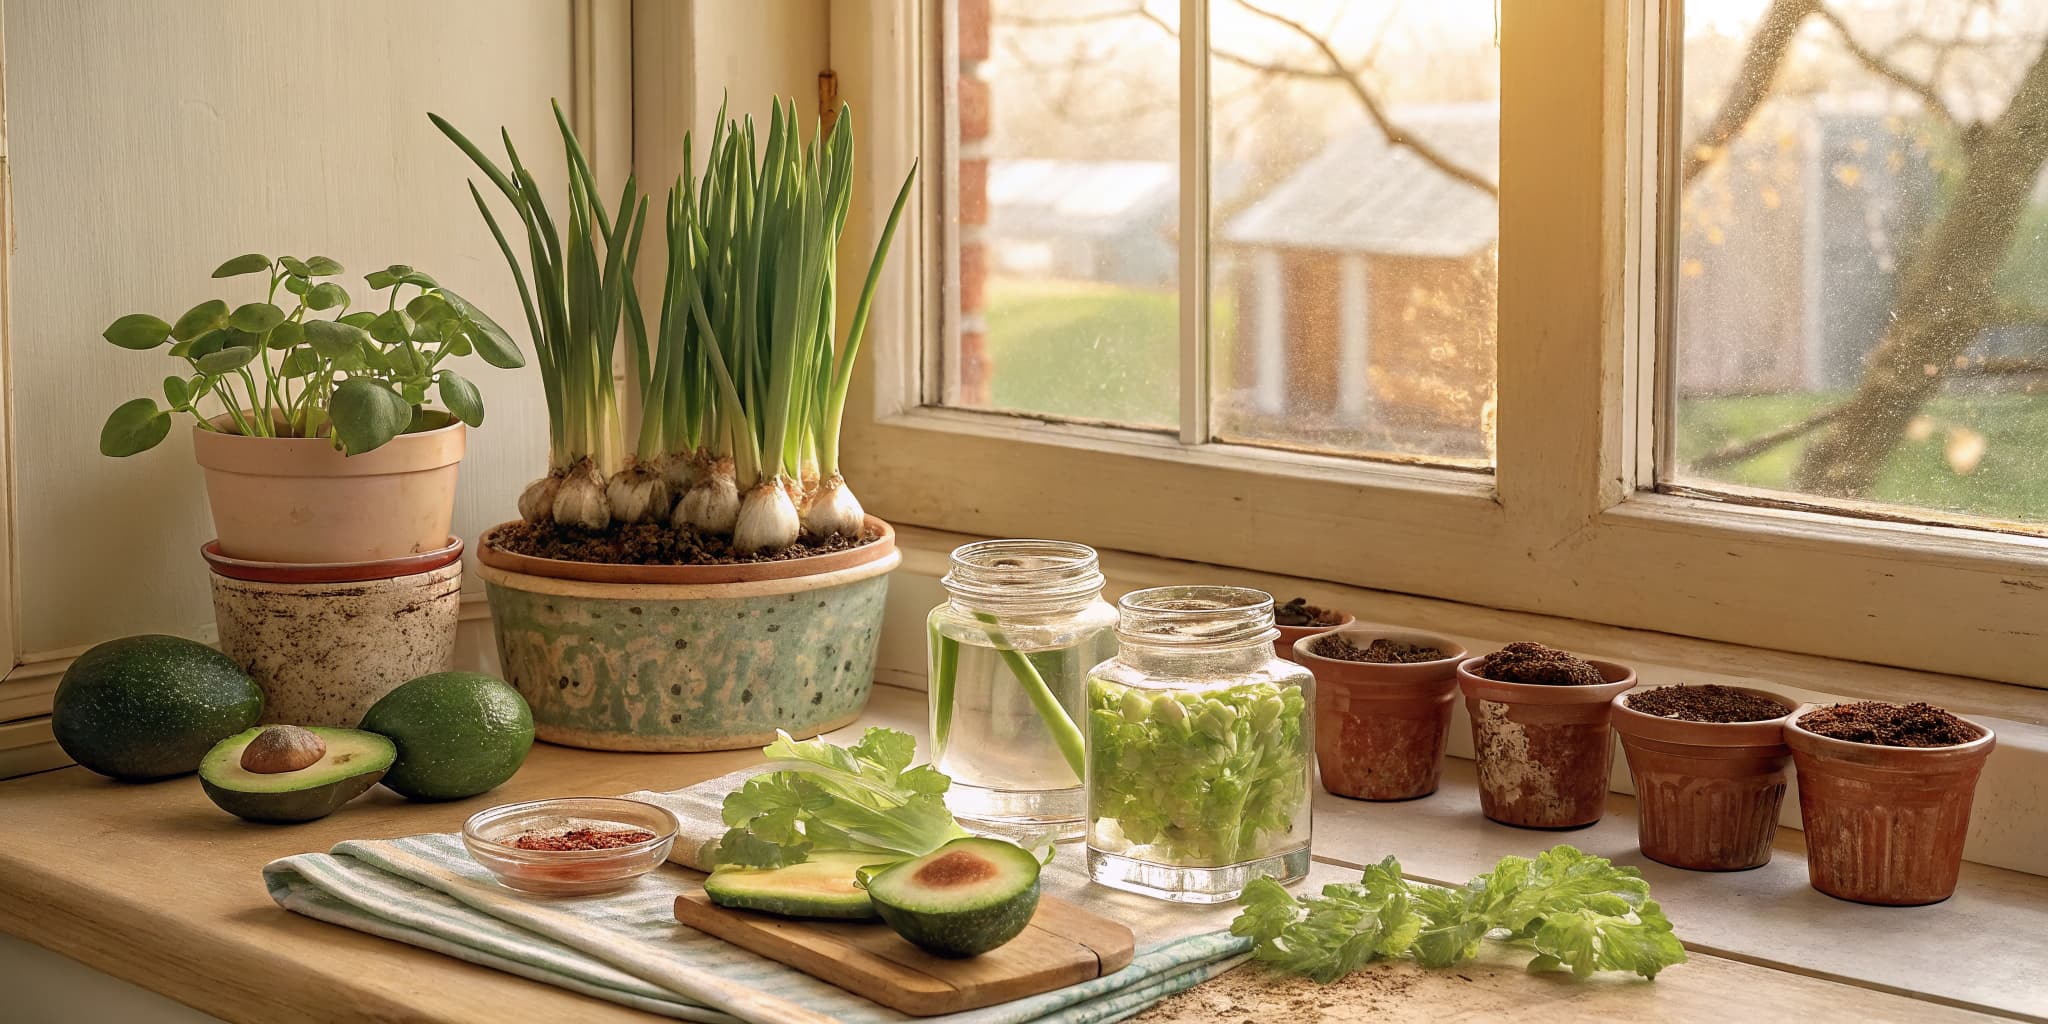
For more free plants from the kitchen, here is how to grow a pineapple from its top and how to regrow green onions in a glass of water. A sunny sill and a few scraps go a long way.

Step-by-Step Guide

8 steps · about 6 minutes.Check off each step as you go and your progress saves automatically.

1

Step 1: Cut a Lemon and Save the Seeds

0:45
Step 1: Step 1: Cut a Lemon and Save the Seeds

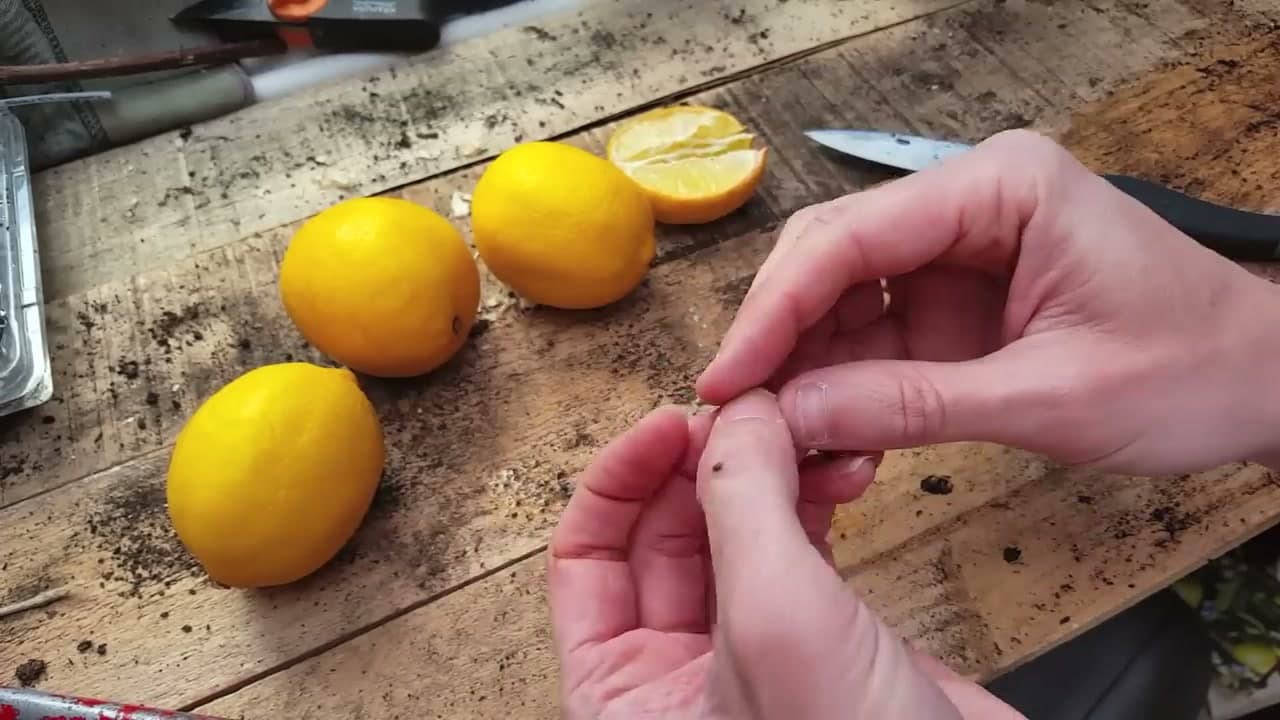
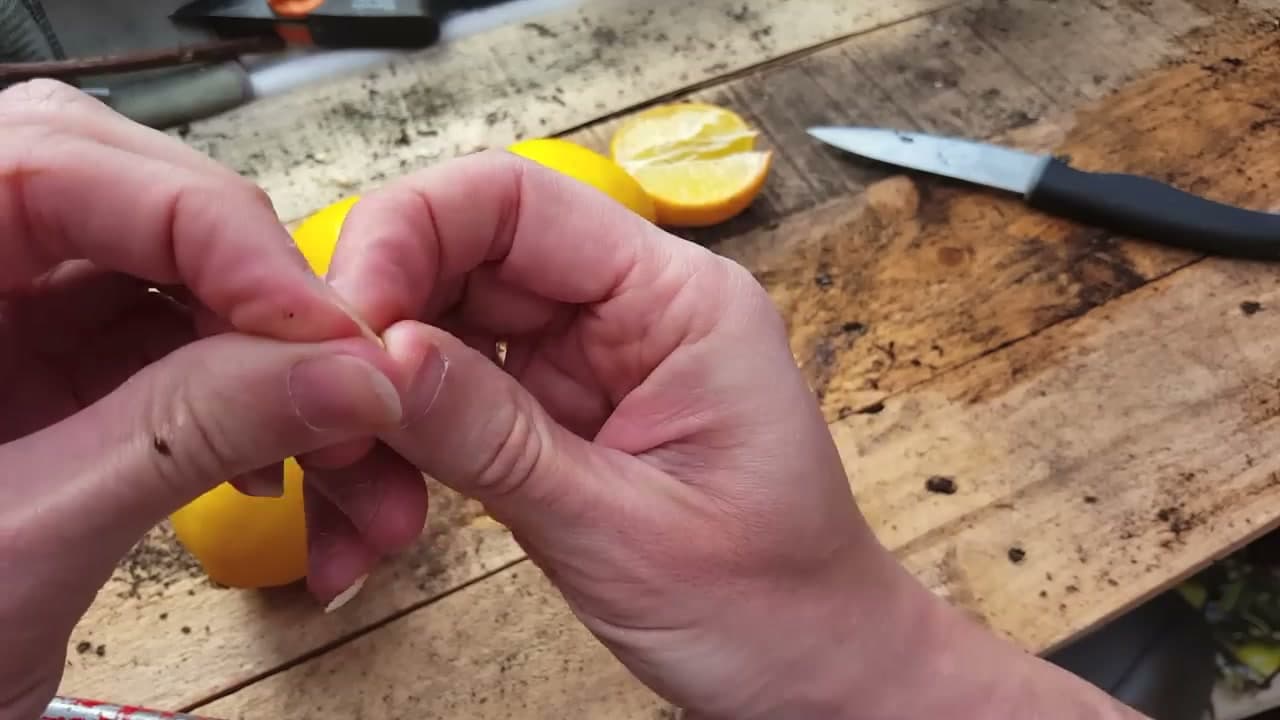
Slice a lemon in half and dig the seeds out of the wedges with the tip of a knife or your fingers. One lemon gives you plenty, so pull out every seed you can find. Fresh seeds straight from the fruit sprout best, so do this the same day you cut the lemon.

Tip

Watch this step Organic lemons are the safer bet. Some conventional citrus is grown from trees whose seeds will not sprout true, and a few are treated to resist sprouting.

2

Step 2: Rinse and Pick the Best Seeds

1:25
Step 2: Step 2: Rinse and Pick the Best Seeds

Rinse the pulp and juice off the seeds so they do not get moldy later. Then sort through them and keep the plump, full ones. Toss anything thin, flat, or shriveled, since those are unlikely to grow. A quick soak in room-temperature water overnight helps soften the shell.

Tip

Watch this step Keep the seeds damp from here on. A lemon seed that dries out completely goes dormant or dies, so do not leave them out on the counter.

Products used in this step

3

Step 3: Lay the Seeds on a Damp Paper Towel

2:00
Step 3: Step 3: Lay the Seeds on a Damp Paper Towel

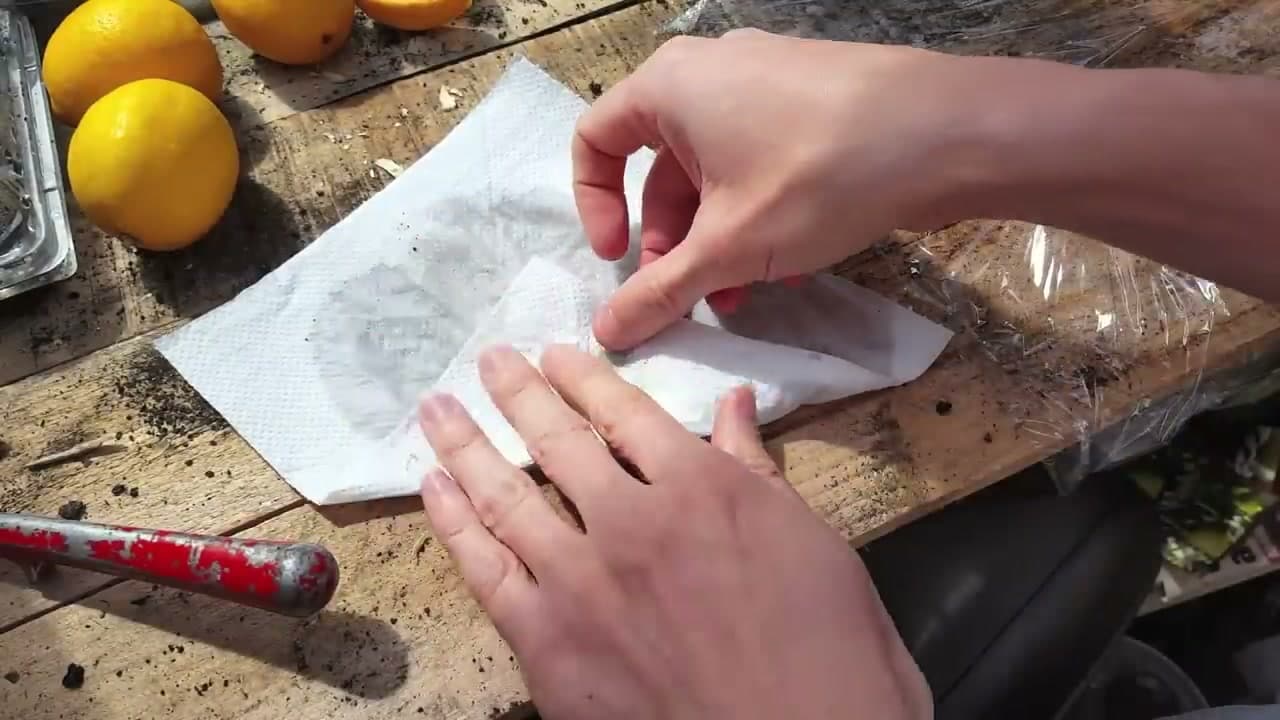
Wet a paper towel, wring out the drips, and spread the seeds across one half. If you want faster sprouting, peel the thin papery shell off each seed first, but that is fussy and optional. The damp towel does the real work by keeping the seeds at steady moisture.

Tip

Watch this step Peeling the outer shell can cut germination time in half, but go slow. The seed inside bruises easily, so only try it if you have spare seeds.

Products used in this step

4

Step 4: Seal Them Up to Sprout

2:42
Step 4: Step 4: Seal Them Up to Sprout

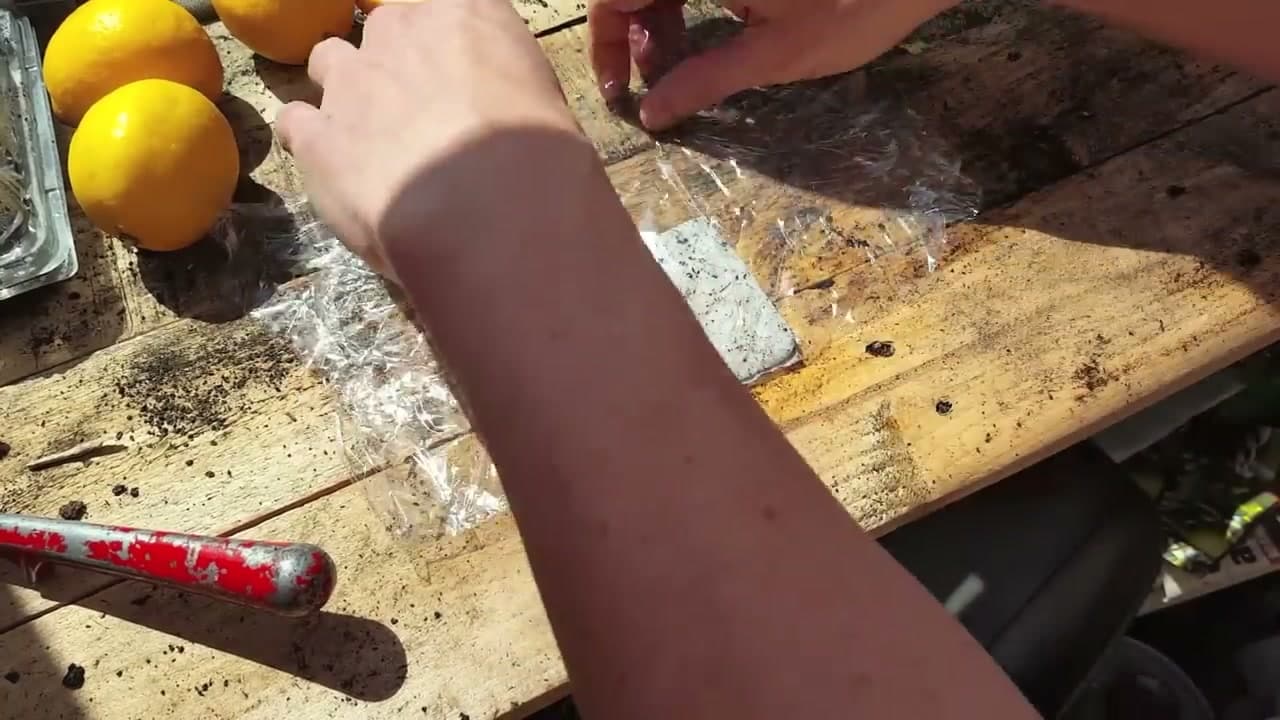
Fold the towel over the seeds and slide it into a zip-top bag or a lidded container. Seal it and set it somewhere warm, like the top of the fridge or a sunny shelf. The bag holds humidity so the seeds stay damp without you fussing over them every day.

Tip

Watch this step Check the towel every few days. It should stay damp, not dripping. Add a splash of water if it dries, and pour off any pooled water if it is too wet.

5

Step 5: Wait for a White Root

3:06
Step 5: Step 5: Wait for a White Root

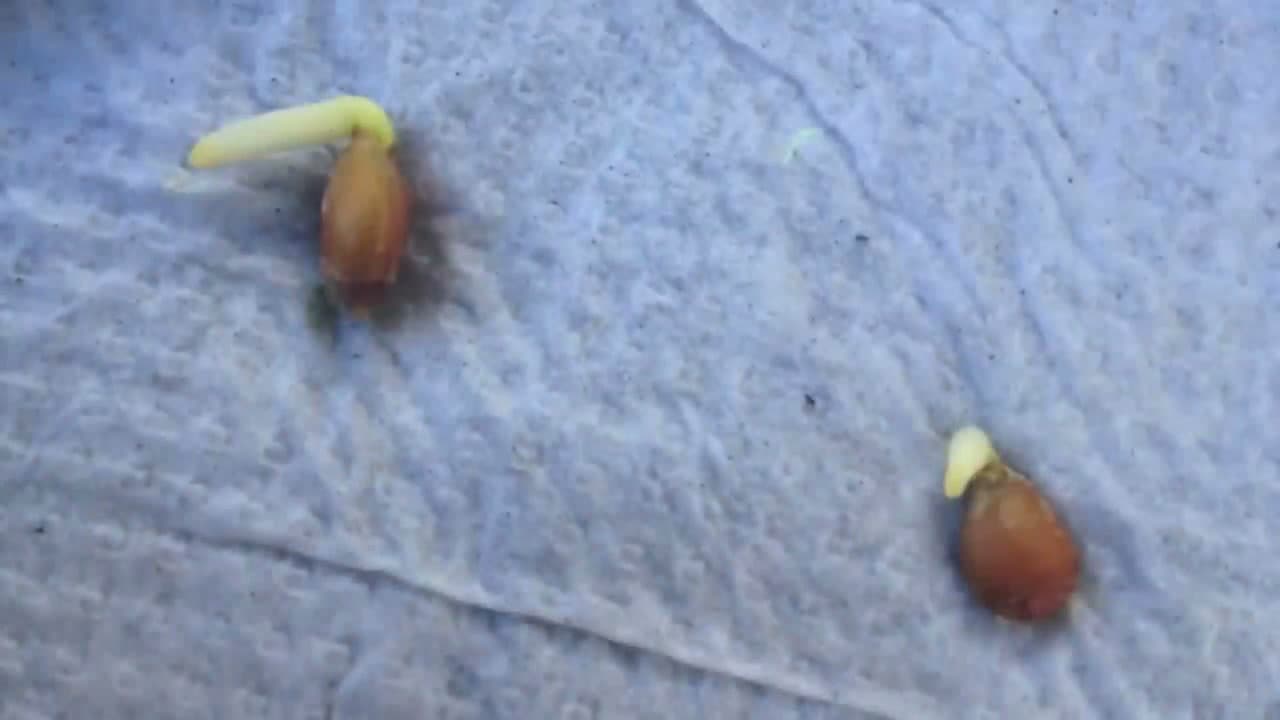
In one to three weeks a small white root pushes out of each seed. That is your signal a seed has taken. Some sprout fast and some lag, so give the slow ones extra time before you give up on them. Once you see roots, it is time to move them to soil.

Tip

Watch this step Handle sprouted seeds by the shell, not the root. That little white root is fragile and snapping it sets the seedling back or kills it.

Products used in this step

6

Step 6: Plant Each Sprouted Seed

3:18
Step 6: Step 6: Plant Each Sprouted Seed

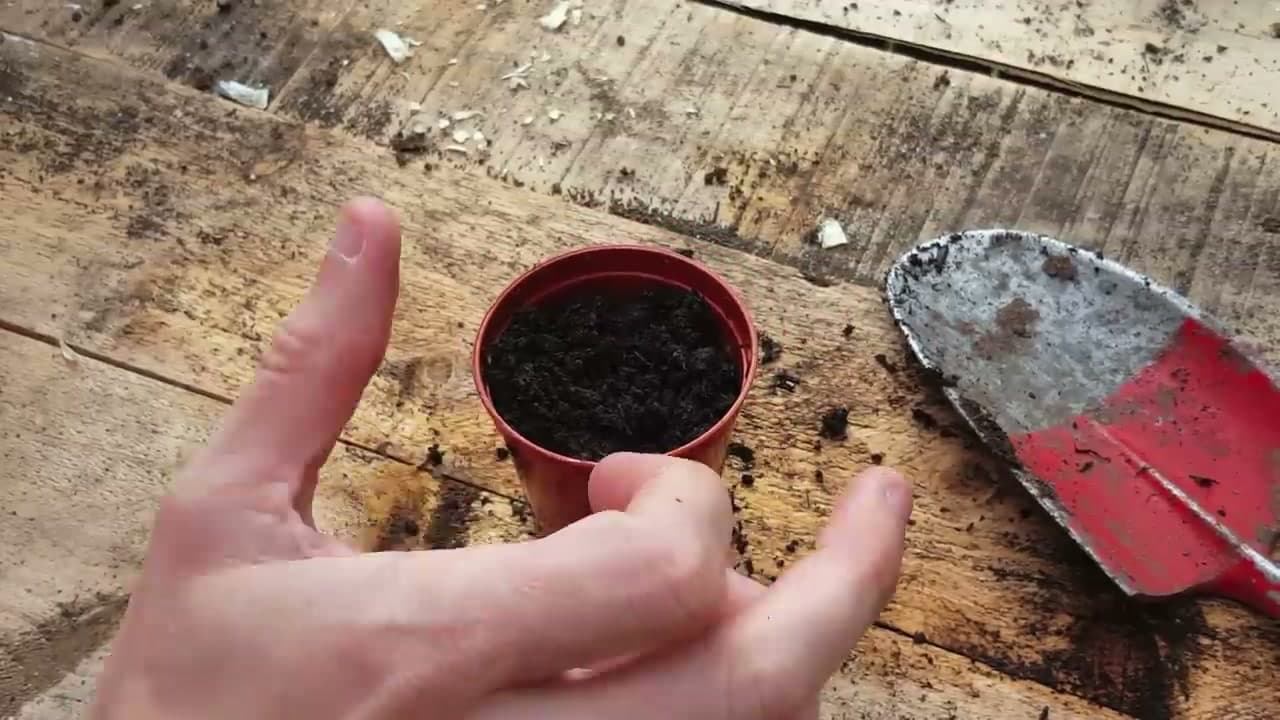
Fill a small pot with moist potting mix and poke a hole about a half inch deep. Set the seed in root-side down and cover it lightly. One seed per small pot keeps the roots from tangling. Water gently so you do not wash the seed out of place.

Tip

Watch this step A pot with drainage holes matters here. Citrus roots rot in soggy soil, so let extra water run out the bottom rather than sit at the roots.

7

Step 7: Keep the Pots Warm and Sunny

3:54
Step 7: Step 7: Keep the Pots Warm and Sunny

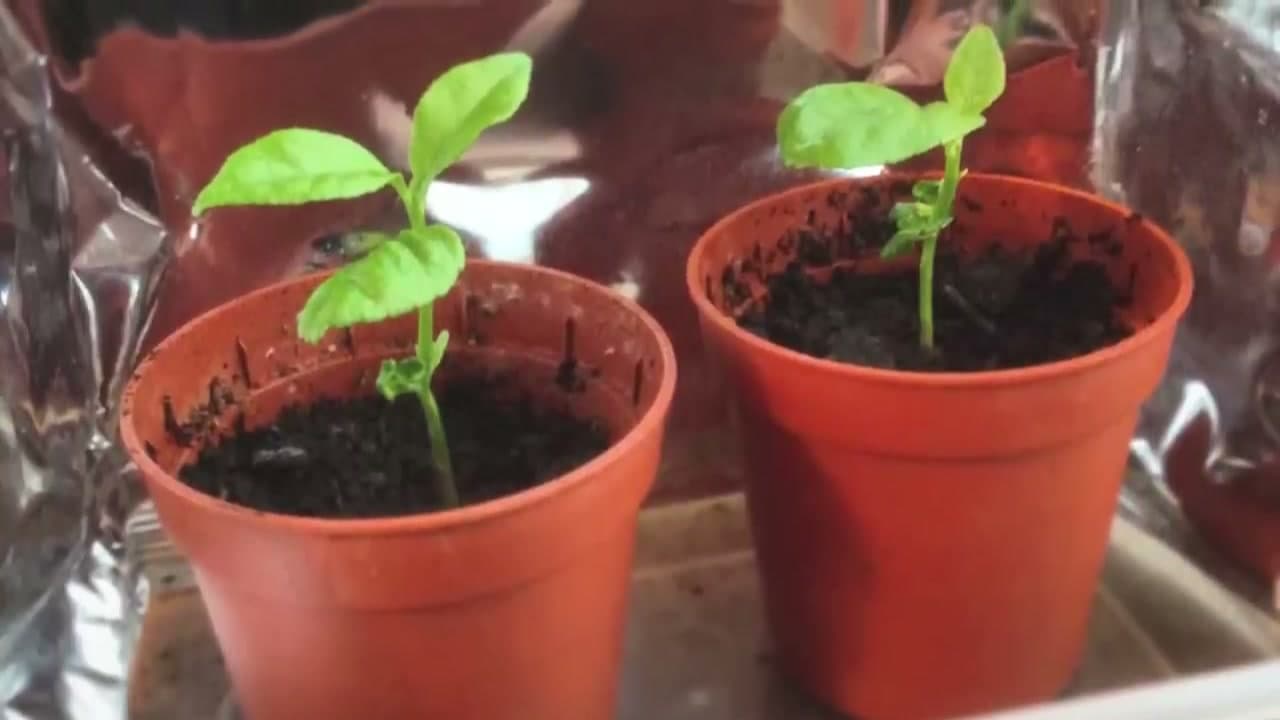
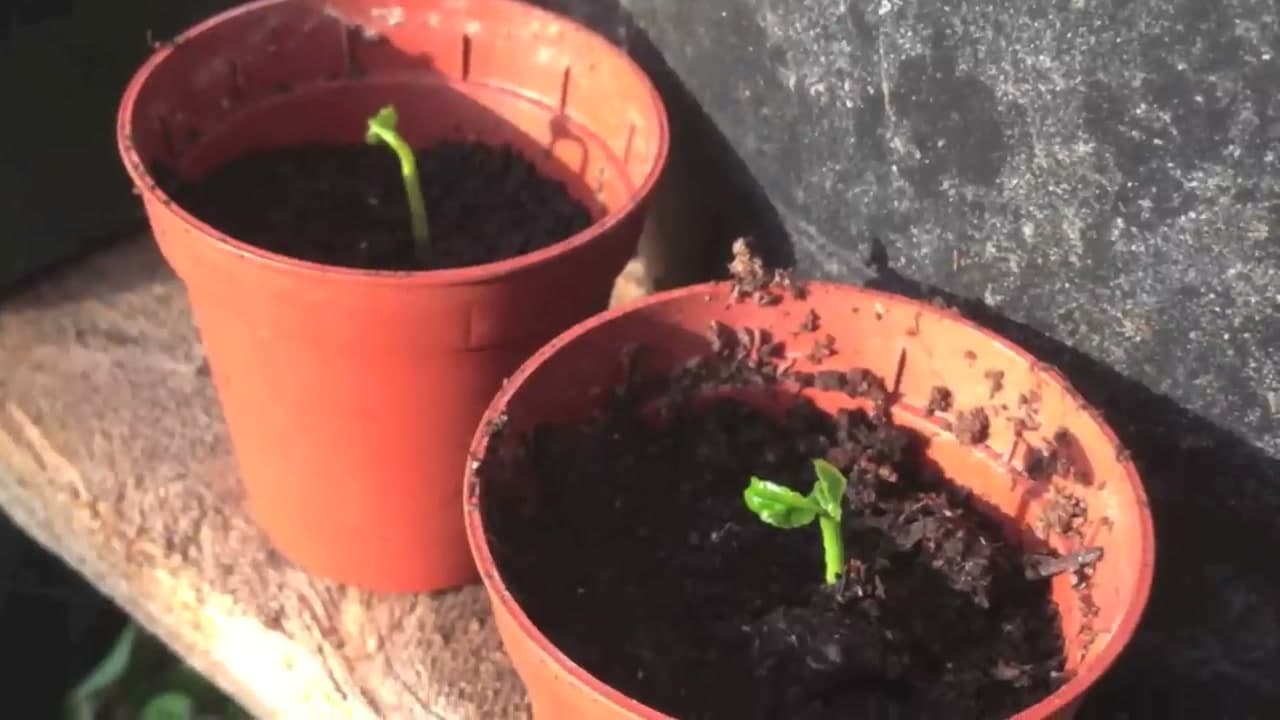
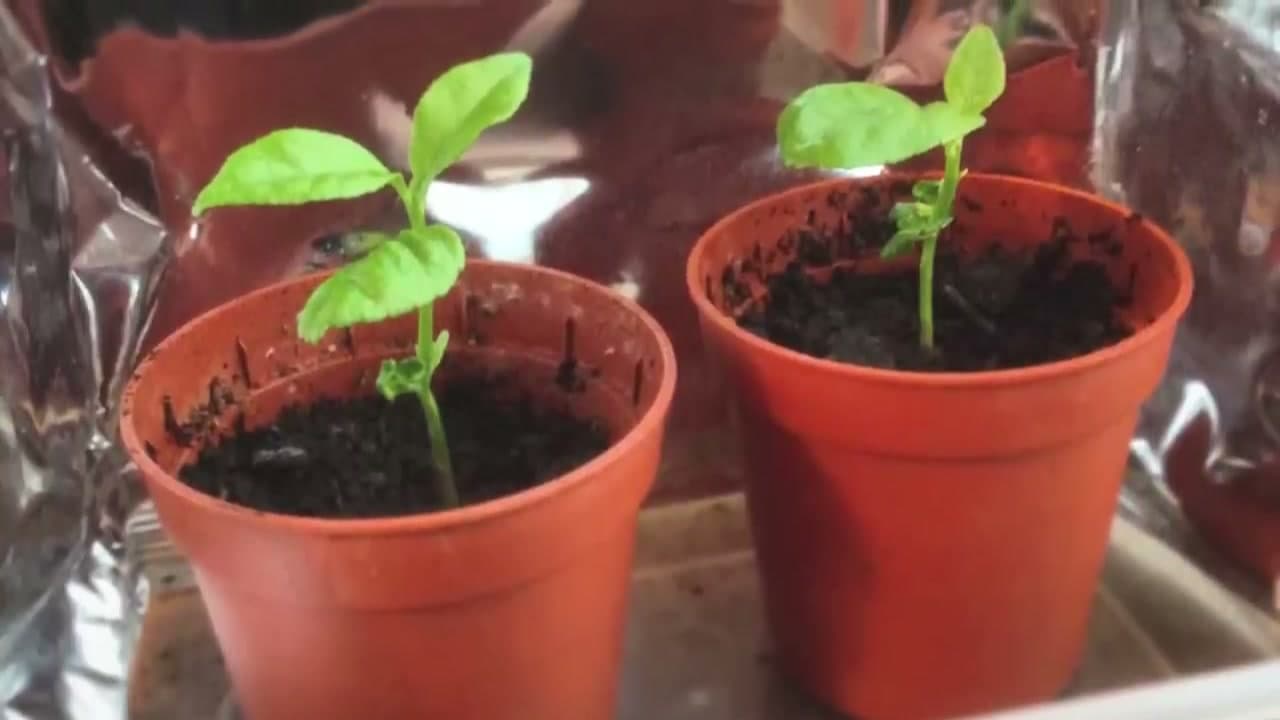
Set the pots on the warmest, brightest windowsill you have. A south-facing window is ideal. Keep the soil damp but not wet, and in a week or two a green shoot breaks the surface. Warmth and light are what turn a sprouted seed into a real seedling.

Tip

Watch this step Group the pots together to hold humidity around the young shoots, and turn them every few days so the seedlings grow straight toward the light.

8

Step 8: Grow On Your Lemon Seedlings

4:12
Step 8: Step 8: Grow On Your Lemon Seedlings

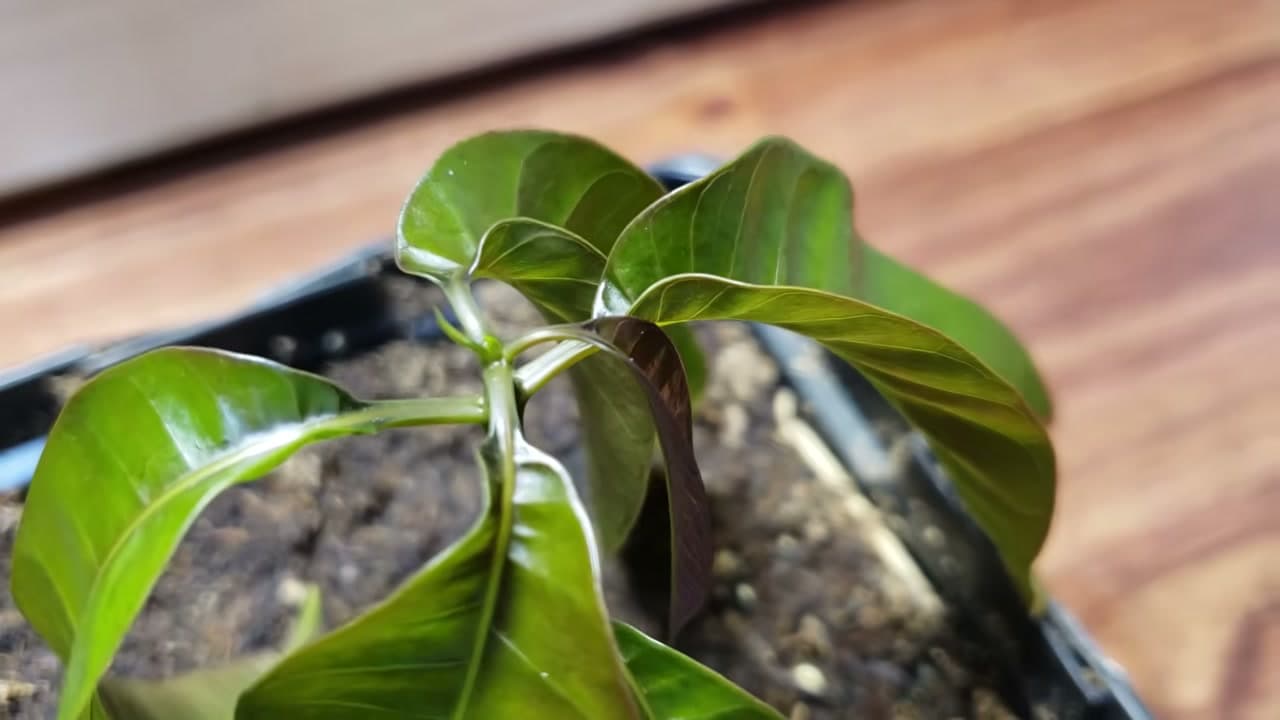
As the seedlings put out their first true leaves, thin each pot down to the single strongest plant. Keep them in bright light, feed lightly once they are established, and pot up as they outgrow their homes. A seed-grown lemon takes years to fruit, but you have a real citrus tree started from a piece of fruit.

Tip

Watch this step Crush a leaf between your fingers. That bright lemon smell is the payoff and a quick way to know your seedling is a true citrus.

Products Used

☐ The Checklist

How to Grow a Lemon Tree from Seed

Tools
3
Materials
4
Steps
8
Video
6 min

Tools we recommend

Your Guide

Project Diaries

As an Amazon Associate we earn from qualifying purchases. Links on this page may be affiliate links - clicking them and buying doesn't change your price, but helps support ShowMeStepByStep.

Tags

Sunday How-To

New gardening tutorials, every Sunday

One short email with the week's best step-by-step guides. Free, no spam, unsubscribe anytime.

Did this work for you?

What's next

Related collections

Curated theme pages that include this tutorial.

Weekly Digest

Liked this gardening tutorial?

Pick the categories you want to hear about. Weekly digest of new step-by-step tutorials. No spam, easy unsubscribe.

Send me tutorials about

We only email about new tutorials. Easy unsubscribe anytime.