How to Grow an Apple Tree from Seed (Step by Step)

GardeningEasy12:537 stepsBrowse more →

By ShowMeStepByStepPublished

Based on a video by The Gardening Channel With James Prigioni.

Planting an apple tree from a seed is one of those garden projects that sounds impossible until someone shows you how simple the first steps really are. James Prigioni of The Gardening Channel With James Prigioni grew his own apple variety, the Prigioni apple, from a single seed and got fruit in only three years. This walkthrough follows his method for the part that matters most to beginners: getting a seed to wake up and turn into a healthy little seedling.

Here is the one thing to know going in. A seed-grown apple never grows true to its parent, so the tree you raise will be a brand-new variety that nobody has ever tasted. That is the fun of it. You save seeds from a ripe apple, give them a cold, moist spell to break their dormancy, and then grow the strongest seedlings on. Two paths get you there: cold-stratify indoors in the fridge, or direct-seed outdoors in fall and let winter do the work.

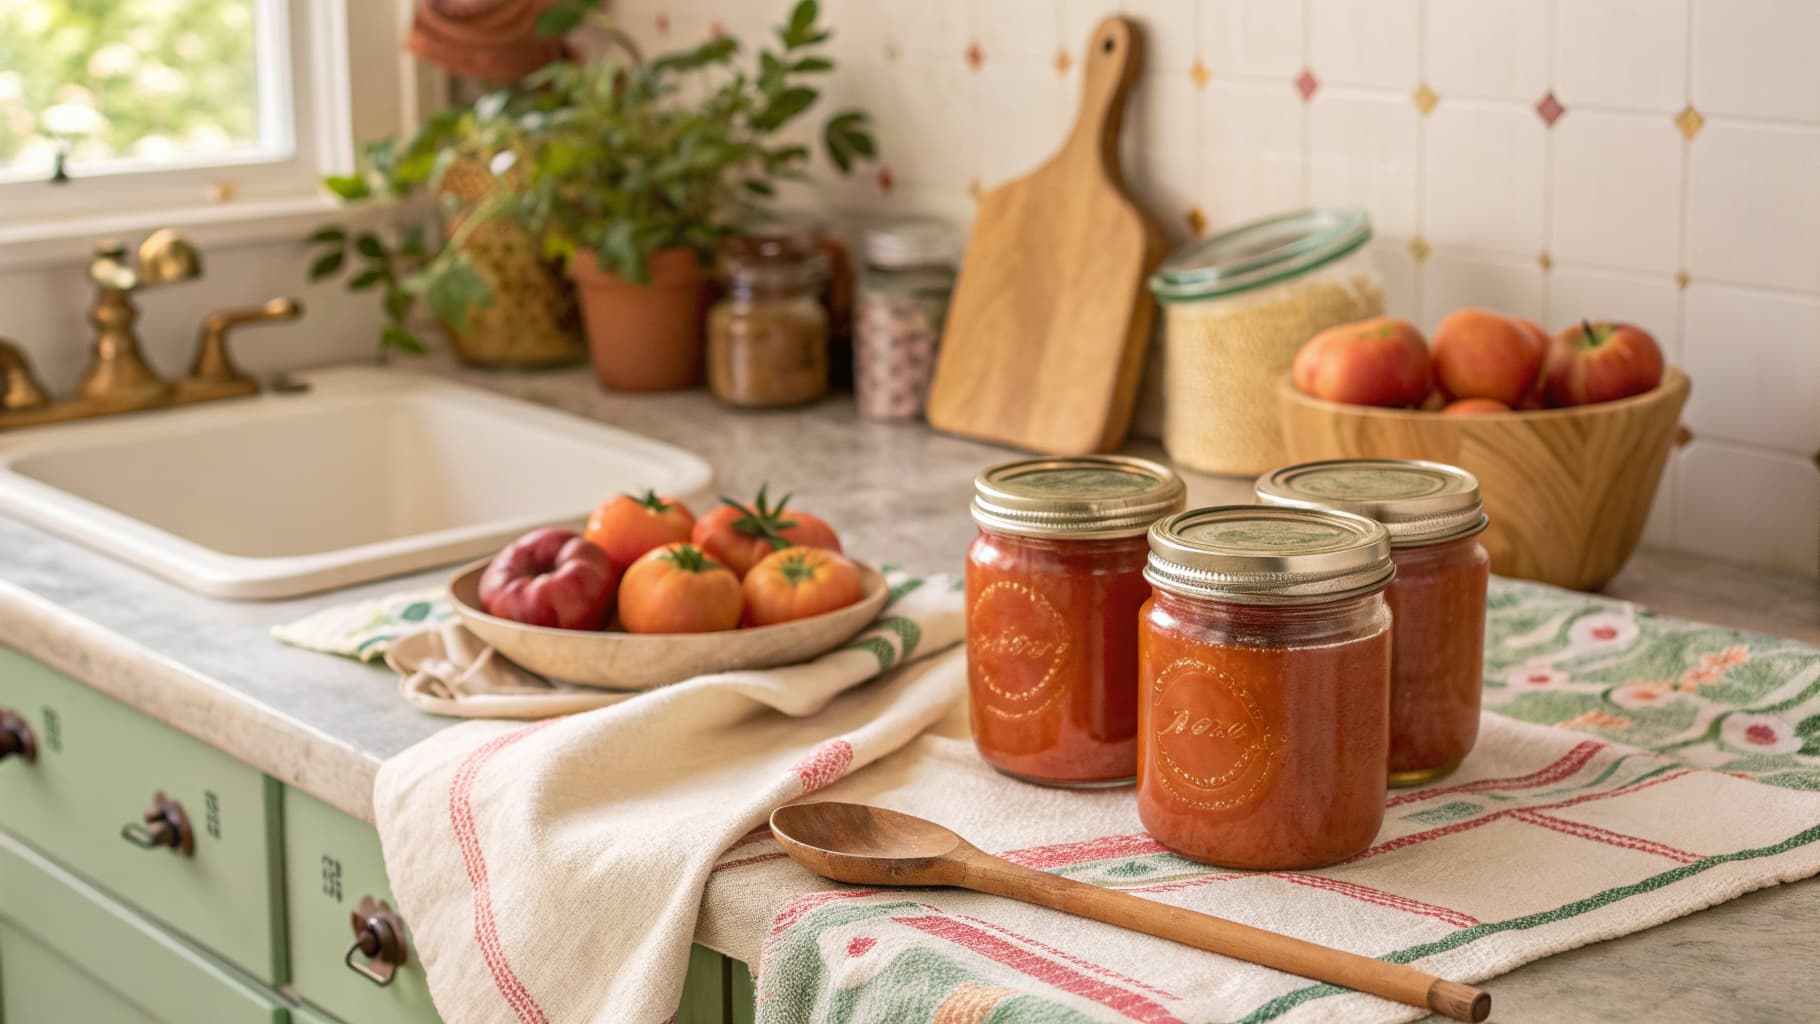
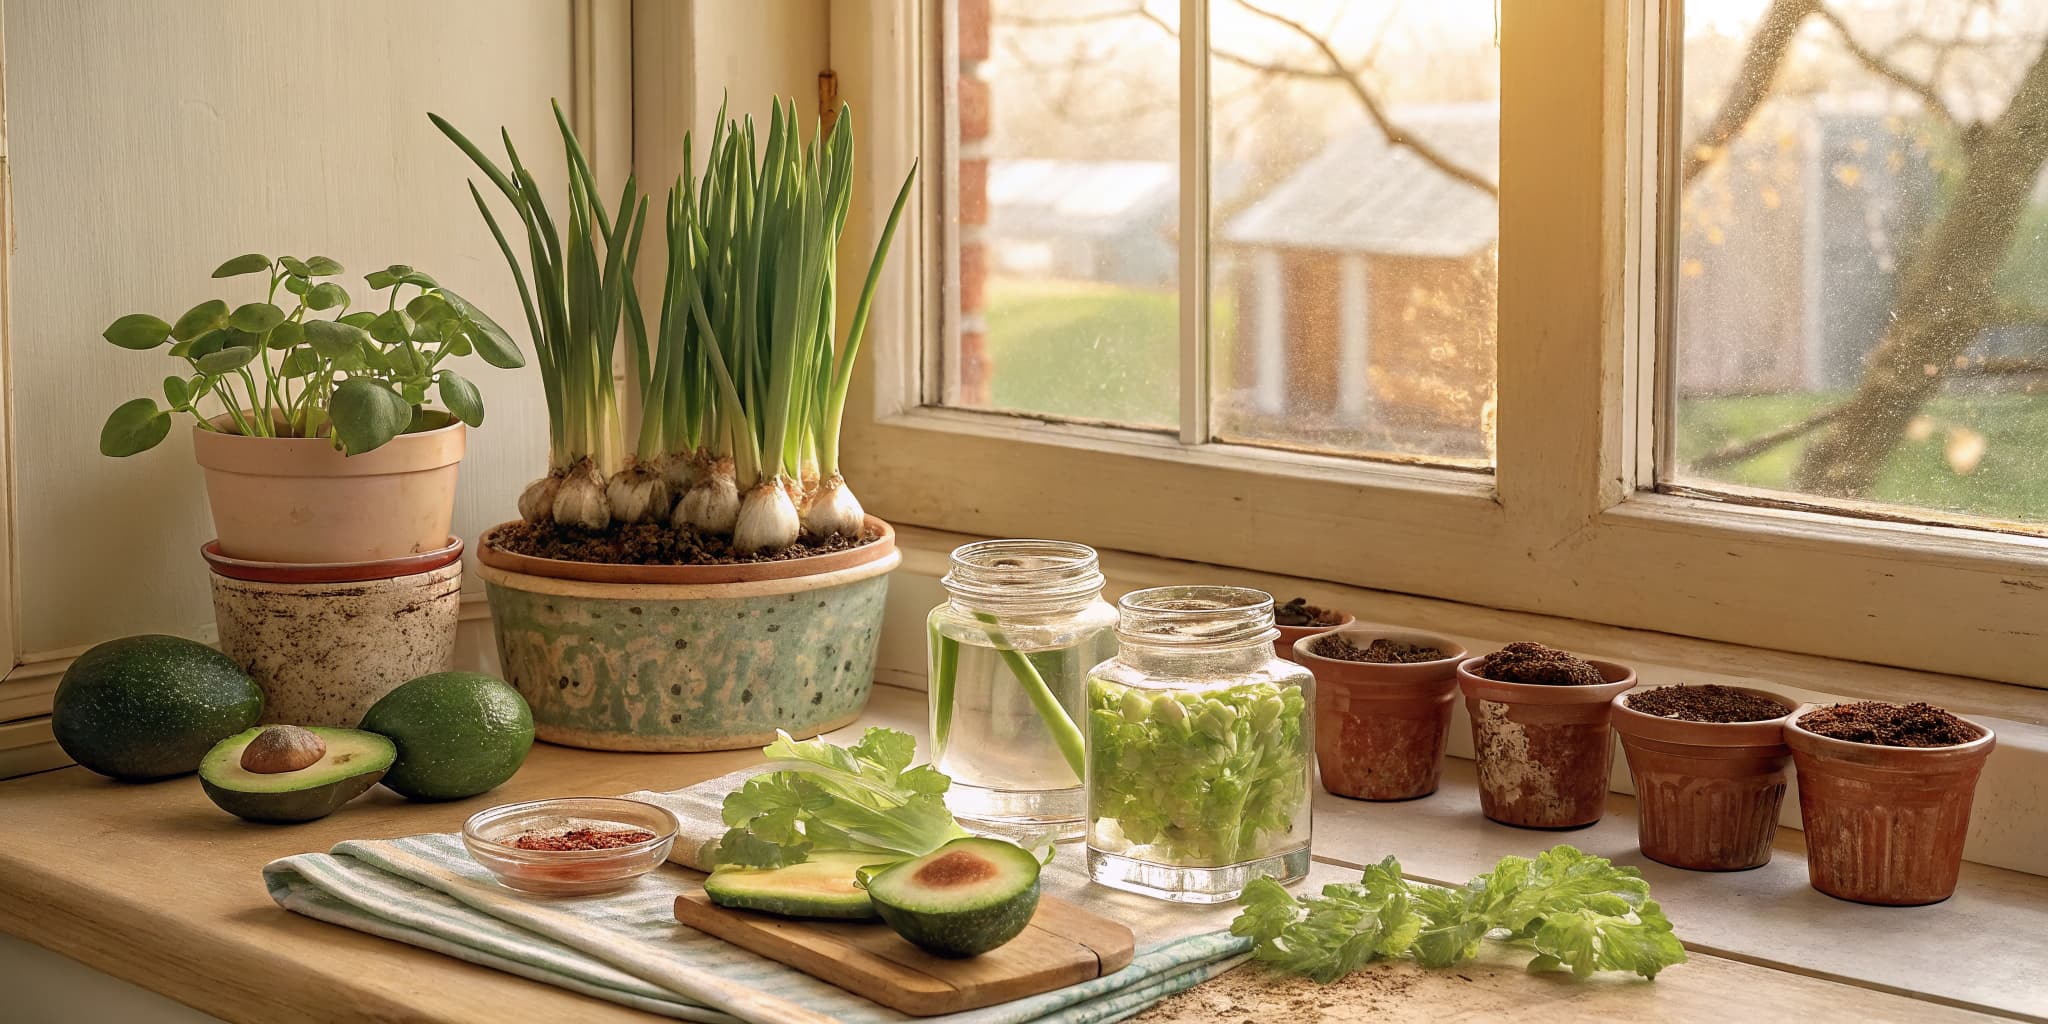
If you catch the seed-starting bug, the same cold-stratify trick works for other fruit trees. Try growing a cherry tree from seed or a peach tree from a pit, both of which need the same fridge treatment. For a no-stratify project you can start on a windowsill today, growing an avocado from seed is a fun one, and the general timing tips in starting seeds indoors carry over to almost everything you plant.

Step-by-Step Guide

7 steps · about 13 minutes.Check off each step as you go and your progress saves automatically.

1

Step 1: Cut the Apple and Collect the Seeds

0:32
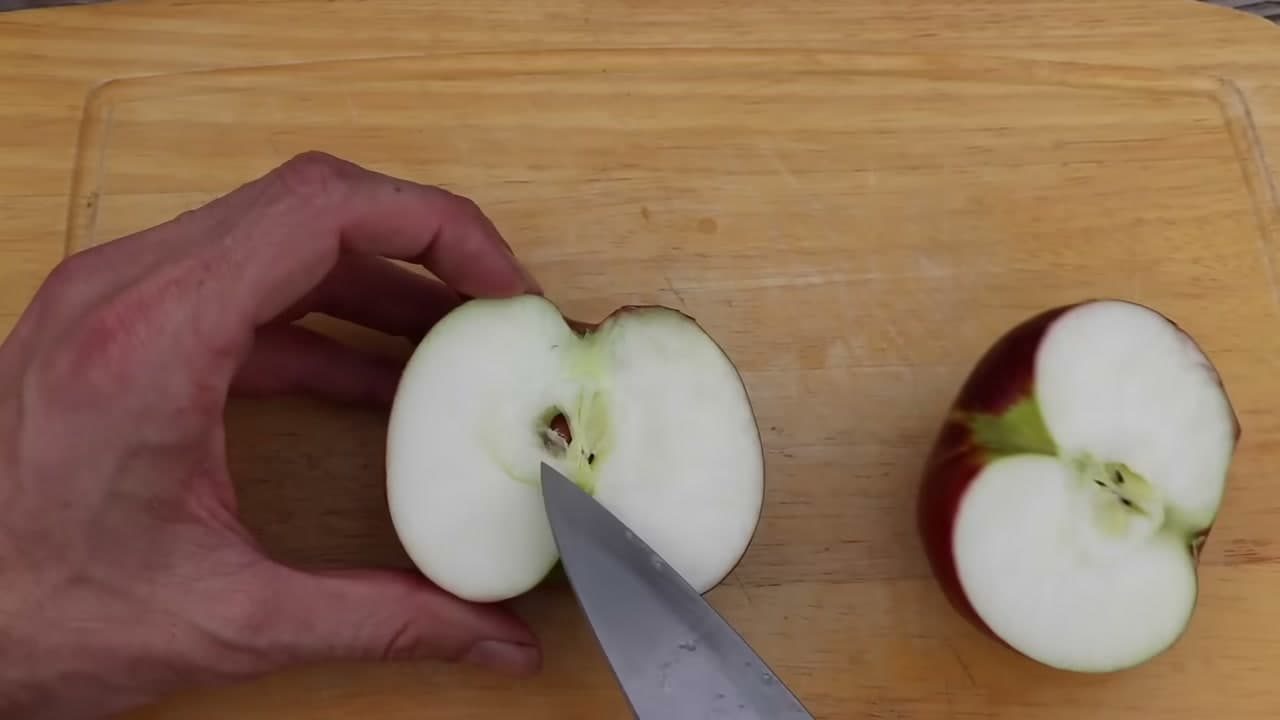
Step 1: Step 1: Cut the Apple and Collect the Seeds

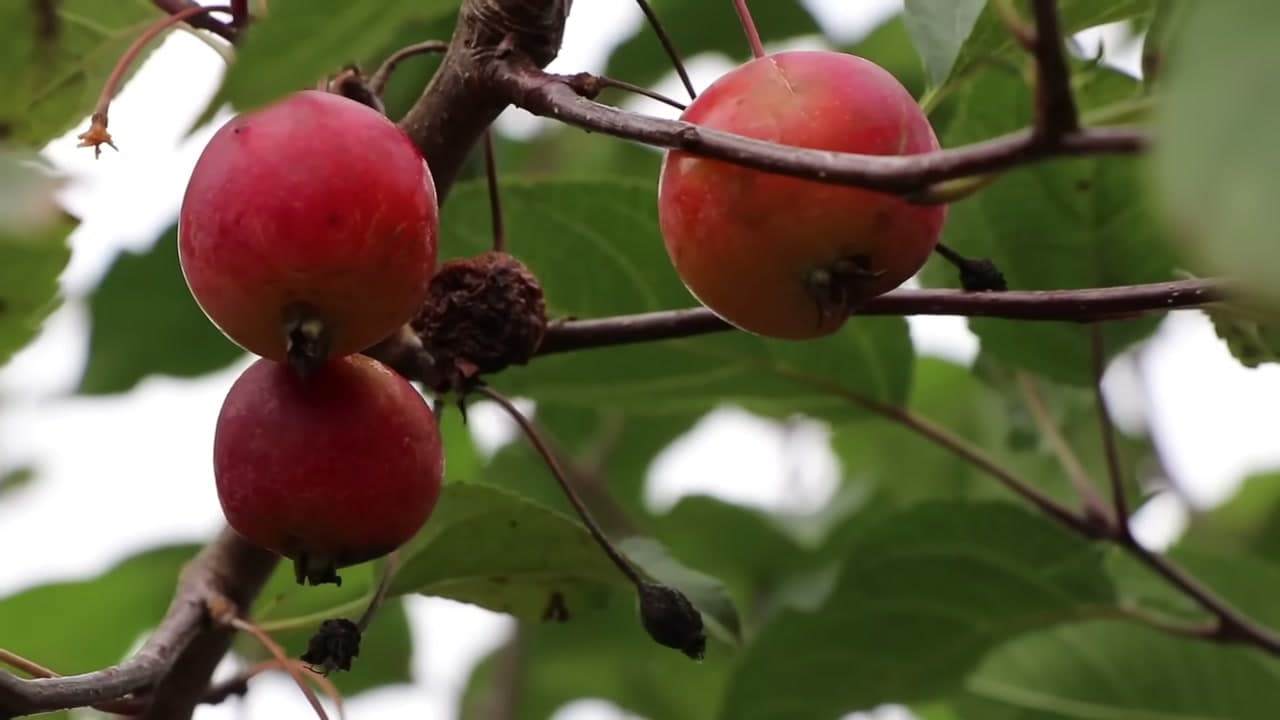
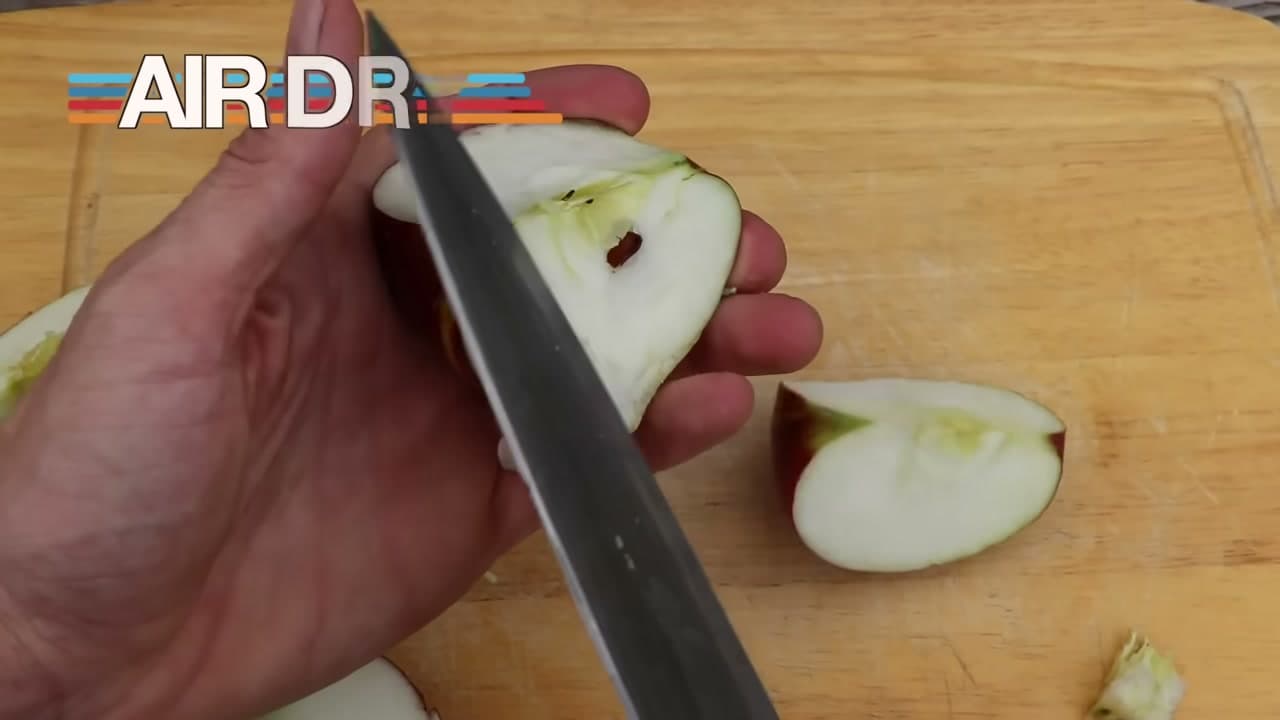
Start with a ripe, organic apple. Slice it in half through the middle so the core sits right in front of you, and you will see the seeds tucked into the little chambers. Work the tip of your knife around each seed and lift it out.

Be gentle. A nicked or crushed seed usually will not sprout. One apple gives you a handful of seeds, and since not all of them will germinate, save every good one you can find.

Tip

Watch this step Pick a firm, fully ripe apple. Underripe seeds are pale and thin, and they sprout far less often than the plump dark-brown ones.
2

Step 2: Air-Dry the Seeds

1:08
Step 2: Step 2: Air-Dry the Seeds

Spread the seeds out in a single layer and let them air-dry for two to three days. A plate or a square of paper towel on the counter works fine. Keep them out of direct sun and somewhere warm and dry.

The goal is only to dry the surface so mold cannot get a foothold. Damp, closed-up storage is what ruins a batch of seeds, so leave them loose and open to the air until they feel dry to the touch.

Tip

Watch this step Label the plate if you are drying seeds from more than one apple. Once they dry down they all look the same.

3

Step 3: Cold-Stratify in a Damp Paper Towel and Fridge

5:55
Step 3: Step 3: Cold-Stratify in a Damp Paper Towel and Fridge

To start seeds indoors, fold them into a damp paper towel and set it inside a container or a zip bag. Spray the towel so it is just moist, never soaking wet, then tuck the seeds in and seal it up. Slide the whole thing into the fridge at around 40 degrees.

This cold, moist spell is called stratification, and it tricks the seeds into thinking winter has come and gone. Sprouting can take anywhere from two or three weeks up to a couple of months, so check every few days that the towel stays damp and no mold is forming.

Tip

Watch this step A clear container lets you spot the first taproot without unwrapping the seeds. Peek, do not poke.

4

Step 4: Or Direct-Seed Outdoors in Fall

2:48
Step 4: Step 4: Or Direct-Seed Outdoors in Fall

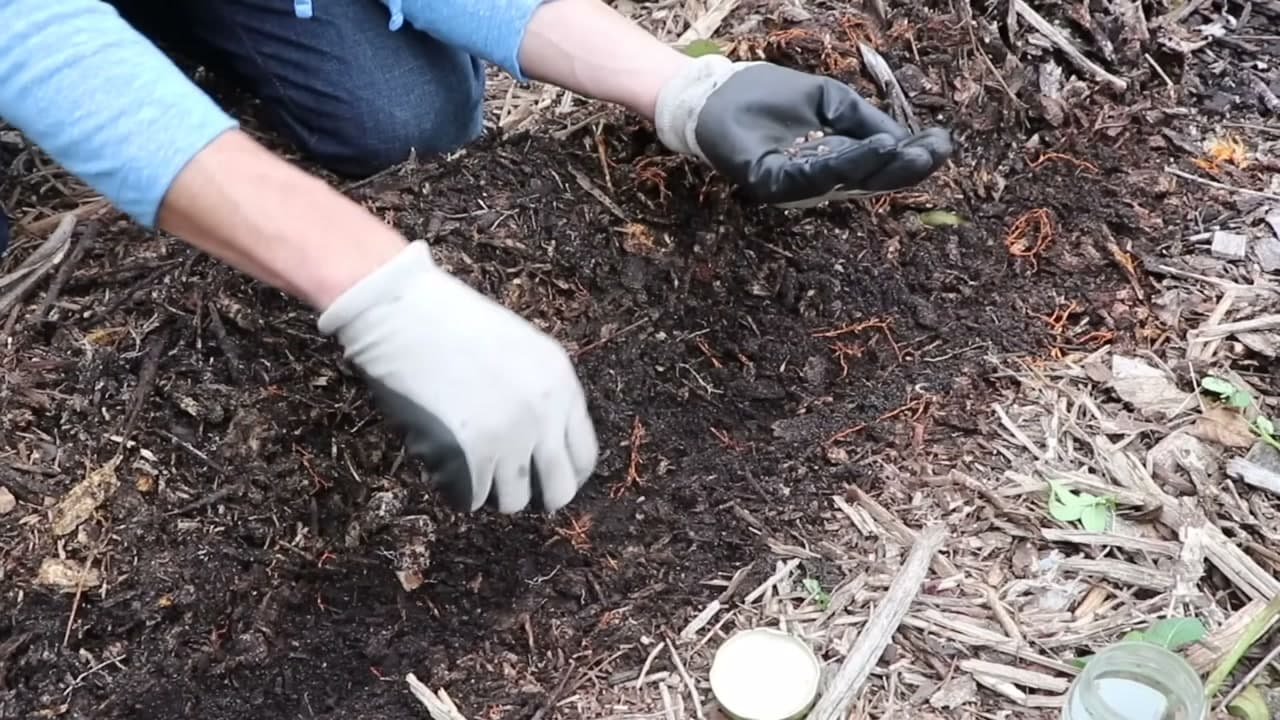
Rather skip the fridge? Direct-seeding is the easiest method and closest to how nature does it. In fall, pull back any mulch or wood chips down to bare soil, scratch a shallow furrow, and drop the seeds in about half an inch deep. Cover them with good dirt and a very thin layer of mulch so they stay moist over winter.

Over-plant heavily. Not every seed comes up, so if you want three trees, sow fifteen to twenty seeds and pick the best seedlings later. The cold winter ground gives them the same stratification the fridge does, no work required.

Tip

Watch this step Plant a little deeper than a carrot but shallower than a bean. A quarter to three-quarters of an inch is plenty.

5

Step 5: Watch for Seedlings and Thin to the Strongest

9:00
Step 5: Step 5: Watch for Seedlings and Thin to the Strongest

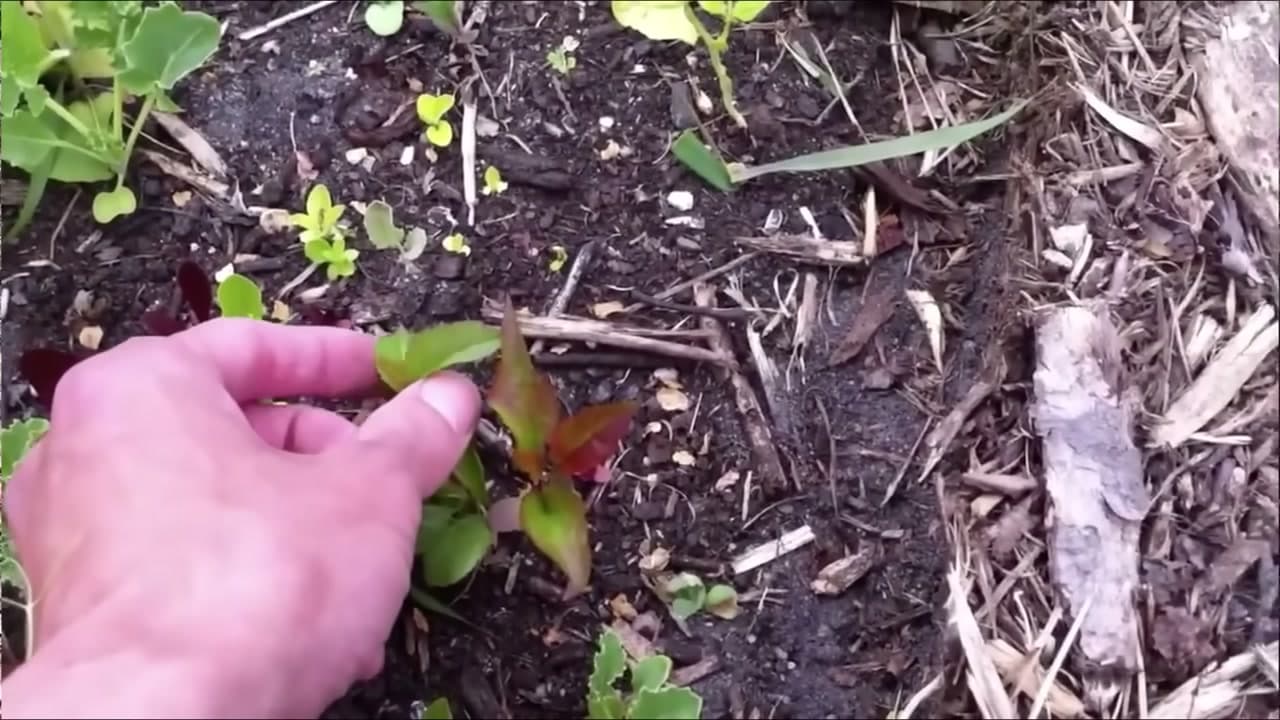
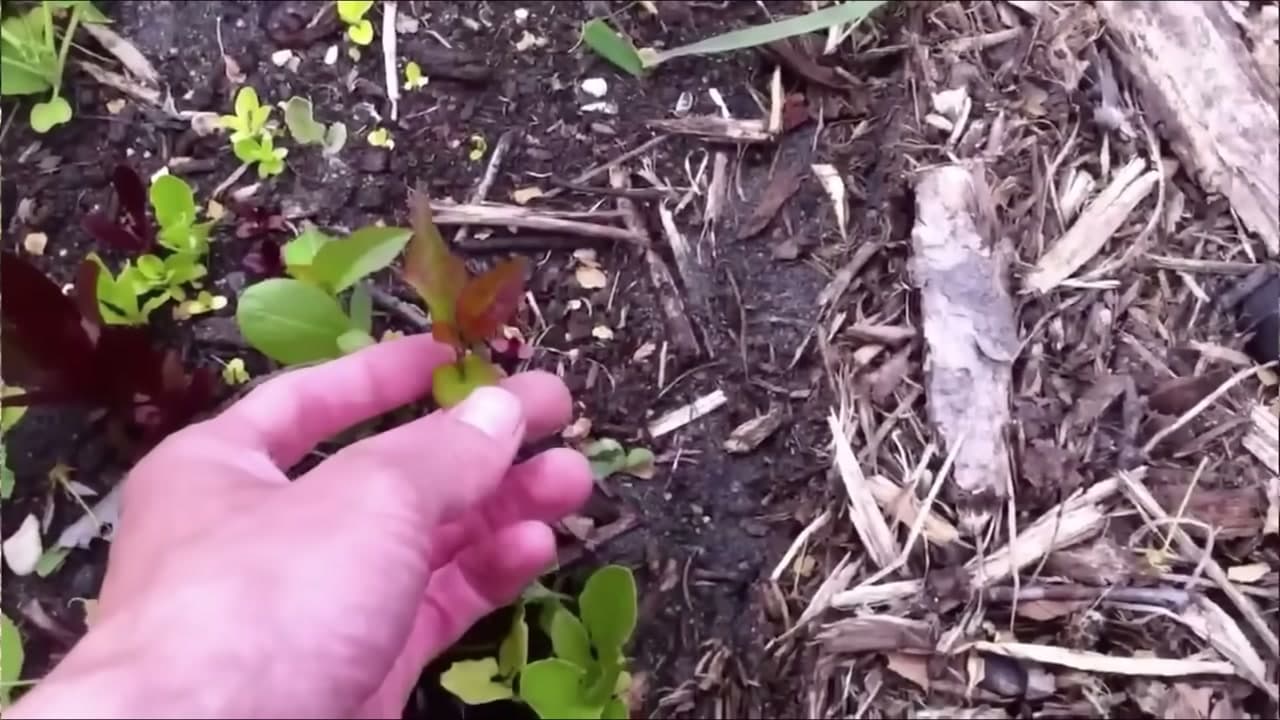
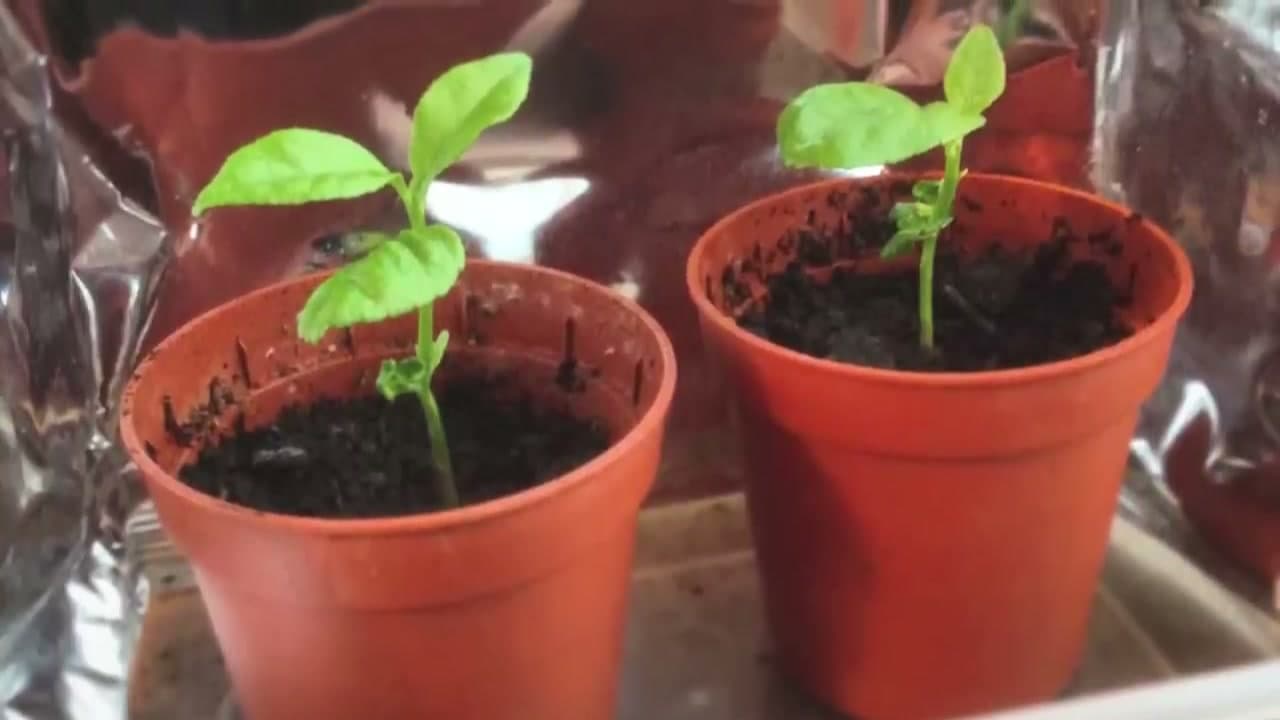
Come spring, watch for little green seedlings to push up through the soil. Apple seedlings often have a reddish tint to their new leaves, so they stand out from the weeds once you know what to look for. This is the moment all that seed-saving pays off.

Since you planted plenty, let them grow for a few weeks, then choose the strongest few to keep. Look for a sturdy stem and healthy, evenly colored leaves, and thin out the weak or leggy ones so the keepers have room.

Tip

Watch this step Mark each keeper with a stake right away. Tiny seedlings are easy to step on or weed out by accident.

6

Step 6: Grow the Seedling On

8:59
Step 6: Step 6: Grow the Seedling On

Give your seedling a bright spot and keep the soil evenly moist while it settles in. If you started it in a fridge paper towel and it pushed out a taproot, move it to a pot of seed-starting mix or straight into the ground once spring arrives.

Handle the sprout with care. Apple trees hate having their taproot disturbed, and a seedling planted right where it will grow keeps that root intact. That deep, undisturbed taproot is one of the big advantages of growing from seed instead of buying a potted tree.

Tip

Watch this step If you must use a pot, choose a deep tree pot so the taproot can run straight down instead of coiling.

7

Step 7: Be Patient and Enjoy Your Own Apple

8:06
Step 7: Step 7: Be Patient and Enjoy Your Own Apple

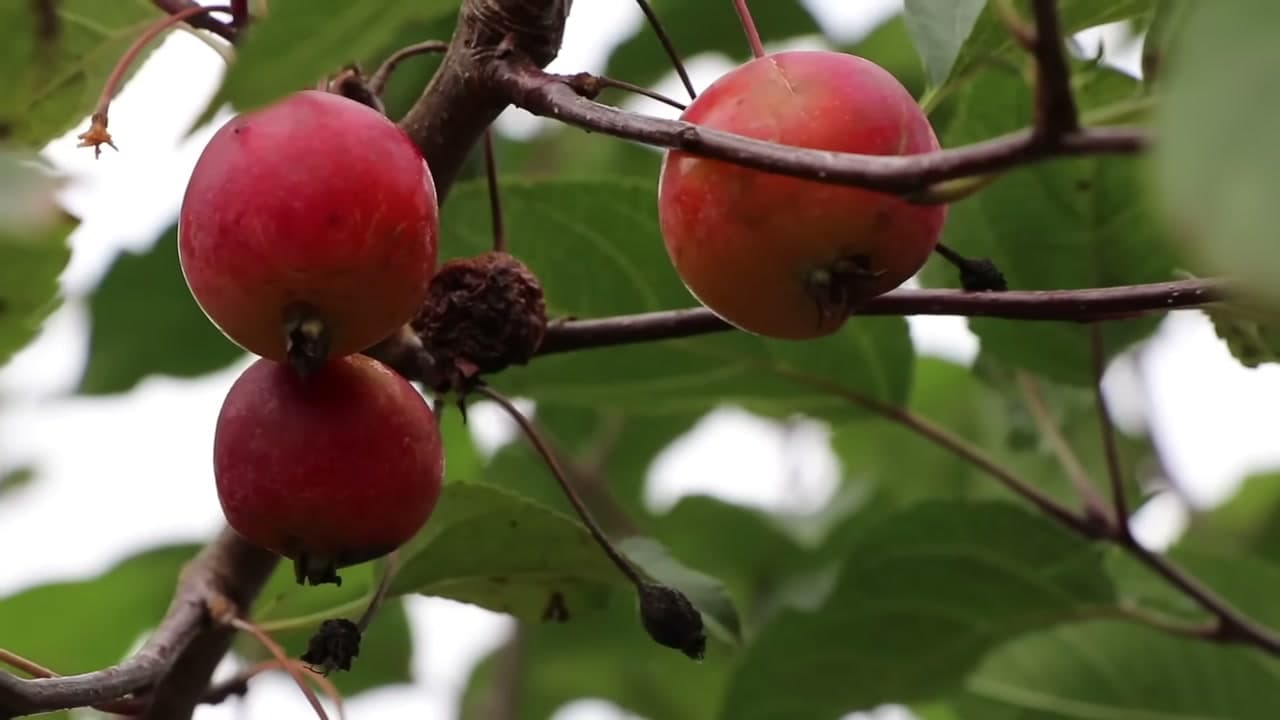
Now comes the patient part. People often say a seed-grown apple takes eight to ten years to fruit, but that is not always true. Prune it hard while it is young and you can get apples in as few as three years, the way James did with his Prigioni apple.

The real reward is the surprise. Your tree will not match the apple you took the seed from, so you end up with a one-of-a-kind variety that is entirely your own. Sweet, tart, big, small, you never know until it fruits, and that is the whole fun of growing from seed.

Tip

Watch this step Prune out the tall vertical shoots and keep the lateral branches. Fruit sets on the side branches, not the ones shooting straight up.

Products Used

☐ The Checklist

How to Grow an Apple Tree from Seed (Step by Step)

Tools
8
Materials
7
Steps
7
Video
13 min

Tools we recommend

Your Guide

The Gardening Channel With James Prigioni

As an Amazon Associate we earn from qualifying purchases. Links on this page may be affiliate links - clicking them and buying doesn't change your price, but helps support ShowMeStepByStep.

Tags

Sunday How-To

New gardening tutorials, every Sunday

One short email with the week's best step-by-step guides. Free, no spam, unsubscribe anytime.

Did this work for you?

What's next

Related collections

Curated theme pages that include this tutorial.

Weekly Digest

Liked this gardening tutorial?

Pick the categories you want to hear about. Weekly digest of new step-by-step tutorials. No spam, easy unsubscribe.

Send me tutorials about

We only email about new tutorials. Easy unsubscribe anytime.