How to Grow a Peach Tree from a Pit (Step by Step)

GardeningEasy12:126 stepsBrowse more →

By ShowMeStepByStepPublished

Based on a video by Greenthumbs Garden.

That pit in the middle of your peach is a whole tree waiting to happen. In this walkthrough, Alex from Greenthumbs Garden shows how to coax a peach or nectarine seed out of its hard pit, wake it up, and get it sprouting on your kitchen counter. It costs almost nothing and the payoff is a living tree you grew from a piece of fruit you were going to throw away.

The one thing peaches need before they will sprout is a cold spell. In nature they sit through winter, and the seed reads that chill as a signal that spring is coming. We fake that in the fridge with a trick called cold stratification: a damp towel, a dusting of cinnamon to fight mold, a labeled bag, and about two months of patience. When a little white root pokes out, you know it worked. One heads up worth saying up front - a tree grown from seed will not be an exact copy of the peach you ate, so treat it as a fun experiment rather than a guaranteed fruit crop.

Growing stone fruit and citrus from seed is a great weekend project, and the same steps carry over to plenty of other pits and seeds. If you like this one, try the sibling guide on growing a cherry tree from seed, or branch out with an avocado from seed and a mango tree from seed. New to raising anything from seed? Start with the basics in how to start seeds indoors.

Step-by-Step Guide

6 steps · about 12 minutes.Check off each step as you go and your progress saves automatically.

1

Step 1: Crack the Pit Open to Free the Seed

3:15
Step 1: Step 1: Crack the Pit Open to Free the Seed

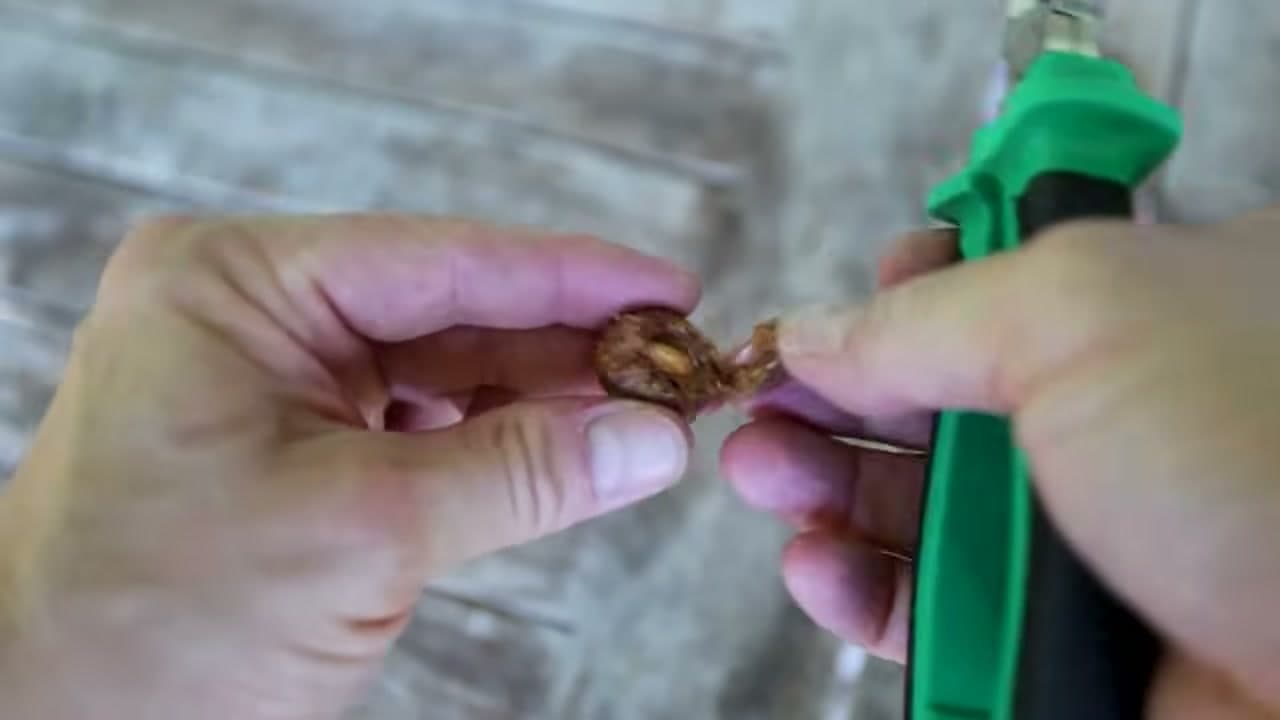
Let the pit dry on the counter for a few days first. As it dries the seed shrinks a touch, which gives you a bit of wiggle room when you crack the shell. Then work the hard pit open with wire cutters, a nutcracker, or a vise. Squeeze slowly and stop the moment it splits so you do not crush the almond-shaped seed inside.

Once it opens, take a look at the seed. A good one is plump and pale. If you find a shriveled, brown husk, that pit was a dud, so grab another and try again.

Tip

Watch this step Go easy on the squeeze. A cracked shell is the goal, not a crushed seed. If your cutters keep slipping, a bench vise gives you slow, controlled pressure.
2

Step 2: Soak the Seed in Water

3:55
Step 2: Step 2: Soak the Seed in Water

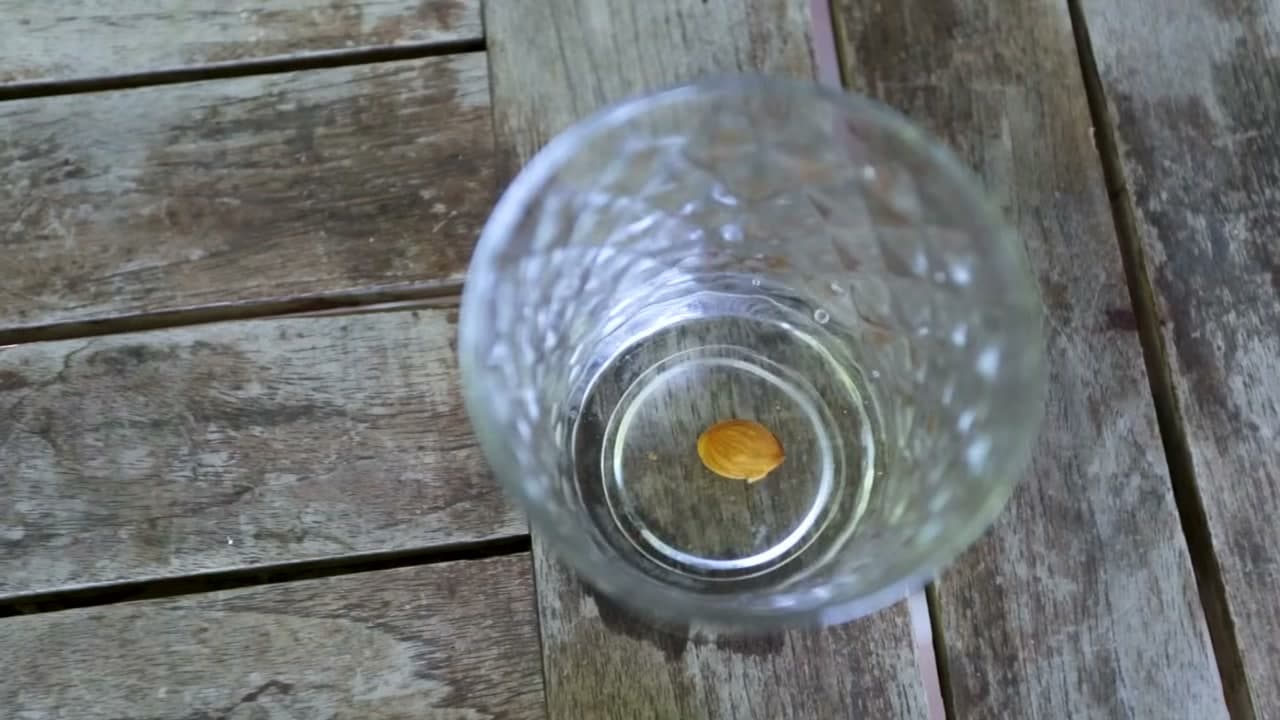
Drop the freed seed into a glass of water and leave it for several hours. It will drink the water up and swell to a nice plump shape. This rehydrates a seed that has been sitting and drying, and gives it the moisture it needs to get moving.

Keep an eye on it after five or six hours. A healthy seed sinks. If yours is still bobbing at the surface, it probably dried out too far to survive, so set it aside and soak a fresh one instead.

Tip

Watch this step Use room-temperature water and a clear glass so you can watch whether the seed sinks. Soaking two or three seeds at once gives you a backup if one turns out to be a floater.

Products used in this step

3

Step 3: Wrap It Up and Chill It in the Fridge

5:05
Step 3: Step 3: Wrap It Up and Chill It in the Fridge

Wet a paper towel, wring out the extra water, and lay the seed on it. Dust the seed with a little ground cinnamon. Cinnamon is a natural fungicide, so it keeps mold from taking hold while the seed sits for weeks. Fold the towel over the seed to keep it snug.

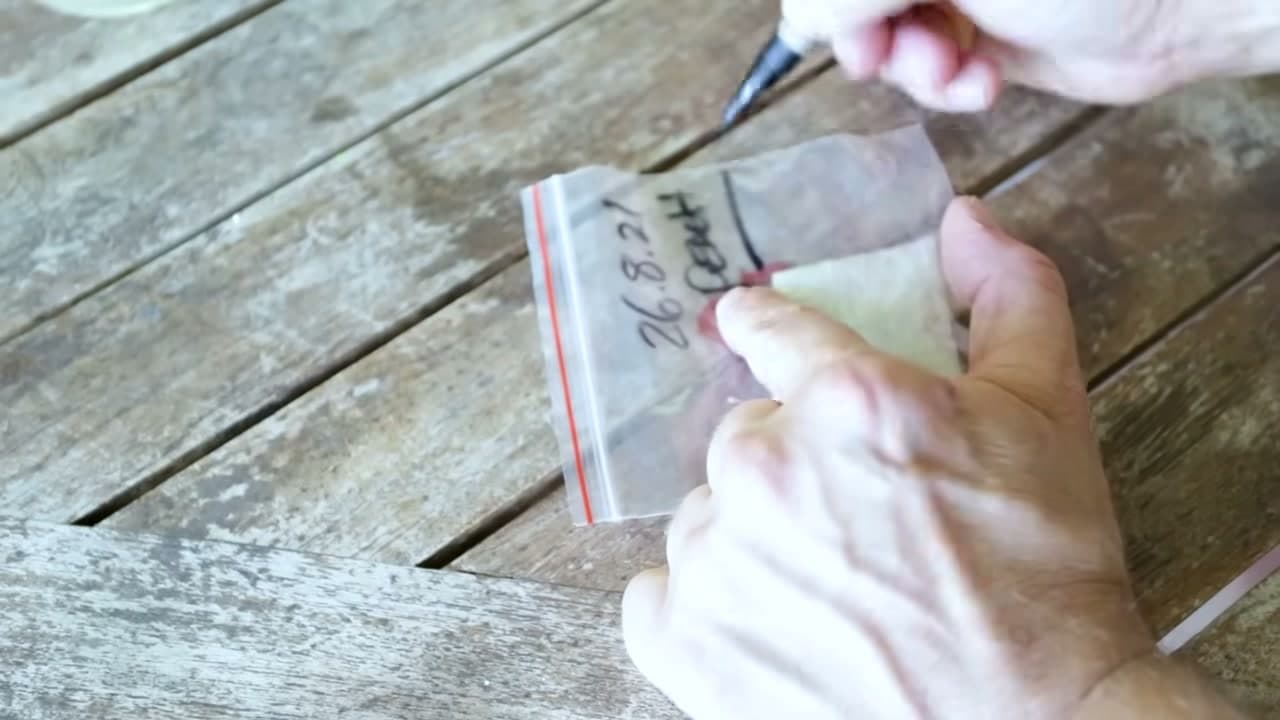
Tuck the bundle into a zip-top bag, write the date and seed type on it, and set it in the fridge for at least two months. That cold stretch stands in for winter and tells the seed it is safe to sprout. Every week or two, check that the towel is still just moist and add a few drops of water if it has dried out.

Tip

Watch this step Moist, not wet. A soggy towel invites rot. Labeling the bag sounds obvious, but a fridge full of unmarked seed bags in March is a mess you will not enjoy.

4

Step 4: Watch for the Root to Sprout

5:50
Step 4: Step 4: Watch for the Root to Sprout

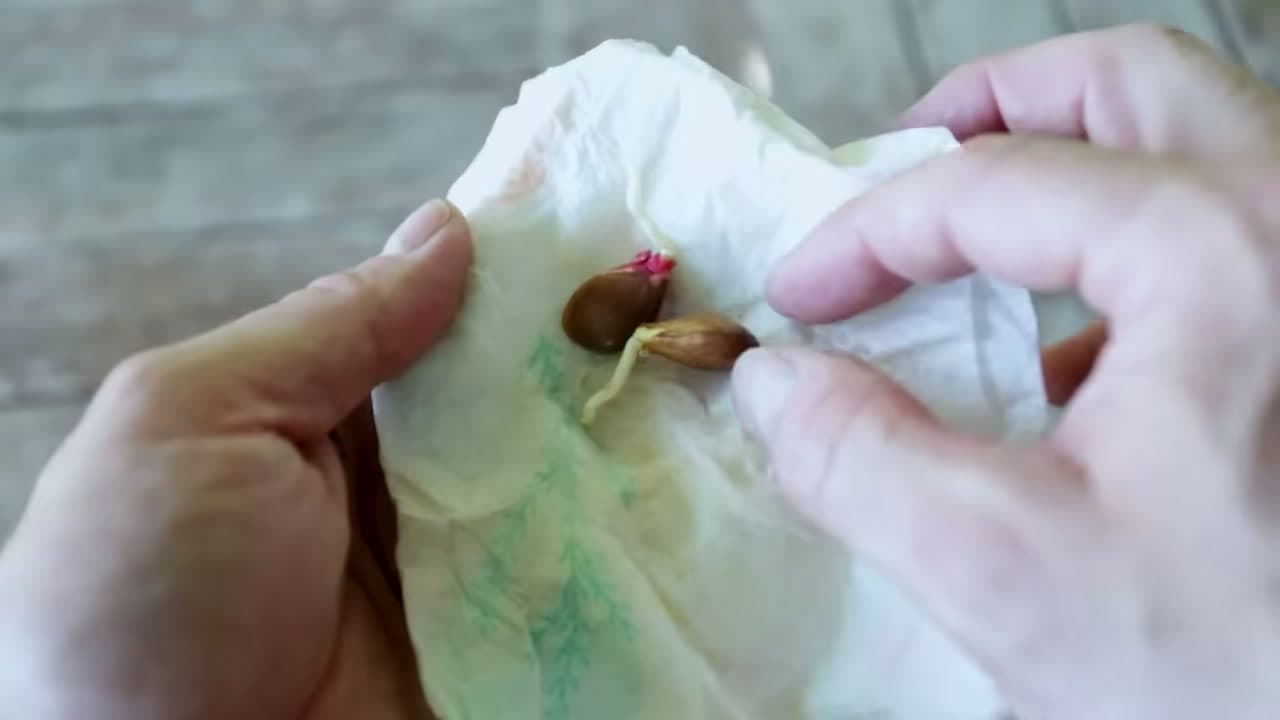
Patience pays off here. Somewhere around the one-month mark, one of your fridge checks will turn up a little white root pushing out of the seed. That is germination, and it means the cold trick worked.

As soon as you spot that root, the seed is ready to plant. Do not wait too long. The longer it sits in the towel, the longer and more fragile that root gets, and a snapped root sets the seedling back. Fresh sprout, straight to soil.

Tip

Watch this step If nothing has sprouted after two months, give it a few more weeks in the fridge before giving up. Some seeds are just slow to wake.

Products used in this step

5

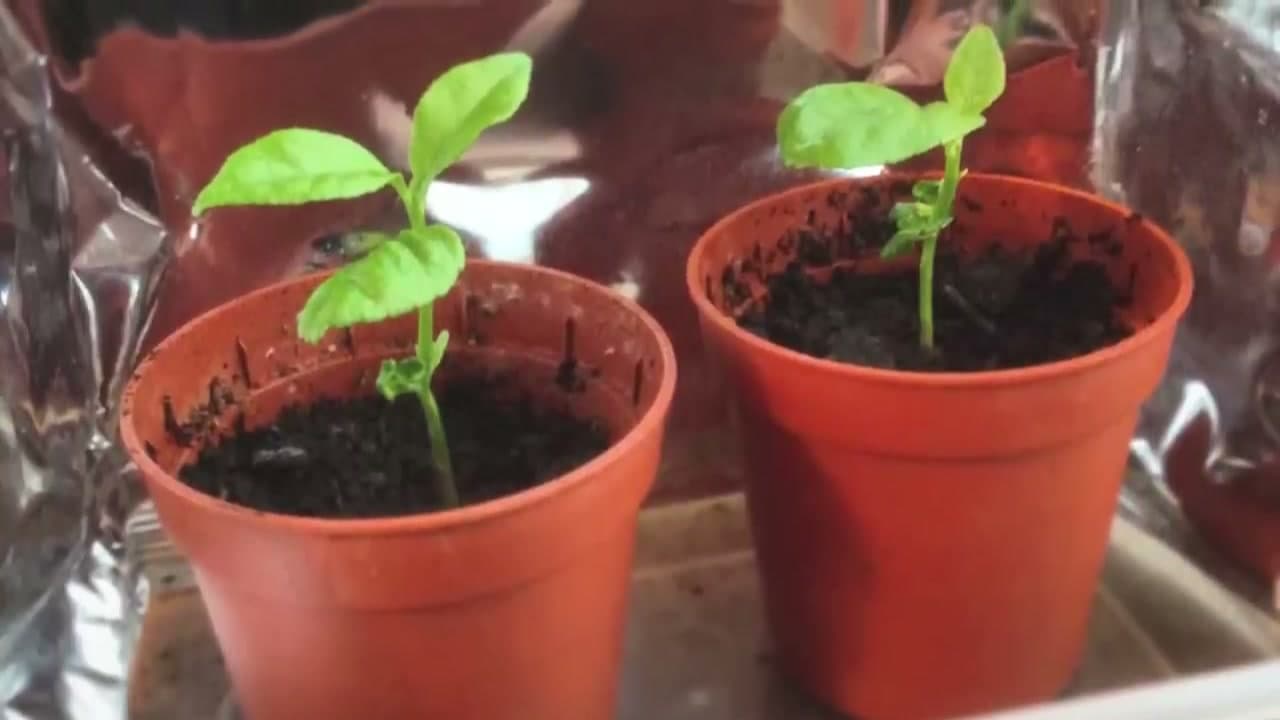
Step 5: Plant the Sprouted Seed in a Pot

7:00
Step 5: Step 5: Plant the Sprouted Seed in a Pot

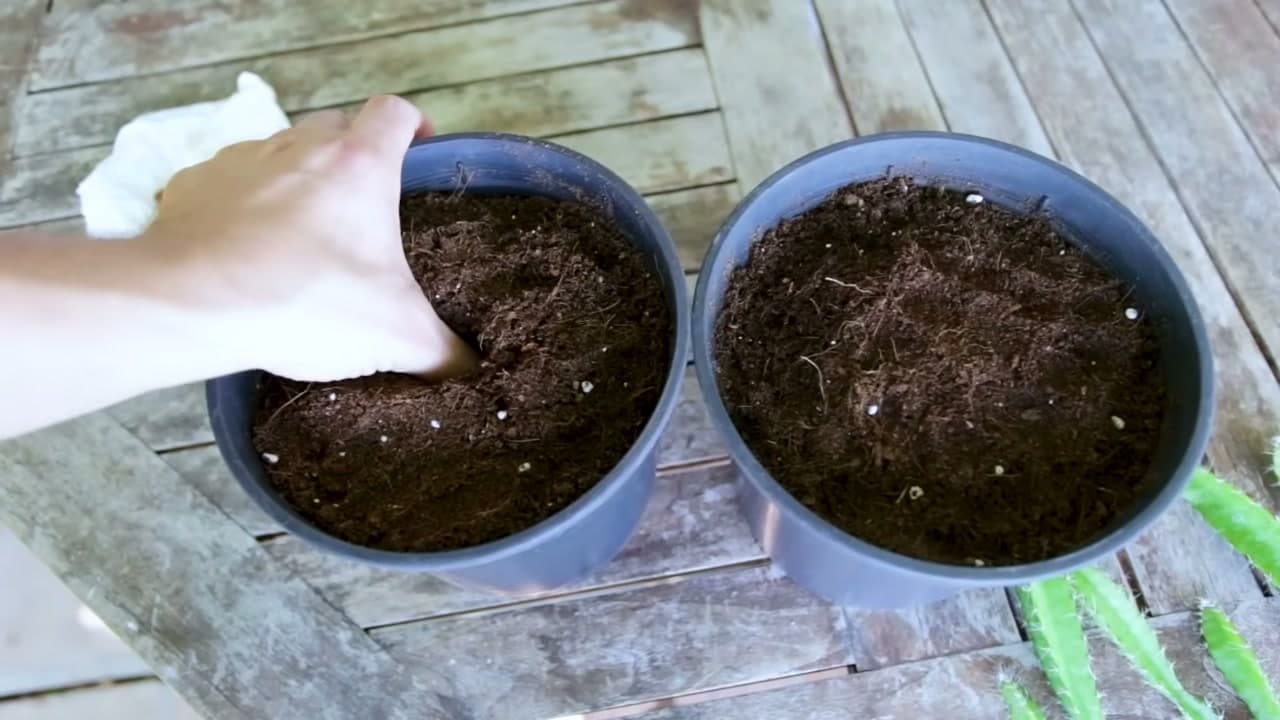
Fill a clean pot with seed-starting or potting mix. A handful of perlite mixed in keeps it loose and draining well, which young roots love. Poke a hole about an inch deep with your finger.

Set the sprouted seed into the hole with the root pointing down, then draw the soil back over it and press it gently so there are no air gaps against the seed. Aim for about a thumb's depth of cover. Snug, but not buried so deep the shoot struggles to reach the surface.

Tip

Watch this step Give pots a quick rinse in a weak bleach solution and let them dry before planting. It kills off any leftover fungus or disease from a previous plant.

6

Step 6: Water It In and Give It Light

7:20
Step 6: Step 6: Water It In and Give It Light

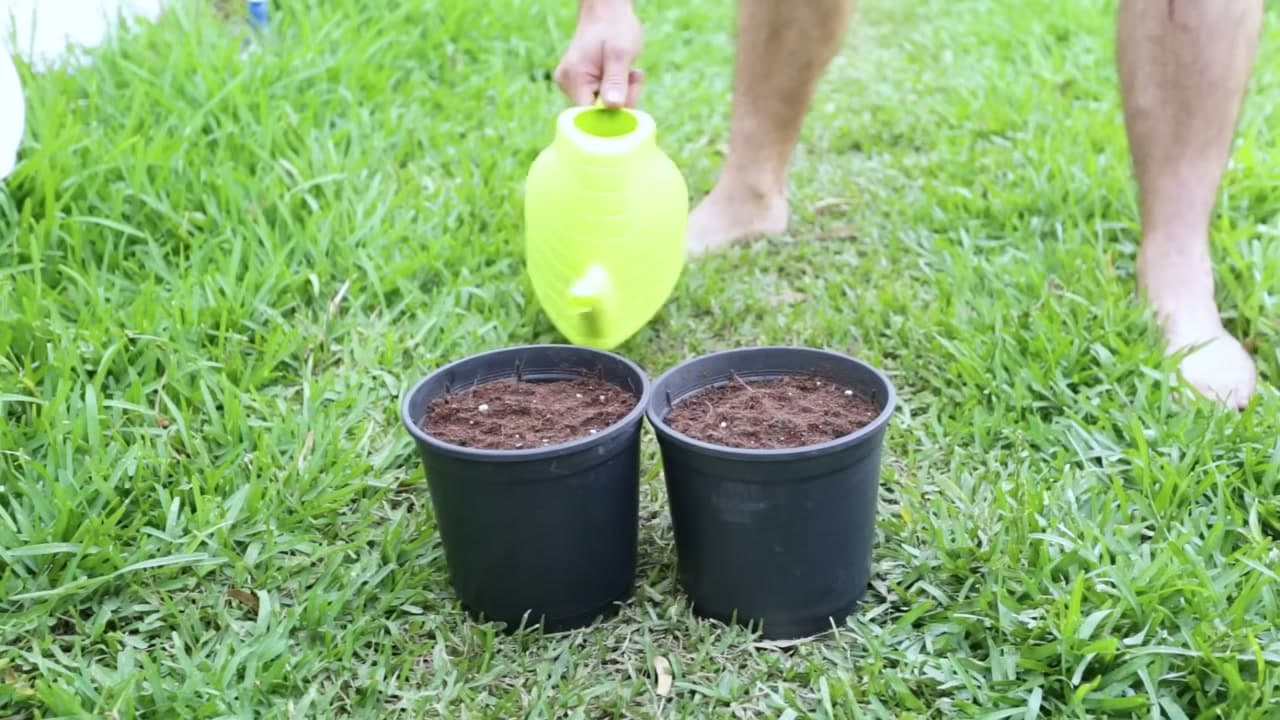
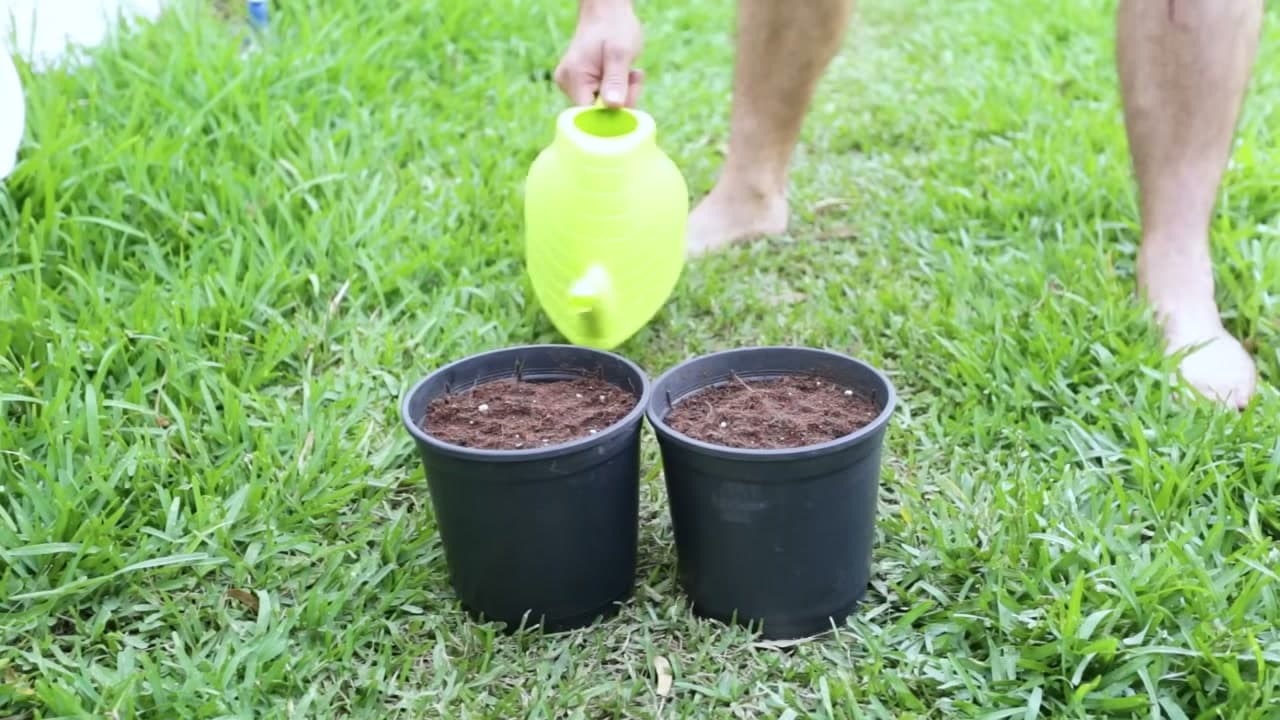
Water the pot slowly and gently. A hard stream can wash the seed right out of place, so use a fine rose on a watering can or a soft trickle and let the mix drink it in.

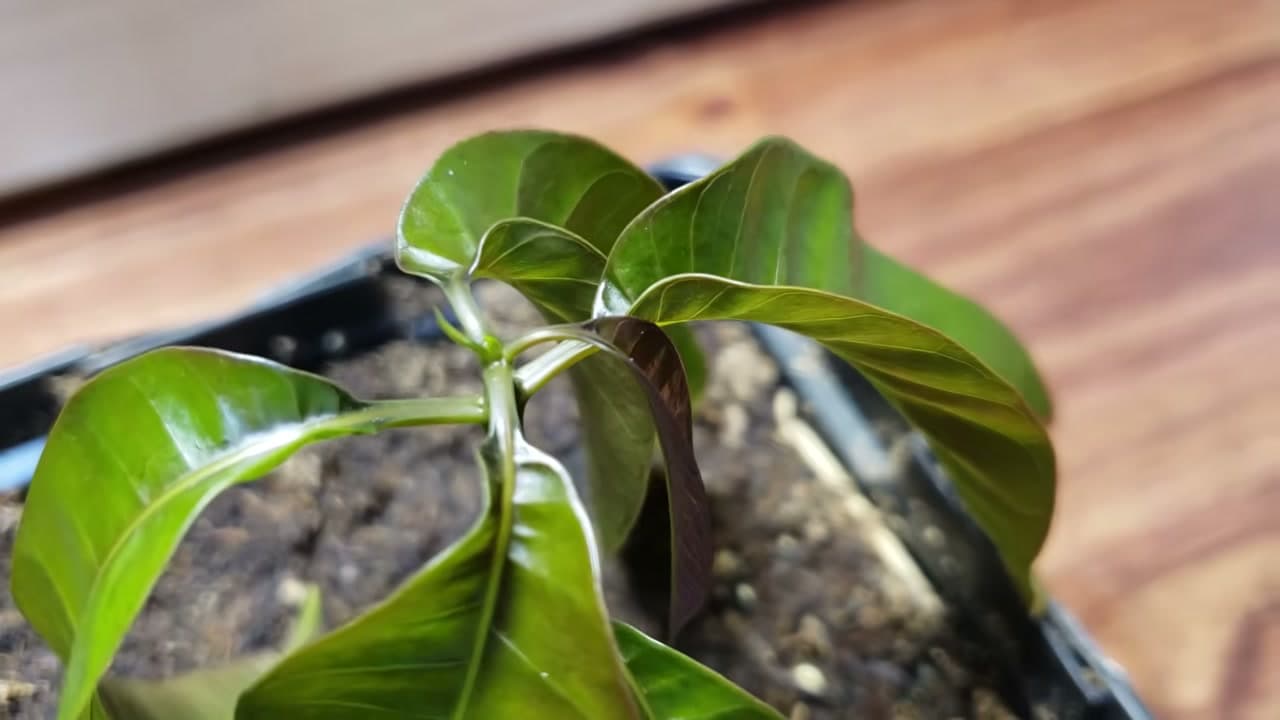
Set the pot somewhere warm with bright, indirect light while the seedling finds its feet. Once it puts on a few inches of growth, move it into stronger light or under a grow light so it stays stocky instead of stretching. Keep the soil lightly moist from here on, and your peach seedling is off and running.

Tip

Watch this step A grow light makes a big difference indoors, especially in winter. Keep it a few inches above the seedling so it grows short and sturdy rather than tall and floppy.

Products Used

☐ The Checklist

How to Grow a Peach Tree from a Pit (Step by Step)

Tools
6
Materials
6
Steps
6
Video
12 min

Tools we recommend

Your Guide

Greenthumbs Garden

As an Amazon Associate we earn from qualifying purchases. Links on this page may be affiliate links - clicking them and buying doesn't change your price, but helps support ShowMeStepByStep.

Tags

Sunday How-To

New gardening tutorials, every Sunday

One short email with the week's best step-by-step guides. Free, no spam, unsubscribe anytime.

Did this work for you?

What's next

Related collections

Curated theme pages that include this tutorial.

Weekly Digest

Liked this gardening tutorial?

Pick the categories you want to hear about. Weekly digest of new step-by-step tutorials. No spam, easy unsubscribe.

Send me tutorials about

We only email about new tutorials. Easy unsubscribe anytime.