How to Grow Sweet Potato Slips (Easy Windowsill Method)

GardeningEasy4:377 stepsBrowse more →

By ShowMeStepByStepPublished

Based on a video by Gary Pilarchik (The Rusted Garden).

One sweet potato from the grocery store can turn into a tray full of plants. Those plants start as slips, the leafy sprouts that grow off the tuber, and once you have a batch of them rooted you can put in a whole row of sweet potatoes for the price of a single vegetable. This walkthrough follows Gary Pilarchik of The Rusted Garden, who ran the two most common methods side by side to see which one actually delivers.

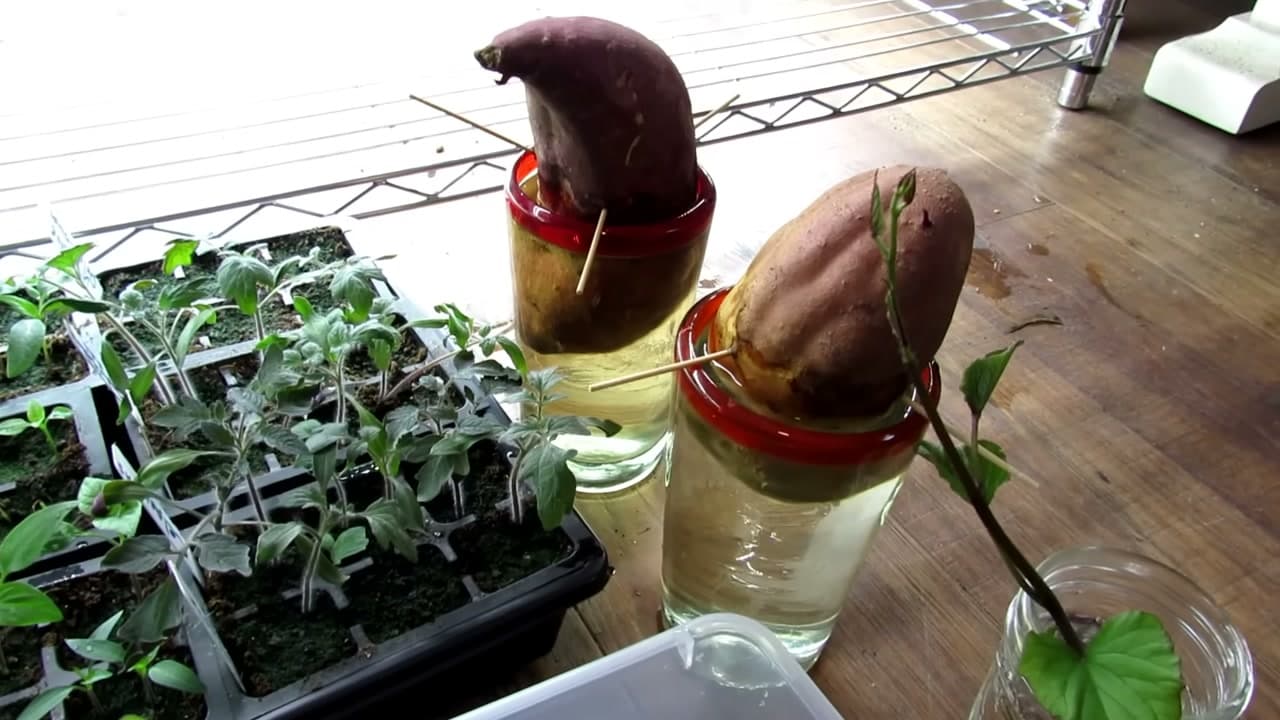
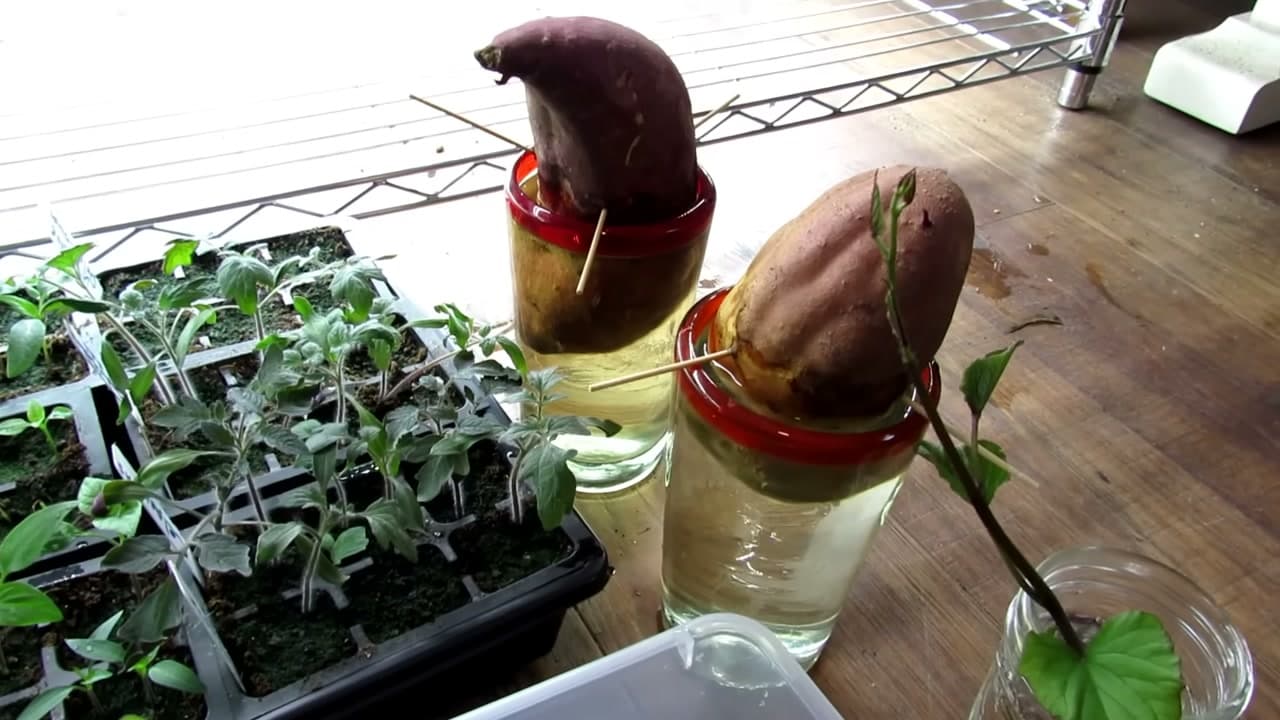
His verdict after weeks of watching both: skip the toothpicks-in-a-glass routine. Laying the whole potato on its side in seed-starting mix sprouts far more slips, and it does it faster. The water method still shows up here as the backup people know, but the soil tray is the one you want by the window. Keep the mix damp, give it a warm bright spot, and the buds do the rest.

Sweet potatoes are heat lovers, so the timing matters as much as the technique. You start the tuber indoors weeks ahead, harvest slips when they hit about six inches, then root those cuttings in water before planting out in warm soil. If you like turning kitchen leftovers into plants, this pairs well with growing a pineapple top, regrowing green onions, and regrowing celery.

Step-by-Step Guide

7 steps · about 5 minutes.Check off each step as you go and your progress saves automatically.

1

Step 1: Pick a Healthy Sweet Potato

0:48
Step 1: Step 1: Pick a Healthy Sweet Potato

Start with a firm sweet potato that has clean, unblemished skin. Gary buys his from the local organic grocery so they have not been treated with a sprout inhibitor, which is the stuff that keeps store potatoes from waking up. An untreated tuber sprouts willingly.

You do not cut it or prep it in any way. One whole potato can throw off a dozen or more slips, so a single tuber is usually all you need for a home row.

Tip

Watch this step Organic tubers are the safer bet, since conventional ones are sometimes sprayed to stop sprouting. If yours refuses to bud after a few weeks, that spray is usually why.
2

Step 2: Lay It in Seed-Starting Mix

0:58
Step 2: Step 2: Lay It in Seed-Starting Mix

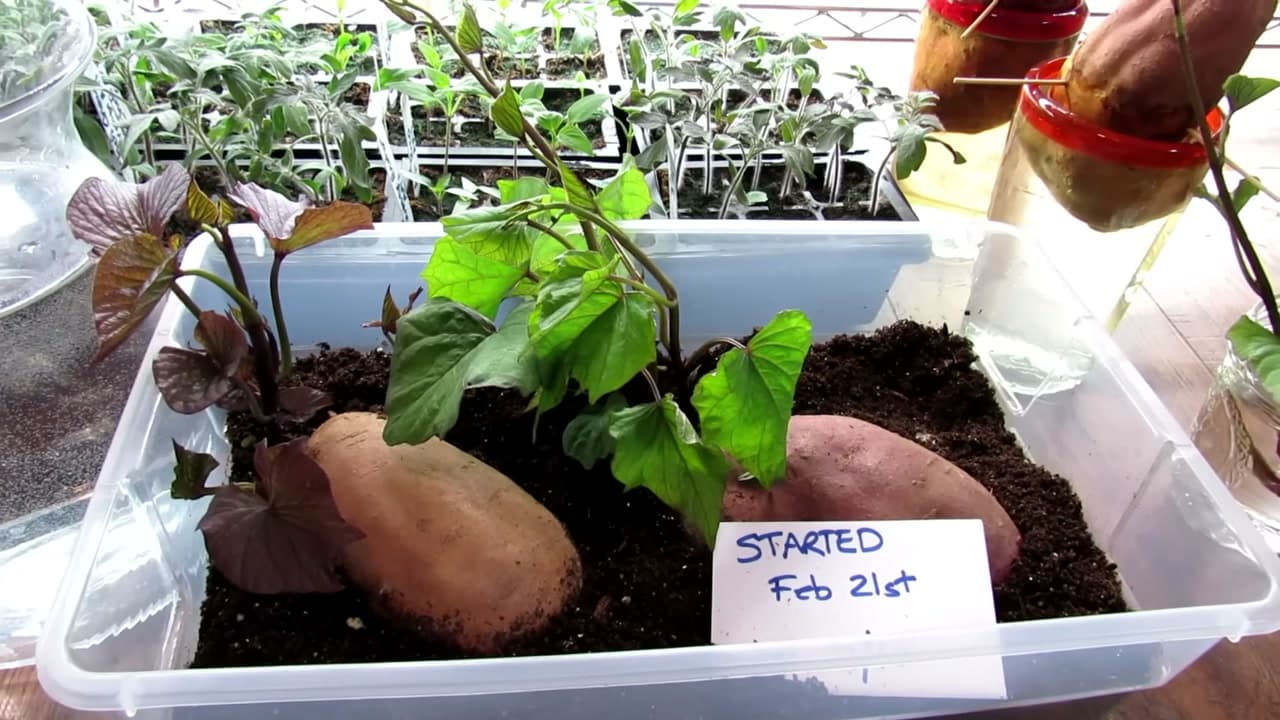
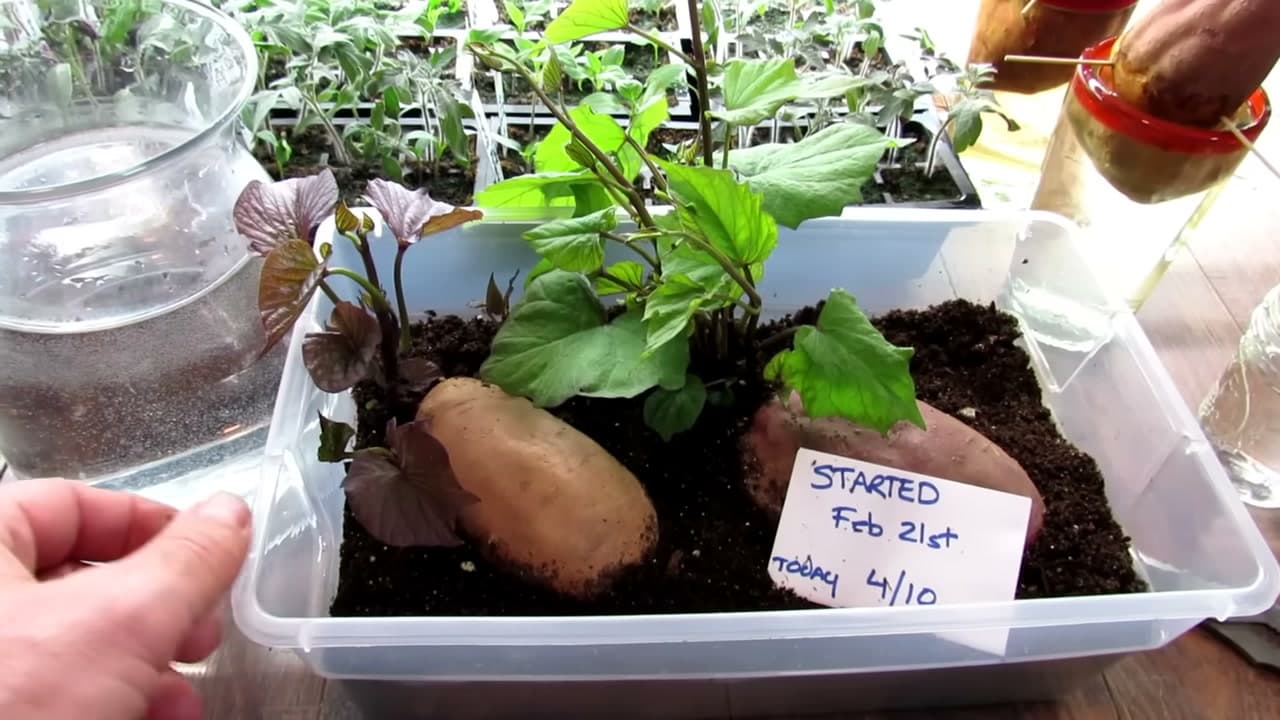
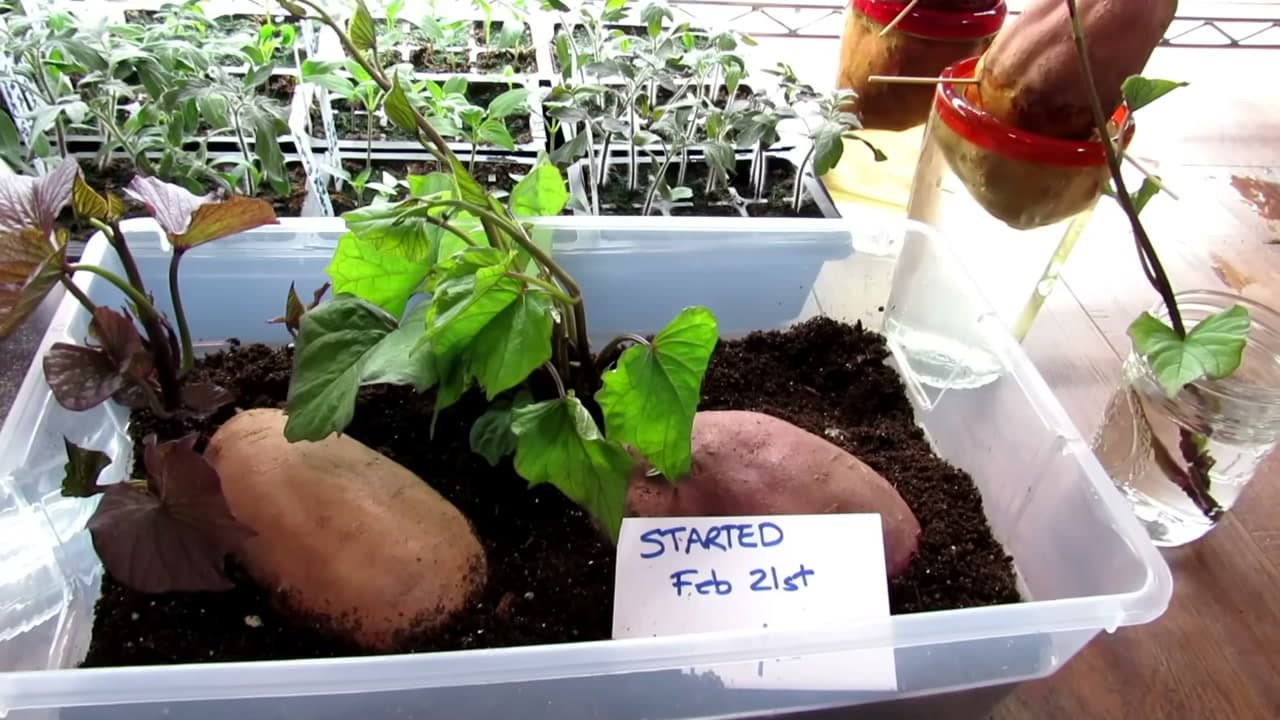
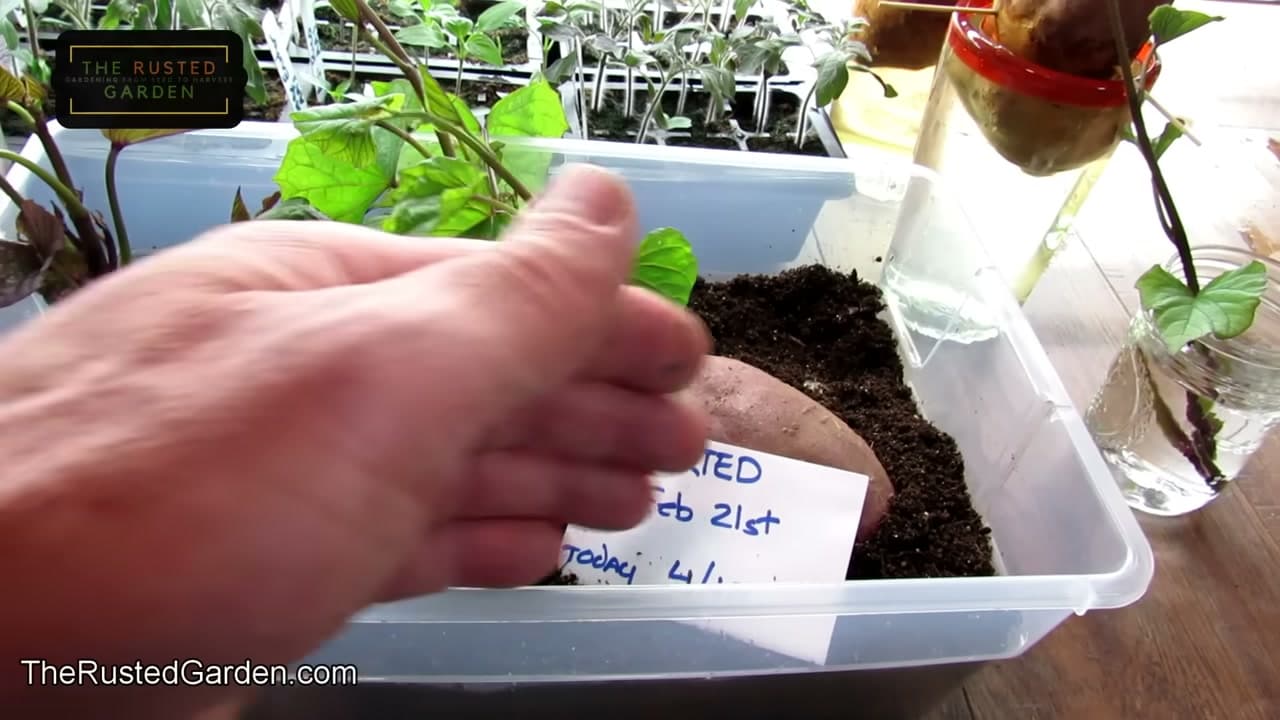
Fill a shallow tray or a clear plastic shoebox with seed-starting mix. Lay the whole potato on its side and bury it about halfway, leaving the top ridge exposed. That partly buried tuber is the whole setup, no rooting hormone, no cutting.

This soil method is the one Gary recommends over the classic glass of water. In his side-by-side test the buried potatoes sprouted far more slips, and they got going weeks sooner than the ones balanced on toothpicks.

Tip

Watch this step A clear plastic shoebox works great and lets you peek at the roots from the side. Half-bury the tuber so the top can breathe and send up shoots.

3

Step 3: Keep It Warm, Bright, and Moist

3:15
Step 3: Step 3: Keep It Warm, Bright, and Moist

Set the tray on a sunny windowsill and keep the mix damp, never soggy. Sweet potatoes are tropical, so warmth is the real driver here. A spot that stays warm through the day wakes the buds up fastest.

No grow lights are needed for this. Give it bright natural light, mist or water the mix when the top starts to dry, and let the potato sit while it does its thing underground.

Tip

Watch this step Warmth beats light for waking a tuber. If your windowsill runs cool, set the tray on top of the fridge or near a heat vent to speed up sprouting.

4

Step 4: Let the Slips Sprout

0:25
Step 4: Step 4: Let the Slips Sprout

Over roughly six to eight weeks, green slips push up out of the buried tuber. Each little sprout with its own set of leaves is one slip. On the soil tray you get a flush of them, which is exactly why this method beats the water glass.

Let them run until they stand about six inches tall. At that height each slip has enough stem to clip and root on its own, and the potato keeps pumping out more behind them.

Tip

Watch this step Do not rush the clip. A six-inch slip roots faster and transplants stronger than a short two-inch one, so let them stretch out first.

5

Step 5: Clip the Slips Off

2:35
Step 5: Step 5: Clip the Slips Off

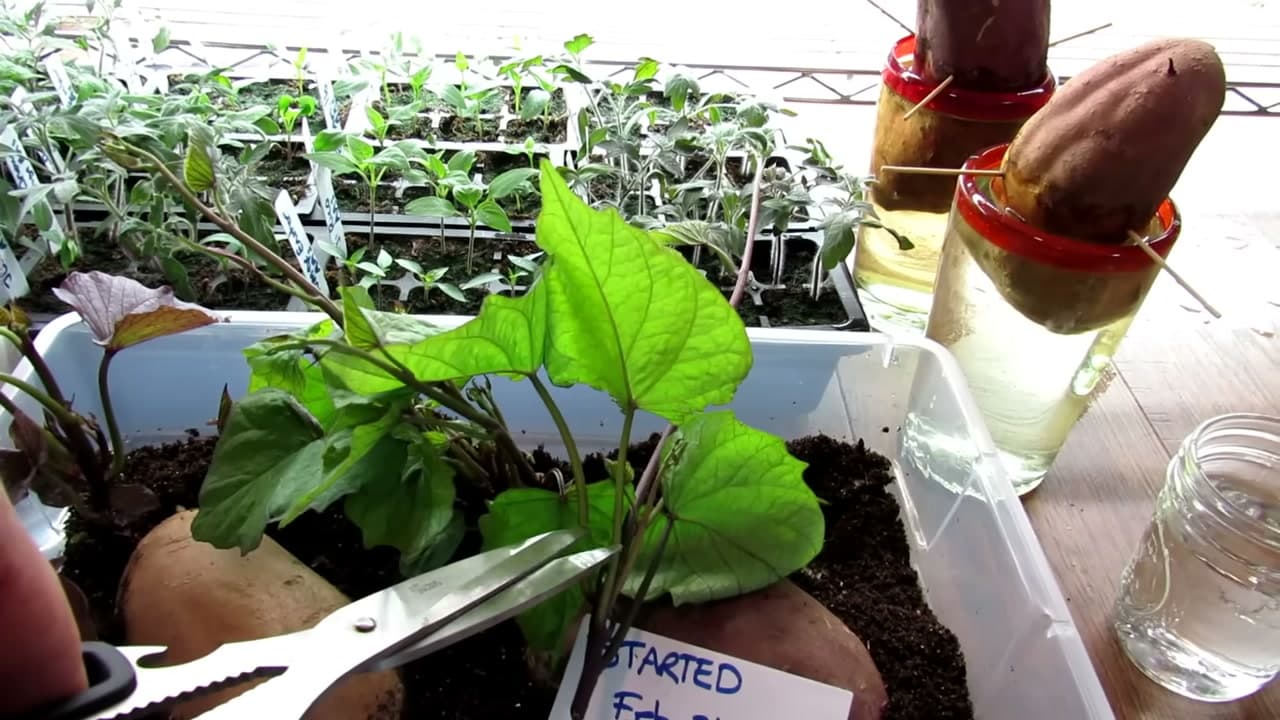
Once a slip reaches about six inches, clip it off right where it meets the potato with a clean pair of scissors. Then strip the leaves off the lower half of the stem so you have a bare length to sit in water.

Take as many slips as are ready. Cutting does not hurt the tuber, so it keeps sending up fresh shoots and you can harvest several rounds from one potato.

Tip

Watch this step Clip close to the base to get the most stem length. More bare stem below the water line means more places for roots to form.

6

Step 6: Root the Slips in Water

2:56
Step 6: Step 6: Root the Slips in Water

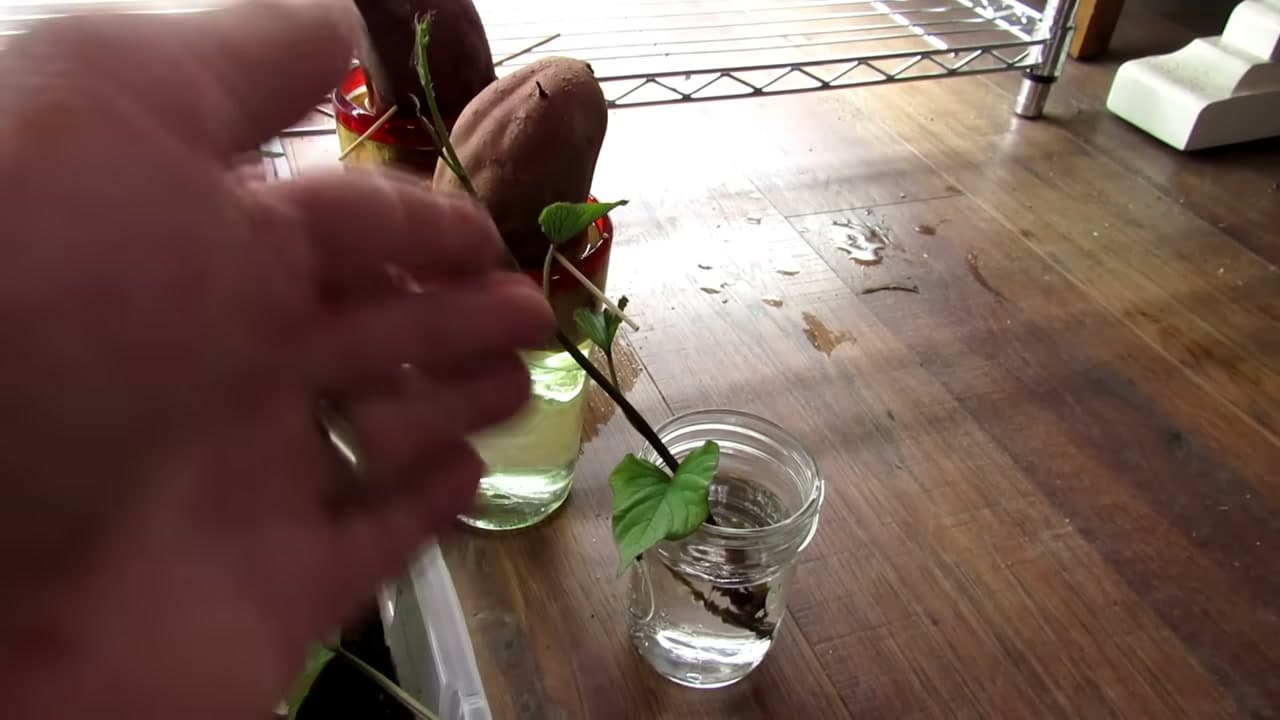
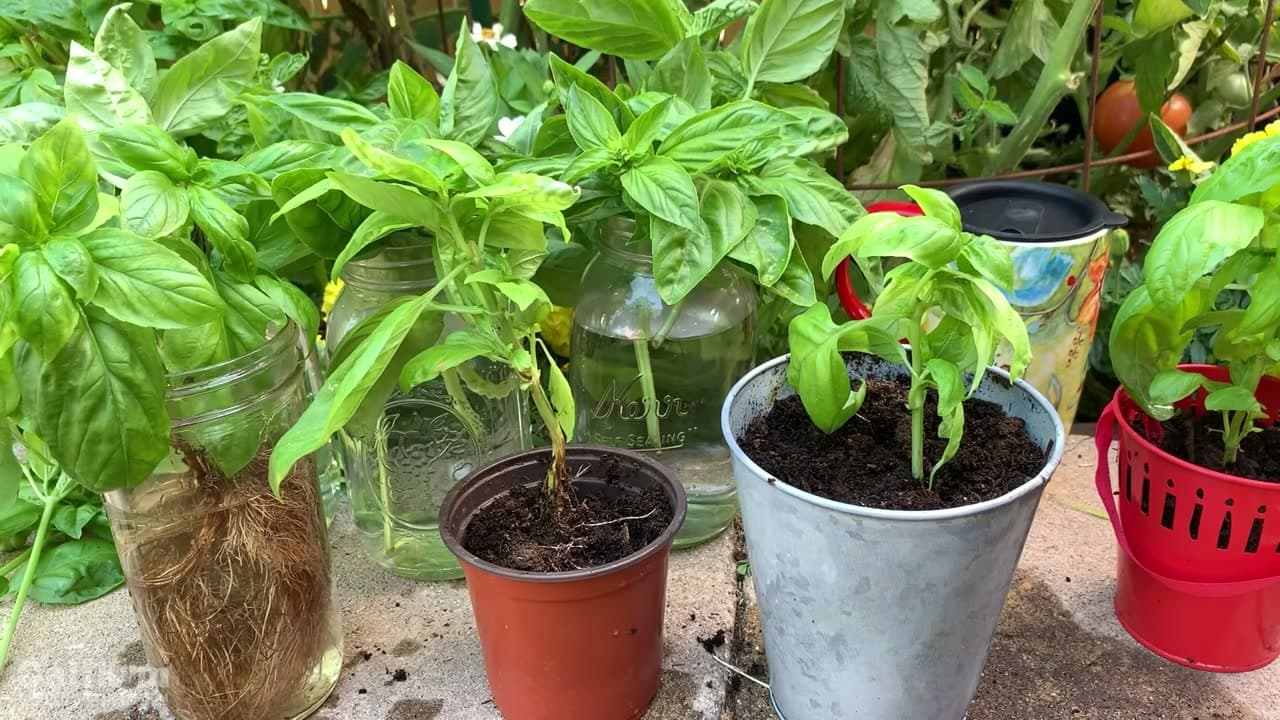
Drop each clipped slip into a glass or jar of water and set it back on the sunny windowsill. Keep the bare stem submerged and the leaves above the rim. Top the water up as it evaporates.

In about three weeks each slip grows a strong white root system. Rooting them in water first gives you a plant that takes hold quickly once it hits the garden, which beats planting a rootless cutting straight into the ground.

Tip

Watch this step Change the water if it goes cloudy. Fresh water every few days keeps the stems from rotting while the roots fill in.

7

Step 7: Plant Your Rooted Slips Out

3:53
Step 7: Step 7: Plant Your Rooted Slips Out

Once your slips have a good root system and the soil outside holds above 50 degrees with warm days settled in, they are ready to go. In most gardens that lands around the middle of May. Set each rooted slip into loose garden soil and water it in.

Sweet potatoes love heat, so let them run all season. They keep growing right up to the first frost, then you dig the tubers in fall, usually late September into October.

Tip

Watch this step Do not plant out early. Cold soil stalls sweet potatoes, so wait for warm nights even if that means holding your rooted slips a week or two longer.

Products Used

☐ The Checklist

How to Grow Sweet Potato Slips (Easy Windowsill Method)

Tools
6
Materials
4
Steps
7
Video
5 min

Tools we recommend

Your Guide

Gary Pilarchik (The Rusted Garden)

As an Amazon Associate we earn from qualifying purchases. Links on this page may be affiliate links - clicking them and buying doesn't change your price, but helps support ShowMeStepByStep.

Tags

Sunday How-To

New gardening tutorials, every Sunday

One short email with the week's best step-by-step guides. Free, no spam, unsubscribe anytime.

Did this work for you?

What's next

Related collections

Curated theme pages that include this tutorial.

Weekly Digest

Liked this gardening tutorial?

Pick the categories you want to hear about. Weekly digest of new step-by-step tutorials. No spam, easy unsubscribe.

Send me tutorials about

We only email about new tutorials. Easy unsubscribe anytime.