How to Regrow Garlic from a Clove

GardeningEasy8:438 stepsBrowse more →

By ShowMeStepByStepPublished

Based on a video by The Ripe Tomato Farms.

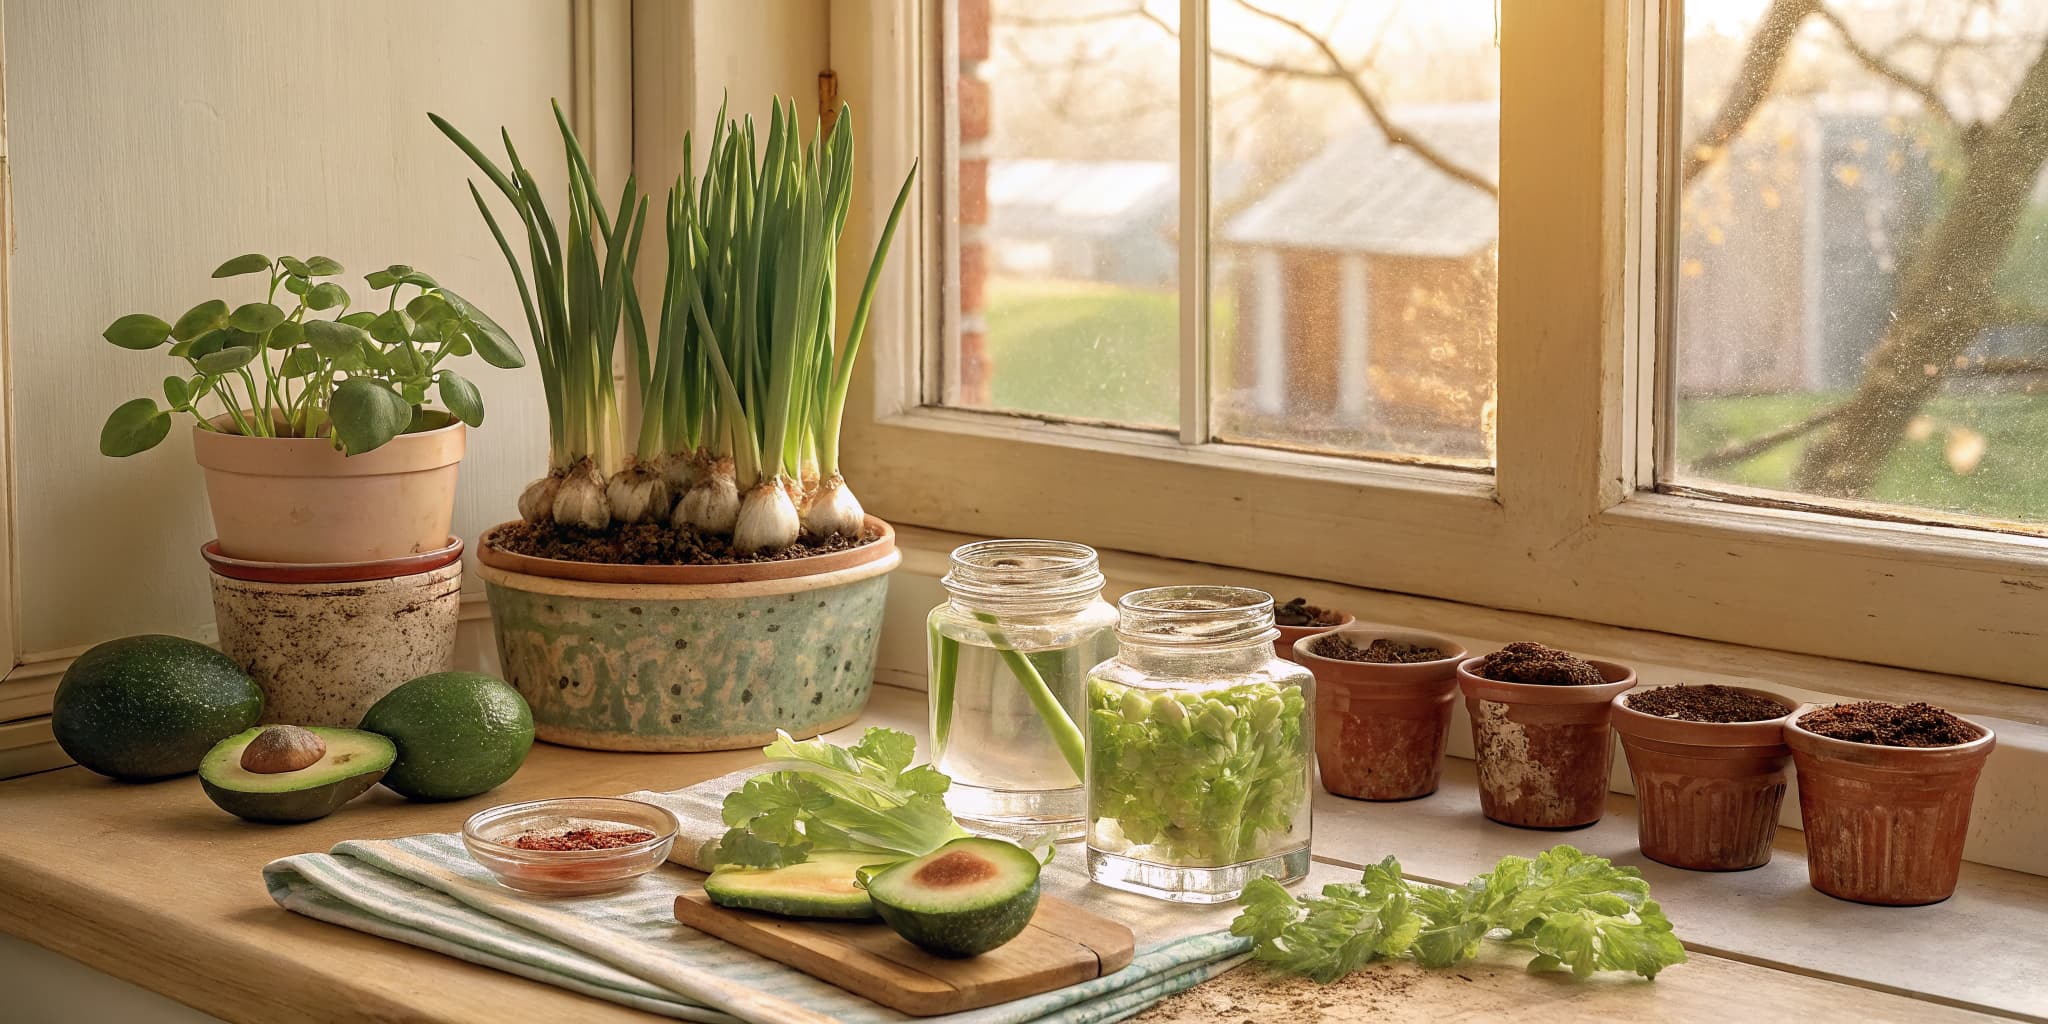
You do not need a garden bed to grow garlic. One firm clove and a pot of soil are enough to get a flush of tender green shoots on a windowsill, even when the ground outside is frozen. This walkthrough follows The Ripe Tomato Farms, who shows just how forgiving indoor garlic can be.

This is regrowing a single clove for green garlic, not a fall bed planting for big bulbs. If you want to fill a garden bed for storage bulbs instead, that is a different job. Here the goal is fast green shoots you can snip into eggs, soups, and stir-fries, with the option to grow a clove on into a small bulb if you leave it long enough.

The steps are short: pick a good clove, plant it pointy end up, water it, and set it in the sun. Give it a couple of weeks and green spears push up. Once you have the hang of it, try the same windowsill trick with green onions, celery, and ginger.

Step-by-Step Guide

8 steps · about 9 minutes.Check off each step as you go and your progress saves automatically.

1

Step 1: Pick a Firm, Sprouting Clove

4:54
Step 1: Step 1: Pick a Firm, Sprouting Clove

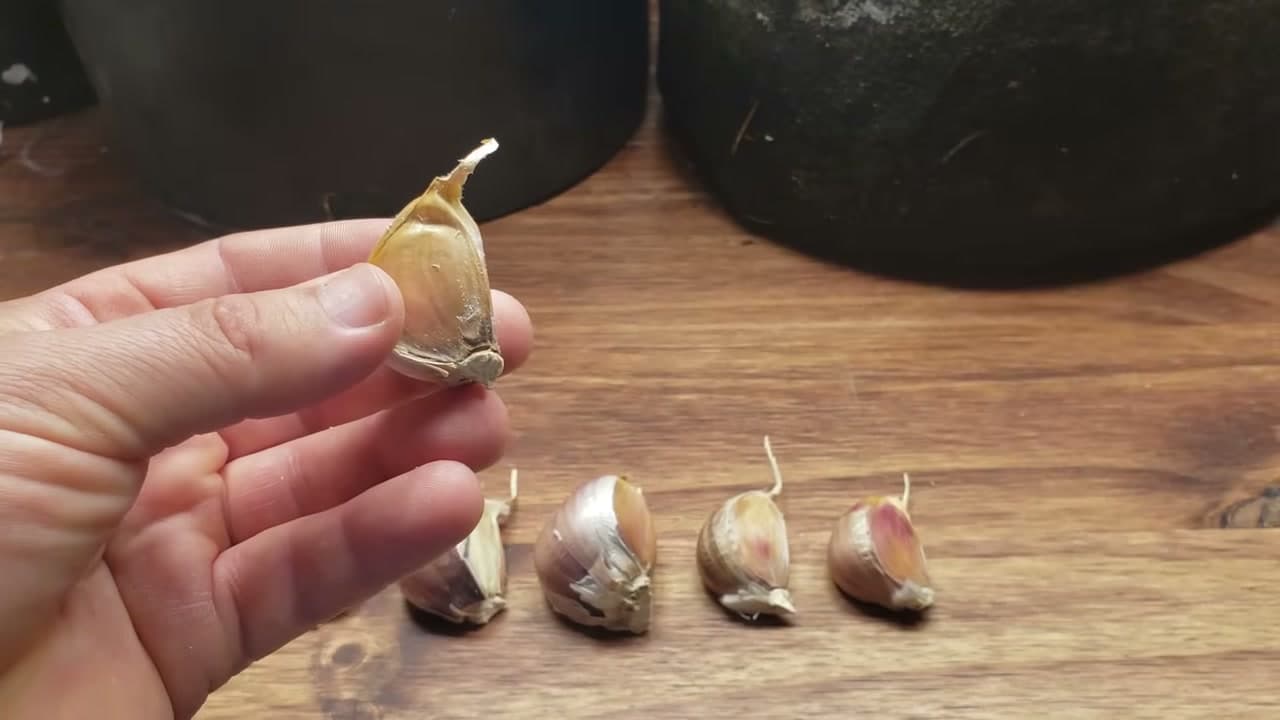
Start with a healthy clove. You want one that is firm and heavy, with no soft spots or mold. A clove that has already pushed out a little green tip is even better, since it is halfway to growing. Grocery store garlic works fine, though organic bulbs sprout more reliably because they are not treated to stay dormant. Set your best cloves aside and eat the small, shriveled ones.

Tip

Watch this step and notice the little green shoot poking from the tip. That is a clove that wants to grow, so grab those first.
2

Step 2: Break the Bulb into Cloves

3:58
Step 2: Step 2: Break the Bulb into Cloves

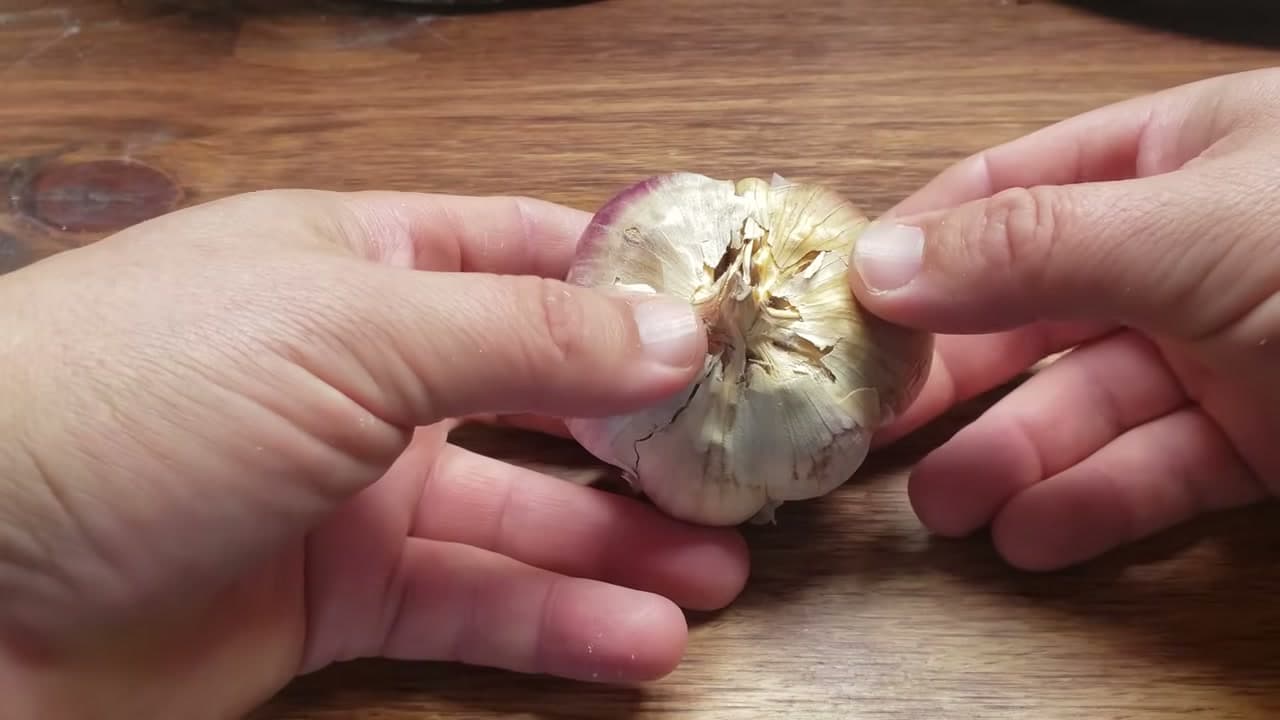
Twist the whole head apart into single cloves right before planting. Press your thumbs into the top and the cloves pop free from the base. Leave the papery skin on each clove. It protects the clove in the soil and does not slow down sprouting. Do not peel them the way you would for cooking. Handle them gently so you do not bruise the flesh or snap off a sprout.

Tip

Watch this step to see how the head cracks apart cleanly. Keep the skins on, and only break apart what you plan to plant today.

3

Step 3: Fill a Pot with Potting Soil

2:55
Step 3: Step 3: Fill a Pot with Potting Soil

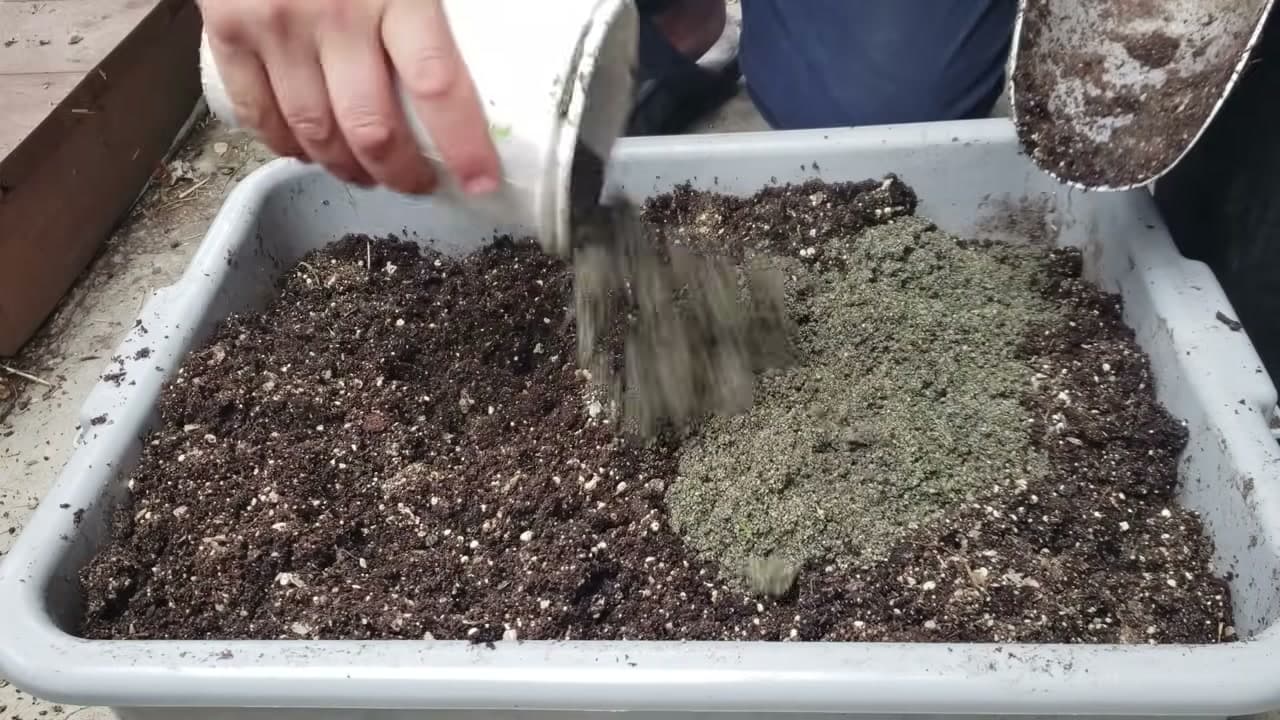
Any small pot with a drainage hole works. Fill it with loose, fluffy potting mix so the roots can spread and water can drain. Garlic hates sitting in soggy soil. A container about six inches deep gives each clove room to root. Leave an inch of space below the rim so watering does not overflow. Skip heavy garden dirt, which packs down and stays wet indoors.

Tip

Watch this step for the loose, crumbly texture you are after. If your mix feels dense, blend in a handful of perlite before you plant.

4

Step 4: Plant the Clove Pointy End Up

5:14
Step 4: Step 4: Plant the Clove Pointy End Up

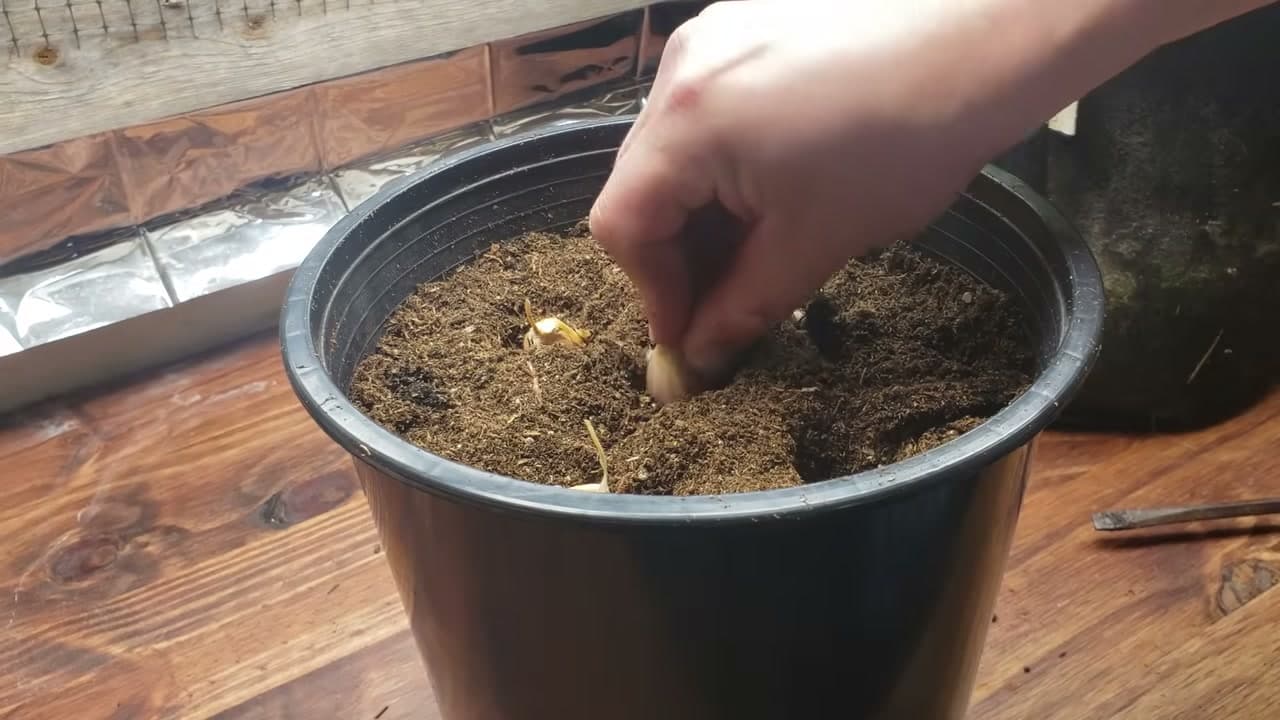
This part matters most. Push each clove into the soil with the pointy end up and the flat root end down. The shoot grows from the tip, so planting it upside down makes it work harder to reach the surface. Sink it about an inch deep, with the tip just poking clear. Space cloves a couple of inches apart if you are planting several in one pot. Firm the soil around each one.

Tip

Watch this step to see the flat basal plate go down and the point go up. Get this right and the shoot comes straight up in days.

5

Step 5: Cover with Soil and Mulch

5:30
Step 5: Step 5: Cover with Soil and Mulch

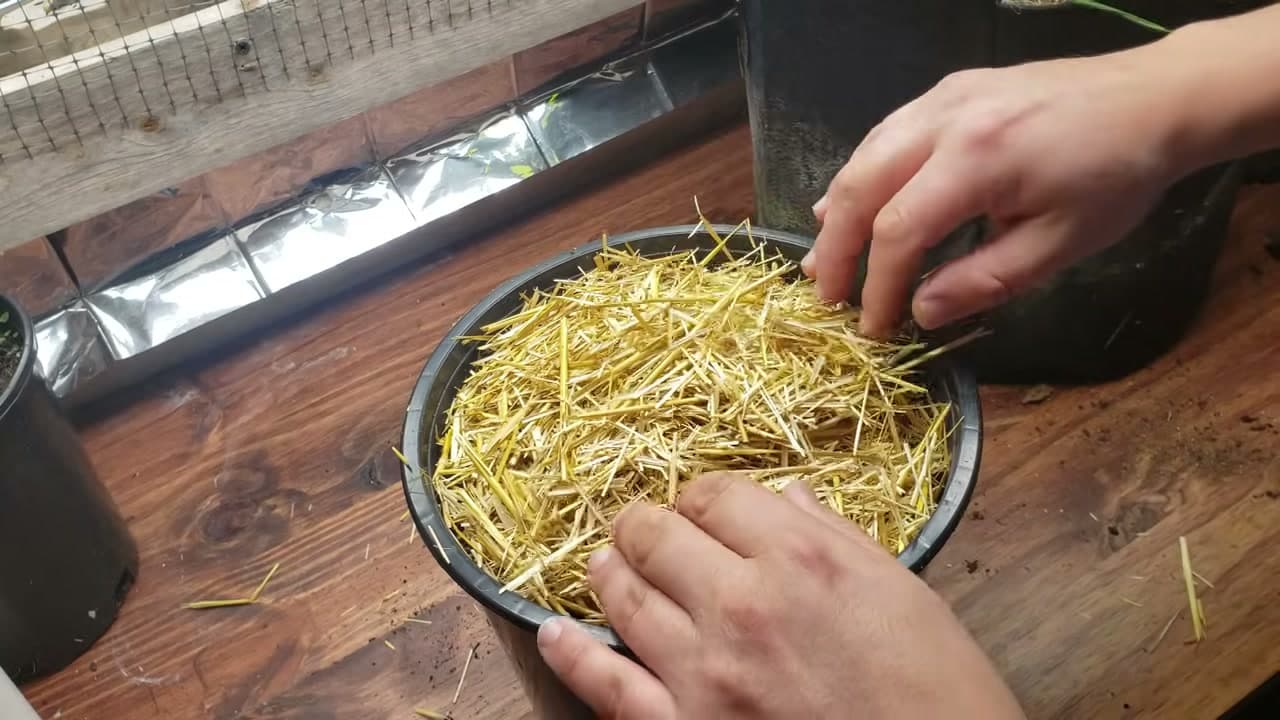
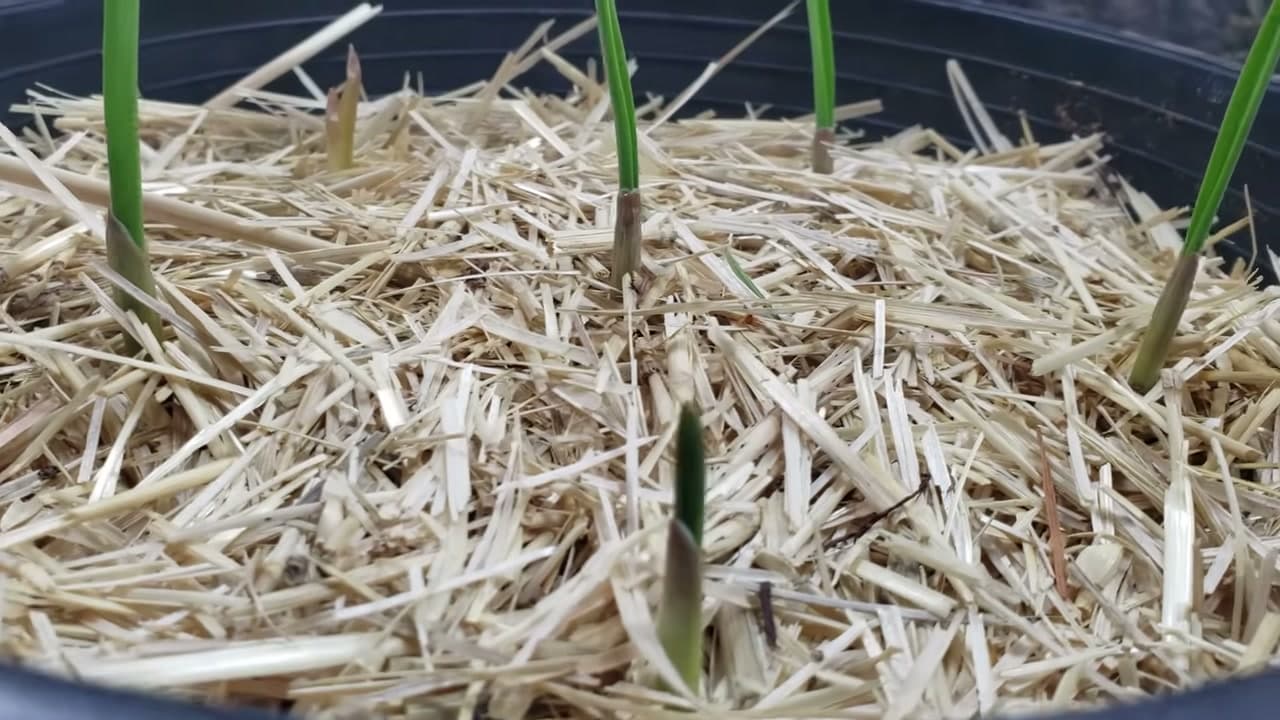
Draw soil over the cloves so the tips sit just under the surface, then add a thin layer of straw or mulch on top. The mulch holds moisture, keeps the surface from crusting, and stops soil from splashing when you water. Do not bury the cloves too deep. An inch of cover is plenty for indoor garlic. Tamp the top down lightly so everything makes good contact.

Tip

Watch this step for how light the straw layer is. A thin cover breathes; a thick mat can trap too much damp against the tips.

6

Step 6: Water and Set in a Sunny Spot

5:36
Step 6: Step 6: Water and Set in a Sunny Spot

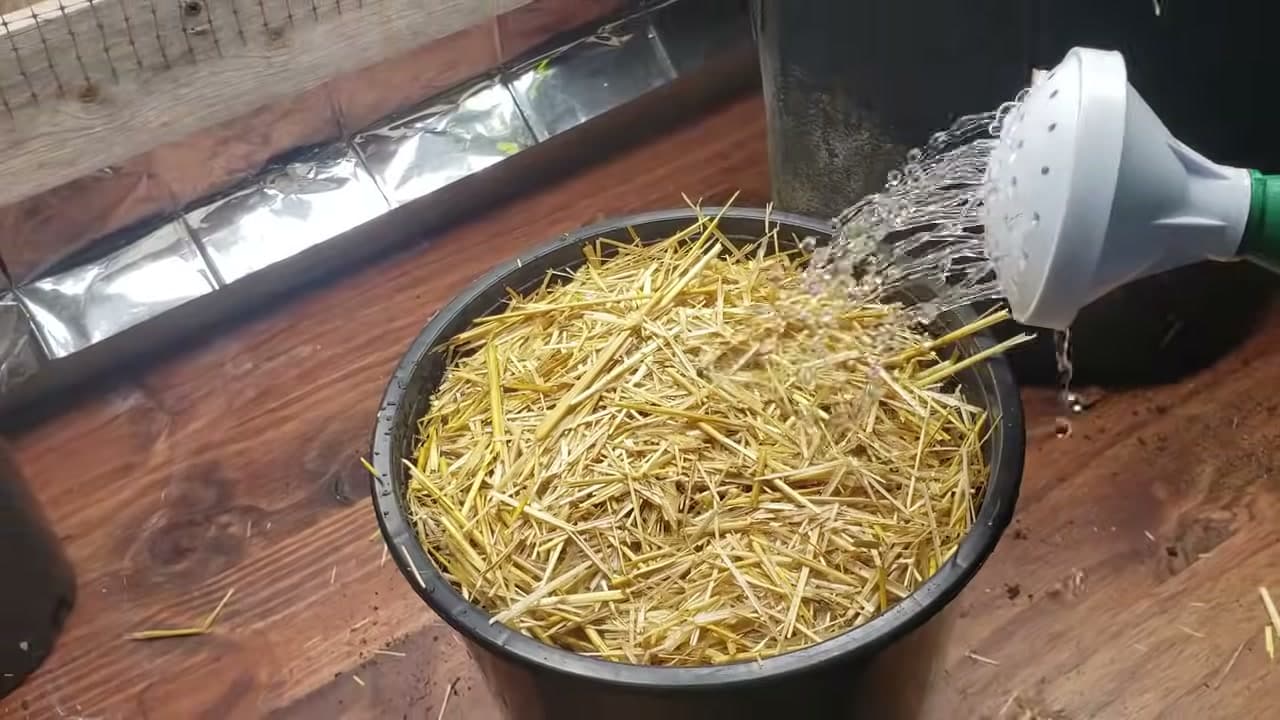
Water gently until the soil is evenly moist, then let the top dry slightly before the next drink. A watering can with a rose spreads the flow so you do not wash the cloves out. Set the pot in your brightest window, a south-facing sill if you have one. Garlic wants several hours of light a day. If your place is dim, a small LED grow light keeps the shoots stocky instead of stretched and pale.

Tip

Watch this step and copy the soft shower over the mulch. Keep it moist, not soaked, and empty any saucer so the pot never stands in water.

7

Step 7: Watch the Green Shoots Emerge

6:46
Step 7: Step 7: Watch the Green Shoots Emerge

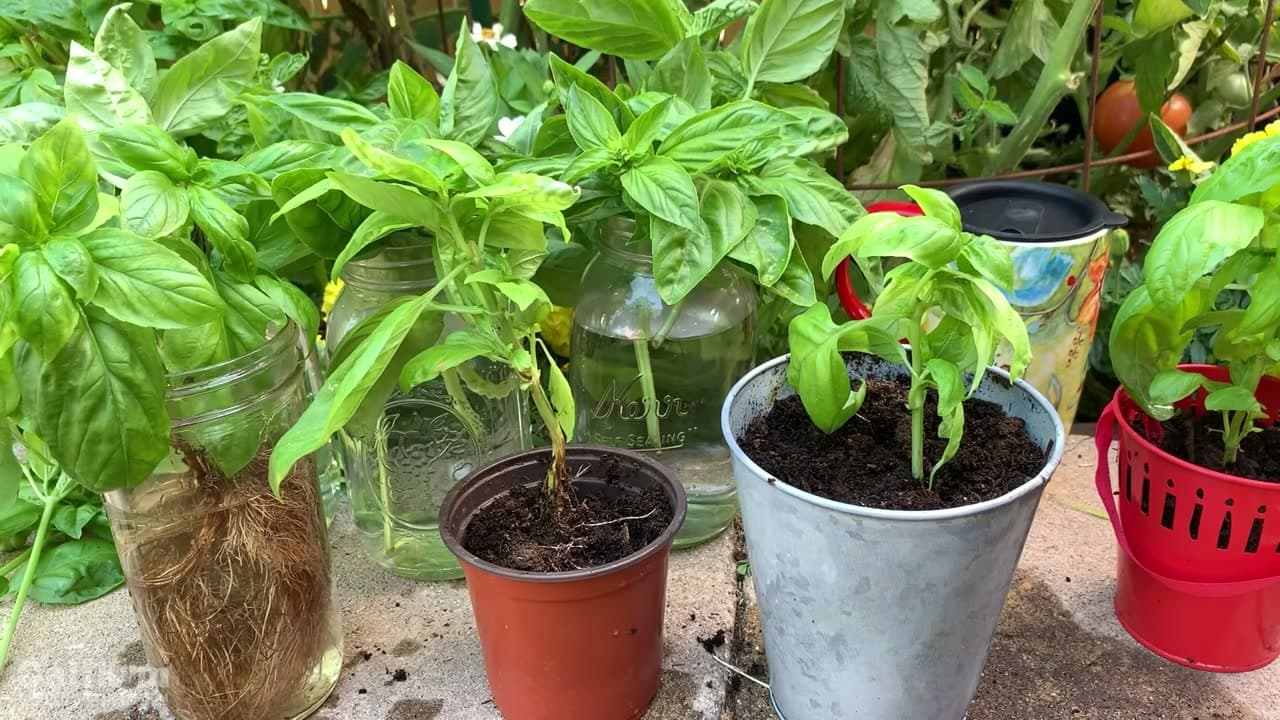
Within a week or two, thin green spears push up through the mulch. This is green garlic, the tender young growth prized for its mild, fresh flavor. Keep the pot watered and in good light and the shoots keep climbing. A jar of water on the sill works too if you only want greens: sit a clove root-side down in a shallow bit of water and it sends up shoots without any soil at all.

Tip

Watch this step for the first green tips breaking through the straw. Rotate the pot every few days so the shoots grow upright instead of leaning to the light.

8

Step 8: Harvest Green Garlic or Grow On to Bulbs

7:06
Step 8: Step 8: Harvest Green Garlic or Grow On to Bulbs

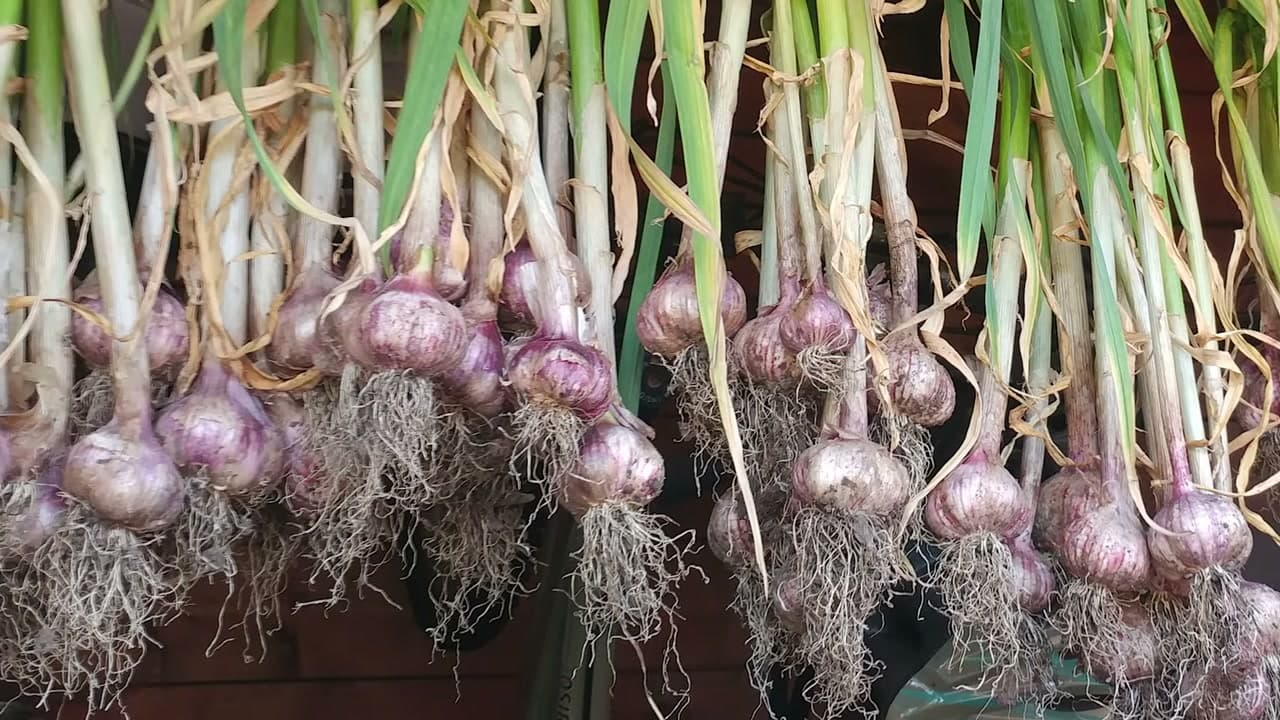
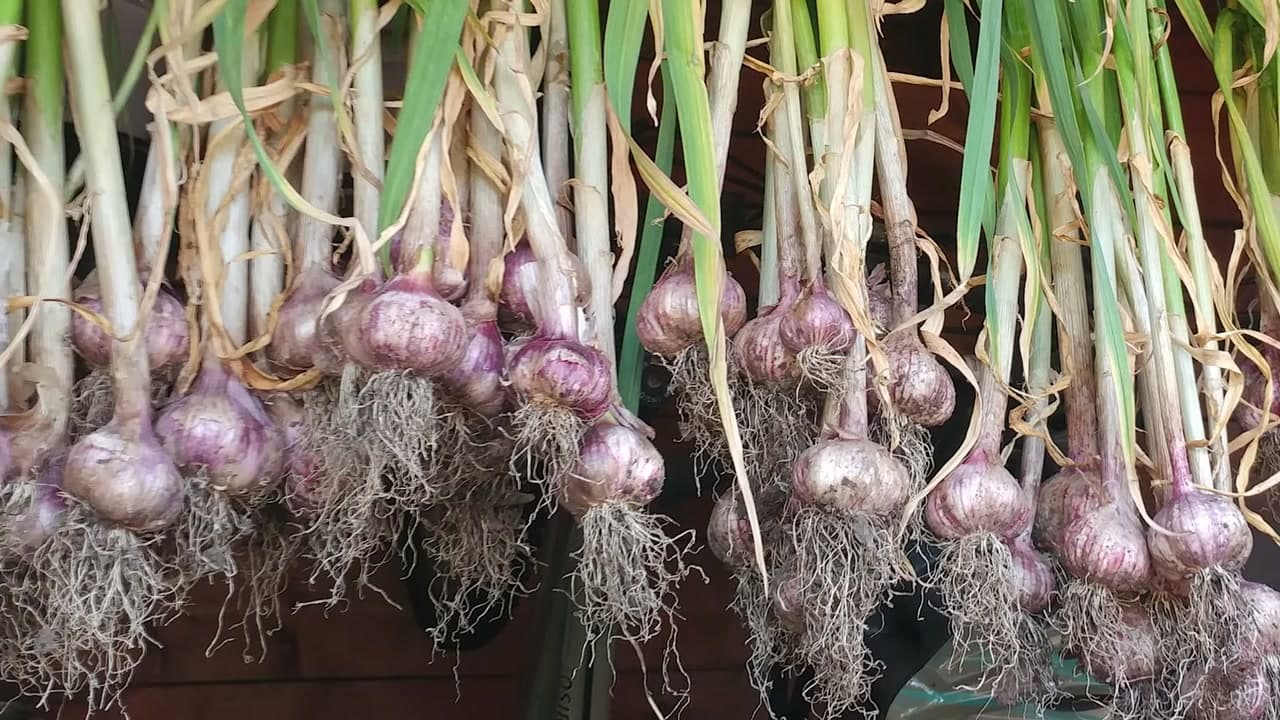
Snip the green shoots with scissors once they are several inches tall and use them like scallions or chives. Cut what you need and the clove regrows more. If you would rather grow a small bulb, leave the plant in soil and keep tending it for months until the tops flop and yellow, then lift and cure it like the harvested garlic here. Either way, one clove earned you a fresh crop indoors.

Tip

Watch this step to see mature garlic with full green tops. Harvest greens young for flavor, or hold your patience and let a clove size up into a bulb.

Products Used

☐ The Checklist

How to Regrow Garlic from a Clove

Tools
3
Materials
3
Steps
8
Video
9 min

Tools we recommend

Your Guide

The Ripe Tomato Farms

As an Amazon Associate we earn from qualifying purchases. Links on this page may be affiliate links - clicking them and buying doesn't change your price, but helps support ShowMeStepByStep.

Tags

Sunday How-To

New gardening tutorials, every Sunday

One short email with the week's best step-by-step guides. Free, no spam, unsubscribe anytime.

Did this work for you?

What's next

Related collections

Curated theme pages that include this tutorial.

Weekly Digest

Liked this gardening tutorial?

Pick the categories you want to hear about. Weekly digest of new step-by-step tutorials. No spam, easy unsubscribe.

Send me tutorials about

We only email about new tutorials. Easy unsubscribe anytime.