How to Grow Ginger From Store-Bought Ginger in a Container

GardeningEasy12:248 stepsBrowse more →
Also in:Adulting

By ShowMeStepByStepPublished

Based on a video by Self Sufficient Me.

This one comes from Mark at Self Sufficient Me, and it might change how you look at that knobby piece of ginger sitting in your supermarket basket. You do not need a nursery plant or a fancy setup. A single rhizome from the store, a decent pot, and some patience will hand you a whole crop of fresh ginger a few months down the track.

Ginger is pricey to buy and easy to grow, which makes it one of the best value crops you can start from a kitchen scrap. Mark grows his in containers so the plants get a warm, well-draining home and the harvest is dead simple: you just tip the whole pot out. There is one step people skip that makes all the difference, and it happens before the ginger ever touches soil.

You will pick a healthy piece, soak it to wake it up, plant it shallow, then keep it watered and fed through the warm months. Come autumn, when the leaves die back, you dig up fat clean rhizomes and save a couple to plant again next season. If you want to move your ginger into a bigger home partway through the season, our guide on repotting a plant walks through it. Let's get into it.

Step-by-Step Guide

8 steps · about 12 minutes.Check off each step as you go and your progress saves automatically.

1

Step 1: Pick a Healthy Piece of Ginger

1:14
Step 1: Step 1: Pick a Healthy Piece of Ginger

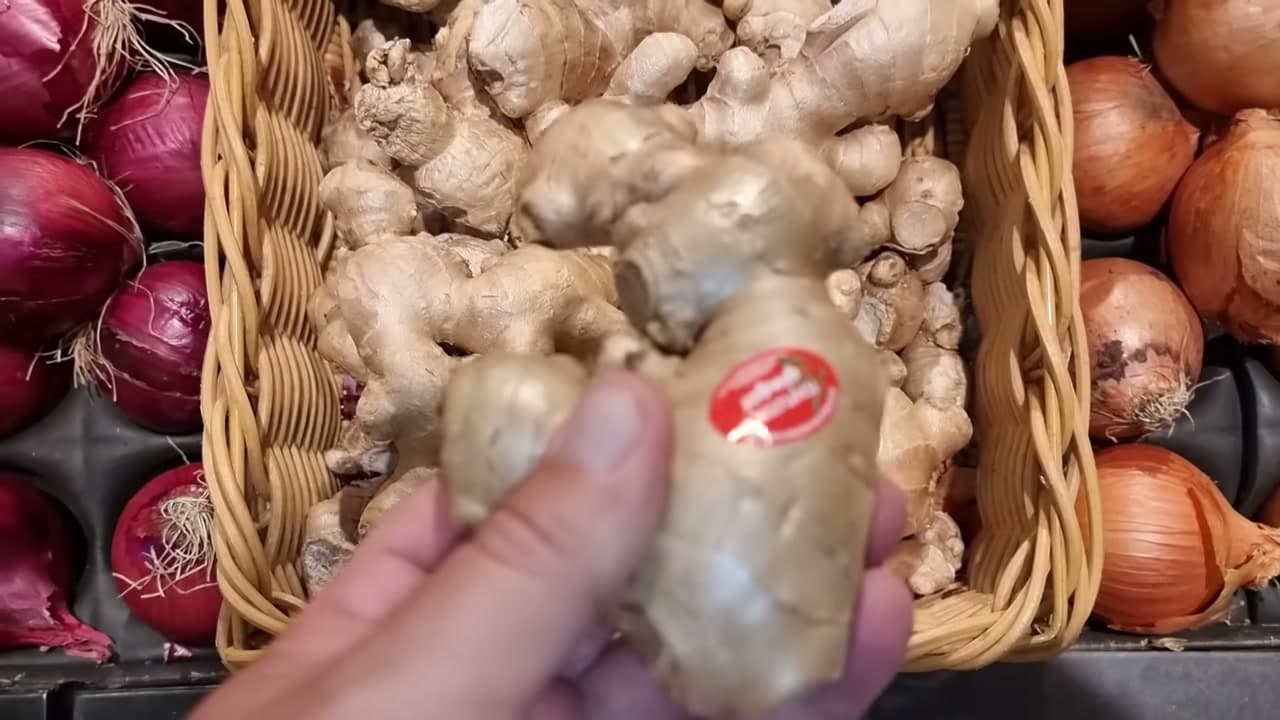
Head to the supermarket, a grocer, or a market and dig through the ginger bin. You want big, plump pieces with smooth, taut skin. Leave behind anything shriveled, wrinkly, or dried out, because those old pieces often do not have the energy left to sprout.

Look closely for little pointed bumps on the rhizome. Those are growth eyes, the same way a potato has eyes, and a piece that already has a few is a great sign it is ready to shoot. Organic ginger is a nice bonus if you do not mind paying more, though any healthy supermarket piece will grow.

Tip

Watch this step A piece with a fat, healthy hand of fingers gives you more spots to divide and plant, so grab the biggest good-looking rhizome in the bin.

Products used in this step

2

Step 2: Soak the Ginger for 24 Hours

2:06
Step 2: Step 2: Soak the Ginger for 24 Hours

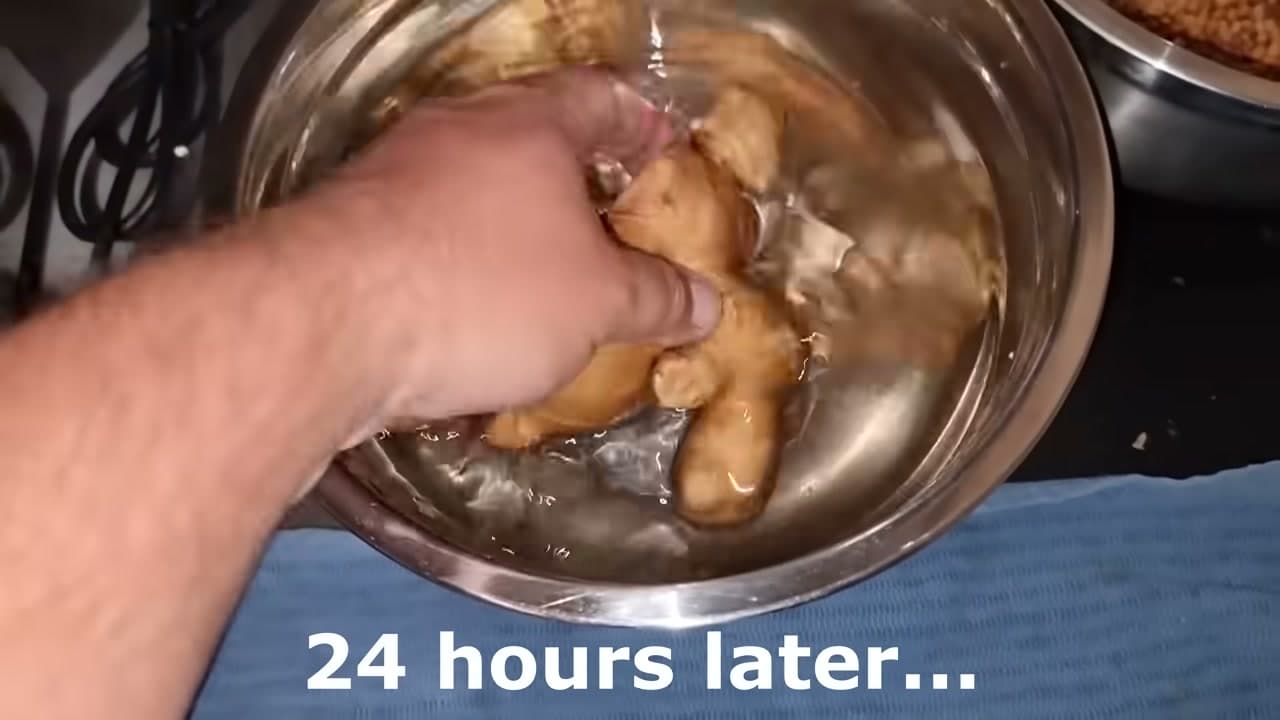
This is the step most people miss. Supermarket ginger is often sprayed with a growth retardant so it does not sprout on the shelf, and that coating will sit there stopping your rhizome from doing anything. A good soak dissolves it.

Drop your ginger into a bowl of water and leave it for at least 24 hours. That soak washes off the inhibitor and rehydrates the rhizome so it is primed to grow. Do not forget about it and leave it for days, or it will start to ferment. Pull it out after a day, and it is ready to plant.

Tip

Watch this step Use room-temperature tap water and a bowl big enough for the ginger to sit fully submerged. The same growth spray is a good reason to peel store ginger before you eat it.

Products used in this step

3

Step 3: Fill a Container and Divide the Ginger

2:30
Step 3: Step 3: Fill a Container and Divide the Ginger

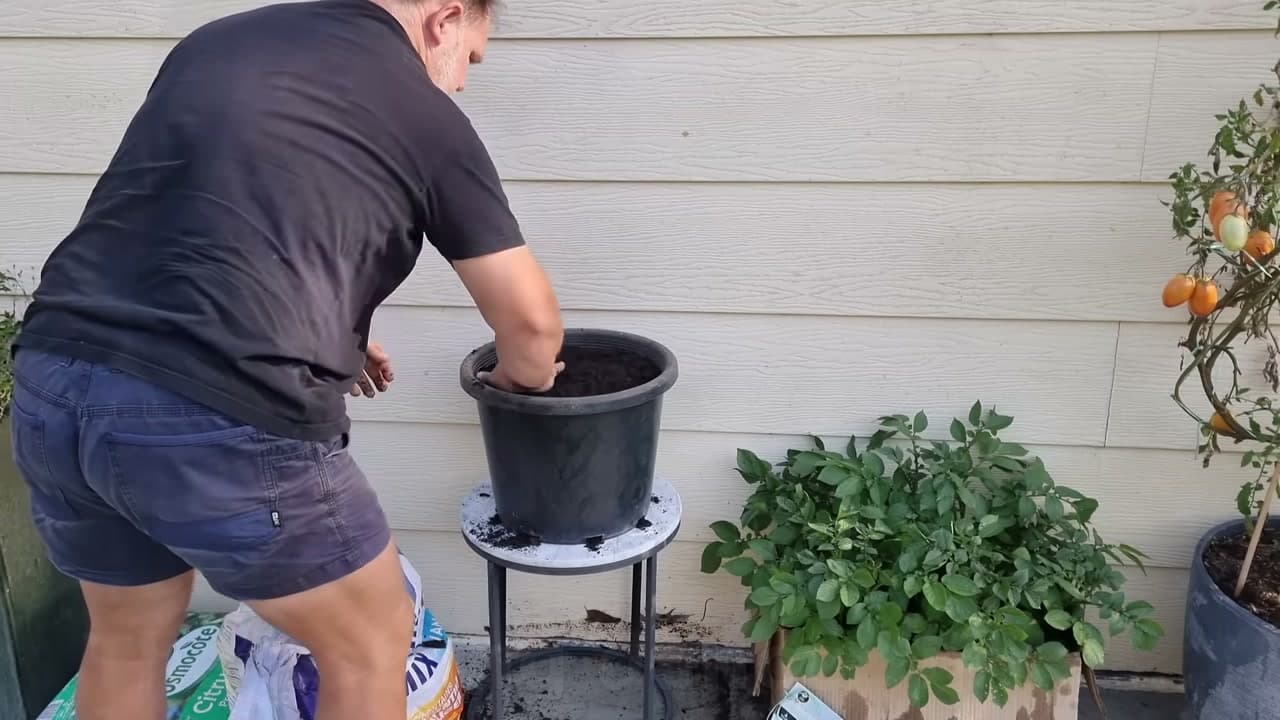
Grab a wide container or a few pots and fill them with a premium potting mix, leaving a couple of inches of space at the top. Ginger spreads out sideways, so a broad pot beats a deep narrow one every time.

Now divide your soaked ginger into planting pieces. You can break it into smaller chunks to get more plants out of one rhizome, but do not go too small. Tiny inch-sized bits can shrivel and rot before they get going. Aim for solid chunks that each carry at least one growth eye, and they will sprout far more reliably.

Tip

Watch this step A premium mix with a bit of slow-release fertilizer already blended in means you barely have to feed the plant later. Cheap mix packs down and holds too much water.

4

Step 4: Plant the Pieces Shallow

2:58
Step 4: Step 4: Plant the Pieces Shallow

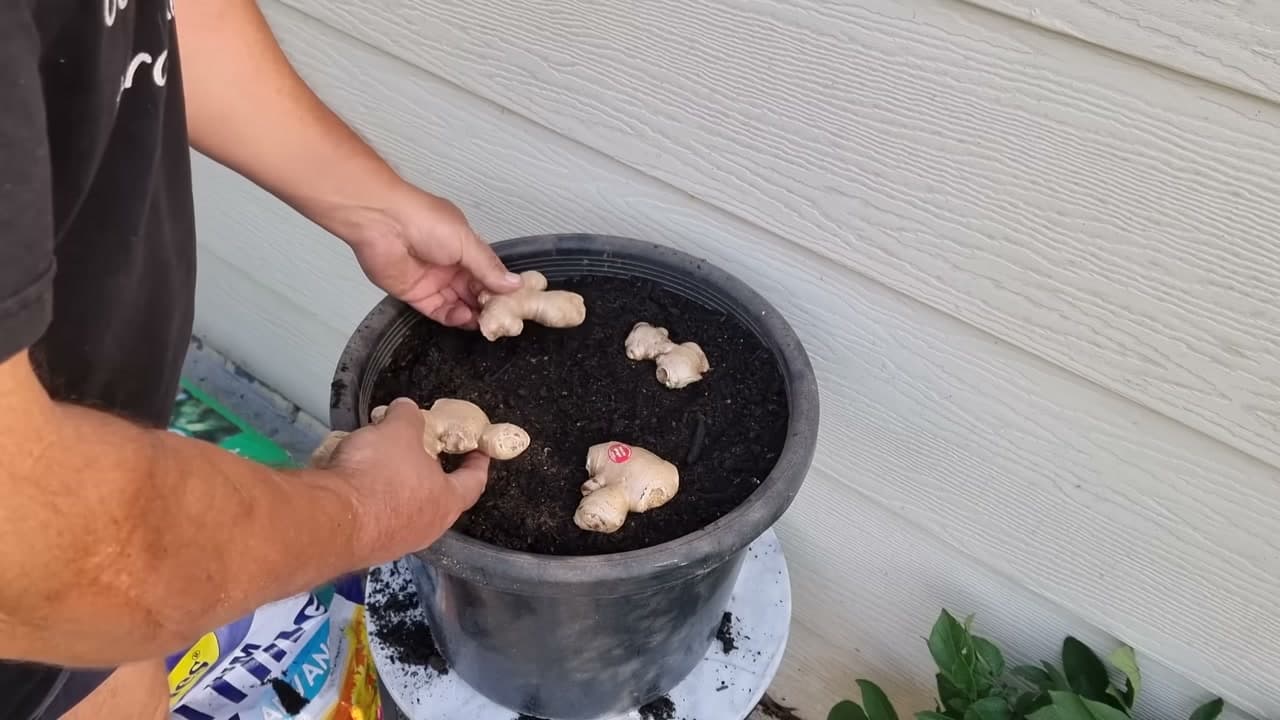
Lay the ginger pieces flat on the surface and spread them evenly around the pot, giving each one room to send out roots and shoots. Then cover them with just an inch or two of mix. That is it.

Resist the urge to bury them deep. The rhizome wants to grow sideways near the surface, and planting too deep can slow it down or cause the piece to rot before it sprouts. Shallow is exactly what ginger likes.

Tip

Watch this step Point any visible growth eyes upward when you set the pieces down. It gives the shoots the shortest path to the surface.

Products used in this step

5

Step 5: Keep the Plant Watered Through Summer

4:00
Step 5: Step 5: Keep the Plant Watered Through Summer

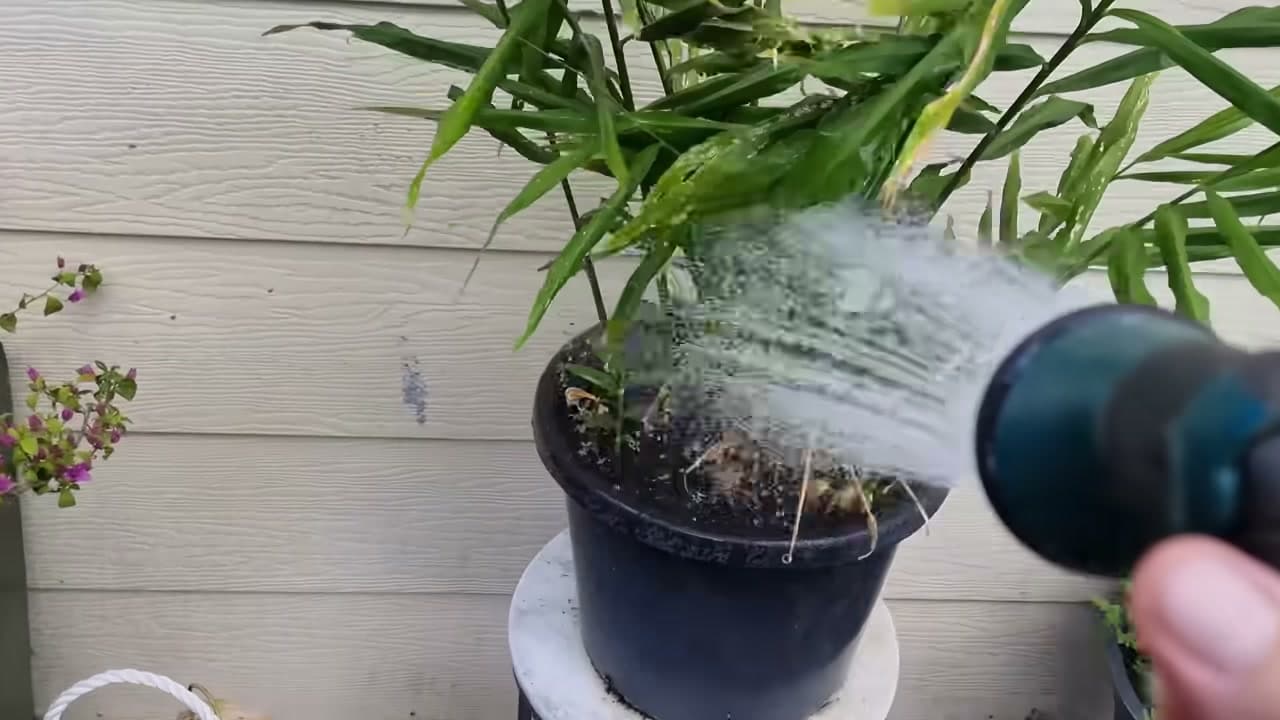
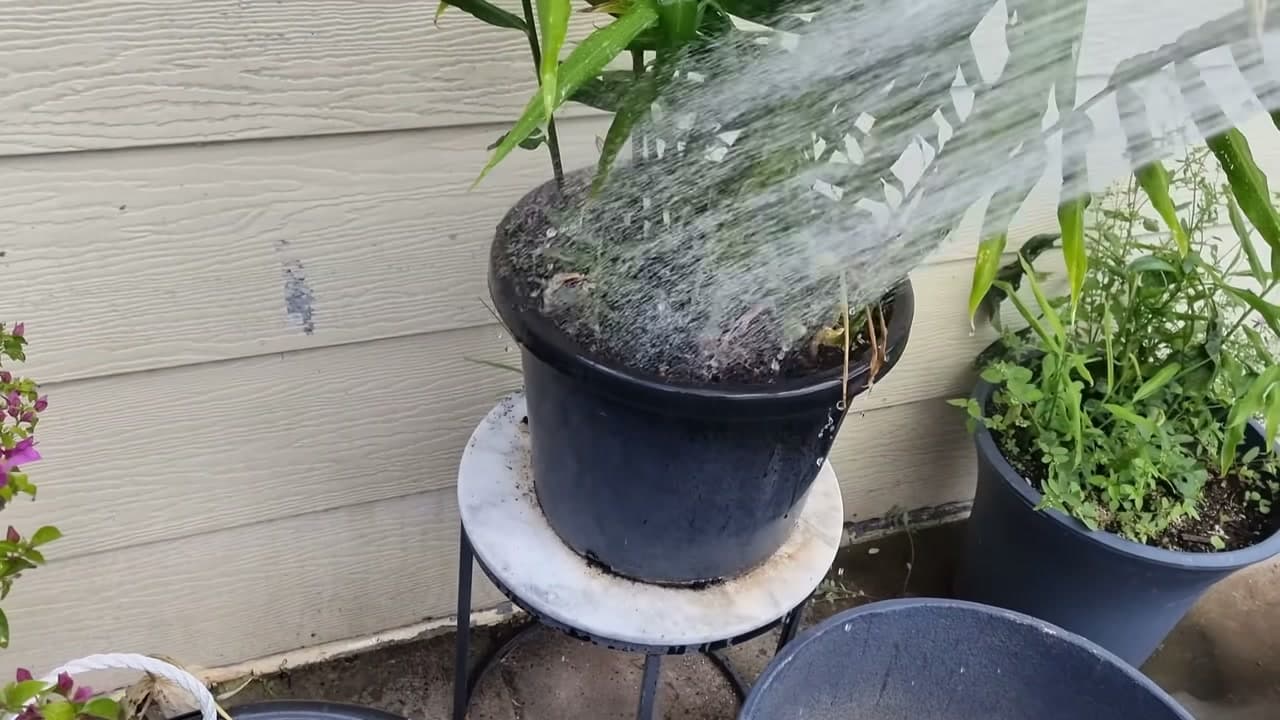
Ginger loves water once it is up and growing. Through the warm months Mark waters his container ginger almost every day, because a plant that dries out in the heat will shut down and even start eating its own rhizomes for moisture. You do not want that.

The catch is drainage. Ginger hates sitting in a boggy, waterlogged pot, so a well-draining mix lets you water often without drowning the roots. Early on, before shoots appear, go easy on the water so the rhizomes do not rot while they are getting established. Once the green shoots are up and the plant is in full swing, keep the water steady.

Tip

Watch this step Ginger will grow in part shade, but it grows strongest with plenty of sun. A spot that gets good light gives the plant the energy to build fat roots.

6

Step 6: Weed, Mulch, and Feed the Plant

4:45
Step 6: Step 6: Weed, Mulch, and Feed the Plant

Keep the pot clear of weeds so nothing competes with your ginger for water and nutrients. A layer of mulch on top helps hold moisture and keeps weeds down between waterings.

For feeding, a splash of organic liquid fertilizer about once a month keeps the plant strong. If you planted into a premium mix with slow-release fertilizer already added, you may only need to water in a liquid feed once, around the halfway mark of the growing season, especially after a run of heavy rain that flushes nutrients through the pot.

Tip

Watch this step An organic-based liquid feed is gentle enough to use through the whole season without burning the roots the way a strong synthetic dose can.

7

Step 7: Cut the Stalks Back at Harvest Time

7:15
Step 7: Step 7: Cut the Stalks Back at Harvest Time

Ginger takes its time. The growing period runs roughly four to six months, and the crop is ready when the leaves yellow and die back, usually between mid autumn and early winter. Let it grow full term through summer for the biggest harvest.

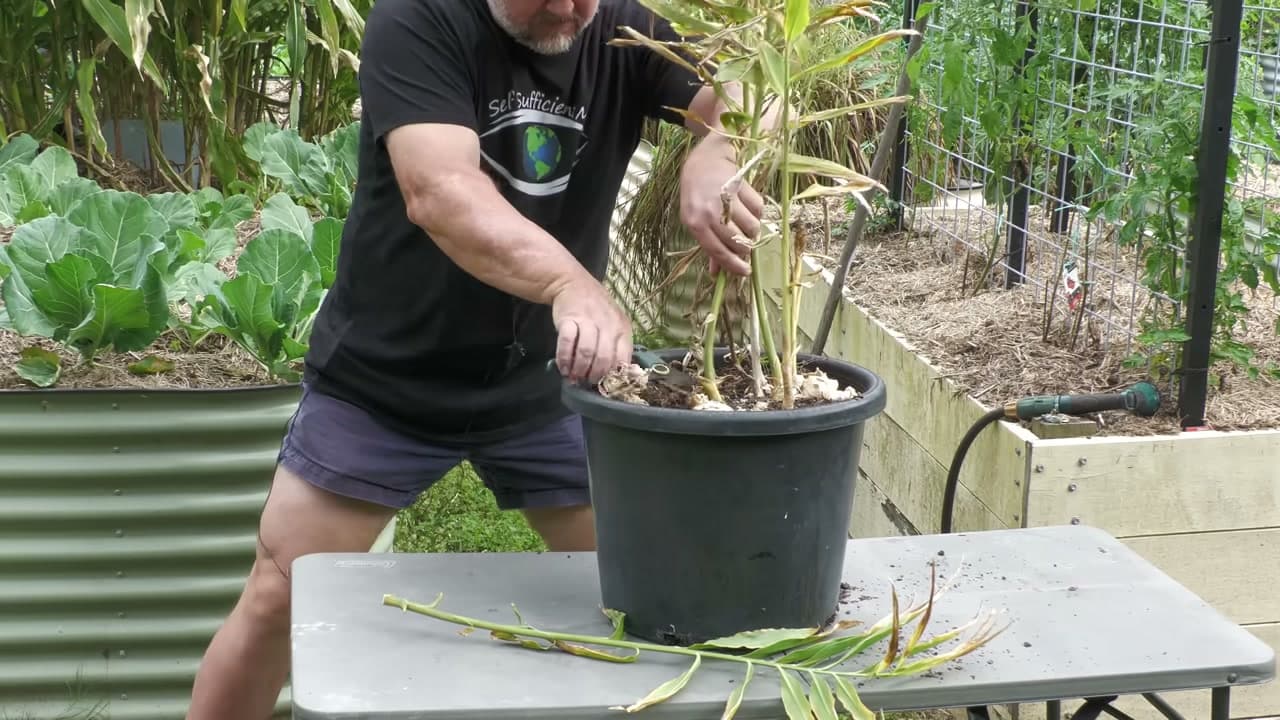
When the tops have gone brown and dry, cut the stalks off close to the soil line. This clears the way and gets the pot ready to lift. Do not panic if your ginger is slow to sprout in spring or slow to die back in autumn. It runs on its own clock.

Tip

Watch this step Young ginger harvested a little early is milder and does not need peeling, so pull some sooner if you like a gentler flavor.

Products used in this step

8

Step 8: Tip Out, Clean, and Save Some to Replant

8:10
Step 8: Step 8: Tip Out, Clean, and Save Some to Replant

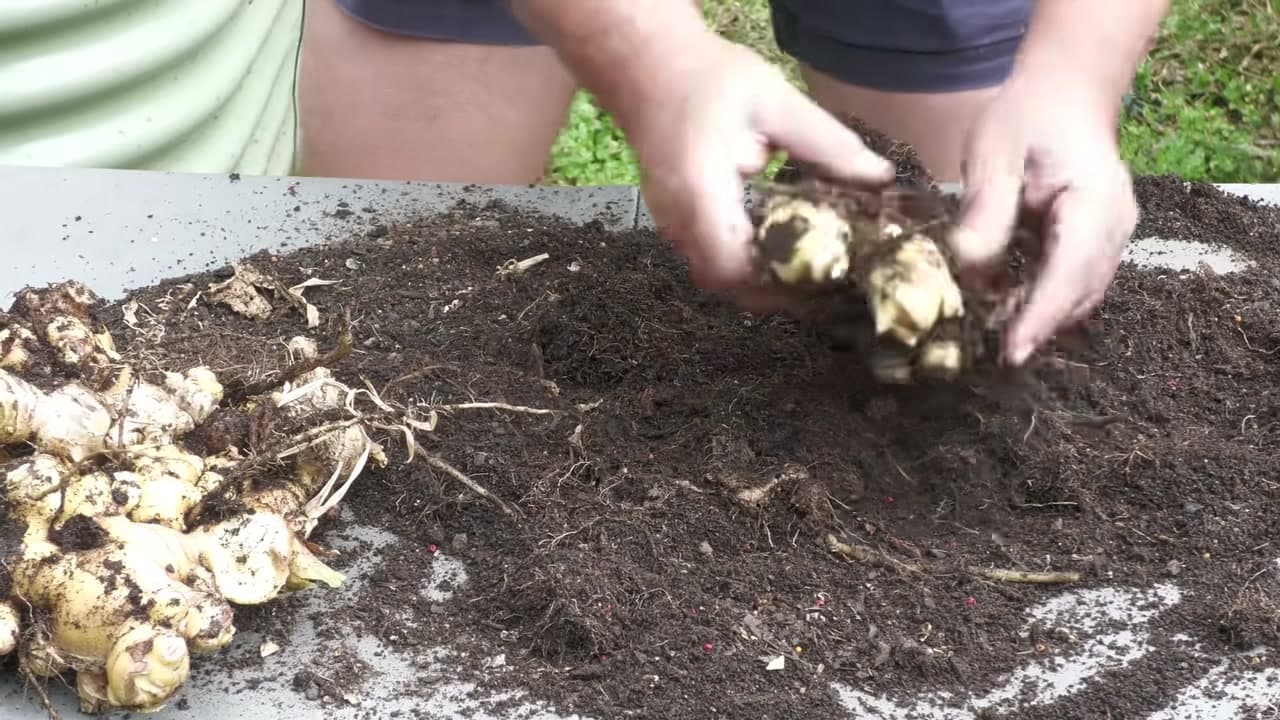
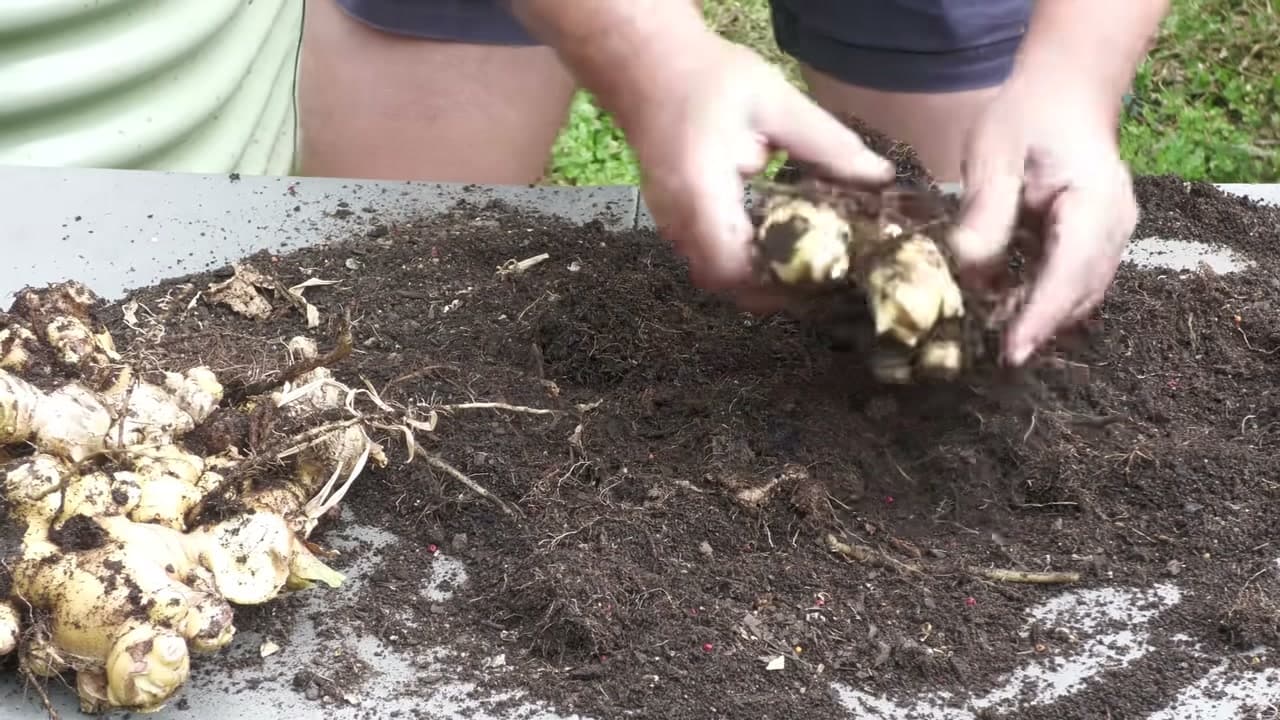
Tip the whole container out and break apart the root ball. This is the payoff. One or two supermarket pieces turn into a fat cluster of fresh rhizomes, and it is always a surprise how much a single pot produces.

Rinse the ginger off so you can see what you have. Use the older, tired-looking pieces and any with a spot of rot first, since they will not store well. Set aside a couple of firm, healthy chunks with growth eyes to plant again next season. That is how one store-bought piece keeps feeding you year after year.

Tip

Watch this step Store the good pieces somewhere dry, like the pantry, and they keep well for months. A little ginger goes a long way, so save at least one chunk for next year.

Products used in this step

Products Used

☐ The Checklist

How to Grow Ginger From Store-Bought Ginger in a Container

Tools
5
Materials
4
Steps
8
Video
12 min

Tools we recommend

Your Guide

Self Sufficient Me

As an Amazon Associate we earn from qualifying purchases. Links on this page may be affiliate links - clicking them and buying doesn't change your price, but helps support ShowMeStepByStep.

Tags

Sunday How-To

New gardening tutorials, every Sunday

One short email with the week's best step-by-step guides. Free, no spam, unsubscribe anytime.

Did this work for you?

What's next

Related collections

Curated theme pages that include this tutorial.

Weekly Digest

Liked this gardening tutorial?

Pick the categories you want to hear about. Weekly digest of new step-by-step tutorials. No spam, easy unsubscribe.

Send me tutorials about

We only email about new tutorials. Easy unsubscribe anytime.