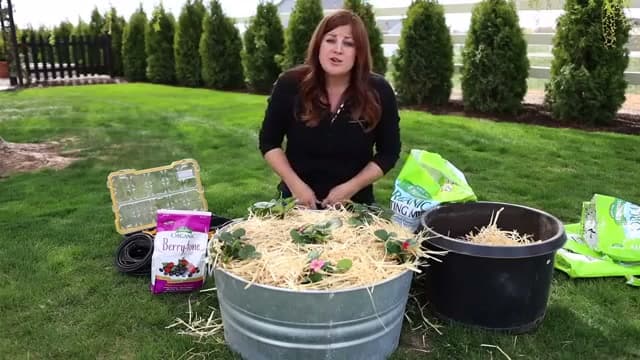
How to Grow Strawberries in Containers (Beginner Guide)

GardeningEasy13:308 stepsBrowse more →

By ShowMeStepByStepPublished

Based on a video by Garden Answer.

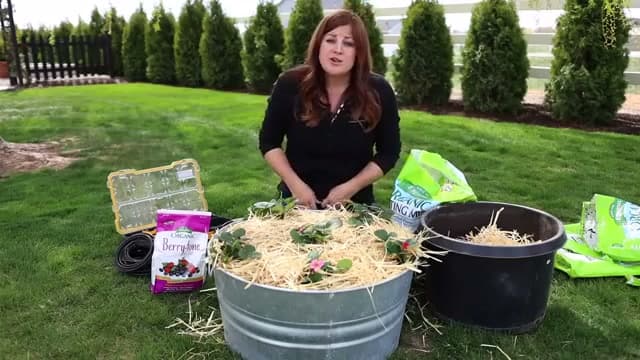
Strawberries are one of the easiest food crops for a beginner, and growing them in a container makes them even simpler. In this guide, based on Garden Answer's walkthrough, you'll plant a tub of strawberries from start to finish: choosing the pot, filling it with the right soil, feeding, planting the crowns at the correct depth, watering, and mulching.

Why containers? Strawberries send out runners, and in the ground they can spread everywhere fast. A pot keeps them tidy, lets you control the soil the fruit grows in, and moves easily so you can chase the sun. Since strawberries are shallow-rooted, a wide, shallow container suits them well, and a raised tub keeps the berries up off the ground where they stay cleaner.

The steps below cover the fundamentals that apply to any strawberry, in the ground or in a pot: good drainage, a light potting mix, the right planting depth for the crown, steady water at the roots, straw mulch under the fruit, and full sun. Get those right and you'll be picking sweet berries the first summer. Garden Answer is one of the most trusted gardening channels on YouTube, and this planting method is beginner-proof.

Step-by-Step Guide

1

Step 1: Pick a Wide Container and Prep the Drainage

1:28
Step 1: Step 1: Pick a Wide Container and Prep the Drainage

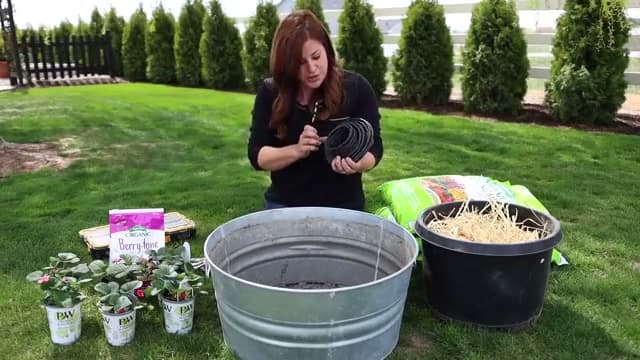
Strawberries have shallow roots, so you want a container that's wider than it is deep. A metal tub, a half-barrel, a grow bag, or even a hanging basket all work. The one rule that matters: it needs drainage holes in the bottom. Drill four or five if your container doesn't have any, because strawberries rot in soggy soil.

If you plan to run drip irrigation, feed the tubing up through one of the drain holes now, before any soil goes in. Leave yourself a generous length to work with. Doing this first saves you from digging around in wet soil later.

Tip

Watch this step A container roughly 20 to 24 inches across holds about six plants and gives the roots room without drying out too fast. Raised metal tubs won't cook the roots as long as you water consistently.
2

Step 2: Fill the Container with Potting Mix

2:10
Step 2: Step 2: Fill the Container with Potting Mix

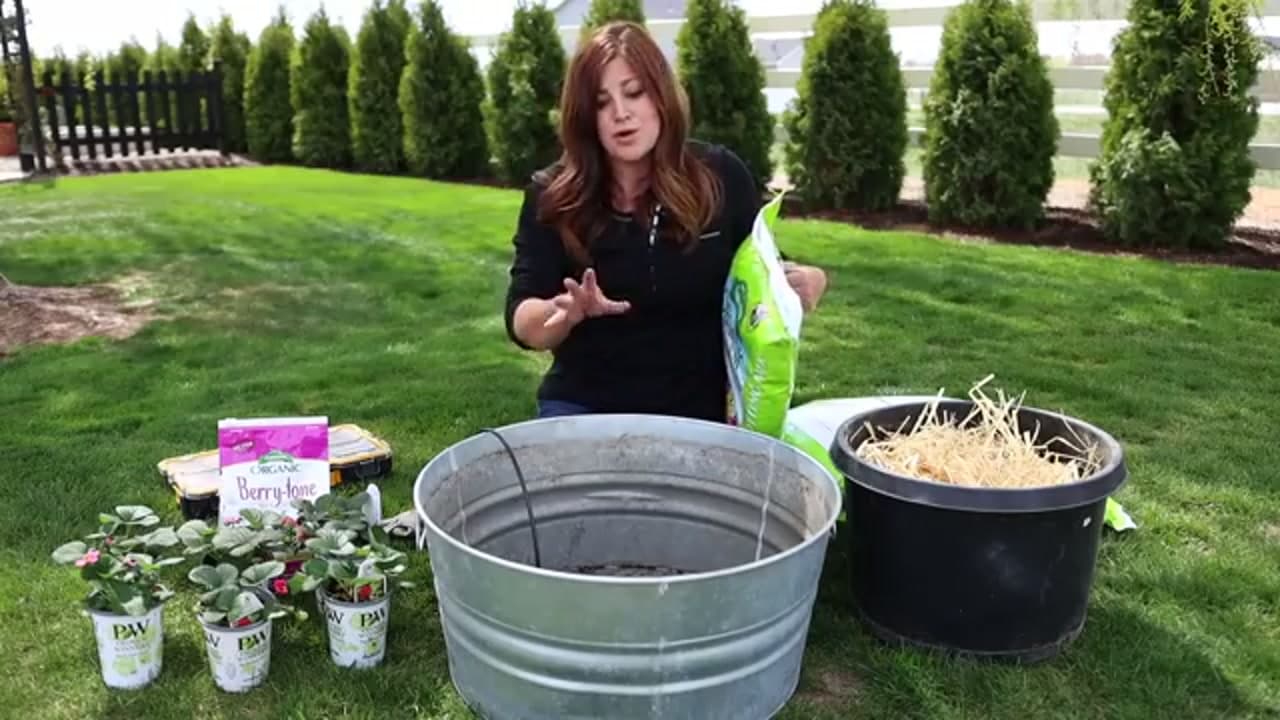
Skip garden soil. It compacts hard in a container and strawberries hate that. Reach for a bagged organic potting mix instead. It stays light and drains well, which is exactly what these plants want. A wide tub like this takes around two and a half cubic feet, so plan on a couple of bags.

Pour it in and level it off. Leave an inch or two of space below the rim. That gap makes watering easier and gives you room for the straw mulch that goes on at the end.

Tip

Watch this step Growing in a container means you control exactly what your plants take up, which matters when you're going to eat the fruit. A quality potting mix pays off here.

3

Step 3: Mix in a Slow-Release Berry Fertilizer

4:18
Step 3: Step 3: Mix in a Slow-Release Berry Fertilizer

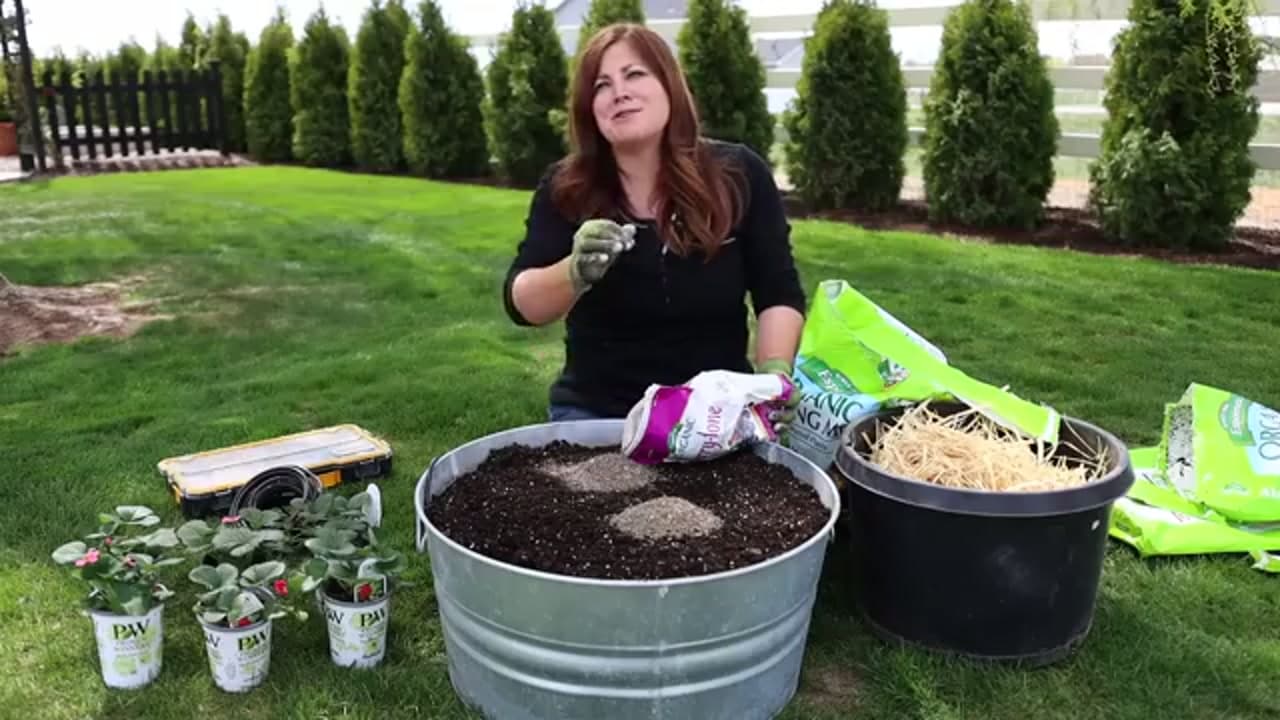
Work a slow-release berry fertilizer into the mix before you plant. Follow the rate on the bag, usually about two cups per cubic foot of soil. Blend it through with your gloved hands so it's spread evenly, not sitting in one clump.

An easy trick: add half the soil, mix in some fertilizer, then add the rest and mix again so it reaches the whole root zone. A slow-release organic feed like this is forgiving, so a little over or under won't hurt the plants.

Tip

Watch this step This is the low-maintenance route. Feed once now and again mid-season and you're set. If you'd rather use a liquid feed, apply it every couple of weeks instead.

4

Step 4: Plant the Crowns at the Right Depth

6:55
Step 4: Step 4: Plant the Crowns at the Right Depth

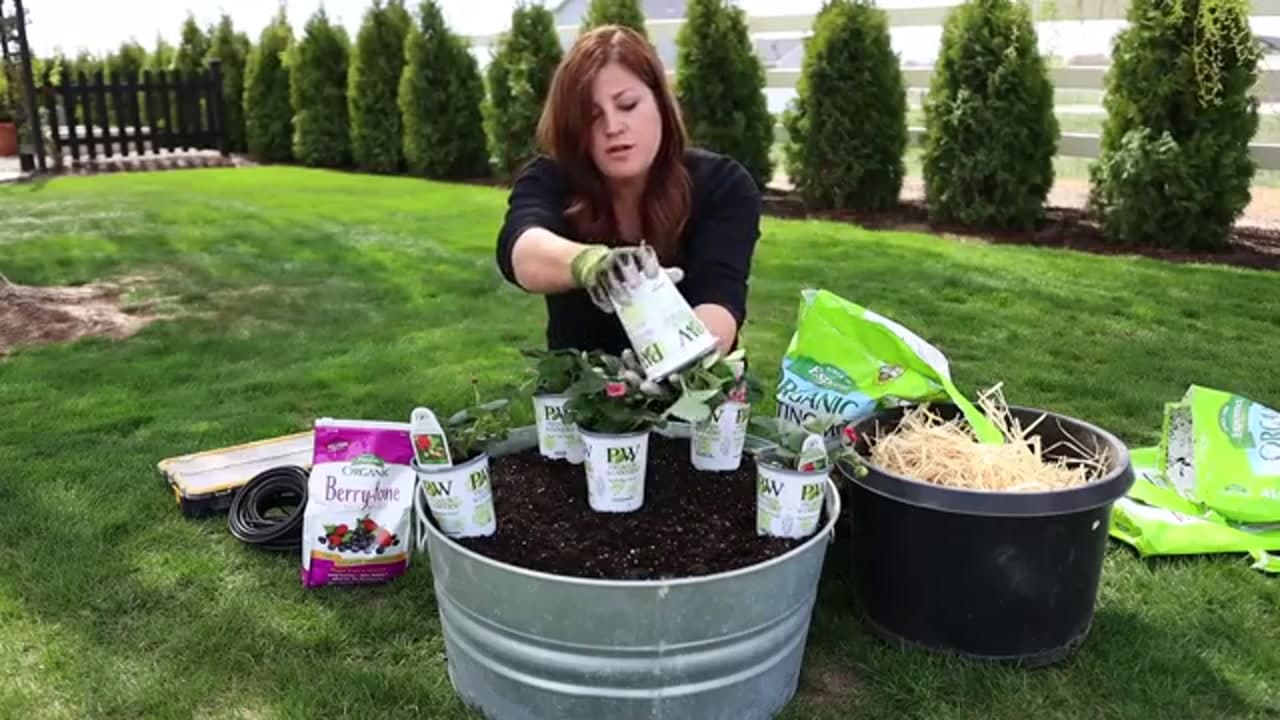
Set your plants in, spacing them about eight to ten inches apart. You can crowd them a little closer in a container than you would in the ground. Six plants fit comfortably in a 24-inch tub.

Depth is the part people get wrong. The crown is the spot where the stems meet the roots. It has to sit right at soil level, never buried. Bury it and the plant rots; plant it too high and the roots dry out. With potted starts, just match the existing soil line and firm each one in well.

Tip

Watch this step Plant close to the edge on purpose. The berries will cascade over the rim and dangle instead of resting on wet soil, which keeps them cleaner and helps them ripen.

5

Step 5: Set Up Drip Irrigation at the Root Zone

9:35
Step 5: Step 5: Set Up Drip Irrigation at the Root Zone

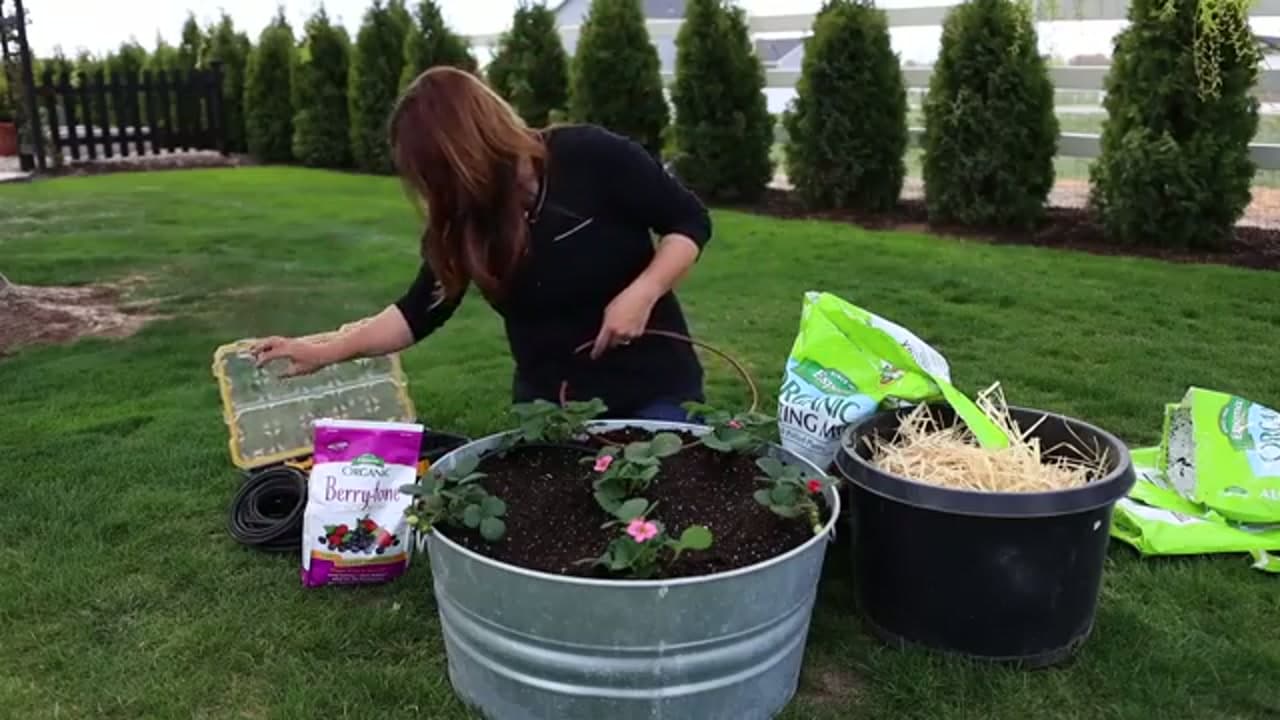
Strawberries like steady moisture but hate wet leaves and wet berries, which invite powdery mildew and rot. Watering at the root zone beats watering overhead. Coil a length of drip tubing with half-gallon-per-hour emitters around the plants, connecting it to the tube you ran through the drain hole earlier.

Pin it down with a few landscape staples so it stays put, and cap the open end with a goof plug. In a container this size, three emitters or a curled emitter line covers all six plants.

Tip

Watch this step No drip system? Hand-water at the base once a day in summer. Containers dry out faster than the ground, so check the top inch of soil and water when it starts to feel dry.

6

Step 6: Top-Dress with Straw Mulch

10:40
Step 6: Step 6: Top-Dress with Straw Mulch

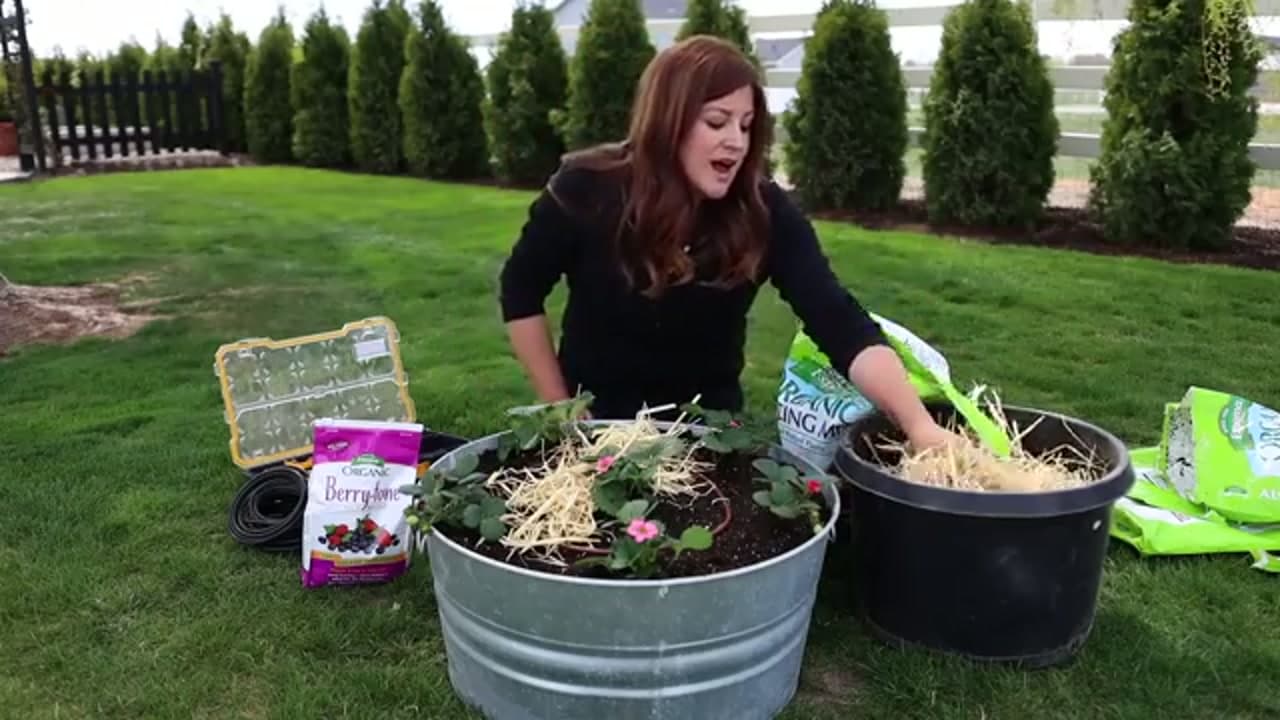
Spread a layer of straw over the soil around the plants. This is what gives strawberries their name, and it does real work. When the berries form, they rest on dry straw instead of damp soil, so they stay clean and don't rot.

The straw also blocks slugs from crawling up to the fruit and acts as a barrier between the soil and the berries. Tuck it in around each crown, but keep it off the crown itself.

Tip

Watch this step You can buy a bale of straw at a garden center, feed store, or farm-supply shop for a few dollars. One bale mulches several containers and lasts the season.

7

Step 7: Your Finished Strawberry Container

11:20
Step 7: Step 7: Your Finished Strawberry Container

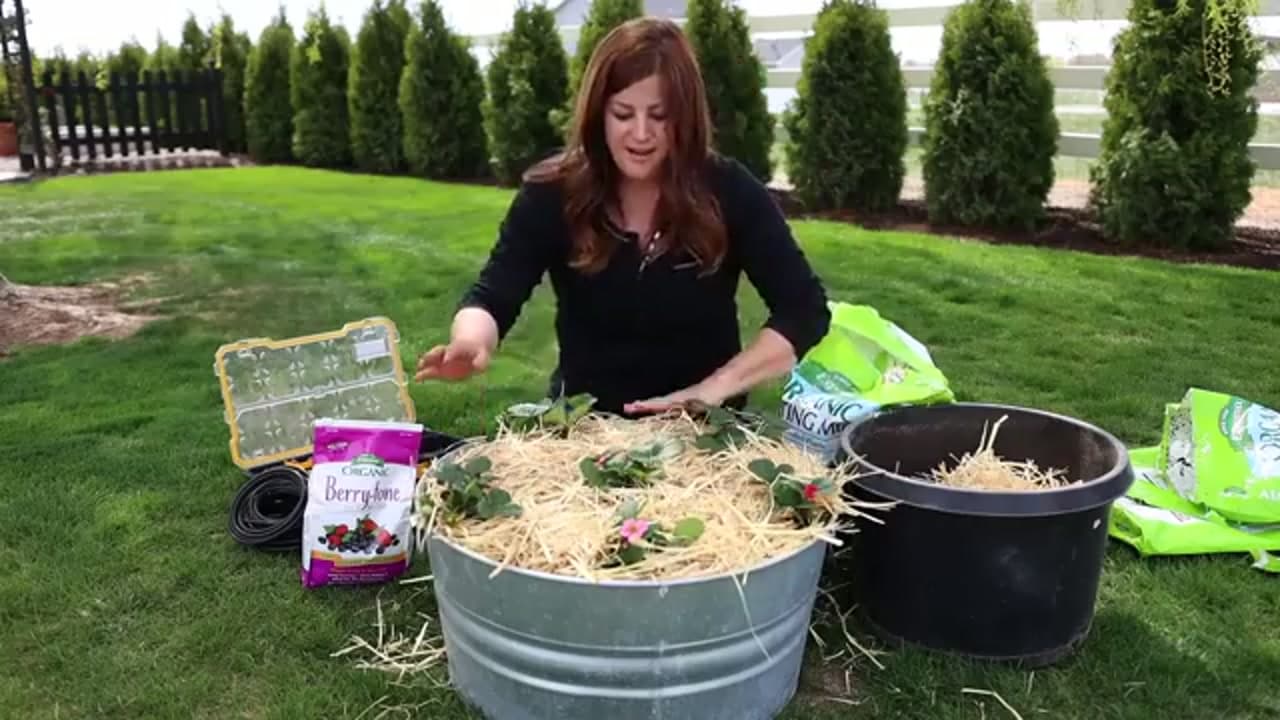
That's the whole planting done. Six strawberry plants tucked into a wide tub, fed, watered at the roots, and mulched with straw. Ever-bearing types like these give you two harvests, one in early summer and another later in the season, so you get fresh berries over a long stretch.

Cut off any runners the first year. They pull energy away from the plant that you want going into fruit and roots. If a runner reaches the ground it will root and take off, so keep them trimmed while the plants settle in.

Tip

Watch this step Potted strawberry starts usually fruit the first year, so you don't have to pinch the early blooms. Bare-root plants are different: pinch their blooms the first year to build a stronger plant.

8

Step 8: Place It in Full Sun and Keep It Watered

11:40
Step 8: Step 8: Place It in Full Sun and Keep It Watered

Strawberries need six to eight hours of sun to fruit well. The best part of growing in a container is that it moves. If one corner of the yard gets more light, slide the tub there. Set it on pot feet or risers if it's sitting on a hard surface so water drains freely and the drip tube doesn't kink.

Through the season, keep the soil consistently moist but never soggy, keep it in full sun, and give a light feed mid-season. That's the whole routine. Do that and you'll be picking sweet berries by summer.

Tip

Watch this step Containers dry out faster than beds, so in peak summer heat you may need to water once a day. Feel the soil rather than watering on a fixed schedule.

Products Used

☐ The Checklist

How to Grow Strawberries in Containers (Beginner Guide)

Tools
8
Materials
5
Steps
8
Video
14 min

Your Guide

Garden Answer

As an Amazon Associate we earn from qualifying purchases. Links on this page may be affiliate links - clicking them and buying doesn't change your price, but helps support ShowMeStepByStep.

Tags

Sunday How-To

New gardening tutorials, every Sunday

One short email with the week's best step-by-step guides. Free, no spam, unsubscribe anytime.

Did this work for you?

What's next

Related collections

Curated theme pages that include this tutorial.

Weekly Digest

Liked this gardening tutorial?

Pick the categories you want to hear about. Weekly digest of new step-by-step tutorials. No spam, easy unsubscribe.

Send me tutorials about

We only email about new tutorials. Easy unsubscribe anytime.