How to Propagate Hydrangeas (From Cuttings, Step by Step)

GardeningEasy5:348 stepsBrowse more →

By ShowMeStepByStepPublished

Based on a video by Northlawn Flower Farm and Gardens.

Northlawn Flower Farm and Gardens shows how to turn one hydrangea into many, for free, using nothing more than a few cuttings and a jar of water. If you're already out there with pruners, this is the tutorial that puts those trimmings to work. It's a hands-off method that suits busy gardeners and total beginners, and the plant does most of the labor itself. One quick note from the video: only propagate hydrangeas that are not patented.

The plan is simple. You take softwood cuttings in early summer, trim them down, and root them in water while you go about your week. A few weeks later, white roots appear, you pot each cutting up, and by the following year you've got baby shrubs with their first blooms. There's no fancy gear and no daily fussing. Just snip, trim, and wait.

Propagating is not the same job as tidying up an overgrown plant. If you're here to shape and cut back, our guide to pruning hydrangeas covers that, and the good news is that the trimmings you'd normally toss can become new plants with this method. Once you're hooked on free plants, the same idea works for houseplants too - see how to propagate pothos and how to repot a plant for the next steps.

Step-by-Step Guide

8 steps · about 6 minutes.Check off each step as you go and your progress saves automatically.

1

Step 1: Take Cuttings at the Right Time

1:28
Step 1: Step 1: Take Cuttings at the Right Time

Early summer is the sweet spot. You want softwood growth - the fresh green shoots that are firm but still bend without snapping. That kind of stem roots fast and gives the young plants a full season to bulk up before frost.

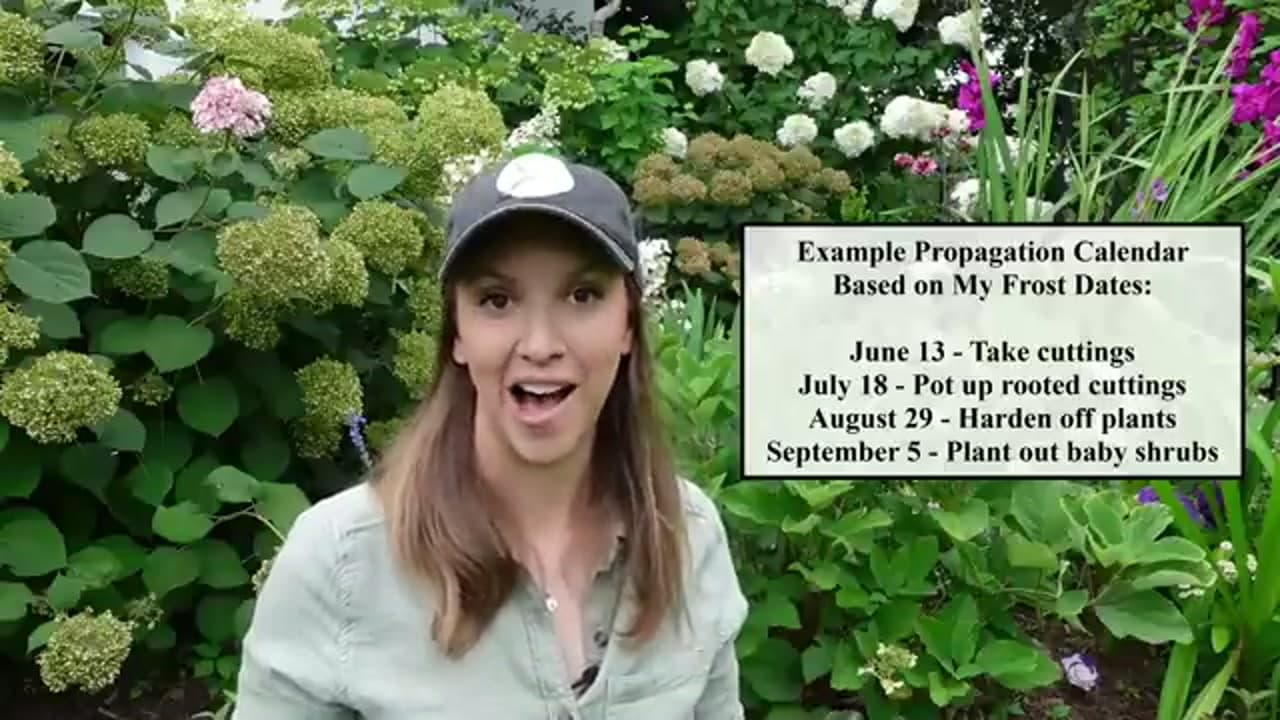
Set yourself a rough calendar. Northlawn takes cuttings around mid-June, pots them up in July, hardens them off in late August, and plants the babies out in early September. Shift those dates to match your own frost timing.

Tip

Watch this step Only propagate hydrangeas that are not patented. Patented varieties are illegal to reproduce, so check the plant tag or the variety name before you snip.

2

Step 2: Pick a Healthy, Non-Flowering Stem

2:35
Step 2: Step 2: Pick a Healthy, Non-Flowering Stem

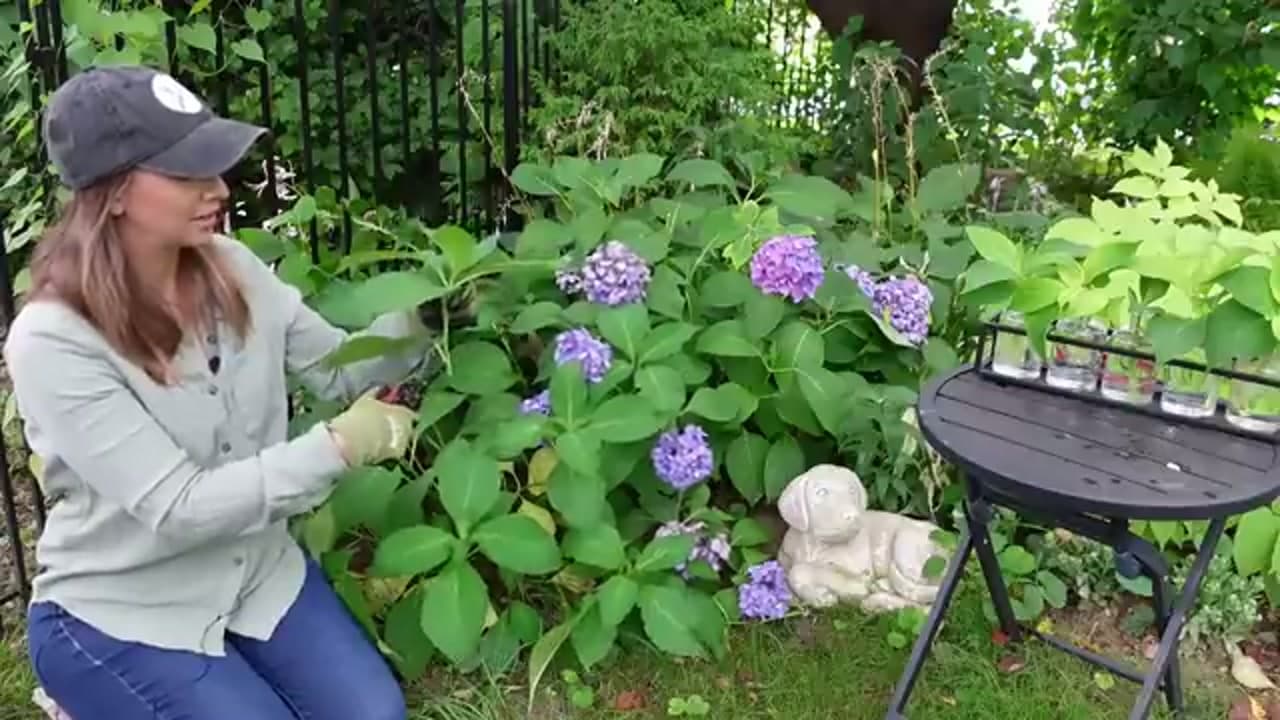
Walk the shrub and look for a shoot with clean green leaves and no bloom on the end. A flowering stem is busy feeding the flower, so it puts far less energy into making roots.

Green, bendy tips root better than old woody wood. Pick a couple of extra stems while you're out there. Not every cutting takes, so a few spares improve your odds.

Tip

Watch this step Cut in the morning when the plant is full of water. A well-hydrated cutting wilts less and roots more reliably.

3

Step 3: Cut Just Below a Leaf Node

2:40
Step 3: Step 3: Cut Just Below a Leaf Node

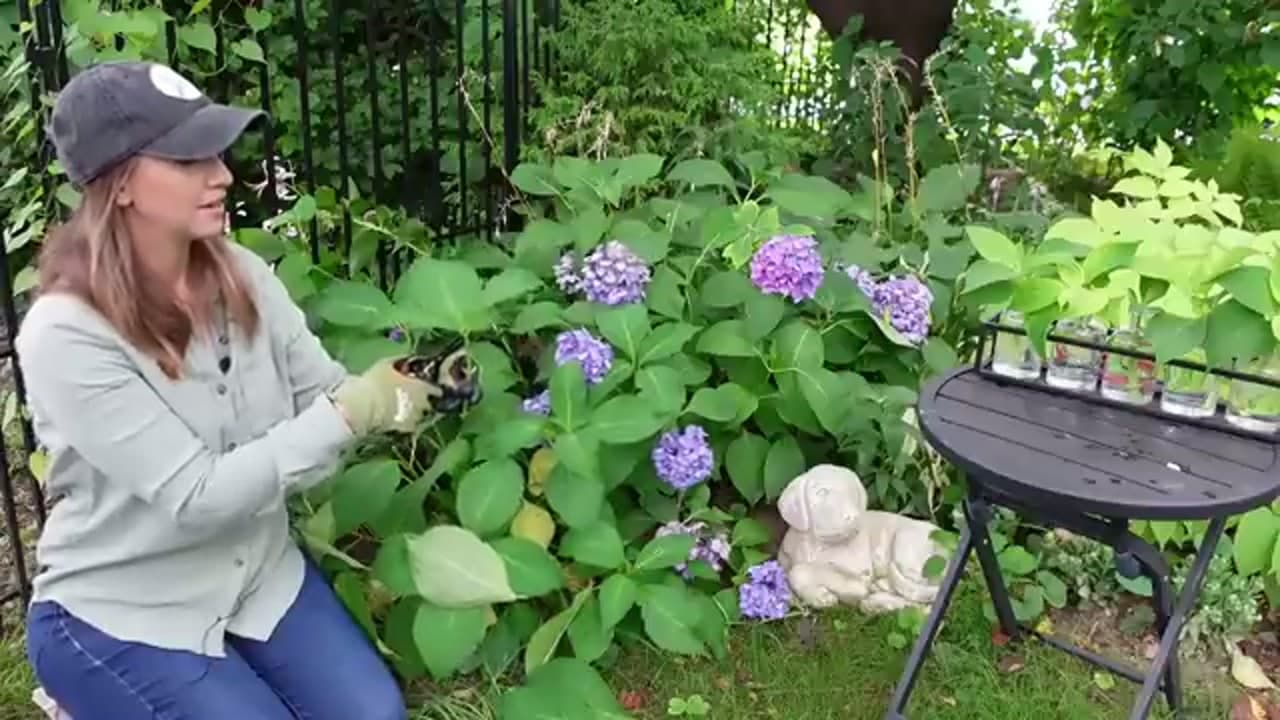
Find a leaf node, the little bump where a pair of leaves meets the stem. Snip cleanly right below it with sharp bypass pruners. That node is where the roots will push out, so it needs to sit low on the cutting.

Aim for a piece about four to six inches long with one or two sets of leaves left on top. Keep the blades clean so you're not spreading disease between plants.

Tip

Watch this step Bypass pruners slice, they don't crush. A crushed stem seals over and struggles to root, so skip the cheap anvil-style cutters here.

4

Step 4: Trim the Leaves Down

3:05
Step 4: Step 4: Trim the Leaves Down

Strip off the lowest leaves so you have bare stem to sit in water or soil. Then take the big leaves left on top and cut each one in half across the middle.

It looks harsh, but a cutting can't drink through roots it doesn't have yet. Less leaf surface means less water lost, so the stem can spend its energy growing roots instead of holding up leaves.

Tip

Watch this step If you're rooting in soil, this is the moment to dip the cut end in rooting hormone. In water it's optional, so don't stress if you skip it.

5

Step 5: Root the Cuttings in Water

3:10
Step 5: Step 5: Root the Cuttings in Water

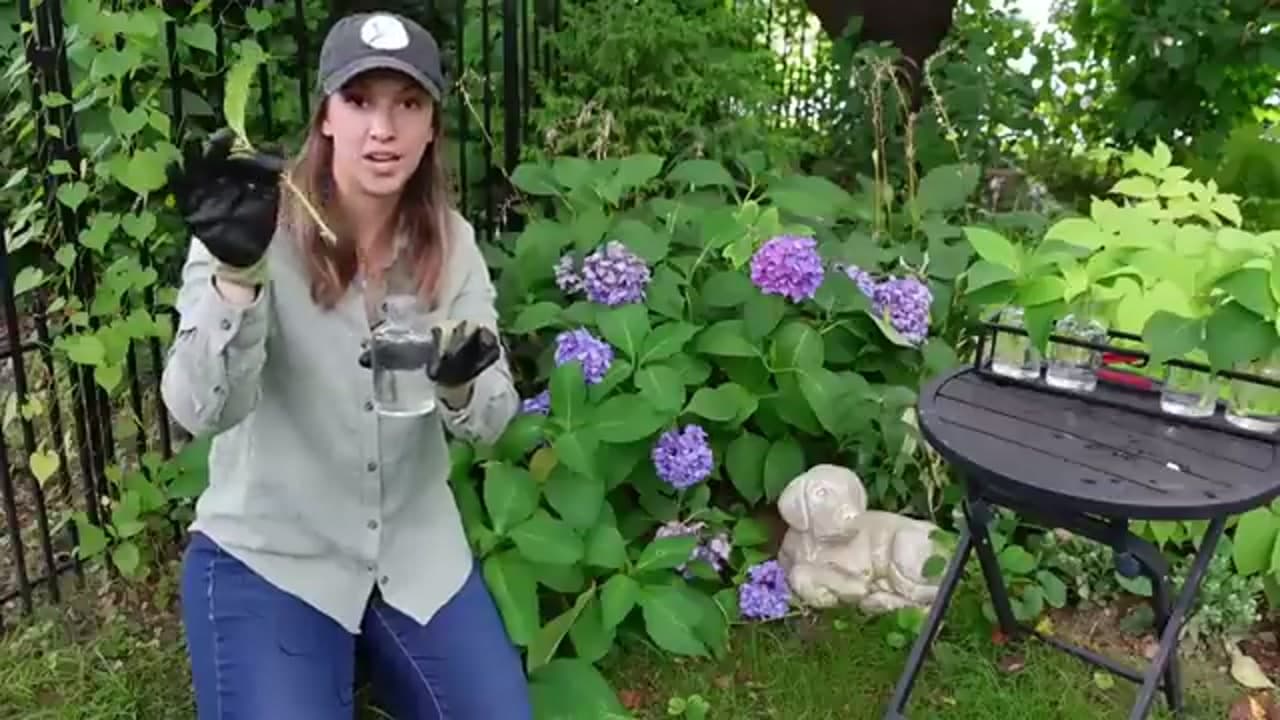
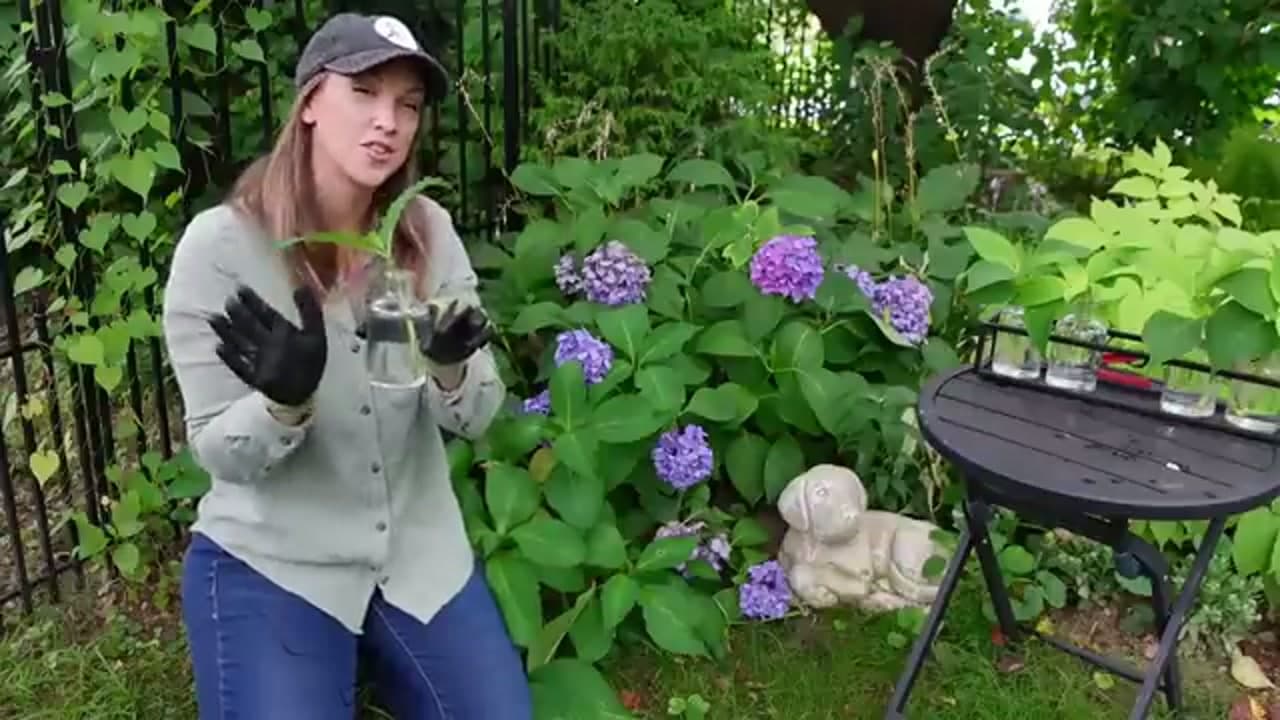
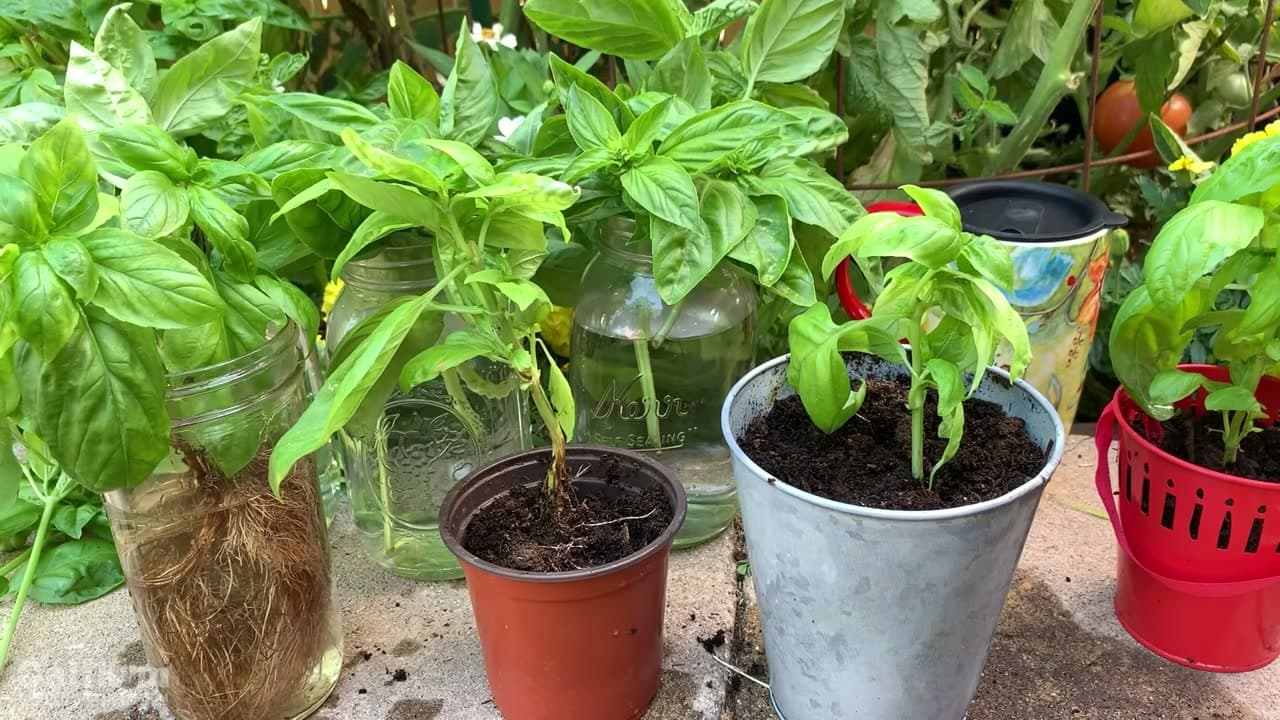
Drop each trimmed stem into a jar of clean water, one or two per jar, and set them somewhere bright but out of direct sun. This hands-off water method is great for busy or beginner gardeners because there's almost nothing to do.

Change the water every few days so it stays fresh. Prefer soil? Push the hormone-dipped ends into moist potting mix and cover with a clear cup or humidity dome to hold moisture in.

Tip

Watch this step A clear glass jar lets you watch the roots form without disturbing the cutting. Keep the water topped up so the cut end never dries out.

6

Step 6: Pot Up Once Roots Appear

3:45
Step 6: Step 6: Pot Up Once Roots Appear

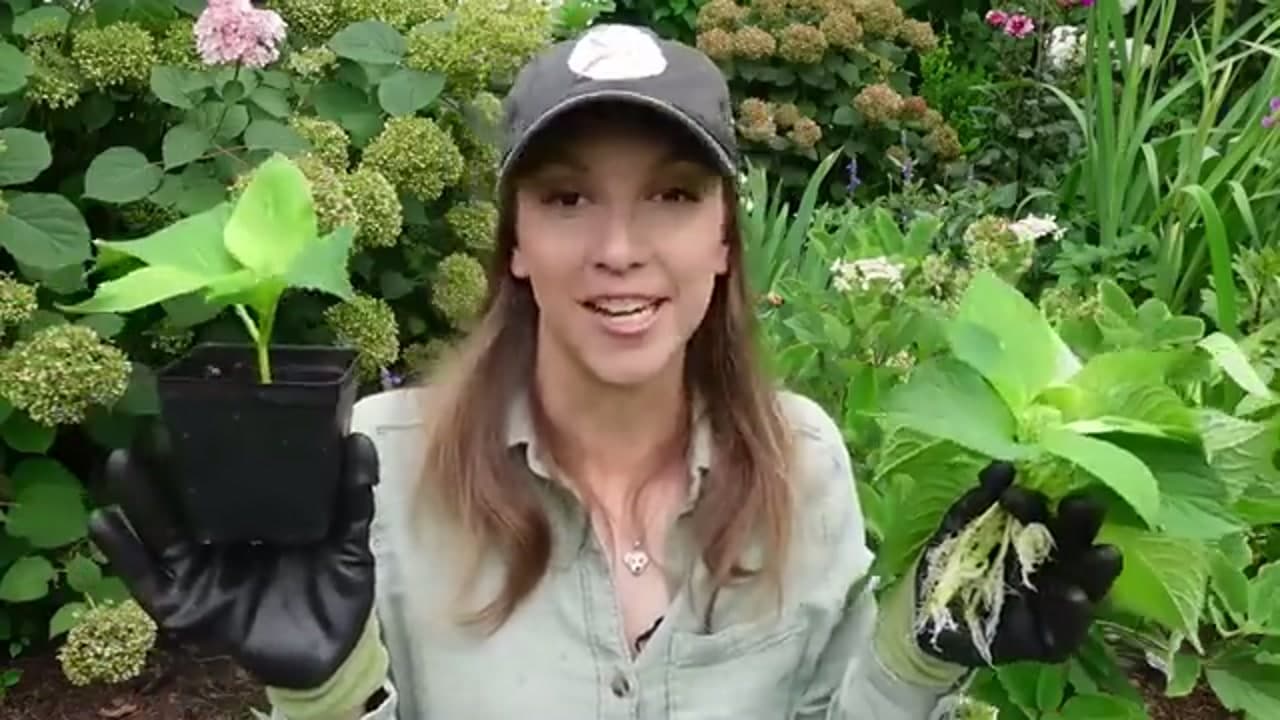
Give it a few weeks and you'll see white roots trailing down into the jar. When they're an inch or two long, the cutting is ready for its own pot.

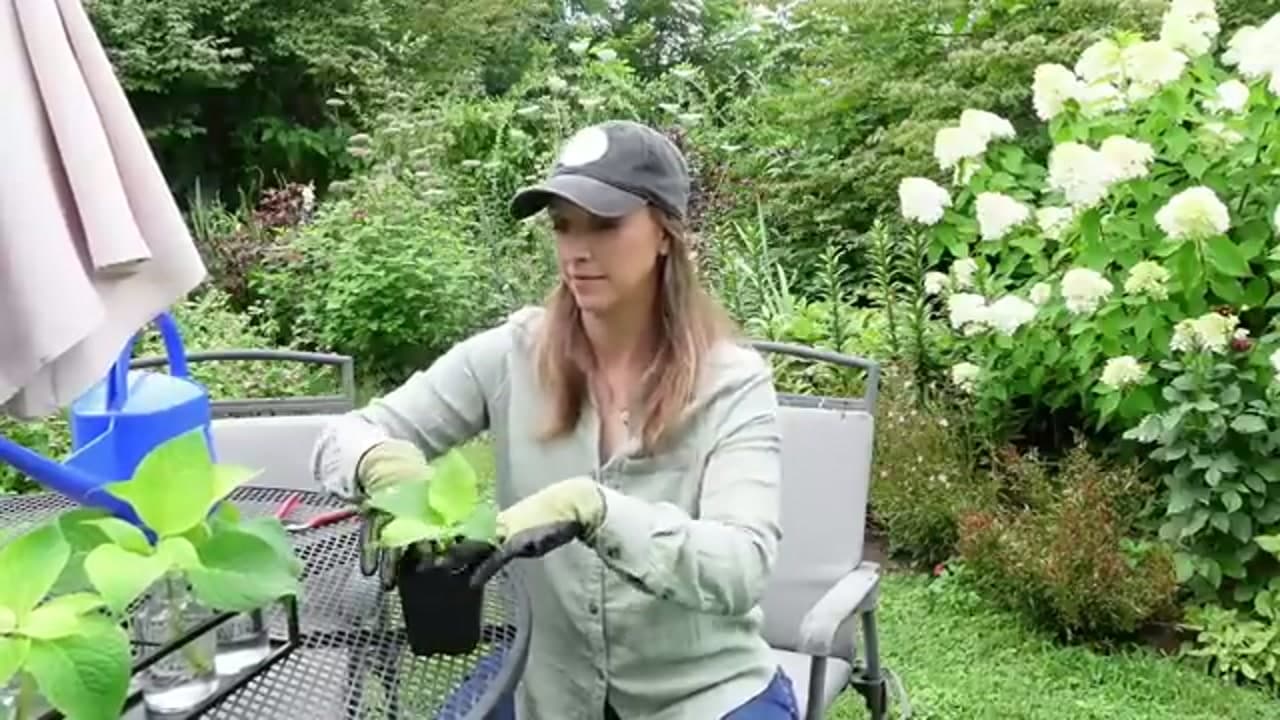
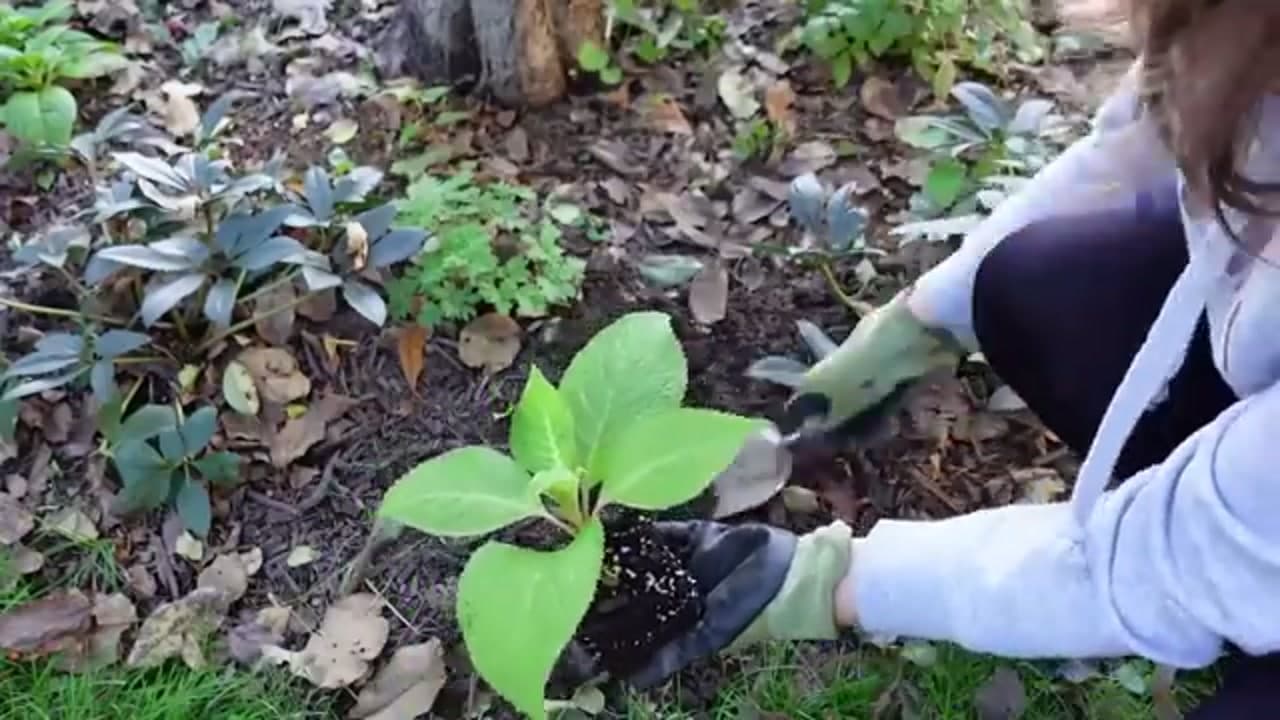
Fill a small nursery pot with moist potting soil, make a hole, and settle the rooted cutting in. Firm the soil gently around the roots so the little plant stands up on its own and water it in.

Tip

Watch this step Don't rush this. A cutting with only tiny root nubs will sulk in soil. Wait for a real cluster of roots before you pot it up.

7

Step 7: Grow It On Into a Baby Shrub

5:05
Step 7: Step 7: Grow It On Into a Baby Shrub

Keep the potted cuttings out of harsh afternoon sun while they settle into their new home. A humid, sheltered spot helps them recover from the move. Water whenever the top of the soil feels dry.

Over the rest of the summer each rooted cutting fills out into a small leafy hydrangea. A year on, these babies are still compact, but they'll each carry their first bloom.

Tip

Watch this step Feed lightly once new growth takes off, but go easy. Young plants burn on strong fertilizer, so a diluted dose is plenty.

8

Step 8: Harden Off and Plant Out

5:20
Step 8: Step 8: Harden Off and Plant Out

When the roots fill the pot and the nights stay mild, get the young plants used to the outdoors. Set them outside for a few hours a day at first, then longer, so they toughen up before the move.

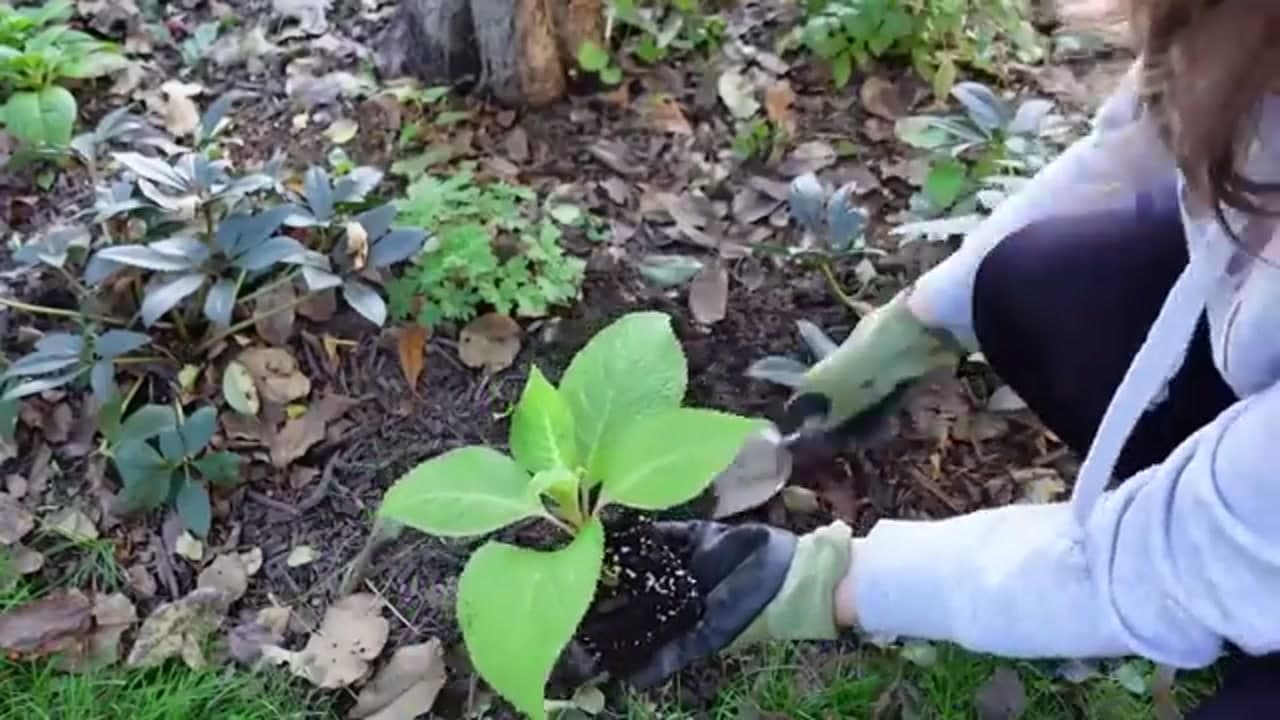
Plant each baby hydrangea in the garden with a spot that gets morning sun and afternoon shade. Water it in well and keep the soil damp while it establishes over the following weeks.

Tip

Watch this step Fall or spring planting beats the heat of midsummer. Cooler soil and steady moisture let the roots settle before the plant has to face real stress.

Products Used

☐ The Checklist

How to Propagate Hydrangeas (From Cuttings, Step by Step)

Tools
6
Materials
4
Steps
8
Video
6 min

Your Guide

Northlawn Flower Farm and Gardens

As an Amazon Associate we earn from qualifying purchases. Links on this page may be affiliate links - clicking them and buying doesn't change your price, but helps support ShowMeStepByStep.

Tags

Sunday How-To

New gardening tutorials, every Sunday

One short email with the week's best step-by-step guides. Free, no spam, unsubscribe anytime.

Did this work for you?

What's next

Related collections

Curated theme pages that include this tutorial.

Weekly Digest

Liked this gardening tutorial?

Pick the categories you want to hear about. Weekly digest of new step-by-step tutorials. No spam, easy unsubscribe.

Send me tutorials about

We only email about new tutorials. Easy unsubscribe anytime.