How to Harvest, Dry, and Store Oregano

GardeningEasy11:557 steps5-question quiz at endBrowse more →
Also in:Adulting

By ShowMeStepByStepPublished Updated

Based on a video by Just Do Something Homestead.

If you grow oregano, you already know it does not quit. It is a woody perennial in the mint family, and left alone it will flower, set seed, and slow down on the leaves you actually want. The trick is to cut it before it flowers and put those sprigs up to dry, so you are cooking with your own oregano long after the garden is done for the year.

Deb from Just Do Something Homestead grows her herbs in big mineral tubs so the mint family does not take over the garden. In this walkthrough she shows you how she harvests, then three different ways to dry - hang it, bake it low in the oven, or run it through a dehydrator - and finishes by stripping the leaves and sealing them in a small jar.

None of this is hard. A pair of scissors, a container, and a little patience get you there. If you like putting up your own herbs, the same cut-where-it-counts idea shows up in how to harvest cilantro too.

Step-by-Step Guide

1

Step 1: Harvest Before It Flowers

0:40
Step 1: Step 1: Harvest Before It Flowers

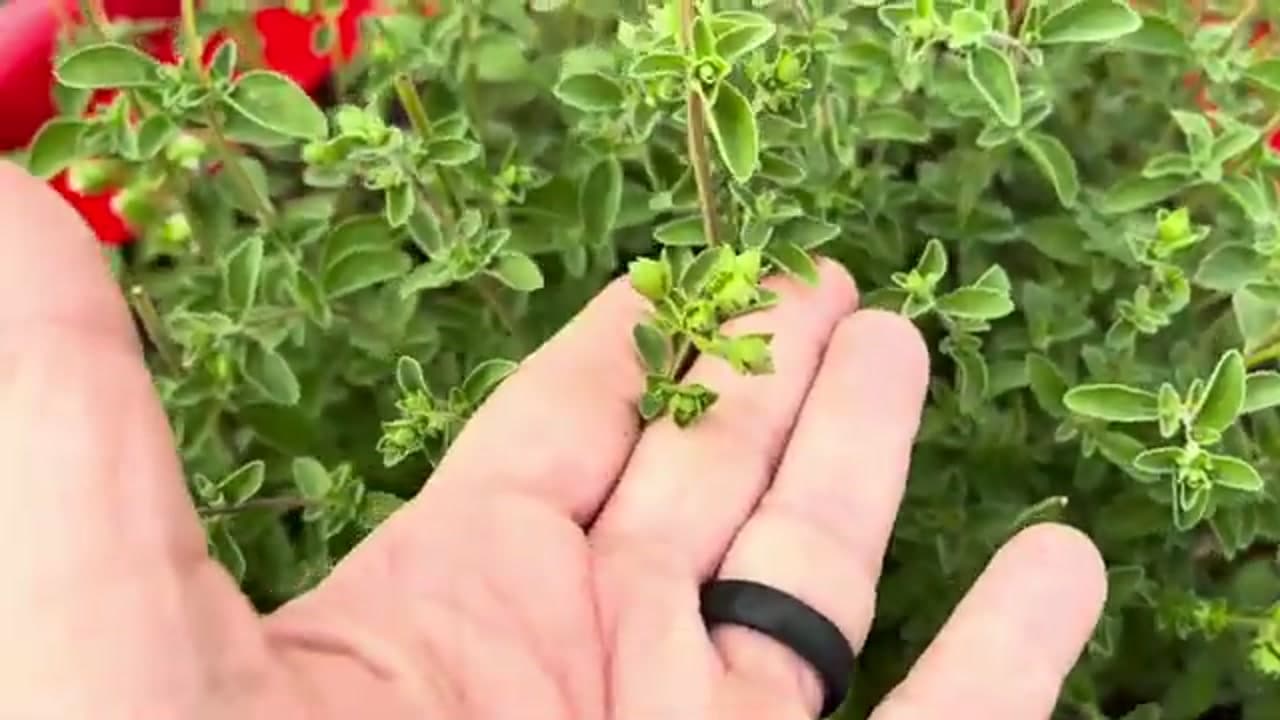
Timing is the whole game with oregano. Once it flowers, the flavor drops off, so you want to cut it right as the buds start to show. Look over your plant and you will see some stems already budding or blooming and others still all leaf. Skip the ones with flowers or buds.

Oregano is a woody perennial in the mint family, so it comes back every year. That is also why Deb keeps hers in a big tub - left in open ground, anything in the mint family will spread and can take over.

Tip

Watch this step - leave a few flowering stems if you want to save seed for planting somewhere new next year.

Products used in this step

2

Step 2: Find the Flower-Free Sprigs

2:21
Step 2: Step 2: Find the Flower-Free Sprigs

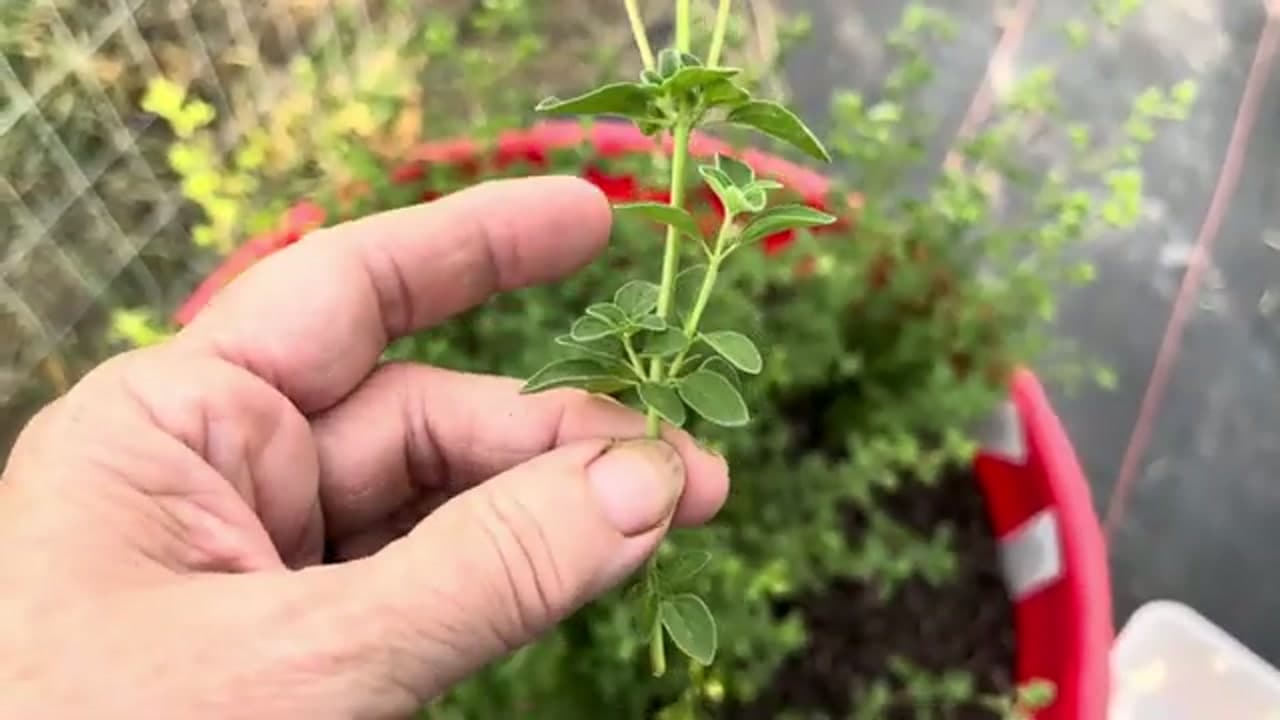
Grab a good pair of scissors or kitchen shears and something roomy to collect into - Deb uses a big Dollar Tree container. Then dig into the plant a little. The tips out front might be budding, but if you look deeper you will find plenty of sprigs with no flowers on them at all.

Those clean sprigs are what you want. Pull the branch up so you can see the whole stem before you cut, and set aside anything with buds for seed-saving.

Tip

Watch this step - a wide, shallow container beats a bag, since it keeps the sprigs from crushing while you work.

Products used in this step

3

Step 3: Cut Above a Leaf Node

2:25
Step 3: Step 3: Cut Above a Leaf Node

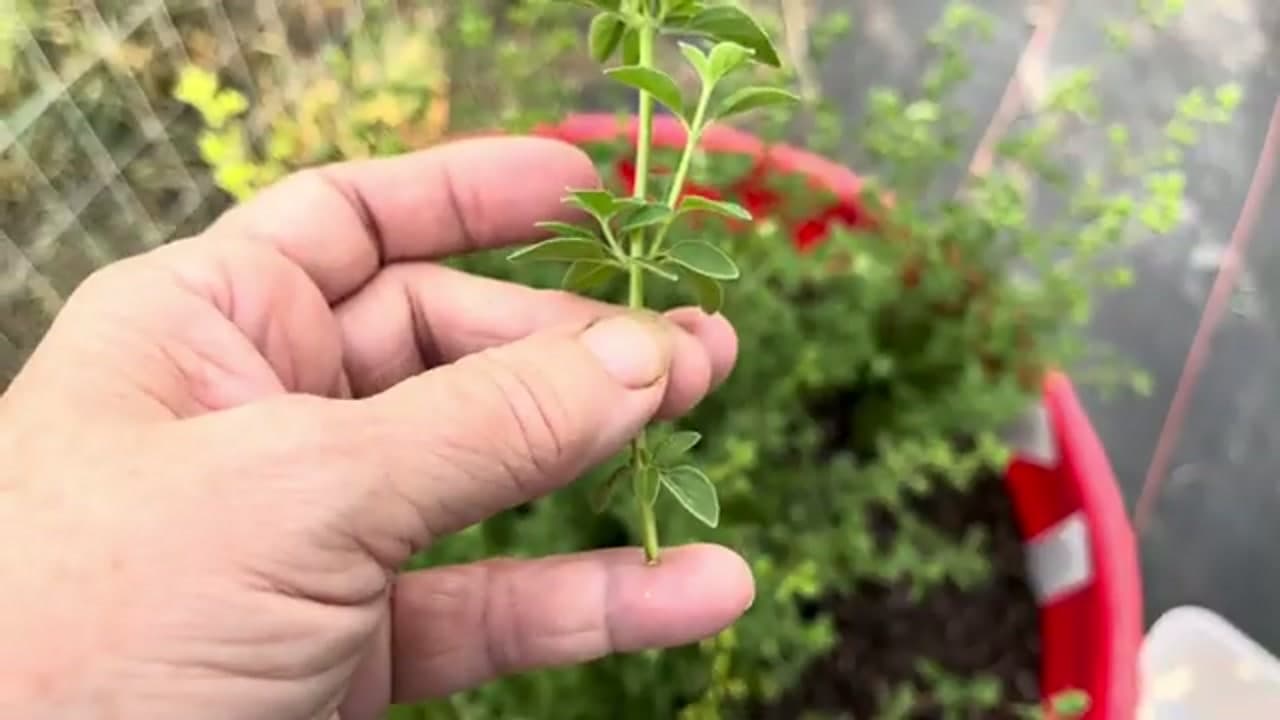
Snip each sprig above a leaf node, cutting down close to the soil line on the stems you take. Cutting it back hard does not hurt the plant - the more you trim oregano, the thicker and healthier it grows back. It is the same idea that regrows basil after a heavy cut.

Work through the plant and take as many flower-free sprigs as you need. You do not have to harvest the whole thing at once. A little at a time is fine, and the plant will keep producing.

Tip

Watch this step - cut just above a node, never below it, so the stem has a growth point to push new leaves from.

4

Step 4: Bundle and Hang to Dry

5:06
Step 4: Step 4: Bundle and Hang to Dry

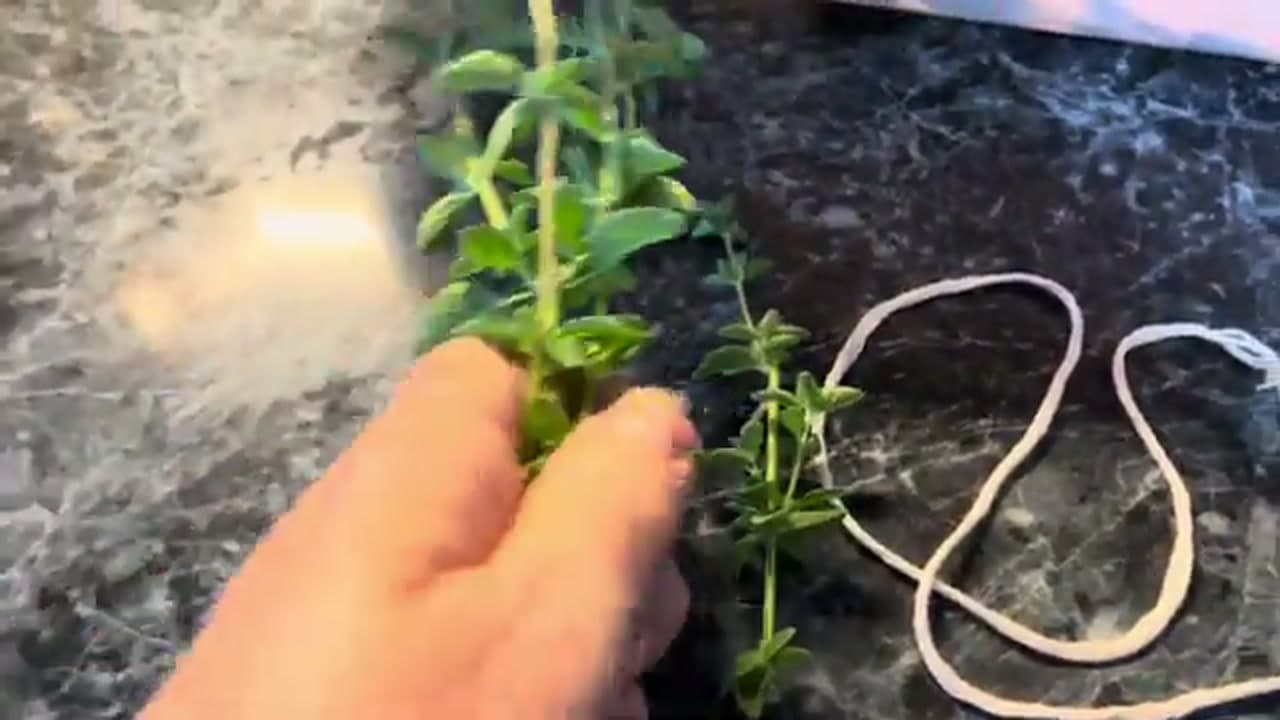
The oldest way to dry herbs is also the simplest. Gather several sprigs into a small bundle and tie food-grade cotton string or twine around the bottom. Knot it, then make a loop with a second knot so you have something to hang it by.

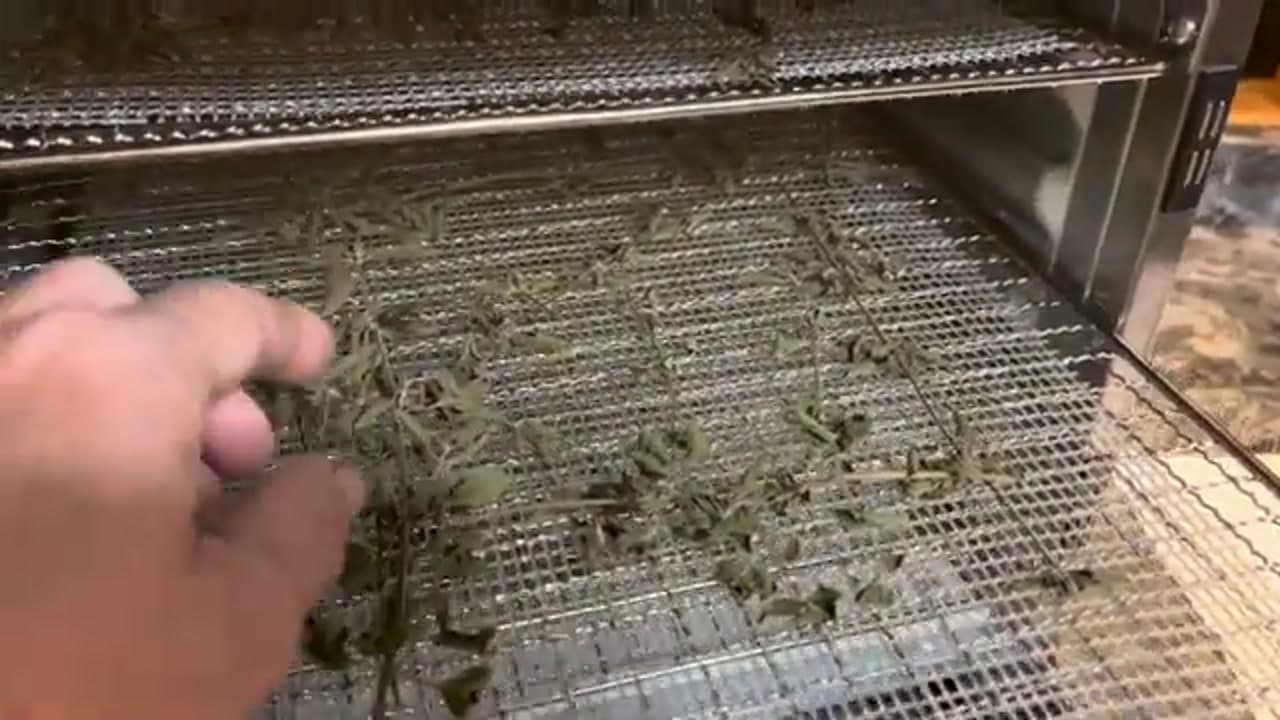
Hang the bundle somewhere with good air circulation, out of spots that are too hot, too cold, too bright, or too dark. Hanging is easy but slow - figure two to six weeks. If you are in a hurry, spread the sprigs on parchment and bake at your oven's lowest setting, or run them through a dehydrator at 95 to 120 degrees.

Tip

Watch this step - only wash the sprigs if they came from a store or show insect damage; garden-clean oregano dries faster and keeps more flavor unwashed.

5

Step 5: Check That It Is Fully Dry

8:10
Step 5: Step 5: Check That It Is Fully Dry

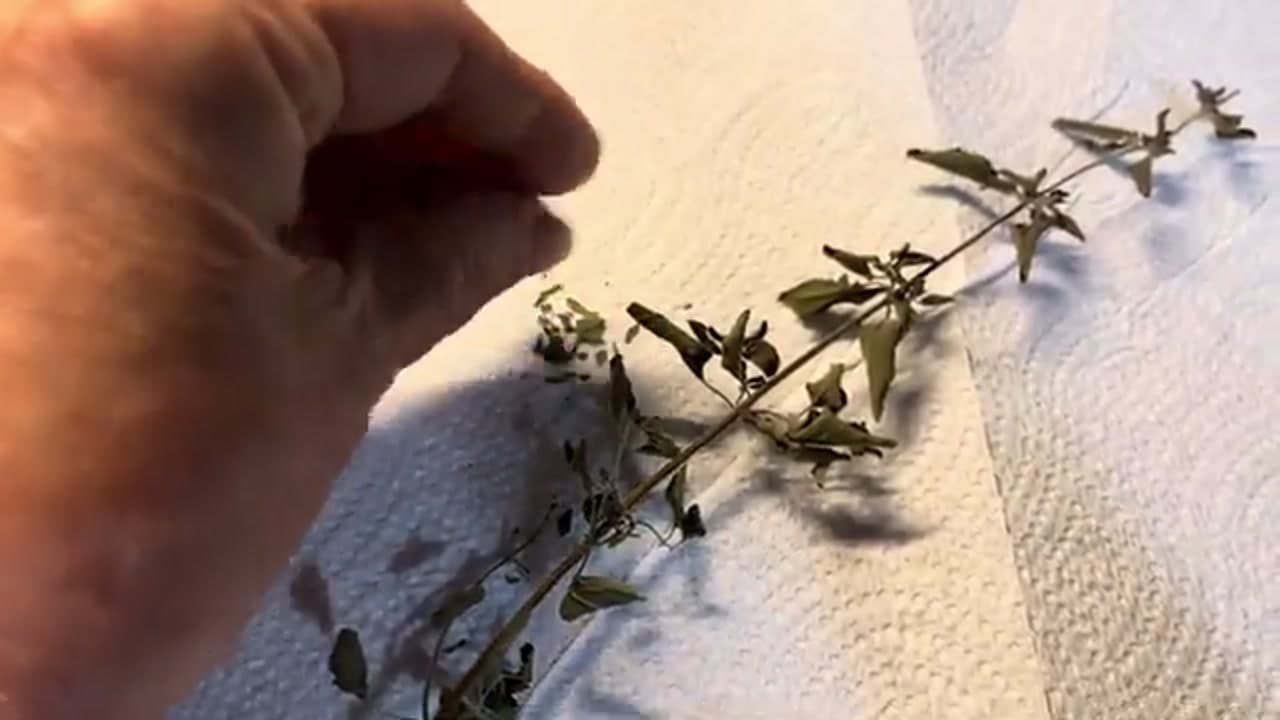
However you dried it, the test is the same. Grab a leaf and run it between your fingers. Dry oregano is crispy and crumbles completely, and it will have gone from bright green to a duller, store-bought green. If a leaf still bends instead of shattering, it needs more time.

In the dehydrator Deb runs hers about four hours at a low temperature. In the oven, bake an hour and add ten minutes at a time, watching closely - the oven can scorch herbs fast if you walk away.

Tip

Watch this step - any bend or softness in a leaf means moisture is still in there, and moisture is what spoils stored herbs.

Products used in this step

6

Step 6: Strip the Leaves Off the Stems

8:25
Step 6: Step 6: Strip the Leaves Off the Stems

Once the sprigs are crispy, run your fingers down each stem to pull the dried leaves off, and toss the stems - you do not store those. Working over a spread-out paper towel catches all the flakes and makes it easy to pour them into a jar later.

Now crush the leaves gently. You are after flakes, not powder, so do not overdo it. Deb keeps hers on the bigger side for sauces like spaghetti. Remember you can always crush more, but you can never make them bigger again.

Tip

Watch this step - the leaves slide off a fully dried stem with almost no effort; if they cling, the sprig was not dry enough.

Products used in this step

7

Step 7: Jar It, Label It, and Seal It

10:10
Step 7: Step 7: Jar It, Label It, and Seal It

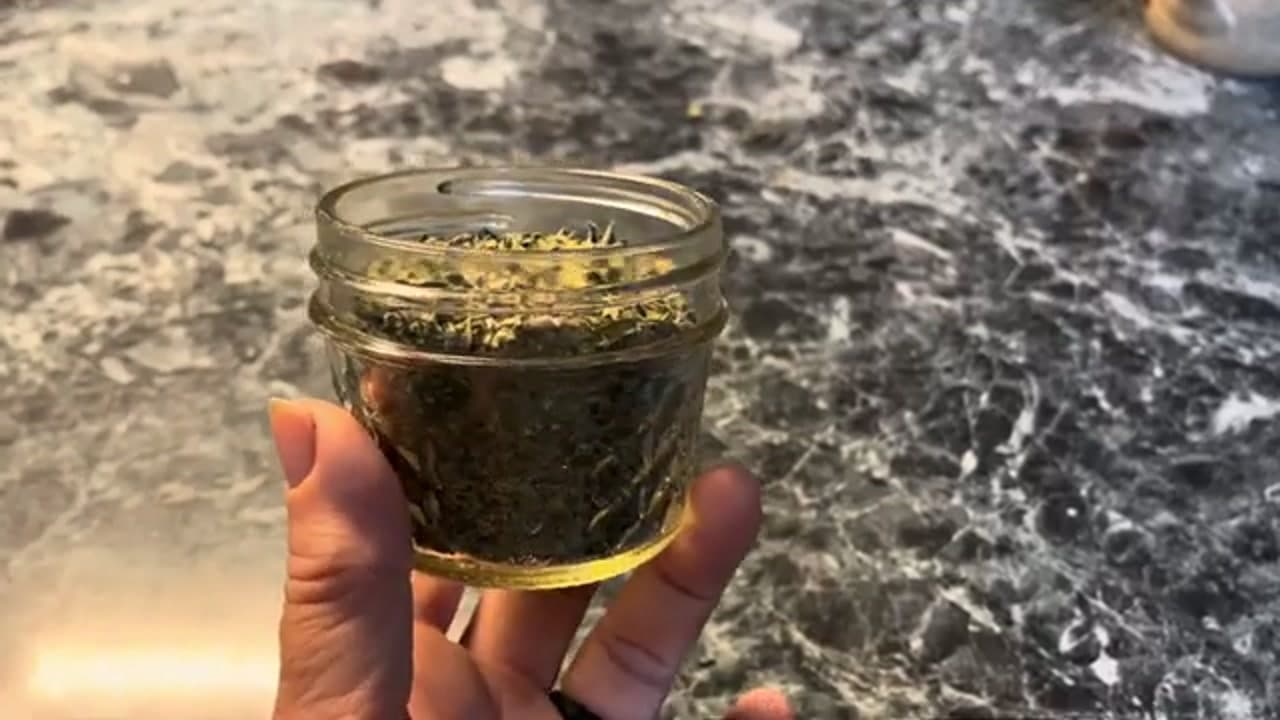
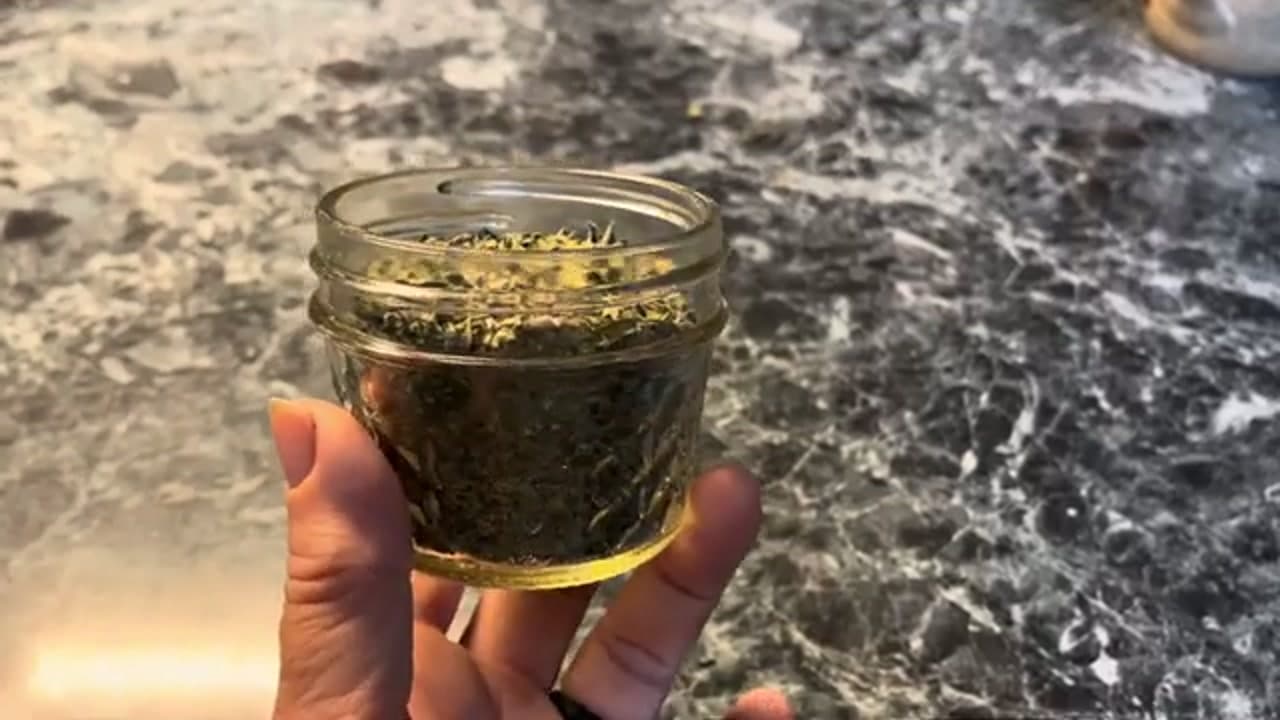
Pour the crushed oregano into a small jar - Deb uses four-ounce quarter-pint jars, and a big funnel keeps it from going everywhere. One dehydrator load nearly filled a jar for her.

Label it with the herb and the year, then seal it up. A vacuum sealer attachment pulls the air out and keeps oregano good until next summer. No sealer? Just put the flat and ring on tight. Either way, the goal is the same: keep every bit of moisture out and it will last for months.

Tip

Watch this step - aim to use dried herbs before the end of the next season, then refill the jar with a fresh batch.

Products Used

☐ The Checklist

How to Harvest, Dry, and Store Oregano

Tools
5
Materials
4
Steps
7
Video
12 min

Your Guide

Just Do Something Homestead

As an Amazon Associate we earn from qualifying purchases. Links on this page may be affiliate links - clicking them and buying doesn't change your price, but helps support ShowMeStepByStep.

Tags

Test your knowledge

Did the lesson stick? Find out in 2 minutes.

5 quick questions covering what you just read. No signup, no score saved — just a gut check.

Quick reference

Key takeaways from How to Harvest, Dry, and Store Oregano

5 questions, answers, and one-line explanations. Tap to expand.

  1. 1.When is the best time to cut oregano for drying?

    Answer: Before it flowers

    Cutting before it flowers keeps the leaves flavorful and the plant producing.

  2. 2.What plant family does oregano belong to?

    Answer: The mint family

    Oregano is a woody perennial in the mint family.

  3. 3.Which is NOT one of the three drying methods shown?

    Answer: Microwaving it on high

    The three methods are hang-drying, a low oven, or a dehydrator.

  4. 4.Why grow mint-family herbs like oregano in tubs?

    Answer: They spread fast and can take over a garden

    Containers keep the vigorous mint family from overrunning the garden.

  5. 5.After the sprigs are dry, what is the final step before storage?

    Answer: Strip the leaves and seal them in a jar

    Strip the dried leaves off the stems and seal them in a small jar.

Did this work for you?

What's next

Related collections

Curated theme pages that include this tutorial.

Weekly Digest

Liked this gardening tutorial?

Pick the categories you want to hear about. Weekly digest of new step-by-step tutorials. No spam, easy unsubscribe.

Send me tutorials about

We only email about new tutorials. Easy unsubscribe anytime.