How to Propagate Lavender from Cuttings

GardeningEasy8:338 stepsBrowse more →

By ShowMeStepByStepPublished

Based on a video by Growing The Home Garden.

One lavender plant can give you dozens. Dave from Growing the Home Garden grew this English lavender from seed in the spring, and now he wants enough of it to plant a hedge around his vegetable garden. Rather than buy more plants or wait another year for seed, he takes cuttings. It's the fastest way to multiply a lavender you already love, and the cuttings root into full plants far quicker than seedlings ever would.

Lavender is a forgiving plant to propagate. It roots reliably from soft green tips in spring and from the slightly woody, semi-ripe growth later in the season. The main thing to get right is drainage. Lavender hates sitting in soggy soil, so the rooting medium here is a blend of sand, coir, and bark shavings that holds a little moisture without staying waterlogged.

You'll take a handful of 4-inch shoots, strip the lower leaves, dip the ends in rooting hormone, and tuck them into a nursery tray. Keep them humid and out of direct sun, and in about two weeks you'll see the first signs of rooting. Lavender roots much like Russian sage or rosemary, so once you've got this down, those are easy next projects. If you want to build up your propagation skills on something even more beginner-friendly, try propagating pothos in water first.

Step-by-Step Guide

8 steps · about 9 minutes.Check off each step as you go and your progress saves automatically.

1

Step 1: Wet the Rooting Medium and Let It Drain

1:18
Step 1: Step 1: Wet the Rooting Medium and Let It Drain

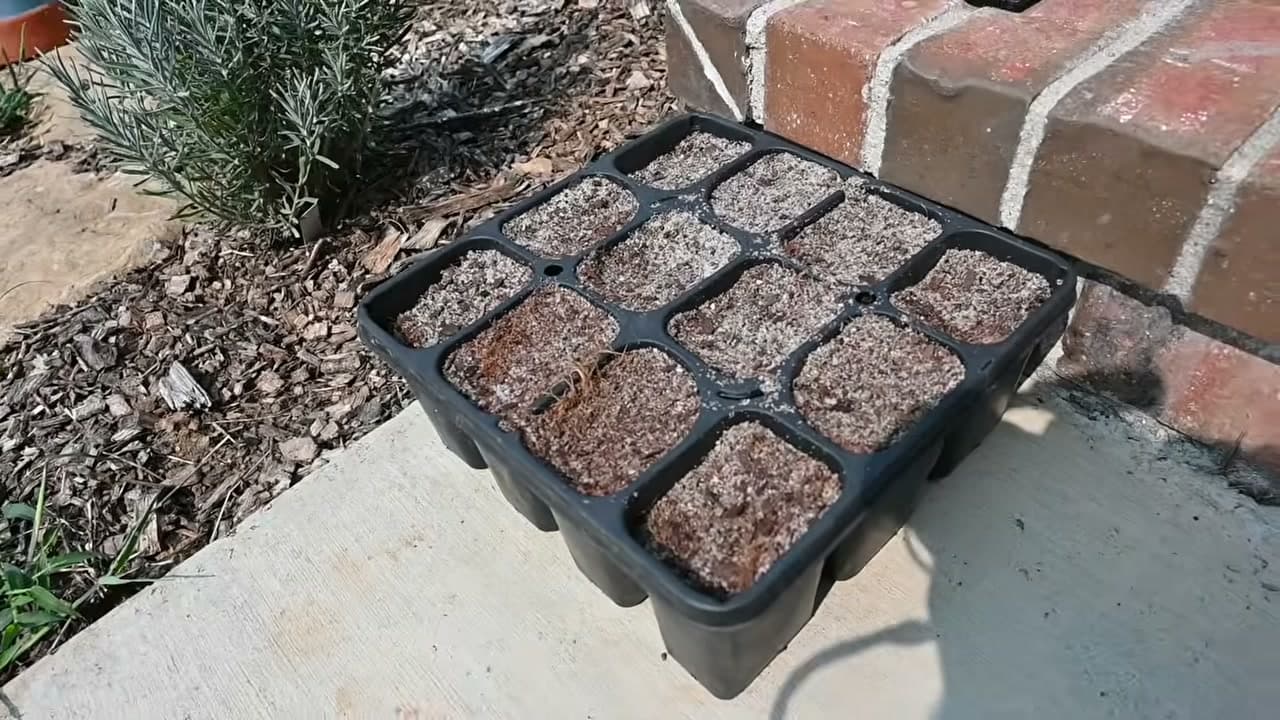
Lavender roots best in a medium that drains freely. Dave uses a blend of sand for drainage, coir to hold a bit of moisture, and bark shavings that do a little of both. Fill your cells with the mix, then soak it all the way through and let it drain out the bottom.

The goal is damp, not soggy. Give it a few minutes to shed the extra water while you get everything else ready. Cuttings that sit in waterlogged soil tend to rot before they root, so this drainage step matters more than it looks.

Tip

Watch this step No sand or coir on hand? A bagged seed-starting mix cut with extra perlite works too. You want something loose that water runs right through.

2

Step 2: Poke Holes with a Dibber

3:52
Step 2: Step 2: Poke Holes with a Dibber

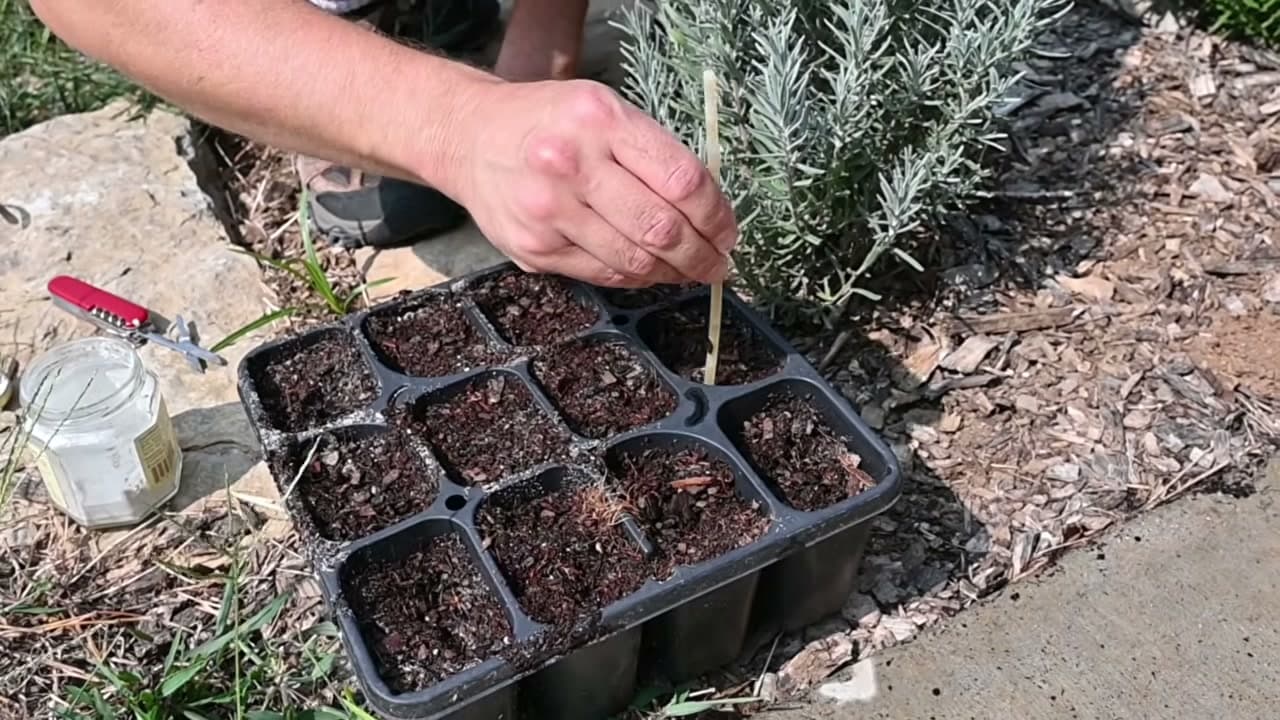
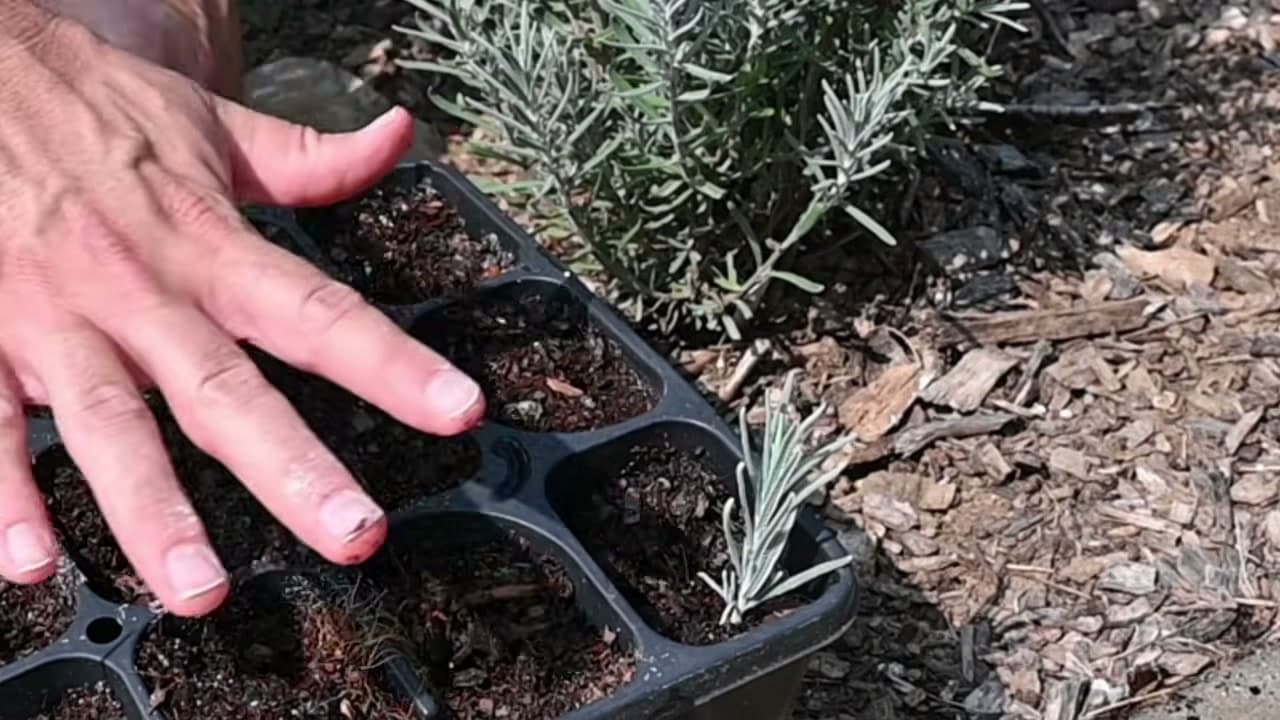
Before you take a single cutting, punch a few holes in each cell with a dibber. It's just a stick, sometimes called a dibbler, and it saves you a lot of grief later.

When you push a hormone-dipped cutting straight into firm soil, the medium scrapes most of that rooting powder right back off. A pre-made hole lets the cutting slide in with the hormone still on it. Make three holes per cell if you plan to fit three cuttings there.

Tip

Watch this step A pencil, a chopstick, or a spare plant label all work as a dibber. Match the hole width to the stem so the cutting fits snug, not sloppy.

3

Step 3: Take a 4-Inch Cutting

4:31
Step 3: Step 3: Take a 4-Inch Cutting

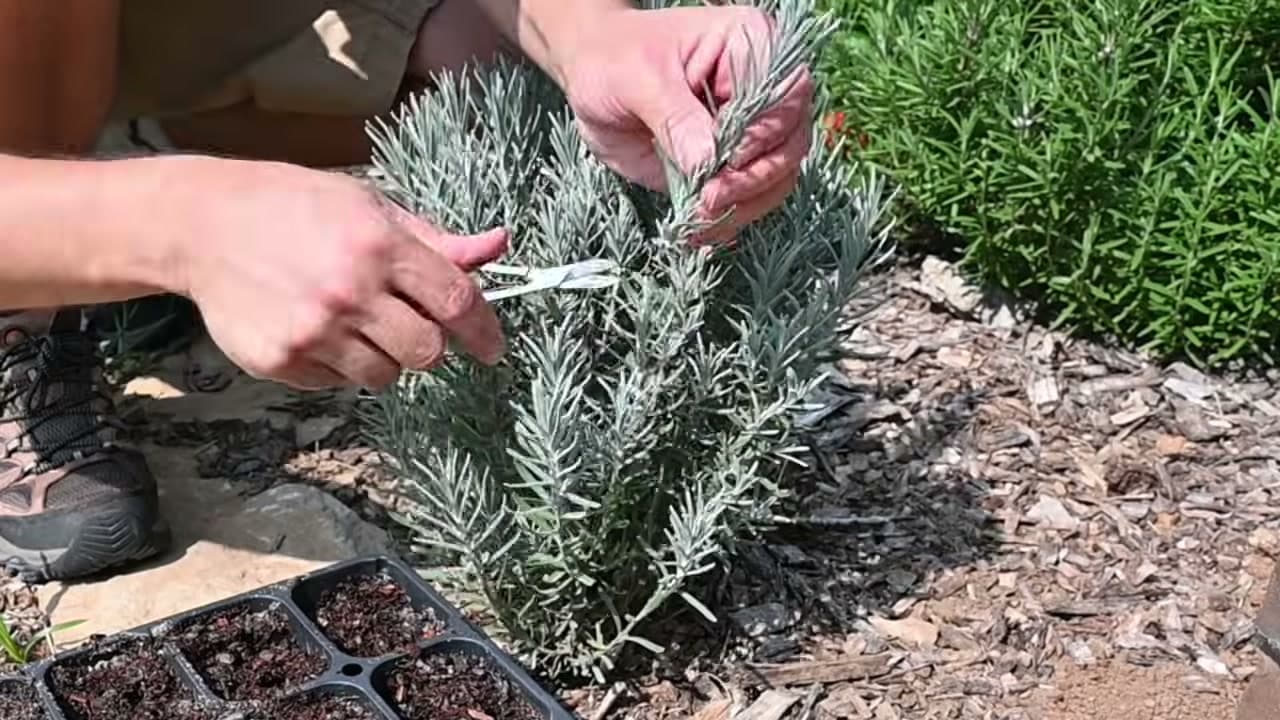
Look for healthy first-year growth and snip a shoot somewhere between 3 and 6 inches long. Four inches tends to be the sweet spot. Dave goes about 4 inches down and cuts with a pair of snips, though pruners work fine too.

Later in the season, aim for shoots that are just starting to firm up at the base. That semi-ripe wood, caught mid-transition between green and woody, roots very reliably. Take a whole bunch at once so you can fill your tray in one go.

Tip

Watch this step Take cuttings in the cool of the morning when the stems are full of water. A wilted afternoon cutting has a much harder time rooting.

4

Step 4: Strip the Lower Leaves

4:39
Step 4: Step 4: Strip the Lower Leaves

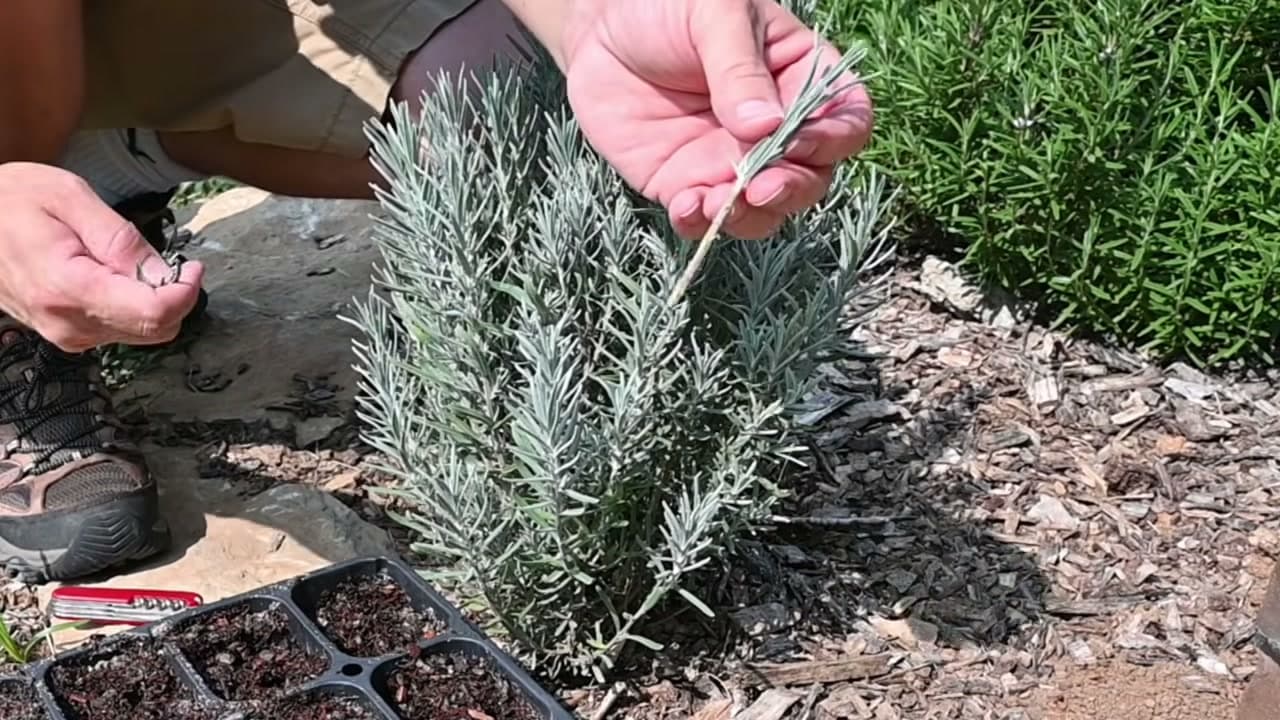
Run your fingers down the bottom half of the cutting and strip those leaves off. That leaves a stretch of bare stem dotted with nodes, the little green bumps where leaves used to attach.

Every one of those nodes can turn into roots once it's buried in the medium. Clearing the lower leaves also stops them from rotting underground and pulls the cutting's energy toward making roots instead of feeding foliage it doesn't need yet.

Tip

Watch this step Leave a small tuft of leaves at the very top. The cutting still needs a little foliage to power itself while the roots form.

Products used in this step

5

Step 5: Dip the End in Rooting Hormone

4:54
Step 5: Step 5: Dip the End in Rooting Hormone

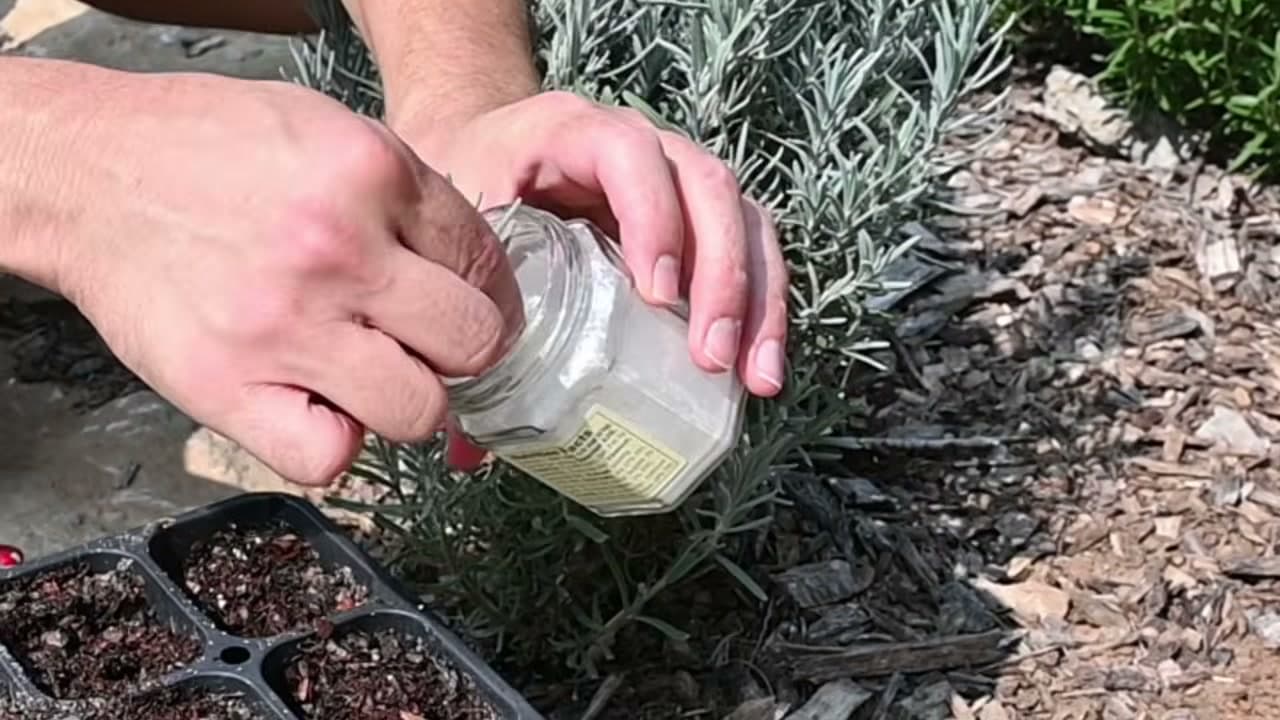
Dip the stripped end into rooting hormone and swirl it around to coat the bare stem. Dave pours a little into a small jar so he never contaminates the main container.

You don't strictly need hormone. Lavender roots on its own, and he's done it plenty of times without any. But he's taking these cuttings in early September, so a bigger root system before the first frost is worth the small boost. Late-season cuttings especially benefit from the head start.

Tip

Watch this step Tap off the excess powder before you plant. A thick clump of hormone can actually hold back rooting instead of helping it.

6

Step 6: Insert and Tuck In the Cutting

5:06
Step 6: Step 6: Insert and Tuck In the Cutting

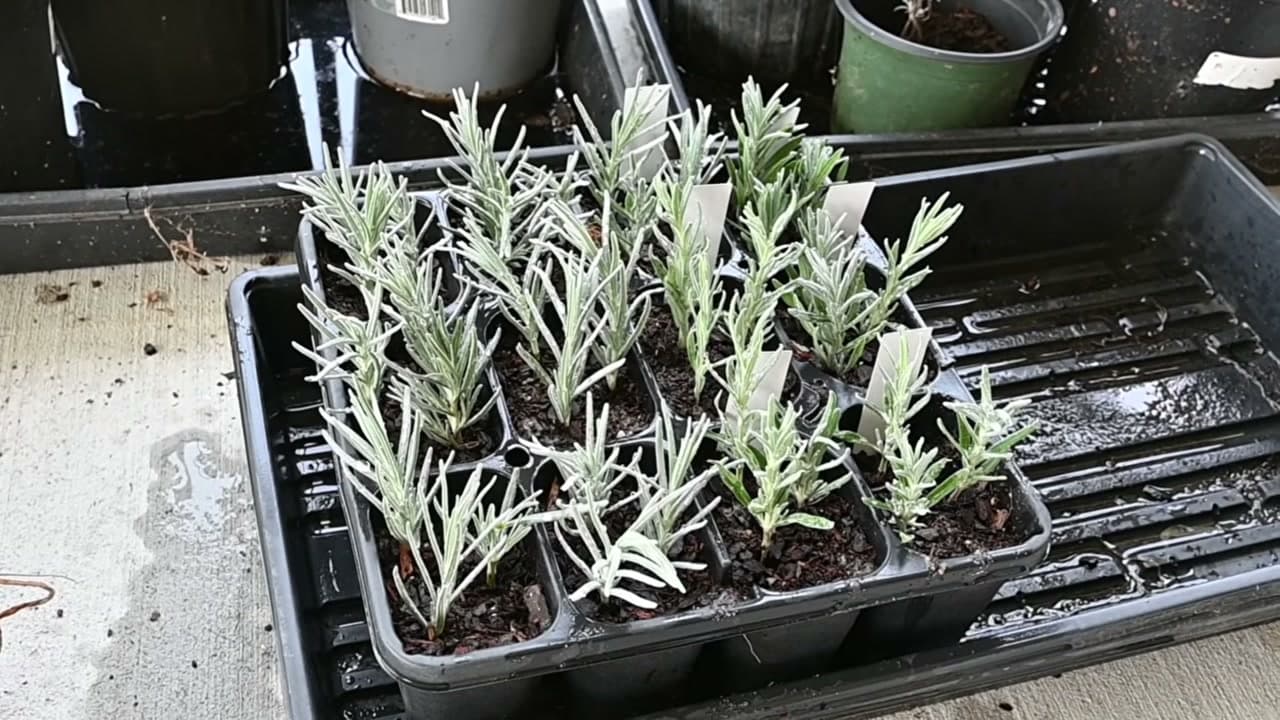
Slide each cutting into a pre-made hole, then firm the medium around it so there's good contact between soil and stem. Dave tucks each one in as he goes, working across the tray until it's full.

He aims for three cuttings per cell, which fills a standard tray with around 36 of them. That's plenty to start a hedge, with spares in case a few don't take. He also marks which cells got rooting hormone and which didn't, so he can compare the results later.

Tip

Watch this step Push the cutting in deep enough that a couple of stripped nodes sit below the surface. More buried nodes means more places for roots to break out.

7

Step 7: Water the Cuttings In

6:08
Step 7: Step 7: Water the Cuttings In

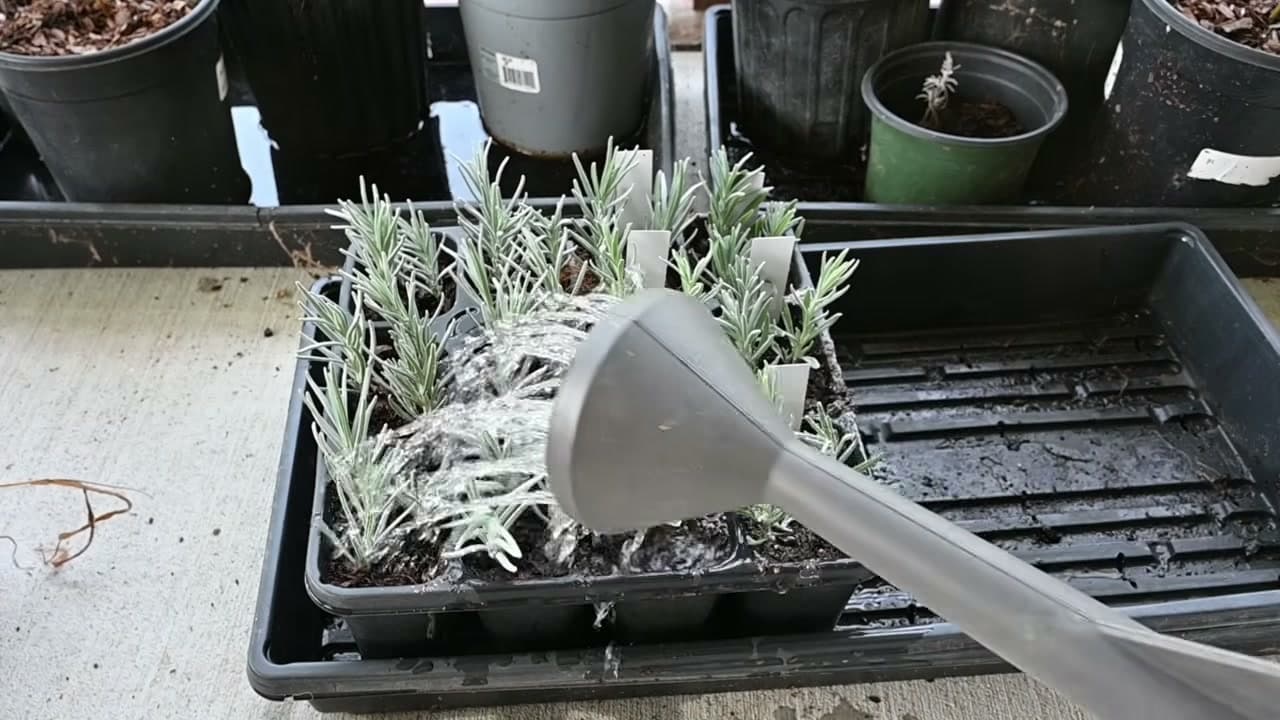
Give the whole tray a light overhead watering. As the water sinks in, it pulls the medium down snug against each stem and closes up the air pockets you left while planting.

Keep it gentle so you don't knock the cuttings loose. Getting a little water on the leaves is fine here, and it even helps. Damp foliage holds more moisture inside the cutting while it works on putting out roots.

Tip

Watch this step Set the tray on a flat or catch tray so it can drain freely. Cuttings that sit in standing water are the ones most likely to rot instead of root.

8

Step 8: Keep Them Humid and Watch for Roots

8:13
Step 8: Step 8: Keep Them Humid and Watch for Roots

Now it's a waiting game, and a couple of small habits make all the difference. Keep the humidity up around the cuttings by tenting them, misting daily, or dropping a clear plastic tote over the tray as a humidity dome. High humidity slows the water they lose through their leaves while they're still rootless.

Set the tray in bright, indirect light, never full sun. With no roots yet, direct sunshine just stresses them out. In about two weeks you'll see signs of rooting. New leaves alone can fool you, so tug gently and feel for resistance, or better yet watch for roots poking through the drainage holes in the bottom of the flat. That's your sure sign they've taken and are ready to pot up.

Tip

Watch this step Don't yank a cutting out to inspect the roots. A hard pull snaps the fragile new roots off. A light tug that meets resistance tells you all you need.

Products Used

☐ The Checklist

How to Propagate Lavender from Cuttings

Tools
5
Materials
5
Steps
8
Video
9 min

Tools we recommend

Your Guide

Growing The Home Garden

As an Amazon Associate we earn from qualifying purchases. Links on this page may be affiliate links - clicking them and buying doesn't change your price, but helps support ShowMeStepByStep.

Tags

Sunday How-To

New gardening tutorials, every Sunday

One short email with the week's best step-by-step guides. Free, no spam, unsubscribe anytime.

Did this work for you?

What's next

Related collections

Curated theme pages that include this tutorial.

Weekly Digest

Liked this gardening tutorial?

Pick the categories you want to hear about. Weekly digest of new step-by-step tutorials. No spam, easy unsubscribe.

Send me tutorials about

We only email about new tutorials. Easy unsubscribe anytime.