How to Dry Chives (Plus Freezing for Long-Term Storage)

GardeningEasy15:157 stepsBrowse more →

By ShowMeStepByStepPublished Updated

Based on a video by Our City Homestead.

Step-by-Step Guide

1

Step 1: Cut Chives From the Garden

0:25

Step 1: Step 1: Cut Chives From the Garden

Harvest chives when the stems are tall and tender. Hold a small bunch in one hand and snip the stems with kitchen shears about an inch above the soil line - leave that inch of base in place and the clump pushes out fresh growth from the cut point. Most chive patches give you two or three harvests across a single summer if you cut a bit at a time rather than stripping the whole plant in one go.

Try to harvest before the plants put up their pink-purple flower heads. The flowers themselves are edible and pretty in a salad, but once the plant flowers it puts its energy into seed rather than leaf growth, and the stems start to taste tougher.

Morning is the best time to cut. Essential oils that give chives their oniony bite are most concentrated before the sun has had a chance to bake them off.

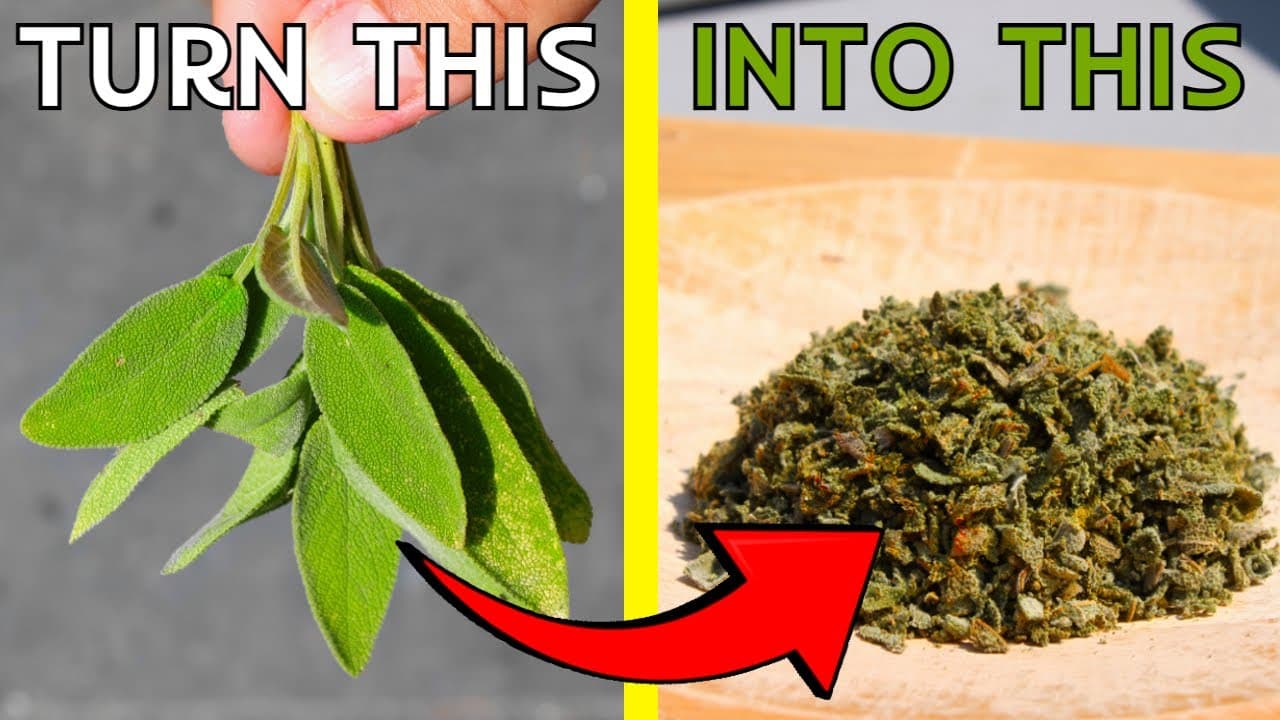
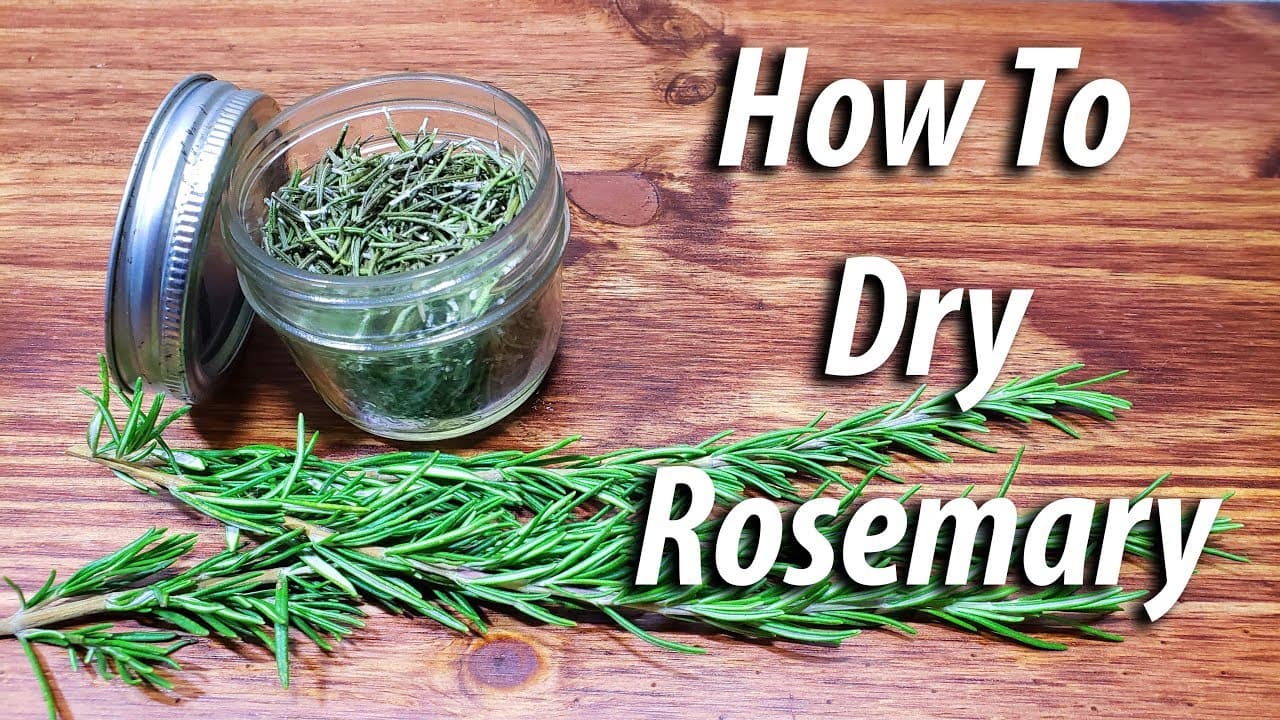
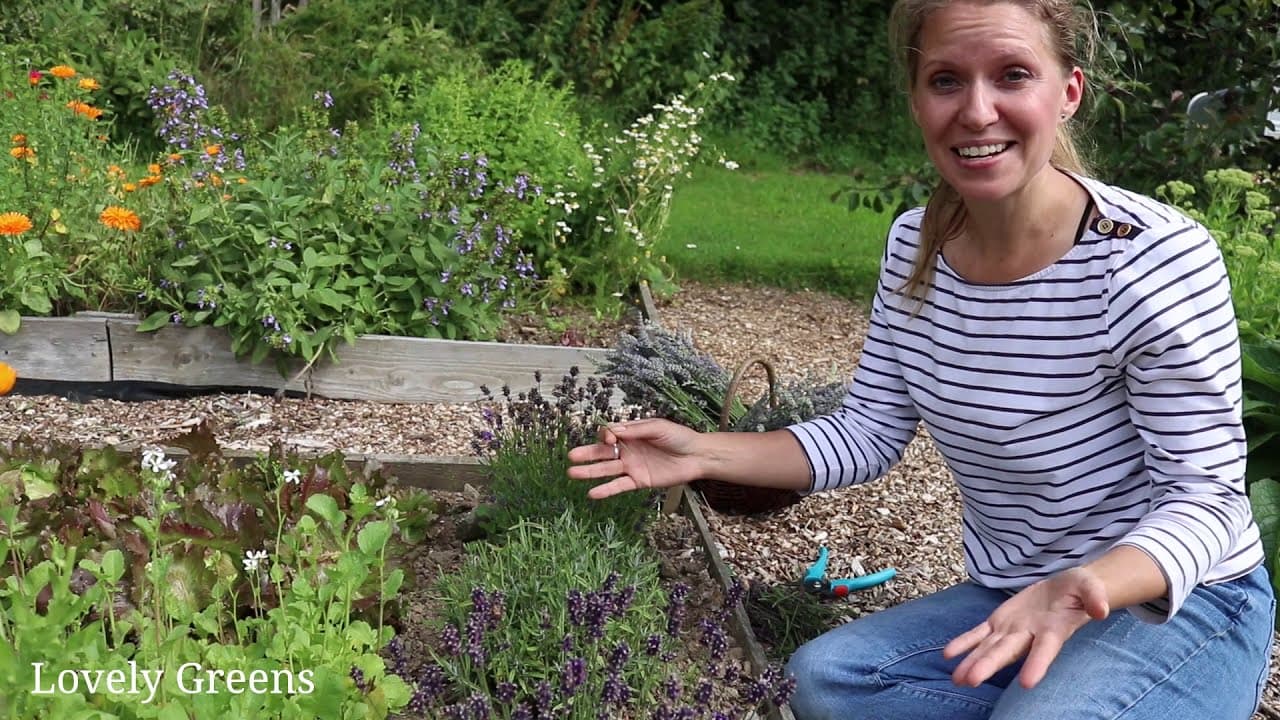
For more on preserving garden herbs, see our guides on drying sage, drying rosemary, drying basil, and drying lavender.

Tip

If your patch is huge, take a third of the clump at a time and let the rest grow on. A heavy cut every now and then is actually good for the plant - it encourages tender new growth from the base.
2

Step 2: Wash and Spin Dry

2:00
Step 2: Step 2: Wash and Spin Dry

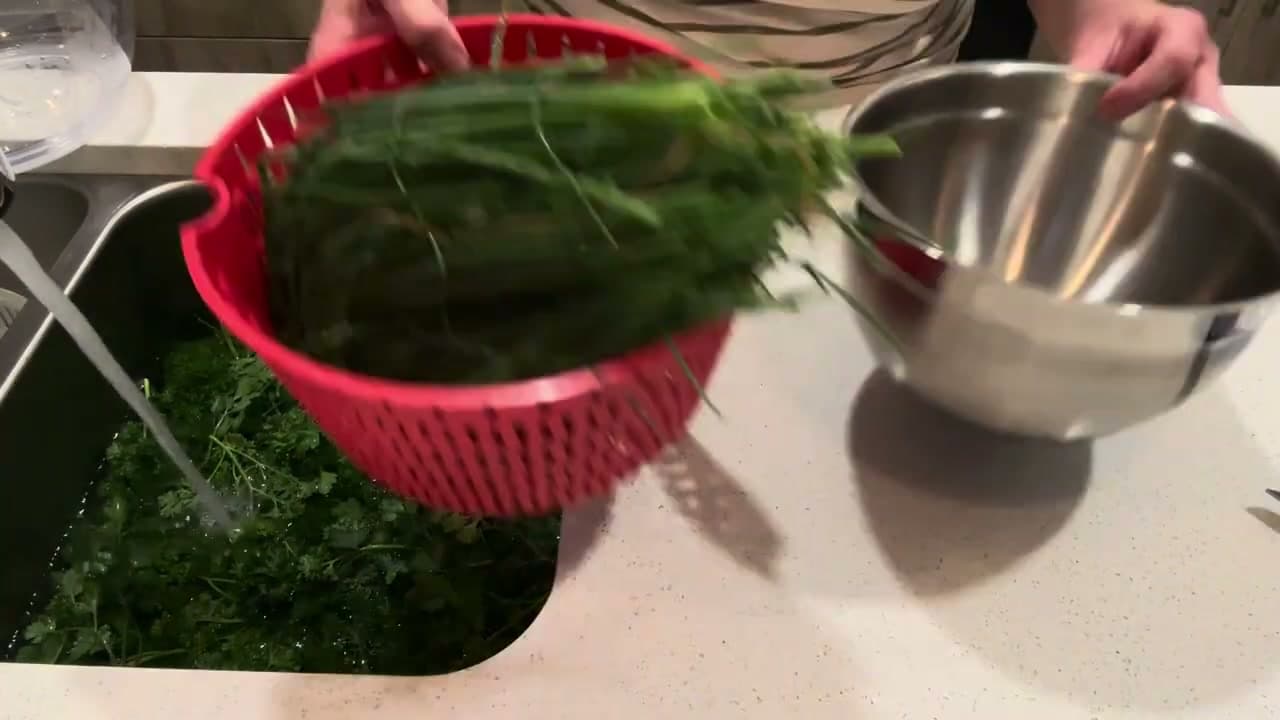
Bring the chives inside and give them a quick rinse in cool water to lift any garden dust, aphids, or grit. Run them through a salad spinner to flick off the surface water - twenty seconds in the spinner does the job without bruising the stems.

No spinner on hand? Pat the chives dry with a clean kitchen towel or layers of paper towel. The principle is the same: pull as much water off the stems as you can before they get chopped. Wet chives bruise more on the cutting board and the bruised pieces brown faster during drying.

Don't skip the wash if your chives came from a garden bed - even tidy-looking stems hide little flecks of dirt at the base where they grew.

Tip

Work in smaller batches through the spinner rather than one giant overcrowded load. Crowded leaves don't shed water as well, and the whole point is to get them as dry as possible before chopping.

3

Step 3: Snip Into Small Pieces

6:40
Step 3: Step 3: Snip Into Small Pieces

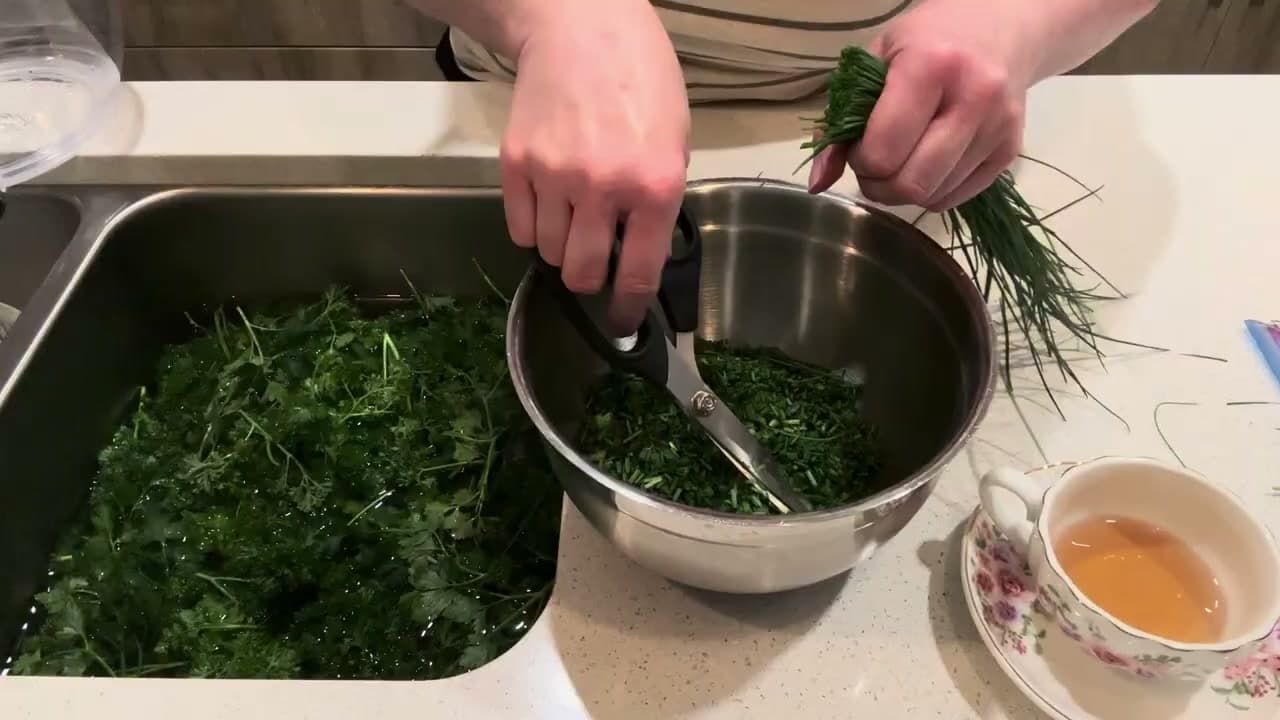
Hold a small bunch of chives over a clean bowl and snip them into pieces about a quarter-inch long with kitchen shears. The shears cut cleanly without crushing the stems - if you press through with a dull knife you bruise the chives, and bruised pieces brown faster as they dry and don't freeze as nicely either.

A sharp chef's knife on a cutting board works too. Either way, work in small bundles so the pieces stay an even size. Uneven pieces dry at different rates and you end up with some crisp and some still soft in the same batch.

The whole kitchen will smell like onion by the time you finish a big bunch. That's normal and means the essential oils are still in the stems - exactly where you want them when the chives go into the jar.

Tip

A pair of dedicated herb shears with a comfortable grip is worth the small investment if you do this every summer. Your hands won't cramp the way they do with normal scissors after the fifteenth bunch.

4

Step 4: Freeze in a Mason Jar (Preferred for Long-Term Storage)

9:40
Step 4: Step 4: Freeze in a Mason Jar (Preferred for Long-Term Storage)

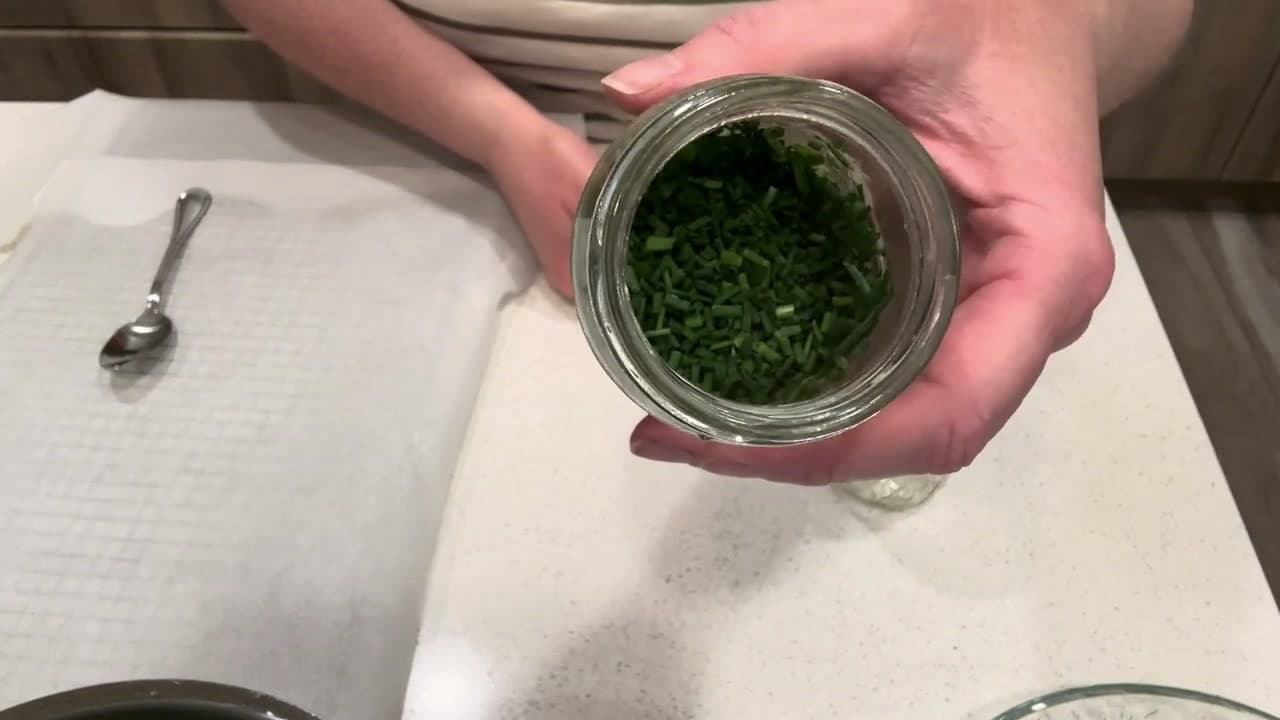
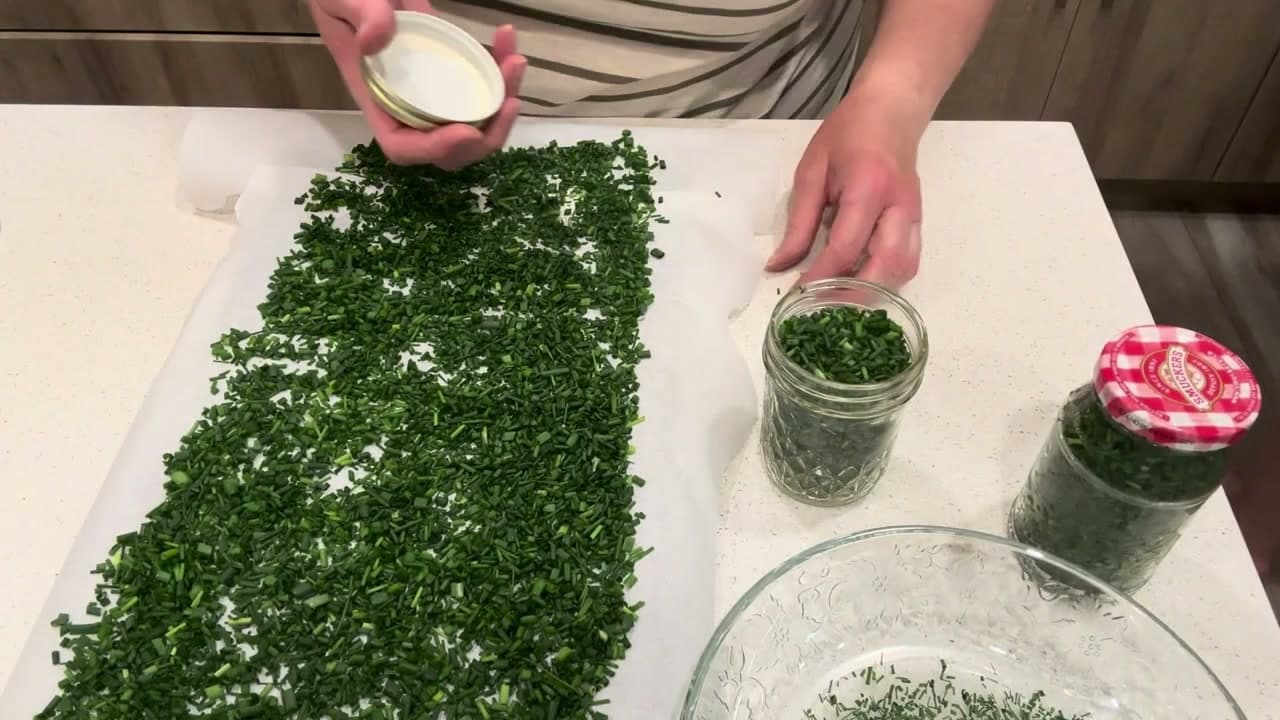
Of the two methods, freezing keeps the chives tasting closest to fresh-from-the-garden. Spoon the cut chives into a clean dry mason jar, leaving about an inch of headspace at the top. Press the lid on tight and pop the jar straight into the freezer. No blanching, no flash-freeze tray - chives are hardy enough to freeze loose without clumping into a brick.

When winter comes, lift the jar out, scoop what you need with a spoon, and put it right back in the freezer. The chives don't get freezer-burned because the jar seals tight, and they spoon out as easily as the day you packed them.

A freezer bag works too - press as much air out as you can before you seal it. Glass jars stack better in a chest freezer; bags lie flatter in a drawer-style freezer. Both keep chives in good shape for at least a year.

Tip

Freezer chives won't be crisp when you pull them out - they go limp like fresh chives wilted in a hot pan. That's expected. Use them straight from frozen in sauces, eggs, baked potatoes, dips - anywhere you'd use fresh chives the same day.

5

Step 5: Air-Dry on a Tray (Alternative Method)

12:15
Step 5: Step 5: Air-Dry on a Tray (Alternative Method)

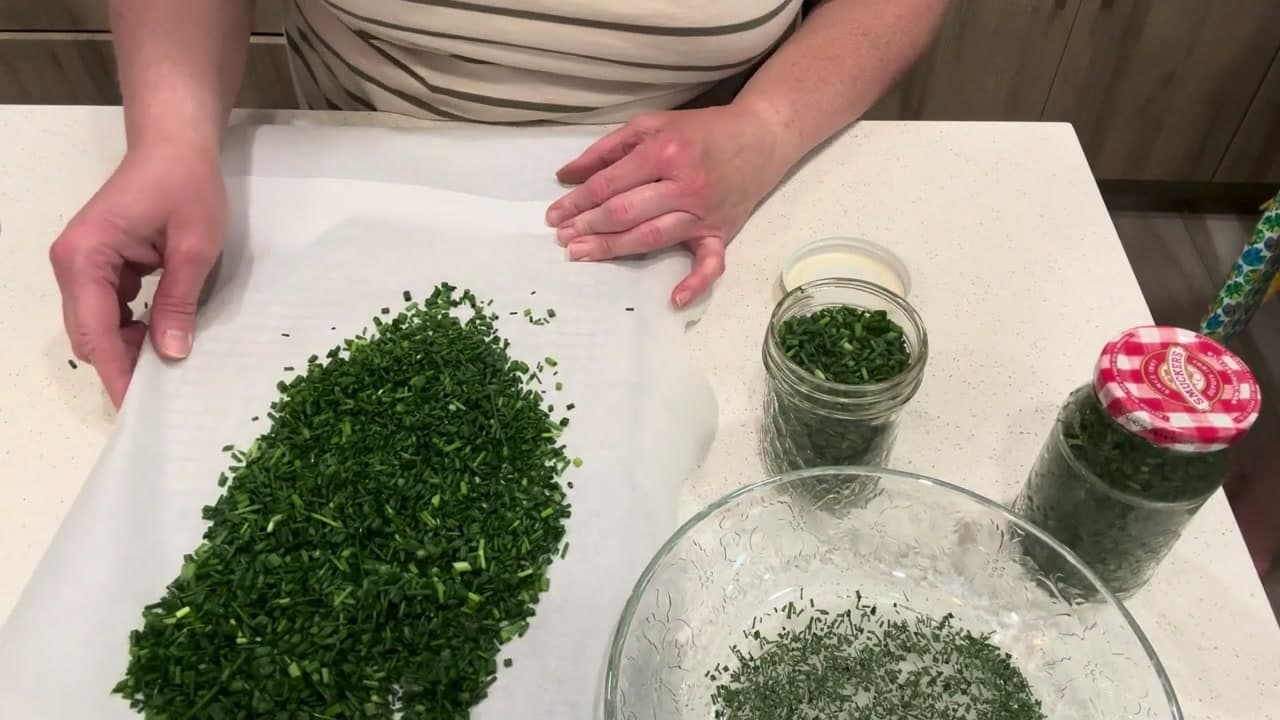
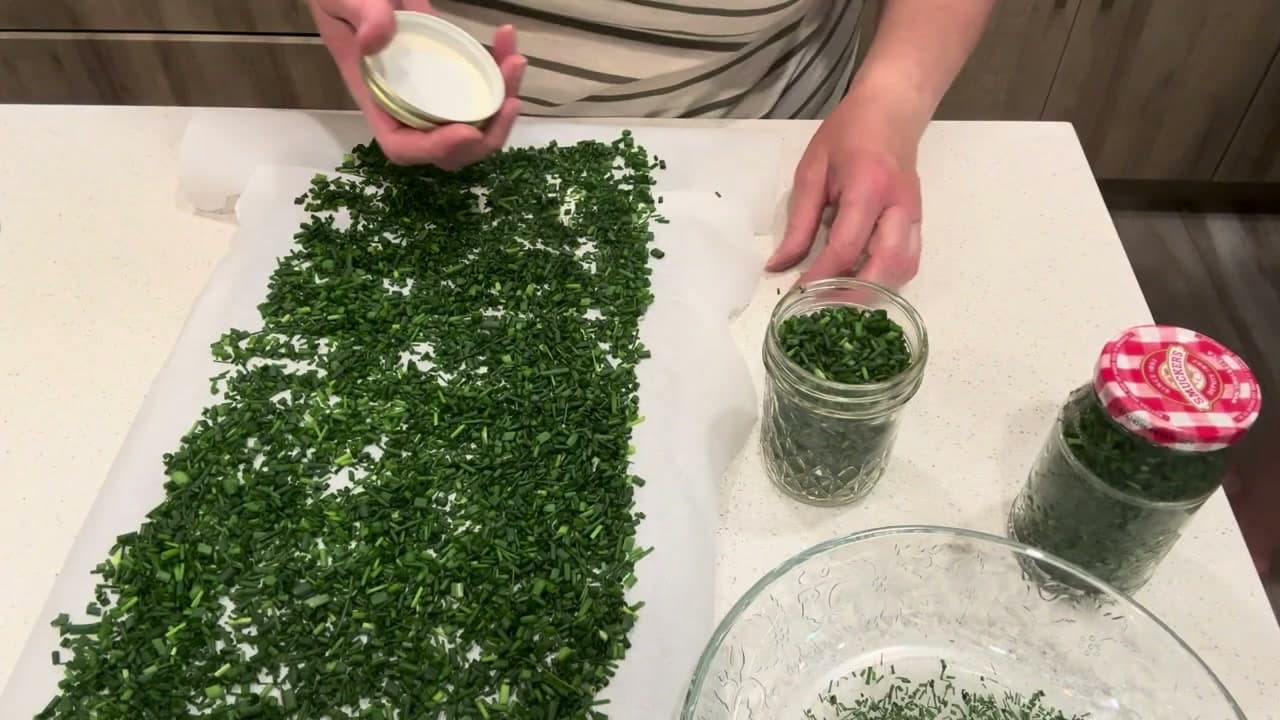
The other option is passive air-drying, the way many gardeners learned from their grandmothers. Scatter the cut chives in a thin even layer on a sheet of parchment paper, a plate, or a cooling rack. A cooling rack is best because air gets at the chives from underneath as well as the top.

Don't pile them deep - a single thin layer is what you want. Too thick and the underneath pieces stay damp and can grow mold instead of drying.

Skip the tea towel. The chives stick to fabric and the towel holds them damp longer than they need to be. Parchment paper or a clean plate gives the chives a surface they release from easily.

Tip

Air-drying gives you a more concentrated flavor than freezing. The trade-off is texture - dried chives sprinkle as flakes onto finished food, where frozen chives feel more like fresh stems wilted in.

6

Step 6: Check the Chives Are Crisp

13:58
Step 6: Step 6: Check the Chives Are Crisp

Air-dried chives need two to four days at room temperature, depending on how humid your house is. In a dry house, two days is plenty; in a humid summer kitchen, give them four or five and stir them around once a day so the bottom layer gets airflow.

To test, pick up a piece and press it between your fingers. If it crunches and crumbles into bits, the batch is done. If it bends or feels soft, the chives need another day. Better to err on the side of more time - any piece that goes into the jar with moisture still in it can mold the whole batch.

Properly dried chives keep their vibrant green color, not brown. The color is the giveaway: bright green means good flavor; brown or grey means the chives sat damp too long and lost some of their oomph.

Tip

If you have a freeze dryer, you can use it on the chives instead of passive air-drying. Most home kitchens don't have one, so the old-fashioned way is what most people end up using - and it works beautifully.

7

Step 7: Jar, Label, and Store

13:40
Step 7: Step 7: Jar, Label, and Store

Funnel the dried chives into a clean dry mason jar and screw the lid on tight. A canning funnel makes this less messy if the chives are crumbly. If you've got bigger pieces in the batch, crumble them with your fingers as they go in - smaller flakes pack tighter into a small jar.

Write the date on the lid with a permanent marker. Six months from now you'll know exactly when this batch was made. A simple chalkboard sticker on the front works too if you want it to look pretty on a shelf.

Store the jar somewhere cool and dark - a pantry shelf or kitchen cabinet works well. Heat from the stove and direct sunlight fade the green color and dull the flavor over time. Properly dried and jarred, chives hold their flavor for at least a year. Frozen chives keep just as well, sealed tight in the freezer.

Tip

Keep dried chives separate from frozen chives. The two have different textures and uses - sprinkle dried flakes on finished dishes, stir frozen chives into hot food where you want that fresh-cut feel.

Products Used

☐ The Checklist

How to Dry Chives (Plus Freezing for Long-Term Storage)

Tools
5
Materials
1
Steps
7
Video
15 min

Your Guide

Our City Homestead

As an Amazon Associate we earn from qualifying purchases. Links on this page may be affiliate links - clicking them and buying doesn't change your price, but helps support ShowMeStepByStep.

Tags

What's next

Related collections

Curated theme pages that include this tutorial.

Weekly Digest

Liked this gardening tutorial?

Pick the categories you want to hear about. Weekly digest of new step-by-step tutorials. No spam, easy unsubscribe.

Send me tutorials about

We only email about new tutorials. Easy unsubscribe anytime.