1
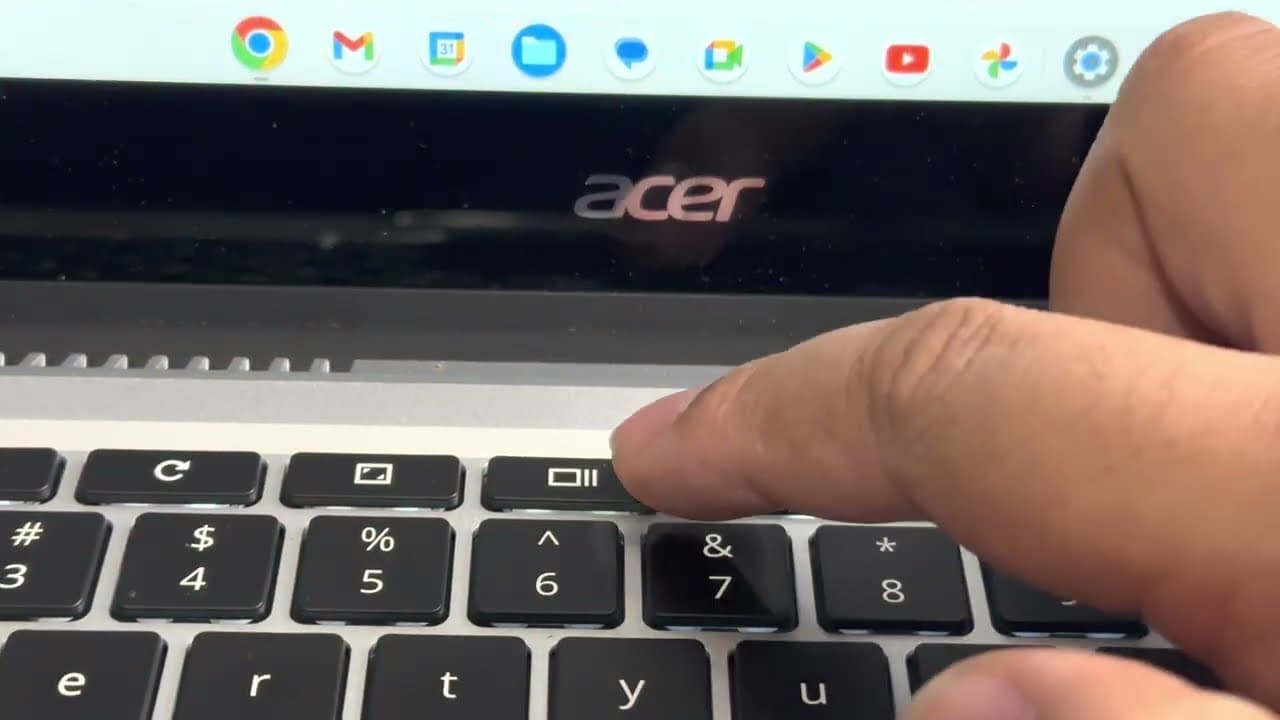
Step 1: Turn On Wi-Fi and Bluetooth
0:16
AirDrop rides on top of Wi-Fi and Bluetooth, so both need to be on. Swipe down from the top-right corner of your iPhone to open Control Center and tap the Wi-Fi and Bluetooth icons until both glow blue. Watch from 0:10 for the prerequisites Apple walks through. The other person needs the same two switches flipped on, otherwise their iPhone won't show up under People when you go to share.