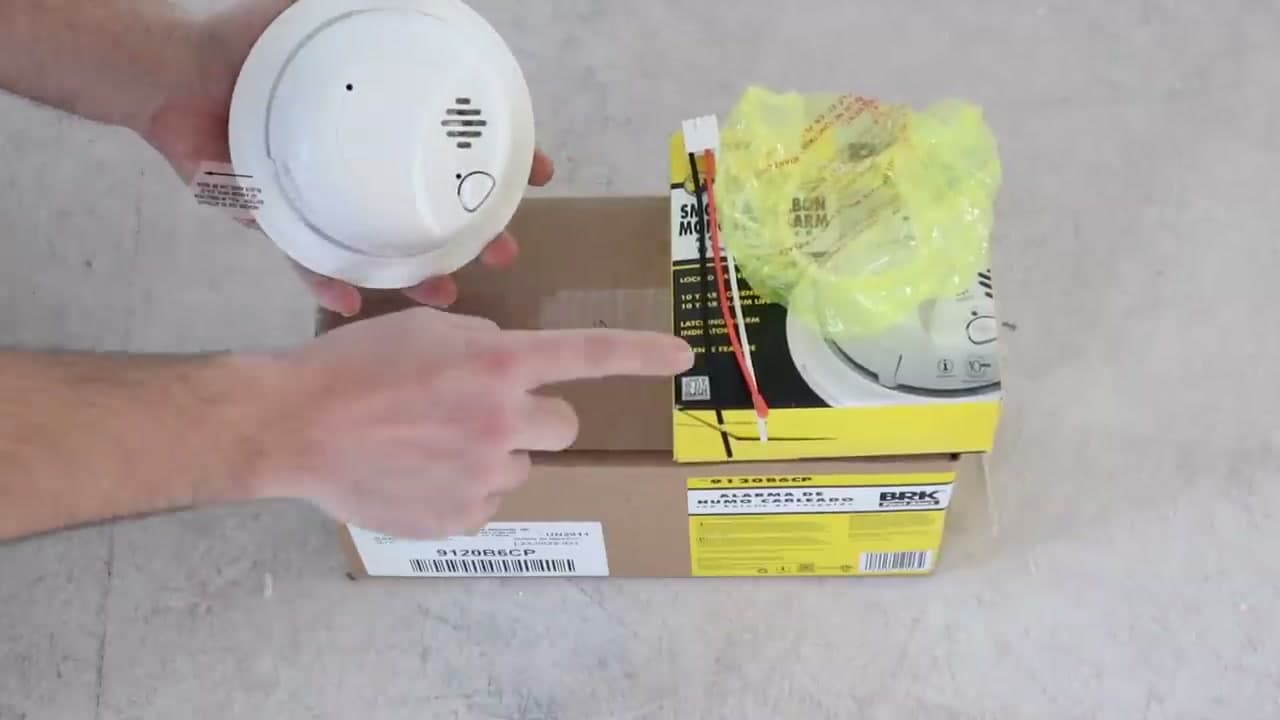
Review the Code Requirements and Pick Your Locations
0:50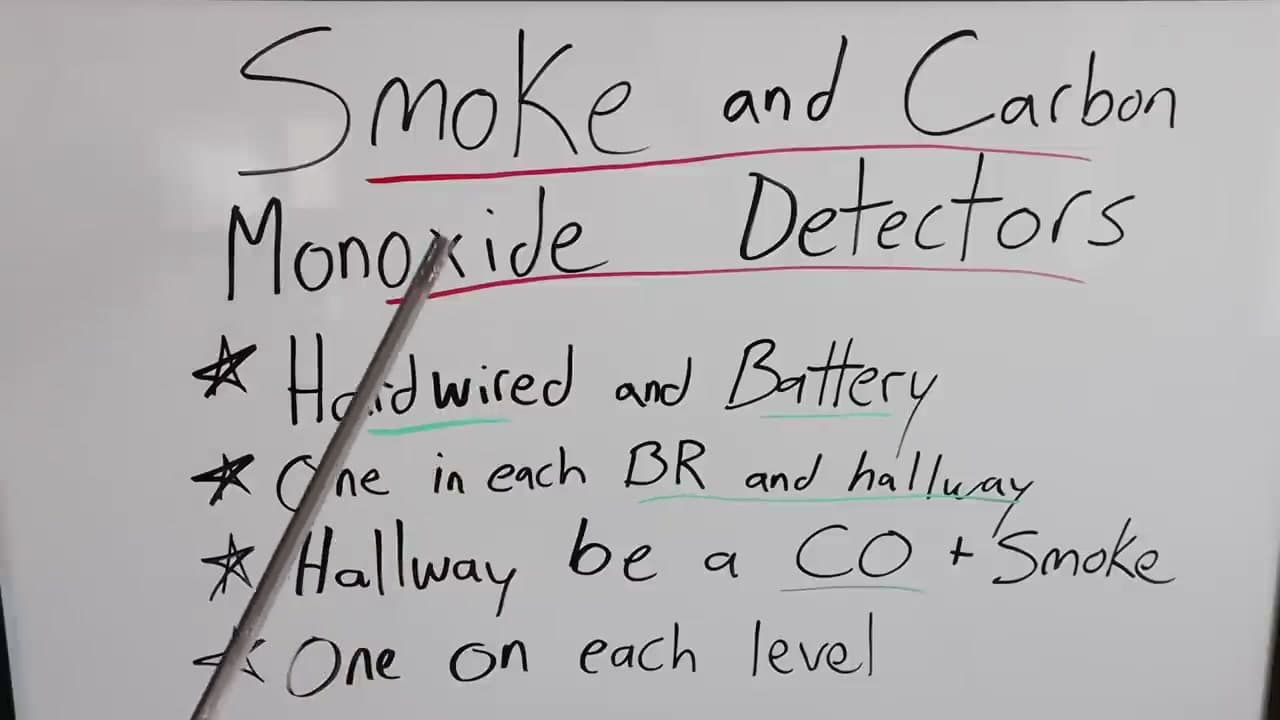
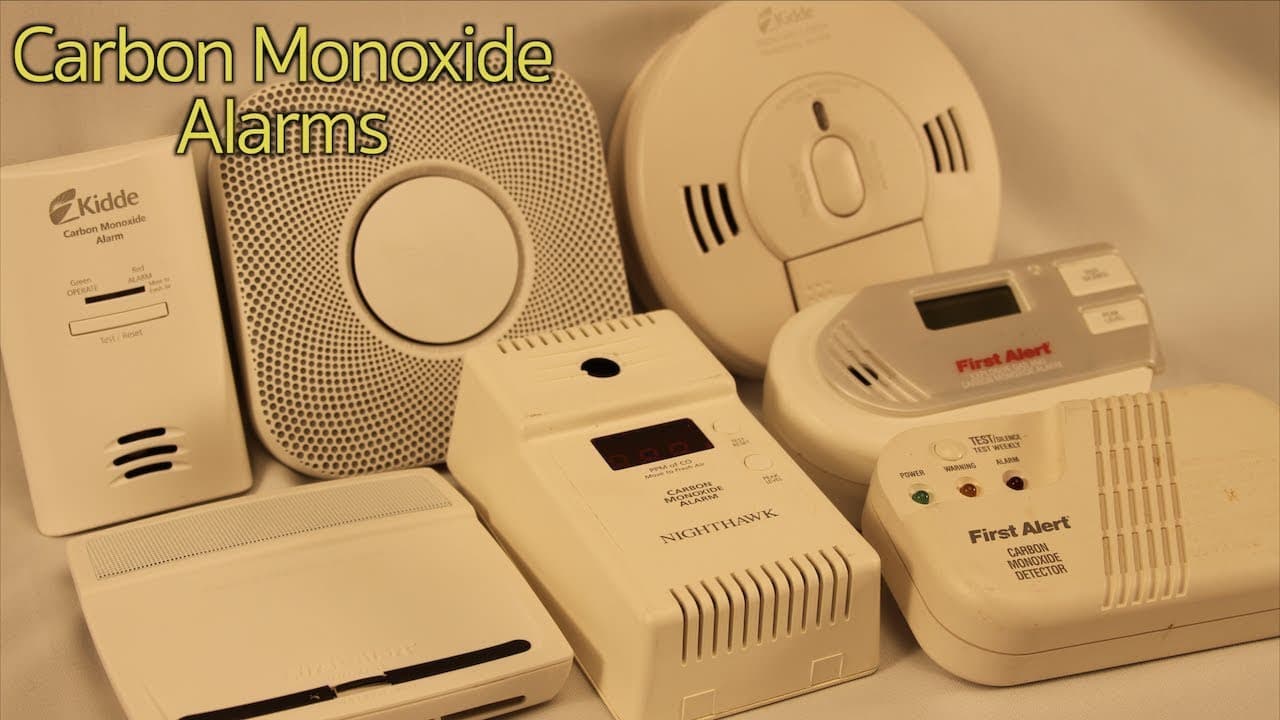
Before you open a single box, know what your local code wants. Most US jurisdictions require detectors that are hardwired with battery backup, interconnected on a three-wire daisy chain so they all sound when any one trips, and placed in every bedroom, every hallway connected to a bedroom, and on every level of the house. Hallways usually need a combination smoke + carbon monoxide unit.
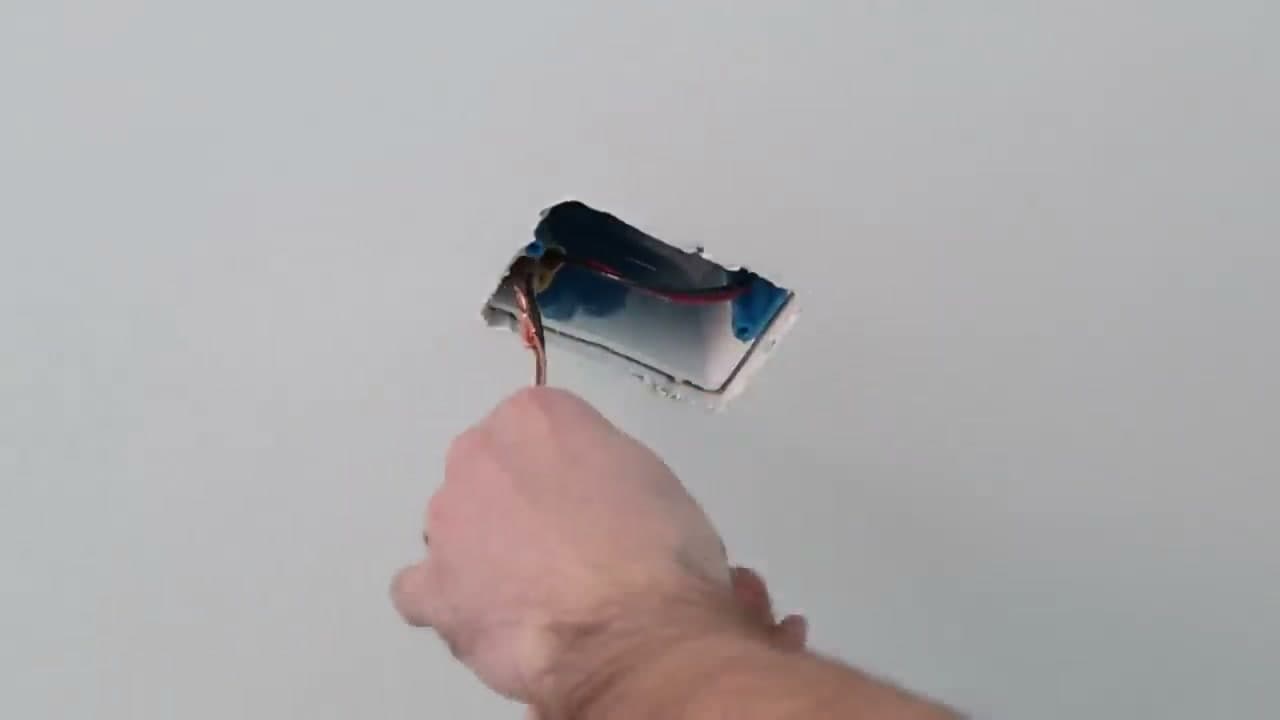
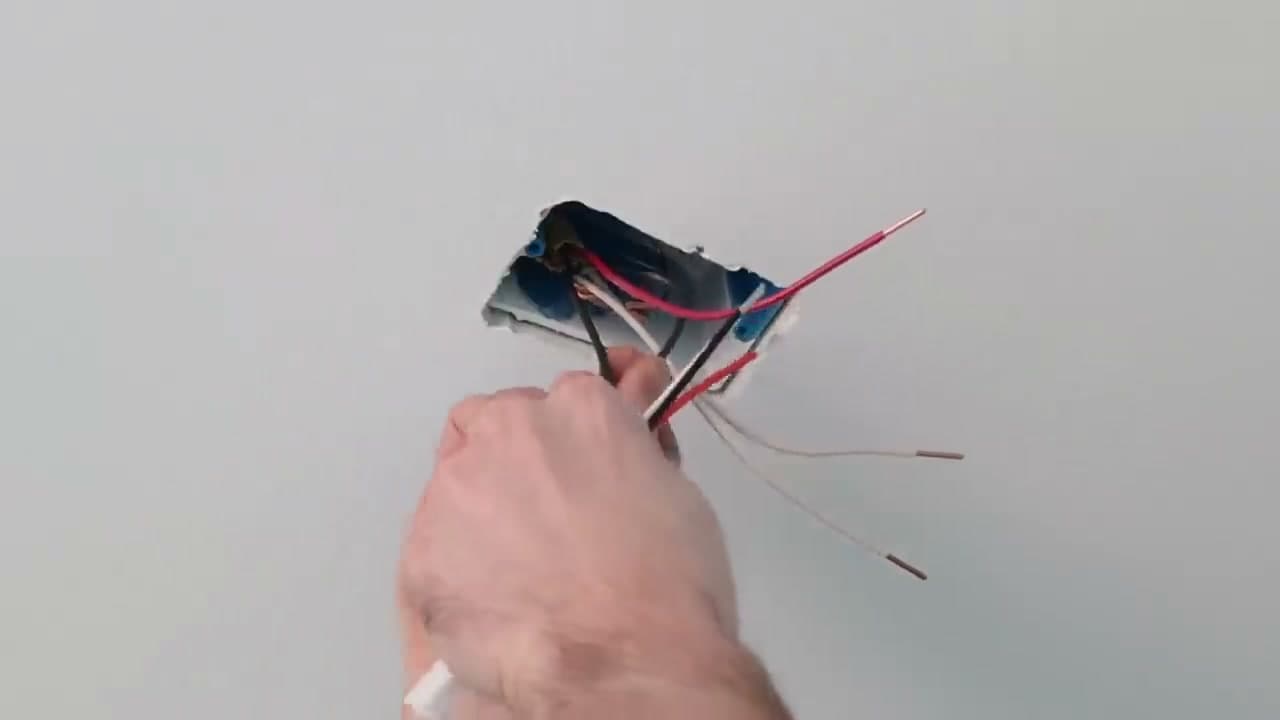
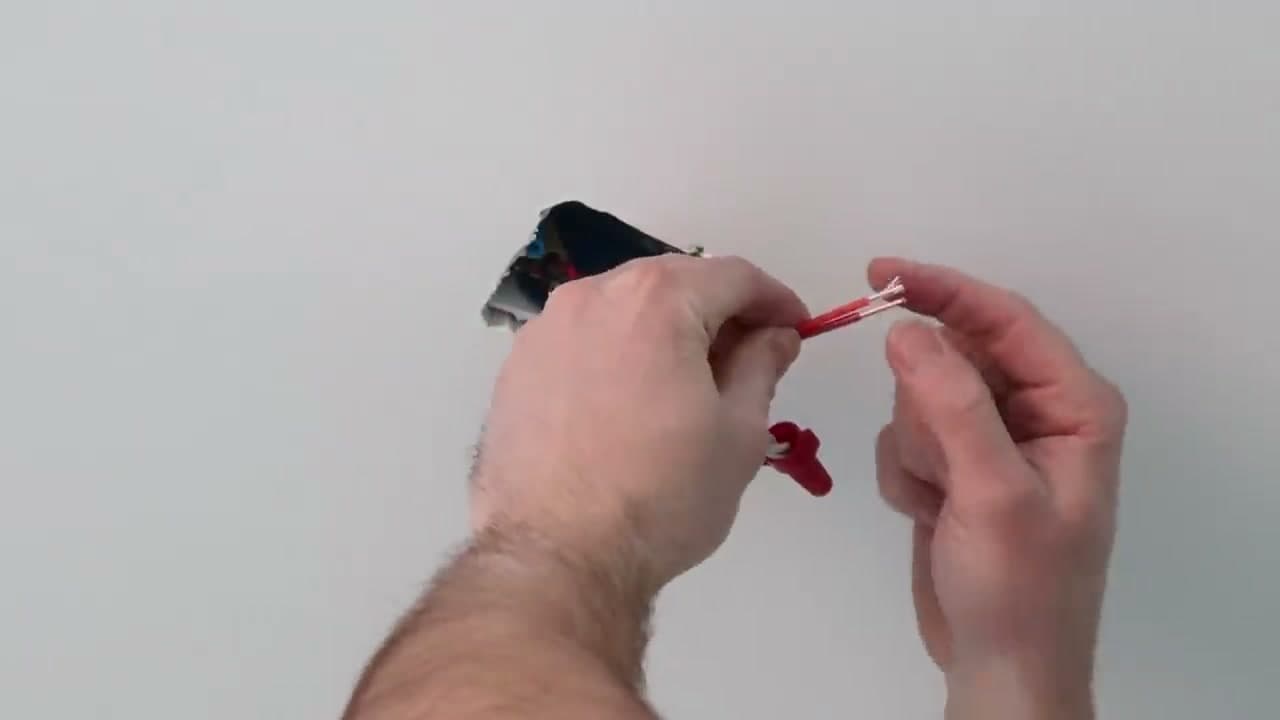
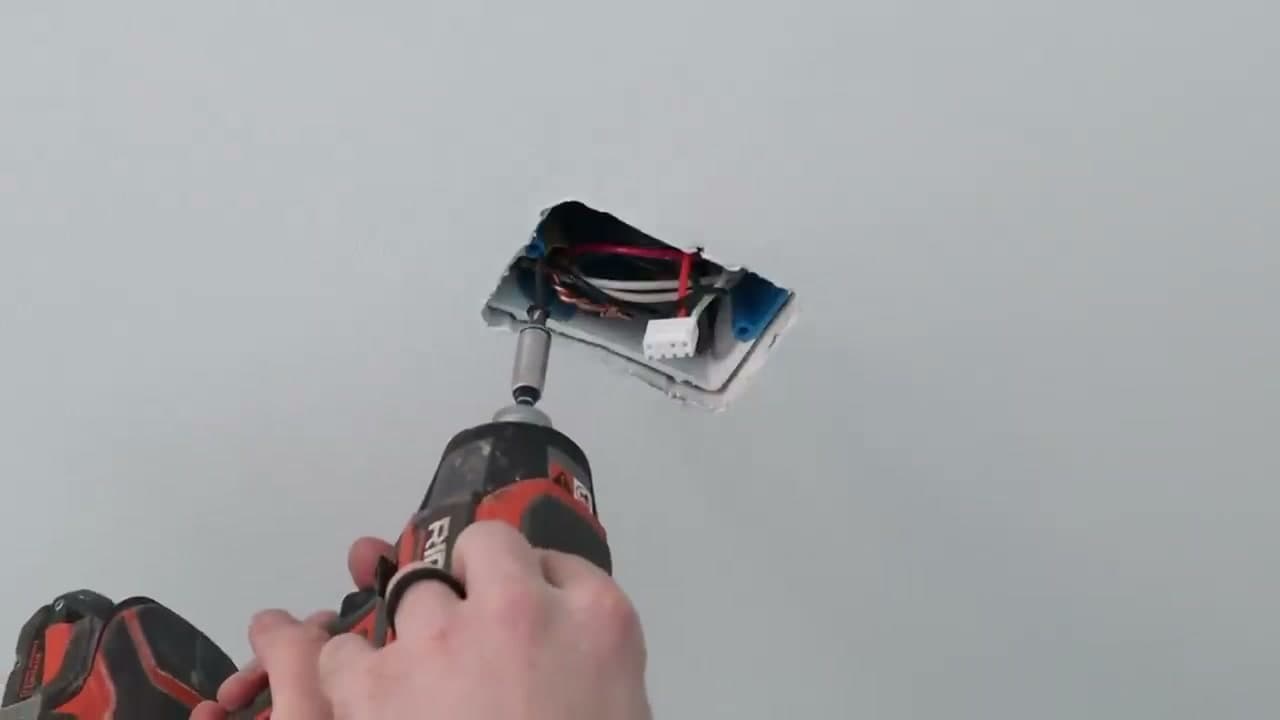
Plan your runs first. The first detector in the chain only needs two-wire power coming in. Every detector after that runs on three-wire so the interconnect signal can pass through. Mark each ceiling location with a pencil before you start cutting drywall or fishing cable.
Tip
Check your local building department's website for the exact requirements - they vary by state and city. NFPA 72 is the national baseline but your inspector goes by the local amendment.