How to Install a Toilet in 7 Steps

Home ImprovementMedium14:447 steps
Also in:Adulting

By ShowMeStepByStepPublished Updated

Based on a video by The Excellent Laborer.

Replacing a toilet sounds intimidating until you watch someone do it once. Then you realize the whole job comes down to seven moves and an hour of patience. Josh from The Excellent Laborer walks through a Kohler install on a new build in this video, but the same steps work for a swap in an older house too.

Before you start, shut off the water at the angle valve and flush the old toilet to drain it. If you're doing a full bathroom refresh, you might also want to replace the flapper on any other toilets in the house while you have the tools out. Other handy adjacent reads: how to fix a leaky faucet and how to unclog a sink the right way.

Gather your tools first so you're not running to the garage with a toilet bowl perched on cardboard. You'll need a crescent wrench, a ratchet pipe cutter (or hacksaw), a tape measure, and a hammer. Pick up a wax ring, a new supply line, a tube of 100% silicone caulk, and a damp rag for cleanup before you start. Then take your time on the wax ring step. That's the one that keeps sewer gas in the pipe and water off your subfloor.

Step-by-Step Guide

1

Step 1: Gather Your Tools and Shut Off the Water

0:30
Step 1: Step 1: Gather Your Tools and Shut Off the Water

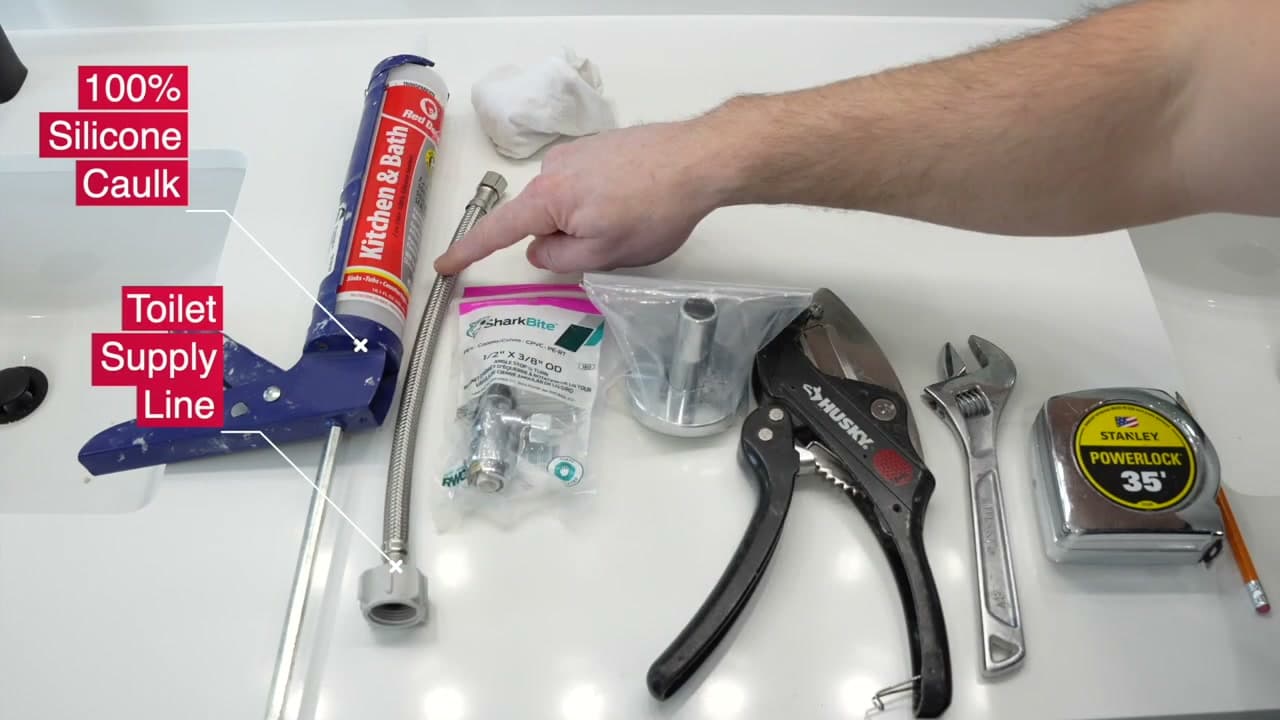
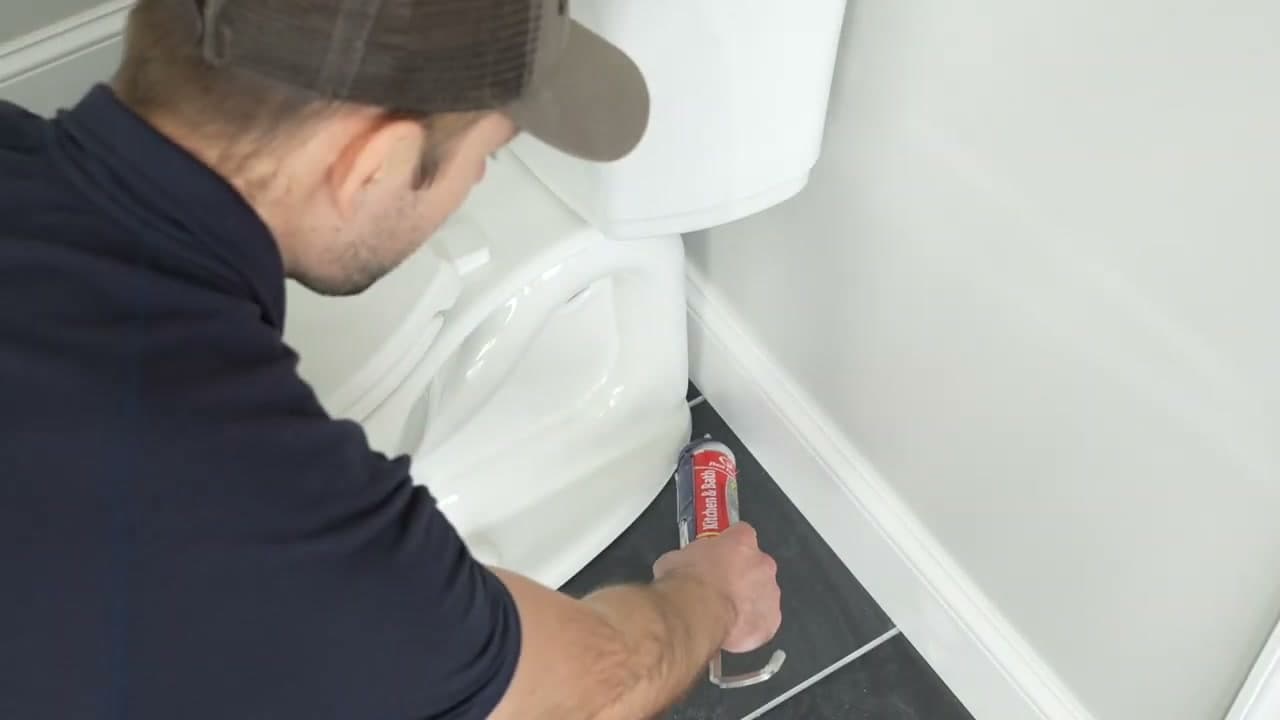
Before you touch the existing toilet, lay everything out where you can see it. You will want a new wax ring (or a wax-free Korky equivalent), a new flexible supply line, fresh closet bolts, 100% silicone caulk and a caulk gun, an adjustable wrench, channel-lock pliers, a putty knife to scrape the old wax, a tape measure, and a few clean rags. Watch at 0:20 for the full kit Excellent Laborer lays out.

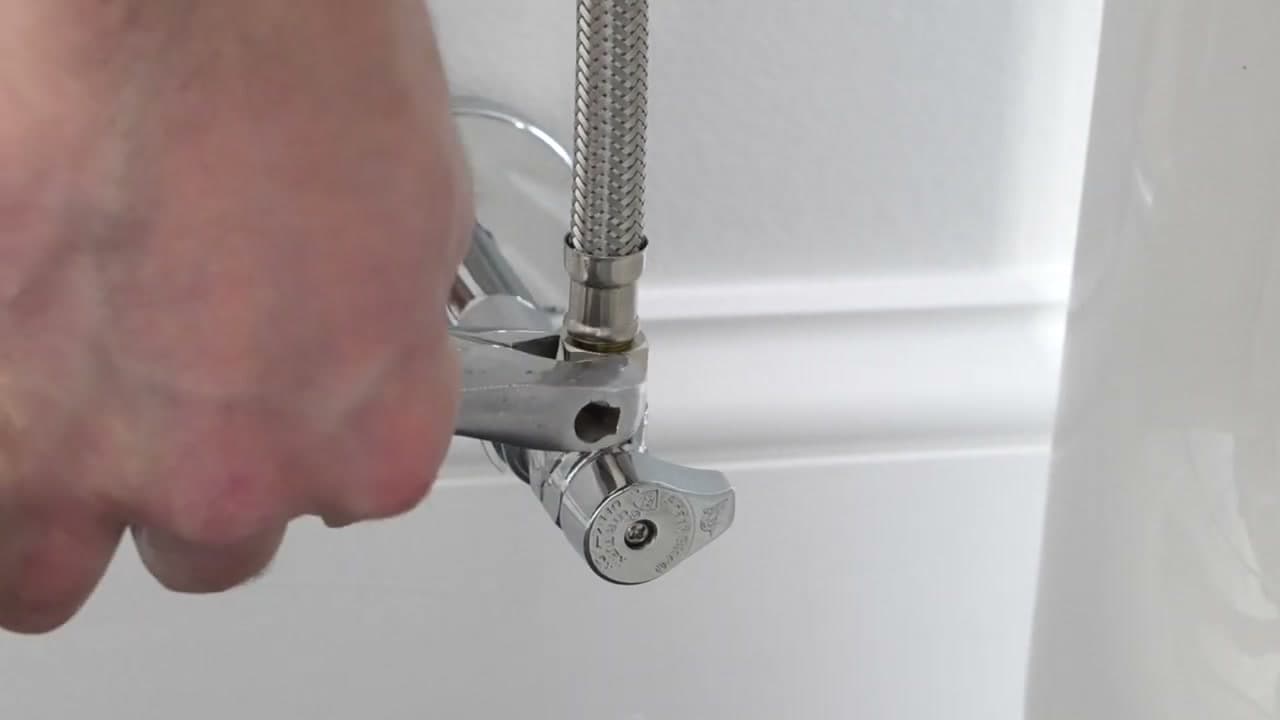
Then shut the water off at the angle stop behind the toilet, flush, hold the handle down, and sponge the remaining water out of the tank and bowl. Disconnect the supply line from the tank with the adjustable wrench. Your bowl is now empty and you are ready to remove the old toilet.

Tip

SharkBite fittings need an inch of clean pipe to grip. If your cut is too short, the valve will leak the first time you turn the water on.

2

Step 2: Prep the Closet Flange

3:35
Step 2: Step 2: Prep the Closet Flange

The closet flange is the white ring on the floor that the toilet bolts to. If you're replacing an old toilet, scrape the old wax off the flange with a putty knife and pull the old bolts out. On a new build like the one in the video, you'll need to hold the lip of the knockout plug with pliers, then tap it loose with a hammer. Watch at 3:35. Get the bulk of the plug out so it doesn't fall down the drain and clog the line.

Tip

Inspect the flange before you go any further. If the ring is cracked or sits lower than your finished floor, fix it now with a flange extender. A wobbly flange is the number one reason toilets rock and leak.

3

Step 3: Set the Closet Bolts in the Flange

5:40
Step 3: Step 3: Set the Closet Bolts in the Flange

The new bolts slide into the slots on the flange. Drop each bolt in head-down, then twist the foot so it locks sideways and won't slip out when you tighten things up. Slide the plastic retainer caps down the bolt threads so the bolts stay upright while you lower the toilet on. Watch at 5:40. Measure the distance between the two bolts and the back wall to make sure they're equidistant. About 11 and 7/8 inches from the wall is typical for a standard 12-inch rough-in.

Tip

Set both bolts before you grab the toilet. You won't be able to reach them once the bowl is in place.

4

Step 4: Press On the Wax Ring

6:25
Step 4: Step 4: Press On the Wax Ring

Lay the toilet on its side on a piece of cardboard so you don't scratch the porcelain. Take the wax ring out of the box and press the wax side firmly onto the bottom of the toilet, centered over the drain horn. Watch at 6:25. The plastic funnel (if your ring has one) should point down and away from the toilet so it can drop into the flange when you set the bowl. Work the wax in evenly around the opening so the seal is uniform on all sides.

Tip

Wax rings are single-use. If you set the toilet and need to lift it off again to reposition, throw the wax ring away and use a fresh one. Compressed wax won't reseal.

5

Step 5: Lower the Toilet and Tighten the Bolts

8:00
Step 5: Step 5: Lower the Toilet and Tighten the Bolts

Pick the toilet up by the bowl rim and lower it straight down so the two closet bolts thread through the holes in the base. Don't drag it sideways or you'll smear the wax. Press the bowl down with your body weight so the wax compresses against the flange and the porcelain sits flat on the floor. Watch at 8:00. Add the washer and nut to each bolt, hand-tighten, then snug them down with a crescent wrench. Alternate sides so the toilet pulls down evenly. Stop when the nut is firm. Cranking past that point cracks the porcelain or the flange.

Tip

If the bolts stick up too high to fit the trim caps, score them with a hacksaw above the nut and bend them off by hand. Don't try to cut them flush.

6

Step 6: Install the Tank and Connect the Supply Line

11:10
Step 6: Step 6: Install the Tank and Connect the Supply Line

Wipe the rubber gaskets on the underside of the tank with the damp rag so no grit sits between the tank and bowl. Set the tank down with the bolts dropping through the holes in the bowl, then add a washer and nut on each bolt from inside the tank and tighten them in a star pattern. Now hand-thread one end of the supply line onto the toilet's fill valve and the other end onto the shutoff. Watch at 11:10. Snug both ends with a crescent wrench, but only a quarter turn past hand-tight. Over-cranking strips the brass.

Tip

Braided stainless supply lines last way longer than plain plastic. They cost a few dollars more and they don't burst.

7

Step 7: Turn On the Water, Test, and Caulk

14:05
Step 7: Step 7: Turn On the Water, Test, and Caulk

Open the angle valve slowly and let the tank fill. Watch the supply connection, the tank-to-bowl gaskets, and the base of the toilet for any sign of water. Flush twice and feel around the floor with your hand to confirm everything is dry. Watch at 14:05. Run a thin bead of 100% silicone caulk around the front and sides of the toilet base, but leave a small gap at the back. If the wax ring ever fails, that gap lets water escape so you'll see it before it rots the subfloor.

Tip

Skip the caulk if your local code requires the toilet to remain visible for leak inspections. Some jurisdictions require the gap. Check before you seal.

Products Used

☐ The Checklist

How to Install a Toilet in 7 Steps

Tools
10
Materials
6
Steps
7
Video
15 min

Your Guide

The Excellent Laborer

As an Amazon Associate we earn from qualifying purchases. Links on this page may be affiliate links - clicking them and buying doesn't change your price, but helps support ShowMeStepByStep.

Tags

Related Tutorials