How to Replace a Shower Head in 7 Steps

Home ImprovementEasy8:087 steps
Also in:Adulting

By ShowMeStepByStepPublished Updated

Based on a video by DIY Power Couple.

An 80s shower head leaking and spraying water sideways is one of the easiest plumbing fixes you can do yourself. Swap one in under 30 minutes, save the plumber call, and pick whatever style you actually want - rainfall, handheld, high pressure, low flow. No specialty tools required.

This walkthrough comes from DIY Power Couple (Daires and Akilah), who replace a leaky 80s shower head with a modern Moen handheld unit. They run into a stuck ball joint - common in older homes - and show the workaround: instead of fighting the seized joint, unscrew the entire shower arm out of the wall and start fresh. The 7 steps below cover that approach, so you're covered whether your old head pops right off or fights you on the way out.

Before you replace, check if you actually need to. If your shower head is just clogged with mineral scale, see how to clean a shower head first - many heads just need a vinegar bath, not a replacement. If the spray is fine but the wall fitting drips, that's a different fix and Teflon tape on the joints (covered below) usually solves it.

Related plumbing projects: how to fix a leaky faucet, how to install a kitchen faucet, how to install a toilet, and how to unclog a sink the right way.

Step-by-Step Guide

1

Step 1: Gather Your Tools and New Shower Head

1:03
Step 1: Step 1: Gather Your Tools and New Shower Head

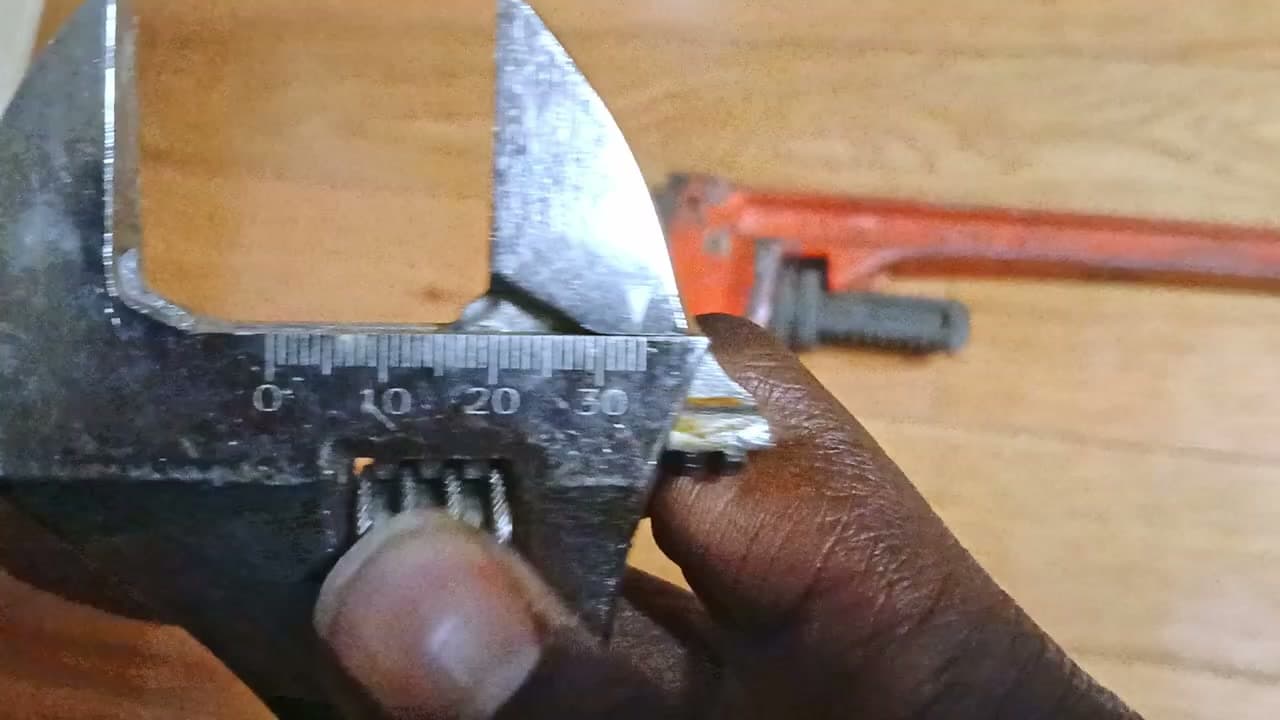
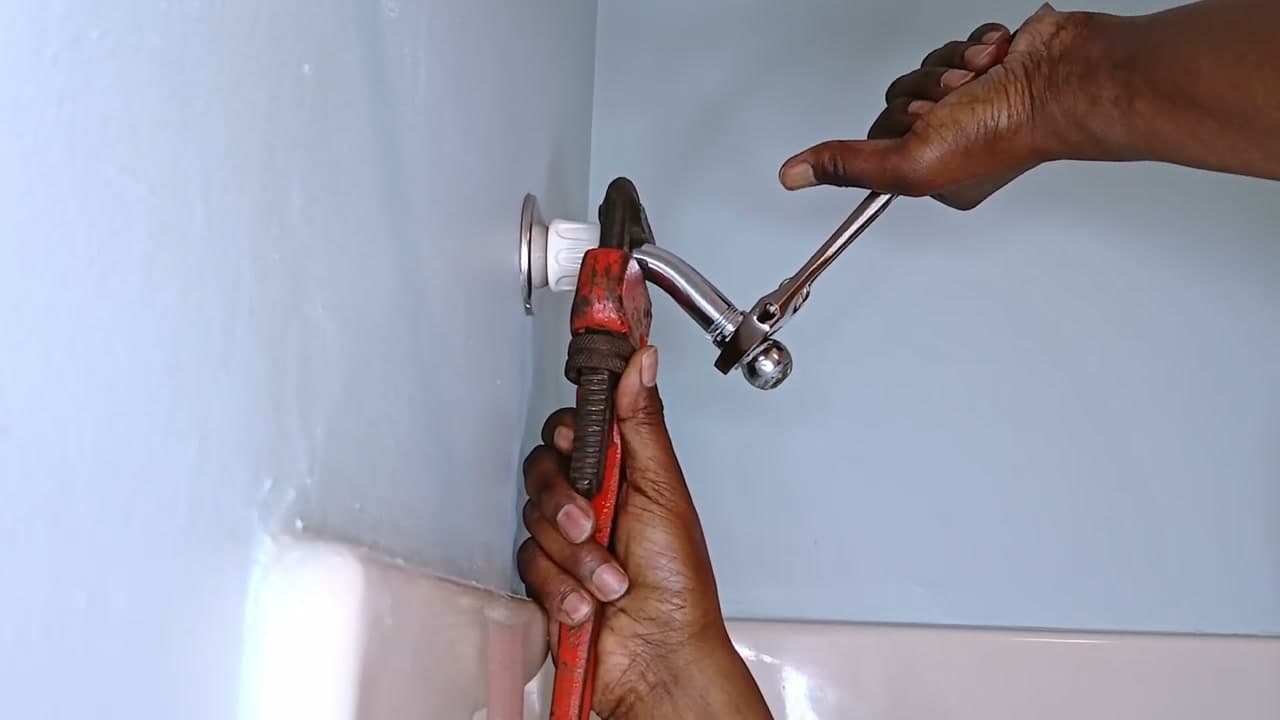
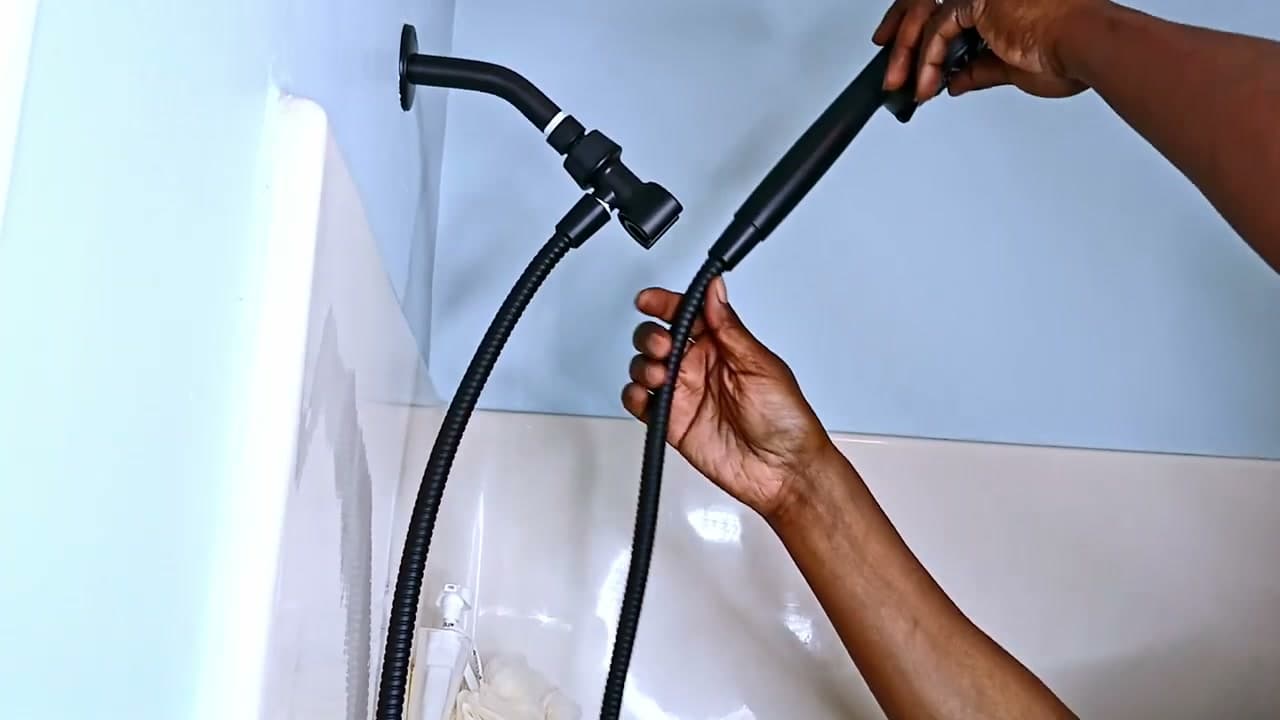
Lay everything out on a towel before you start. You need a 10-inch crescent wrench, a pipe wrench (or a pair of channel-lock pliers), a roll of Teflon plumber's tape, and your new shower head. If you live in an older home, grab a new shower arm and flange too in case the old arm is rusted in place or has a stuck ball joint - that's about a $10 add-on at any hardware store.

Keep a soft rag handy. You'll use it to pad the jaws of your wrench so they don't chew up the chrome finish on the new fittings. Watch the tool walk-through.
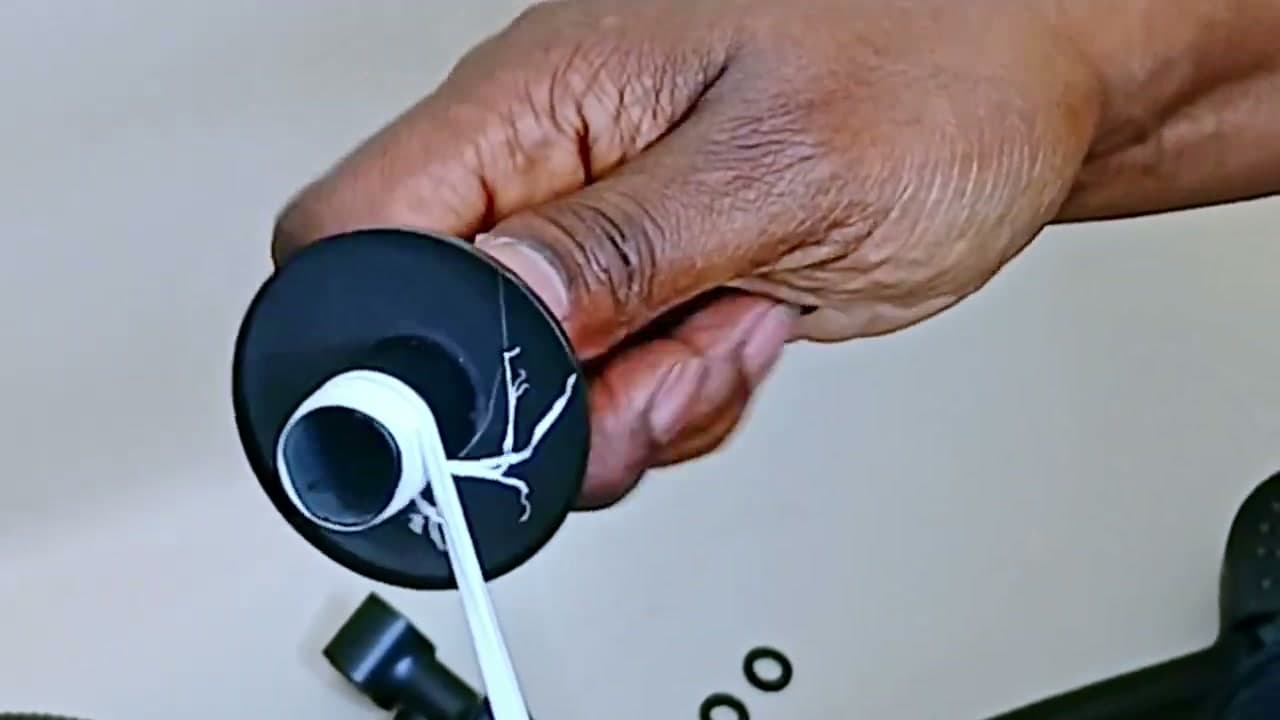
Tip

Hand-tightening is usually enough on a modern shower head, so the wrenches are mostly for getting the old one off. Buy quality Teflon tape - the cheap stuff tears and bunches.

2

Step 2: Turn Off the Water Supply

1:25
Step 2: Step 2: Turn Off the Water Supply

Walk to the shower valve and shut the water off all the way. Some valves turn left to right, others lift up and down. Run the shower briefly after you shut it to confirm nothing comes out and to let any line pressure drain through the tub spout.

If your bathroom doesn't have a dedicated shut-off, head to the main water shut-off for the house. It's usually in the basement, garage, or near the water heater. Watch the shut-off.

Tip

Plug the tub drain with a rag or stopper before you start. Small screws and washers love to roll right down the drain when you're working overhead.

3

Step 3: Remove the Old Shower Head and Arm

1:59
Step 3: Step 3: Remove the Old Shower Head and Arm

Wrap a rag around the old shower arm so your wrench doesn't scratch up the finish (in case you decide to keep it). Hold the arm steady with the pipe wrench and turn the head counter-clockwise with the crescent wrench to break it free.

If the ball joint between the head and the arm is seized (common in 80s homes), skip fighting it and unscrew the entire shower arm out of the wall fitting instead. Turn the arm counter-clockwise until it spins out. Watch the wrench technique.

Tip

If the arm is really stuck, spray a little penetrating oil at the wall fitting, wait five minutes, and try again. Don't crank harder - you can crack the wall fitting and turn a 20 minute job into a drywall repair.

4

Step 4: Wrap Teflon Tape and Install the New Shower Arm

3:15
Step 4: Step 4: Wrap Teflon Tape and Install the New Shower Arm

Pick up the new shower arm and find the threaded end with the red sticker - that's the side that goes into the wall. Wrap Teflon tape clockwise around the threads four or five times. Wrapping clockwise matters: when you thread the arm in (also clockwise), the tape tightens instead of unspooling.

Thread the arm into the wall fitting by hand, then snug it up. Hand tight is usually enough on a fresh wall fitting. Slide the decorative flange against the wall so it covers the opening. Watch the Teflon tape technique.

Tip

Teflon tape works by deforming into the tiny gaps between threads. Four passes is the sweet spot - two is too few, eight bunches up at the entry and stops the threads from fully engaging.

5

Step 5: Attach the Shower Head Bracket

4:55
Step 5: Step 5: Attach the Shower Head Bracket

The bracket is the small fitting that holds the handheld head when you're not using it. Wrap fresh Teflon tape clockwise around the bracket's threaded end (same four or five passes), then twist the bracket onto the shower arm. Hand-tighten firmly.

Point the bracket so the handle hangs straight down once water flows through the hose - that's the natural resting position. If you're installing a fixed (non-handheld) shower head, skip this step and go straight to threading the head onto the arm. Watch the bracket install.

Tip

If the bracket spins past the position you want, don't back it off - that breaks the seal. Take it back off, add another wrap of tape, and re-tighten to the position you want.

6

Step 6: Add Rubber Washers and Connect the Hose

5:58
Step 6: Step 6: Add Rubber Washers and Connect the Hose

Drop a rubber washer inside each end of the metal hose before you screw it on. The washers create the watertight seal at every hose joint - without them, you'll have a slow leak no matter how tight you crank the fittings. Most handheld kits include two washers; check the package.

Wrap a couple of passes of Teflon tape on the hose threads too, then thread one end onto the bracket and the other onto the back of the handheld head. Hand-tighten both. No tools - the metal hose has plastic collars that strip easily if you go after them with a wrench. Watch the washer install.

Tip

If you swap the included plastic hose for a stainless steel braided one later, keep the rubber washers. The hose changes, the washer requirement doesn't.

7

Step 7: Turn the Water Back On and Check for Leaks

7:10
Step 7: Step 7: Turn the Water Back On and Check for Leaks

Turn the water supply back on slowly. Let pressure build for a minute, then run the shower and watch the wall connection, the bracket joint, and both ends of the hose. A bead of water at any joint means you need to shut the water off, add another wrap or two of Teflon tape on that fitting, and reseat it.

If everything stays dry, trim the excess Teflon tape sticking out around the joints with a sharp utility knife so the finished install looks clean. Towel-dry the tub and you're done. Watch the leak check.

Tip

Recheck the joints the next morning. Slow leaks sometimes only show up after eight hours of pressure - one drop every 30 seconds is still a leak worth fixing.

Products Used

☐ The Checklist

How to Replace a Shower Head in 7 Steps

Tools
6
Materials
6
Steps
7
Video
8 min

Your Guide

DIY Power Couple

As an Amazon Associate we earn from qualifying purchases. Links on this page may be affiliate links - clicking them and buying doesn't change your price, but helps support ShowMeStepByStep.

Tags

Related Tutorials