How to Install a Garbage Disposal - 7-Step Sink Plumbing Guide

Also in:Adulting

By ShowMeStepByStepPublished Updated

Based on a video by ToolRev.

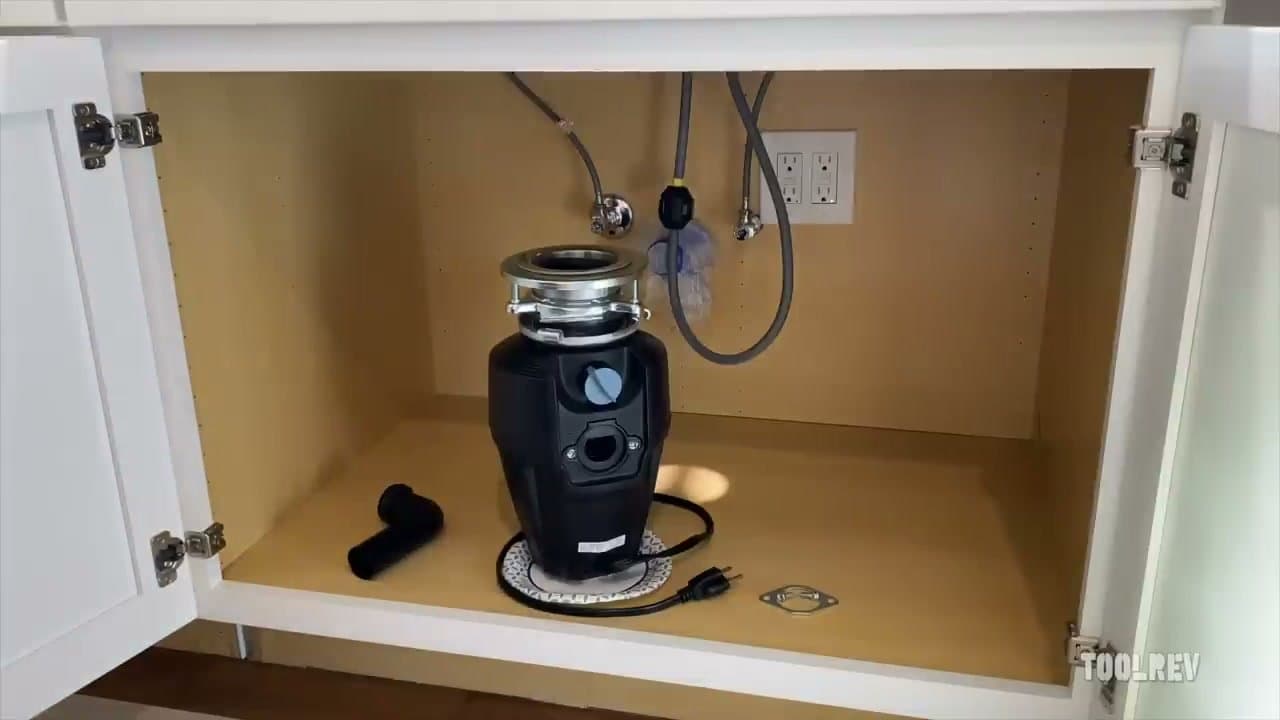
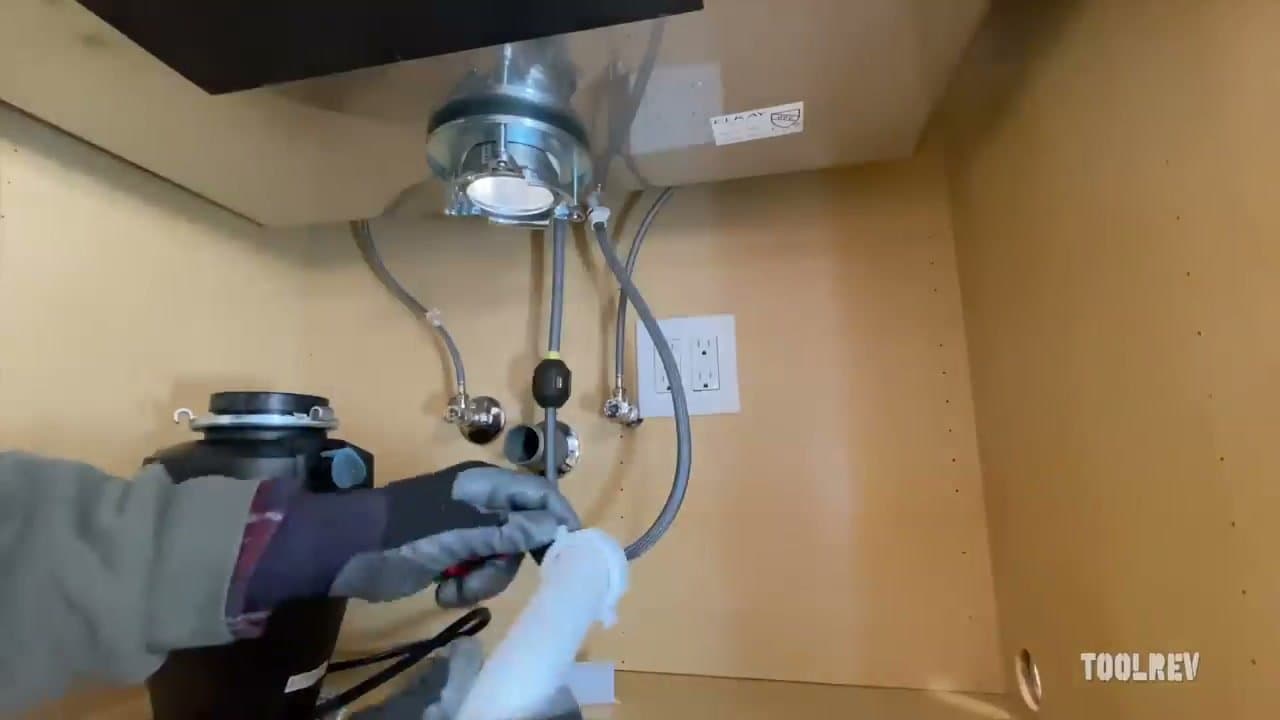
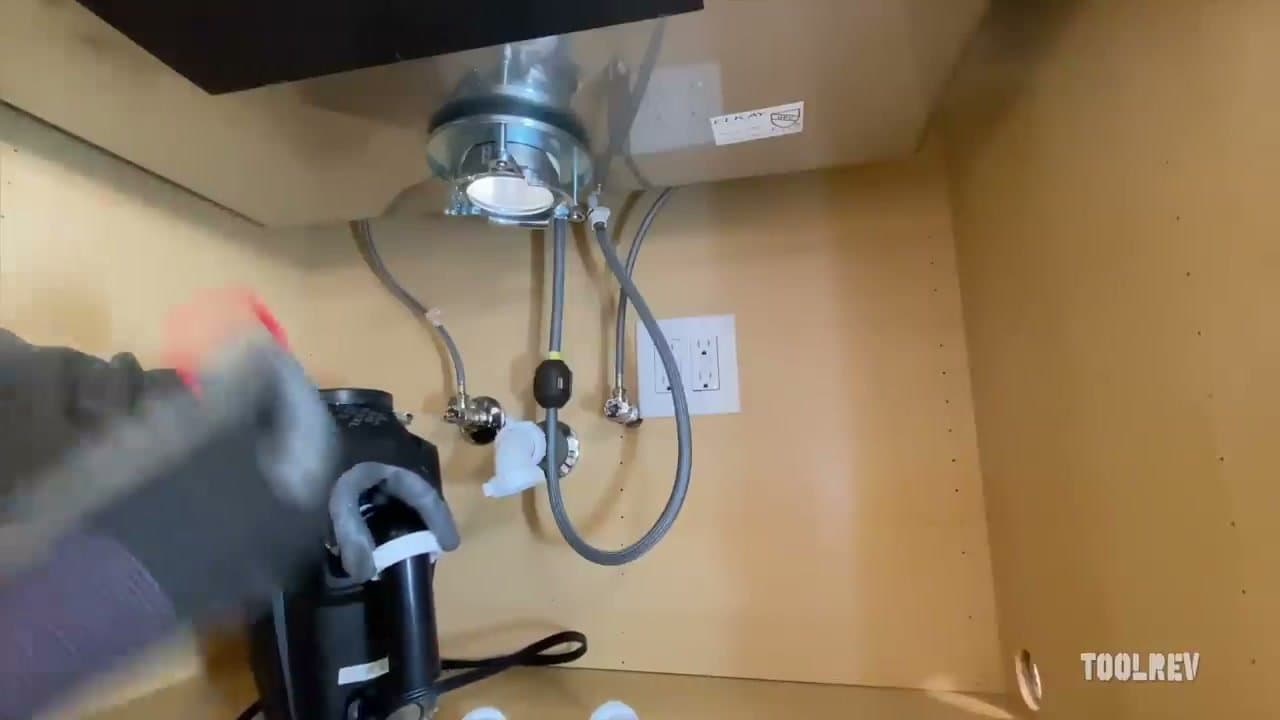
A garbage disposal install looks intimidating because you're working upside down inside a cabinet, but the actual plumbing is straightforward: drop a flange into the sink with plumber's putty, twist the disposal onto the flange's mounting ring, connect the discharge tube to the P-trap, and check for leaks. Two hours from start to first run.

This tutorial follows Alex at ToolRev installing a standard ring-mount disposal in a new sink. The same procedure works for replacing an old unit - just unhook the old one from below before you start. If your new disposal didn't come with a power cord, you'll need to wire one on (kits are sold at any hardware store) or hard-wire it to a switched circuit.

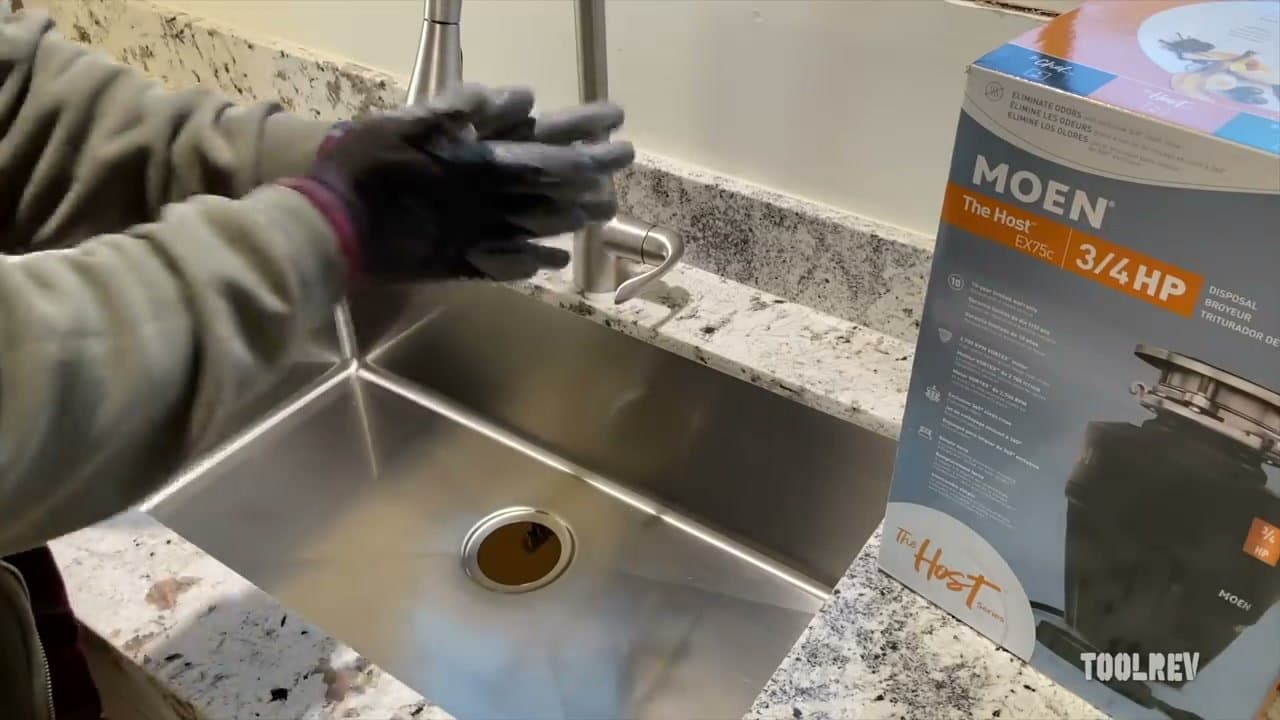
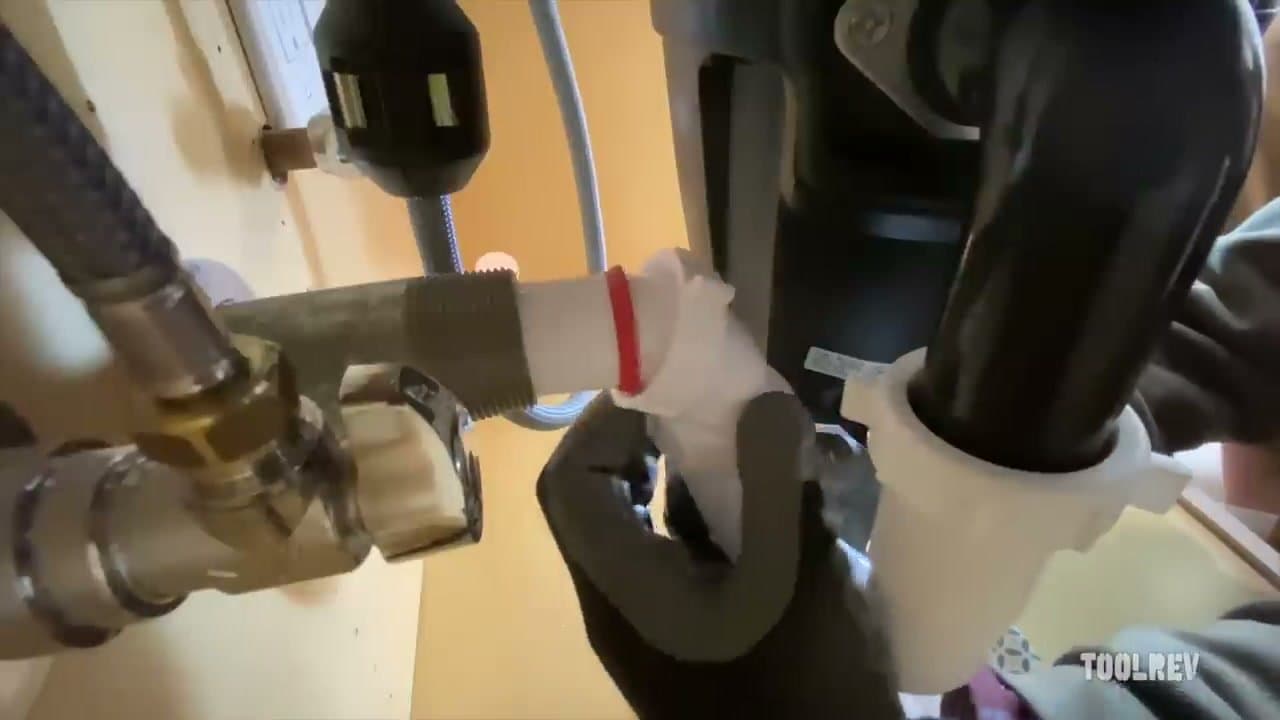
The most common rookie mistake is overtightening the mounting screws. The signal to stop is when the flange seats flush against the sink; if you keep going, the flange bends and the seal breaks. Hand-tight plus a quarter turn is plenty.

Frequently asked questions

What tools do I need to install a garbage disposal?

A cordless drill, a Phillips screwdriver, slip-joint pliers, a putty knife, and a tube of plumber's putty. A bucket and an old towel under the cabinet keeps water from running down the back of the cabinet base. If your new unit didn't ship with a power cord, you'll also need a cord kit (about $8 at any hardware store) or hard-wire it to a switched circuit.

Do I really need to turn off the breaker AND unplug the disposal?

Yes. The wall switch only kills the outlet under specific wiring, not all of them, and a live disposal under a wet sink is exactly how electrical injuries happen. Cut the breaker first, then unplug the unit. Test that the switch does nothing before reaching under there.

What if I already have a dishwasher hooked into the old disposal?

The new disposal ships with the dishwasher inlet port plugged from inside. Reach into the disposal with a hammer and a flat-head screwdriver and knock out the plastic knockout. If you skip this, the dishwasher backs up the first time it drains. Reattach the dishwasher hose with a fresh steel hose clamp.

How long does the install take a first-timer?

About 90 minutes to 2 hours if the under-sink space is clear and the old flange comes out clean. A replacement (vs a brand-new install) goes faster because the discharge pipes and power feed are already there. Budget extra time if you've never cut PVC or done a P-trap before.

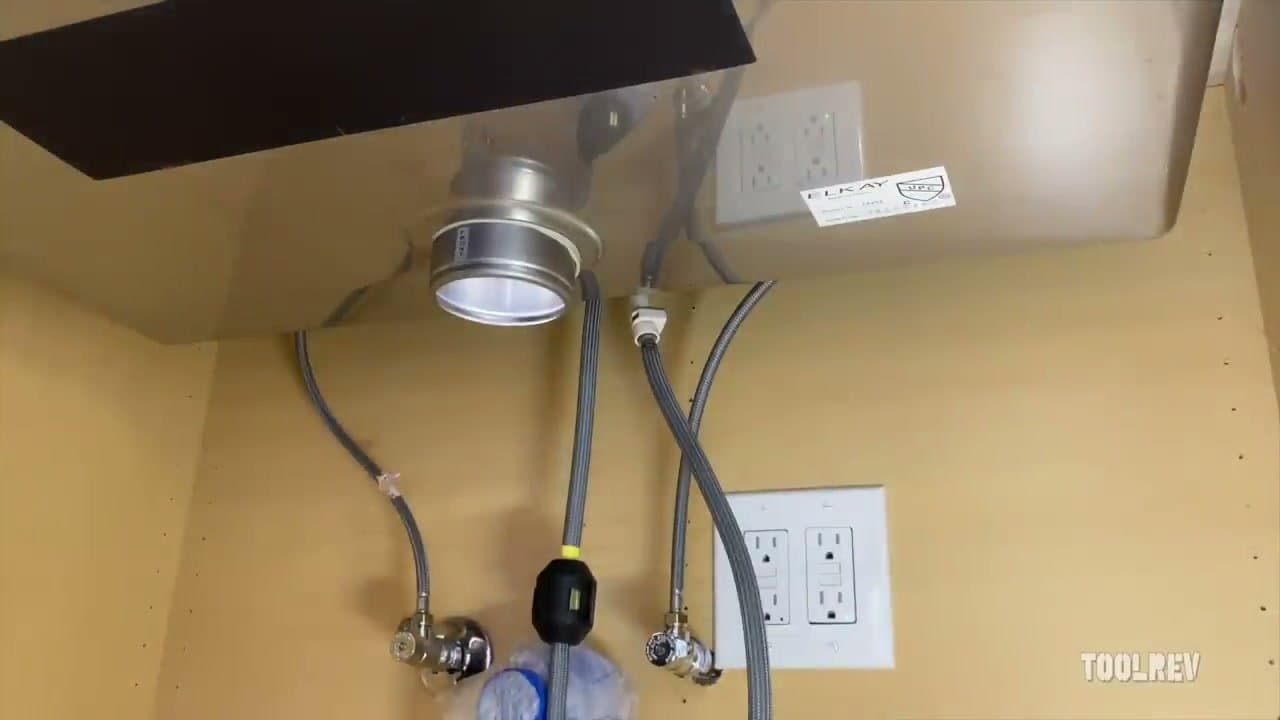
The old flange won't come out of the sink. What's the trick?

Plumber's putty seizes up after a few years and the flange feels welded in place. Tap the rim from underneath with a rubber mallet to break the seal, then push up firmly. If it still resists, run a hairdryer over the flange from above for a minute to soften the dried putty. Don't pry from the top with a chisel: you'll scratch the sink.

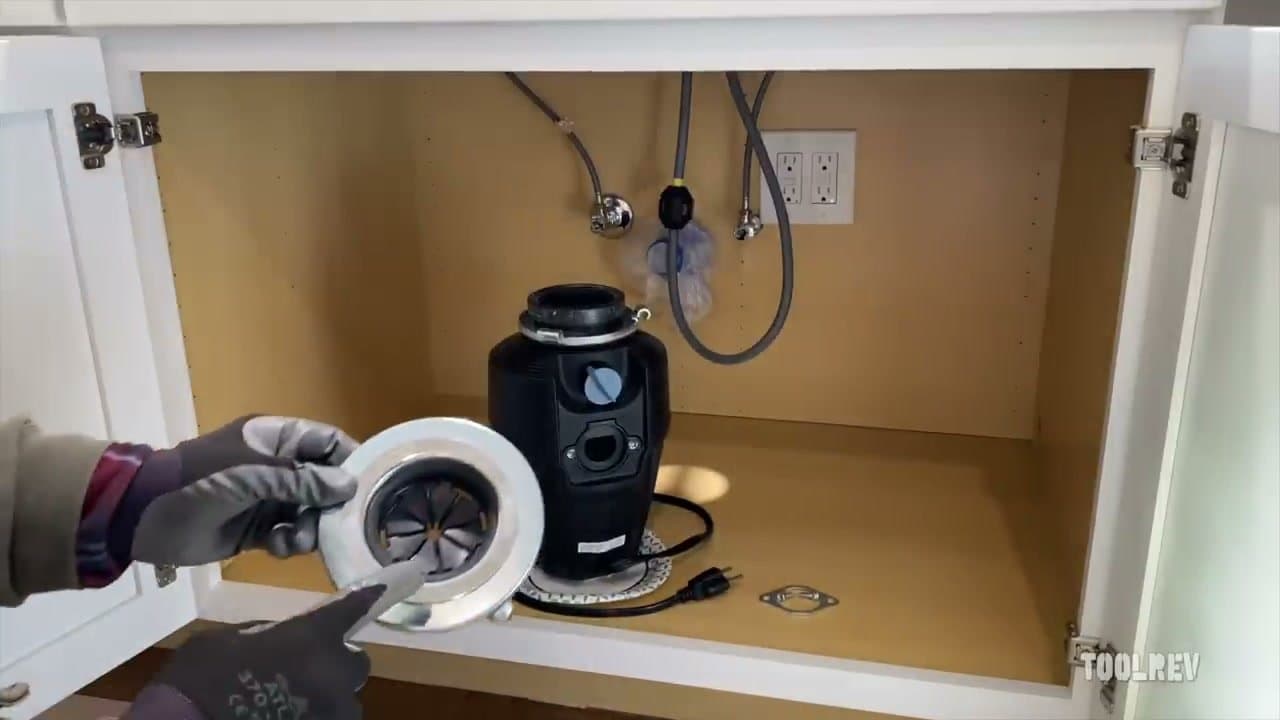
I finished the install and the disposal hums but won't spin. Now what?

That's a jammed flywheel, not bad wiring. Cut power again, look on the bottom of the unit for the small hex socket in the center, and insert the included hex wrench. Twist it back and forth until the flywheel turns freely. Hit the red reset button on the bottom and restore power. Run cold water and try again.

Step-by-Step Guide

1

Step 1: Lay Out the Parts and Verify What You Have

0:22
Step 1: Step 1: Lay Out the Parts and Verify What You Have

A ring-mount disposal ships with the sink-flange assembly (the silver ring you'll see in the sink), three mounting screws, a snap ring, a fiber gasket, and a discharge tube with rubber gasket. The disposal body itself has the motor and grinding chamber inside.

Check whether the disposal comes with a pre-installed power cord. Many do, but not all - if yours doesn't, you'll need to wire one on from a hardware store kit (about $10) or hard-wire it to a switched circuit. If you're swapping an old disposal, the existing power cord typically works on the new unit - follow the new manual's wiring diagram.

You'll also need a P-trap kit from the hardware store. The P-trap is the curved pipe that connects the disposal's drain to the wall stub-out. Don't reuse a corroded old P-trap.

Tip

Open the manual before you start and flip to the wiring page. Five minutes of reading saves 30 minutes of guessing under the sink with a phone flashlight.

2

Step 2: Disassemble the Sink Flange Assembly

1:00
Step 2: Step 2: Disassemble the Sink Flange Assembly

Before you can install the flange into the sink, you need to break the assembly into its pieces. Back the three mounting screws out all the way - they're on the underside of the upper mounting ring.

With the screws out, use a flathead screwdriver to pop the snap ring off. The snap ring is a black retaining clip that holds the upper ring against the flange. Lift the upper mounting ring and fiber gasket away. The sink flange (the silver piece that goes into the drain hole from the top) should now be free.

Tip

The snap ring tends to fly when it pops. Hold a hand over it as you pry to catch it - chasing a black plastic ring across the floor of a cabinet with a flashlight is a 20-minute detour.

3

Step 3: Apply Plumber's Putty to the Sink Flange

1:45
Step 3: Step 3: Apply Plumber's Putty to the Sink Flange

Plumber's putty creates the water seal between the flange and the sink. Roll a small amount of putty into a rope about the diameter of a pencil. Wrap the rope around the bottom edge of the sink flange in a complete ring.

From above the sink, drop the flange into the drain hole and press it down firmly. Excess putty will squish out around the edges - leave it for now, you'll wipe it clean once the flange is bolted in.

Line up the flange so any branding or logos face the way you want before you commit. Once the putty seats it's harder to rotate.

Tip

Plumber's putty is not silicone caulk - don't substitute. Silicone makes a seal but won't release later if you need to remove the flange for cleaning or replacement. Putty stays workable for decades.

Products used in this step

4

Step 4: Mount the Flange from Below and Tighten Evenly

2:45
Step 4: Step 4: Mount the Flange from Below and Tighten Evenly

Get under the sink. Slide the fiber gasket up onto the bottom of the flange, then the upper mounting ring on top of that. Hold them in place with one hand while you snap the retaining ring on with the included plastic tool (or a screwdriver).

Now tighten the three mounting screws. The trick here is to tighten them EVENLY - go around in a star pattern, a quarter-turn at a time on each, rather than running one screw all the way down and then moving to the next. Even pressure means the flange seats flat instead of warping.

Stop tightening when you see the flange firmly contact the sink and putty squeezes out around the edges. If you start to see the flange bend or bow, you've gone too far - back off a quarter turn.

Tip

The flange should feel rock-solid when you wiggle it from above. If it has any play, the seal will leak - tighten the screws another quarter turn each. If it's bending the metal, you went too tight.

5

Step 5: Attach the Discharge Tube to the Disposal

4:40
Step 5: Step 5: Attach the Discharge Tube to the Disposal

The discharge tube is the 1.5-inch elbow with the rubber gasket that carries waste water out of the disposal. Position the rubber gasket onto the disposal's side outlet, then bolt the discharge tube on with the included bracket and two screws.

Tighten until the rubber washer compresses enough to form a water seal - usually two or three full turns past finger-tight. Over-tightening crushes the rubber and ruins the seal, so stop when the washer is firm against the metal.

Slide the slip nut and slip washer onto the free end of the discharge tube. You'll connect those to the P-trap once the disposal is mounted on the sink.

Tip

If the rubber gasket extends past the seal point, trim the excess with a sharp knife. A bunched gasket creates a slow drip that won't show up until the next dinner party.

6

Step 6: Mount the Disposal onto the Sink Flange

5:35
Step 6: Step 6: Mount the Disposal onto the Sink Flange

Now the heavy part. The disposal's lower ring has three tabs that engage three matching ramps on the upper ring you installed under the sink. Lift the disposal straight up (it's heavy - support it with both hands or a knee) and align the tabs with the ramps.

Once the tabs touch the ramps, twist the disposal clockwise. The tabs ride up the ramps and lock the disposal in place. You can use the wrench that came in the box, but if the rings are clean it usually goes on hand-tight.

The disposal will still rotate after locking, which is intentional - it lets you aim the discharge tube toward your existing plumbing without removing the whole unit.

Tip

Rest your back. The disposal weighs 10-15 pounds and you're holding it overhead at full arm extension. Take it in stages and rotate the disposal in 90-degree increments.

7

Step 7: Connect the P-Trap and Check for Leaks

6:50
Step 7: Step 7: Connect the P-Trap and Check for Leaks

The P-trap connects the disposal's discharge tube to the wall stub-out. Hold the P-trap up to see where it needs to land - the curved section sits below the disposal, and the straight section runs to the wall.

Cut the wall tube (the straight piece that slides into the wall stub-out) down so it doesn't extend past the wall opening. A hacksaw or PVC cutter does this cleanly. Deburr the cut edge with a knife or sandpaper so it slides smoothly through the slip nut.

Slide the slip nuts and washers into position and hand-tighten. A wrench is overkill for these plastic fittings - it cracks the threads. Once everything is connected, run hot and cold water through the sink for 30 seconds, then look under every joint with a paper towel. Any moisture means tighten that nut a quarter turn. No moisture means you're done.

Tip

Test the disposal with the water running before you put your tools away. Flip the wall switch - if you hear a low growl and the motor doesn't spin, you may have a power cord wire backwards. If you hear nothing, check the breaker first.

Products Used

☐ The Checklist

How to Install a Garbage Disposal - 7-Step Sink Plumbing Guide

Tools
7
Materials
6
Steps
7
Video
8 min

Your Guide

ToolRev

As an Amazon Associate we earn from qualifying purchases. Links on this page may be affiliate links - clicking them and buying doesn't change your price, but helps support ShowMeStepByStep.

Tags

Test your knowledge

Did the lesson stick? Find out in 2 minutes.

5 quick questions covering what you just read. No signup, no score saved — just a gut check.

Quick reference

Key takeaways from How to Install a Garbage Disposal - 7-Step Sink Plumbing Guide

5 questions, answers, and one-line explanations. Tap to expand.

  1. 1.Before doing anything else under the sink, what should you do?

    Answer: Cut power at the breaker and unplug the disposal

    Power off first. A live disposal under a wet sink is how people get hurt.

  2. 2.What goes between the new sink flange and the sink itself?

    Answer: Plumber's putty

    A rope of plumber's putty under the flange makes the watertight seal.

  3. 3.If you have a dishwasher draining into the disposal, what step do you NOT skip on a new unit?

    Answer: Knock out the dishwasher inlet plug inside the disposal

    New disposals ship with the dishwasher port plugged. Forget the knockout and the dishwasher backs up.

  4. 4.What is the discharge tube on a disposal?

    Answer: The pipe that carries waste water out to the P-trap

    Discharge tube = outlet pipe. It connects the disposal to the drain line and P-trap.

  5. 5.After installing the disposal, what's the right way to test it?

    Answer: Run cold water, then turn on the disposal

    Cold water first, then power on. Cold helps fat solidify so it grinds instead of coating the pipes.

What's next

Related collections

Curated theme pages that include this tutorial.

Weekly Digest

Liked this home improvement tutorial?

Pick the categories you want to hear about. Weekly digest of new step-by-step tutorials. No spam, easy unsubscribe.

Send me tutorials about

We only email about new tutorials. Easy unsubscribe anytime.