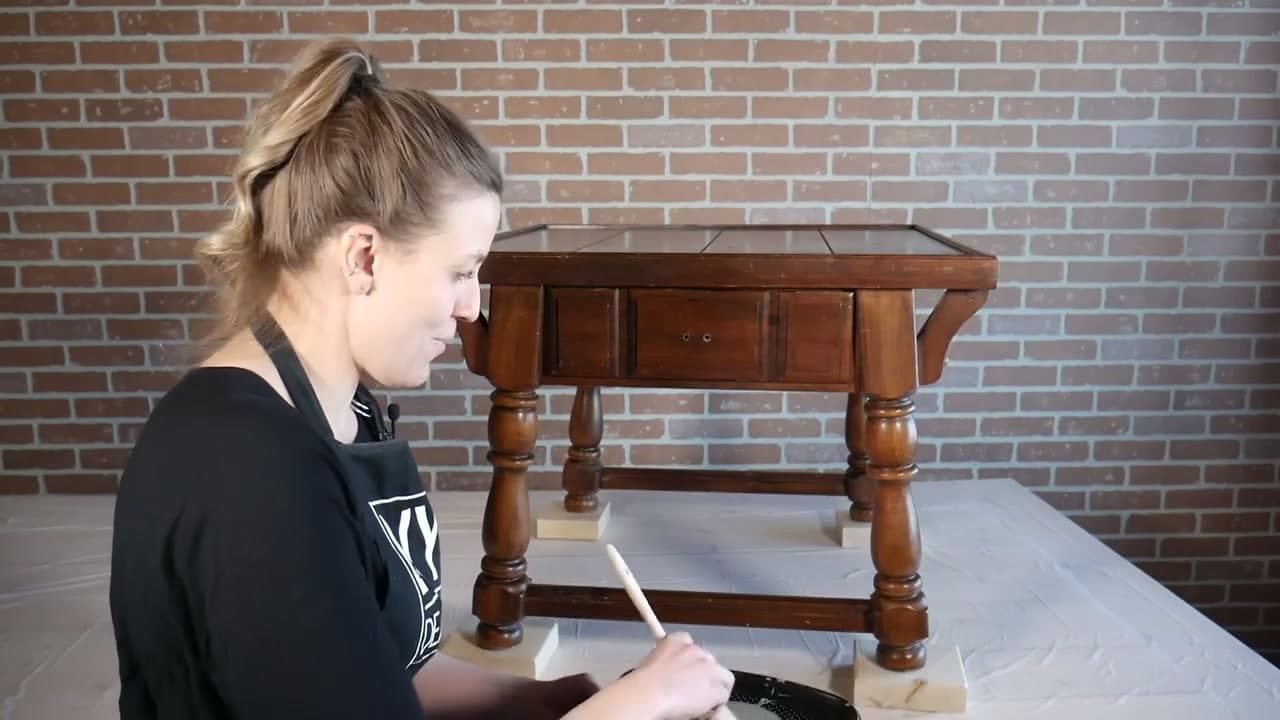
Step 1: Clean the Piece (Skip Sanding and Priming)
0:35
Chalk paint bonds to bare wood, painted wood, laminate, and metal without sanding or priming first. But it bonds to dirt and grime too - so the only prep step is a thorough clean. Wipe every surface of the piece with warm soapy water, or use TSP (trisodium phosphate) cleaner for greasier surfaces like a kitchen cabinet or a piece that's lived in a smoky room.
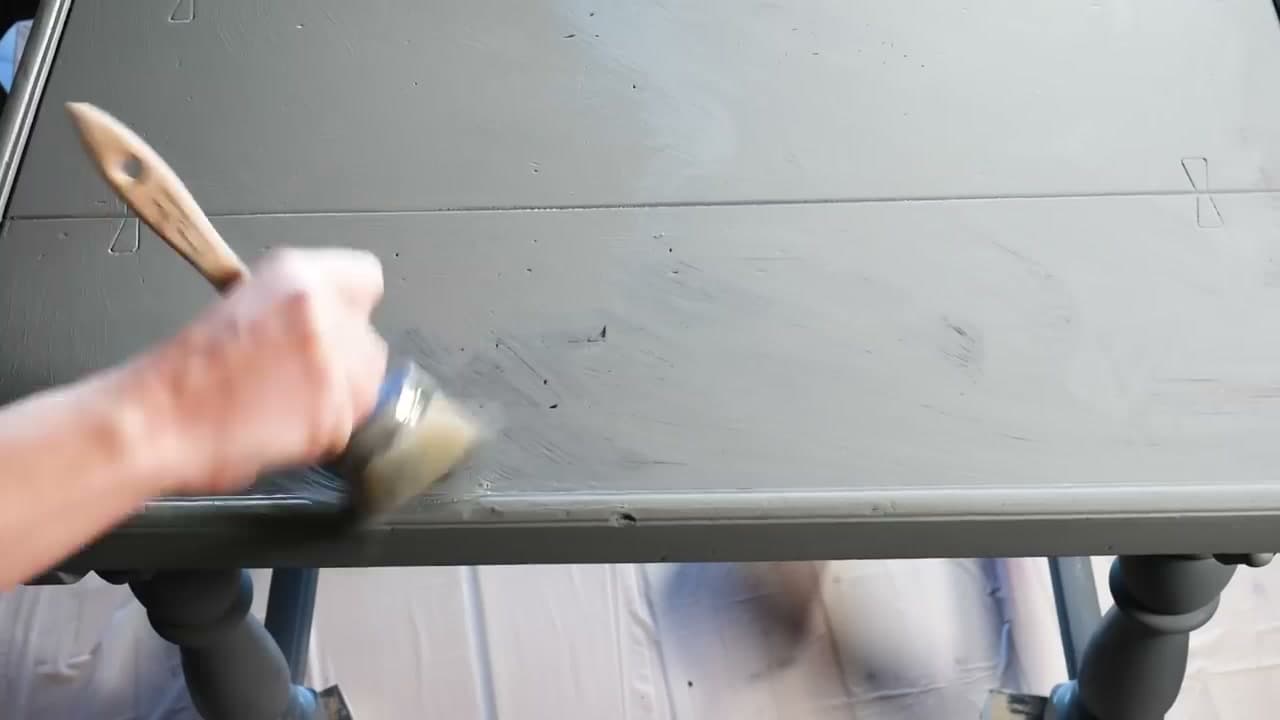
Pay attention to corners, crevices, and the underside of the top. Let everything dry completely before you open the paint - even a thin film of moisture or residue will keep the paint from adhering properly.
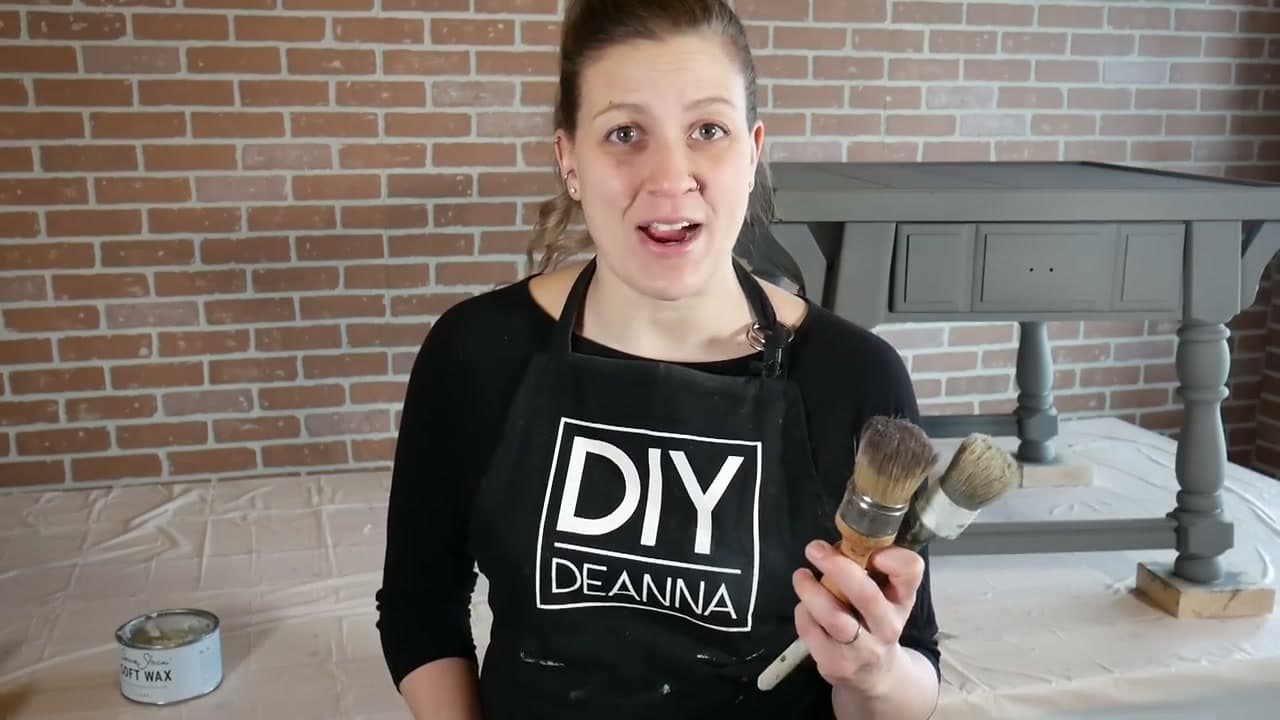
Tip
Don't skip the cleaning step thinking the paint will cover it. Dust, kitchen grease, and silicone furniture polish all prevent chalk paint from gripping properly, and you'll see it lift off in patches once it dries.