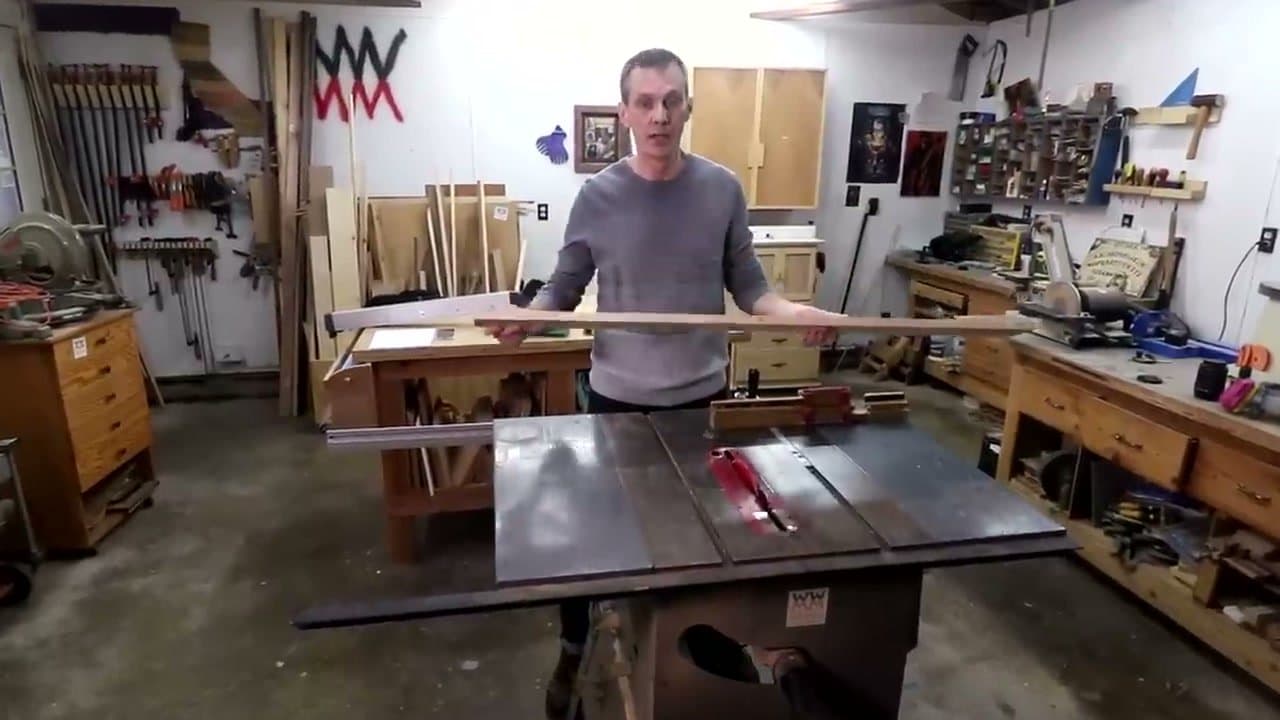
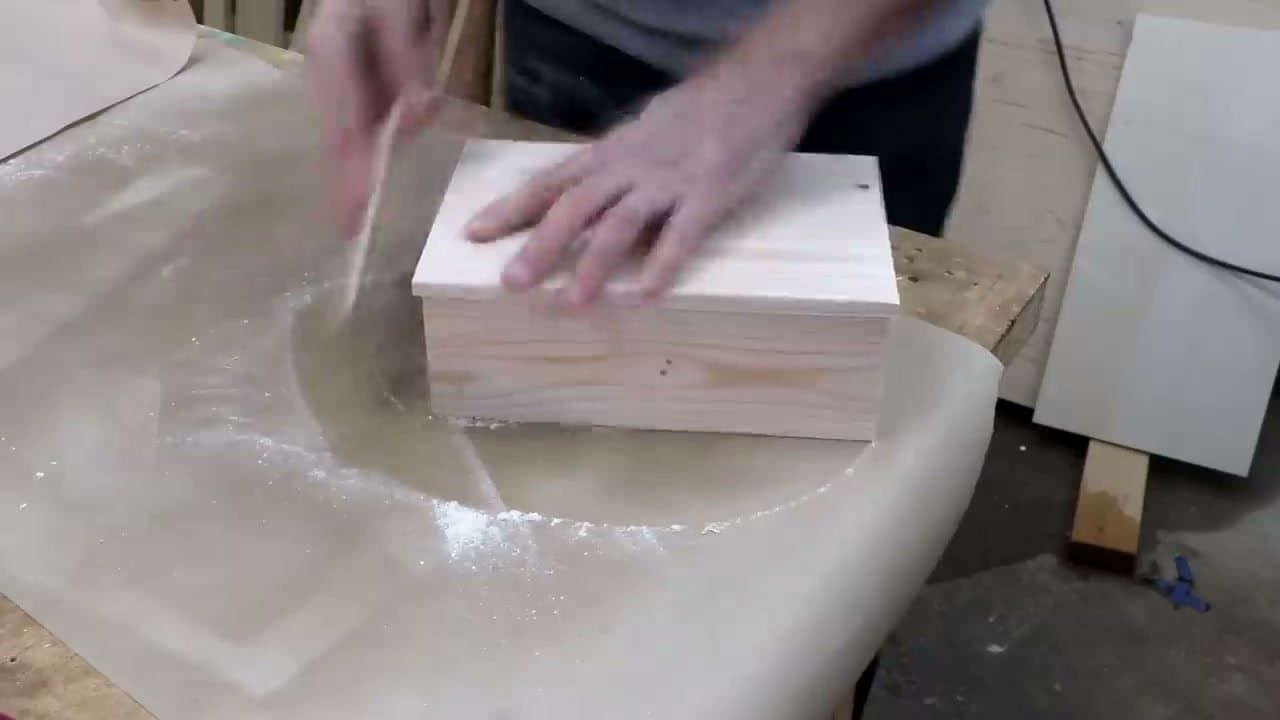
How to build a wooden box is one of the best beginner woodworking projects there is. The wooden box frame uses rabbit joints - a basic step up from butt joints - and once you've made one box you can construct a wooden box, drawer, cabinet carcass, or bookcase using the same five steps.
This walks through how to make a wooden box from milled lumber to glued-up frame. Keep the rabbit depth at half the stock thickness and the corners stay flush. Once you've built one, scale the dimensions up for a keepsake box, a tool tray, or a small drawer carcass. For the prerequisite power tool skills, see how to use a drill, miter saw basics, circular saw basics, router basics, and how to use a jointer.
What kind of wood is best for a beginner wooden box build?
Pine or poplar from the home center. Both are cheap, soft enough to cut cleanly with basic tools, and forgiving if your rabbit joints aren't perfect on the first try.
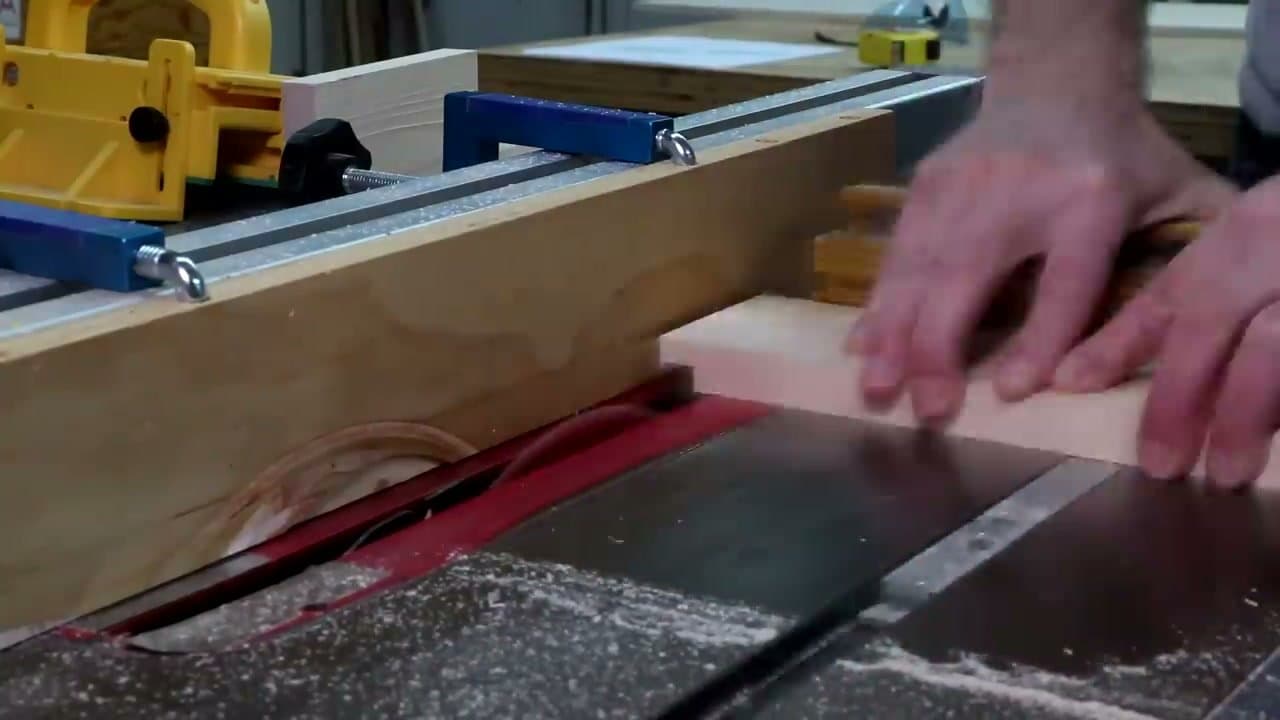
Can I build a wooden box without a router or table saw?
Yes. You can cut rabbit joints with a circular saw and a chisel, or skip the rabbits entirely and use butt joints with brad nails and glue - slightly weaker but still solid for a small box.
How long does it take to build a wooden box?
Plan for 2-3 hours start to finish if you're new. Most of that is glue dry time. Active cutting and assembly is about 45 minutes once the lumber is milled to size.
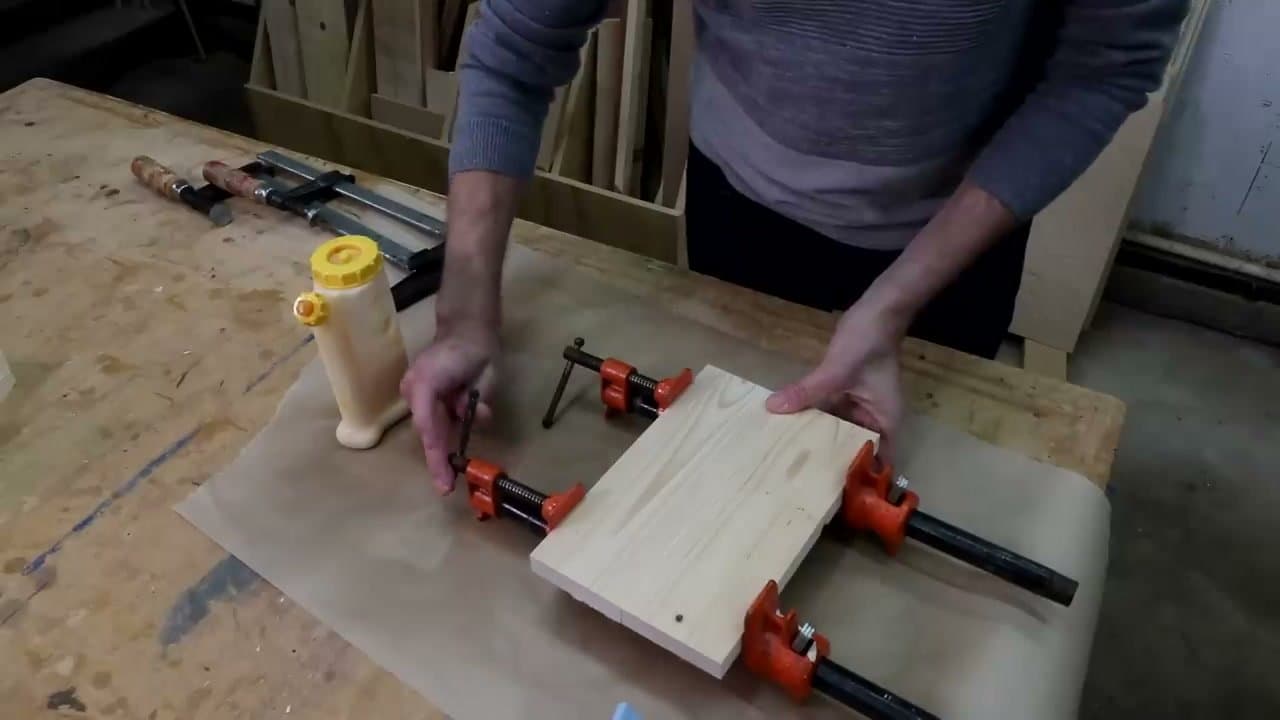
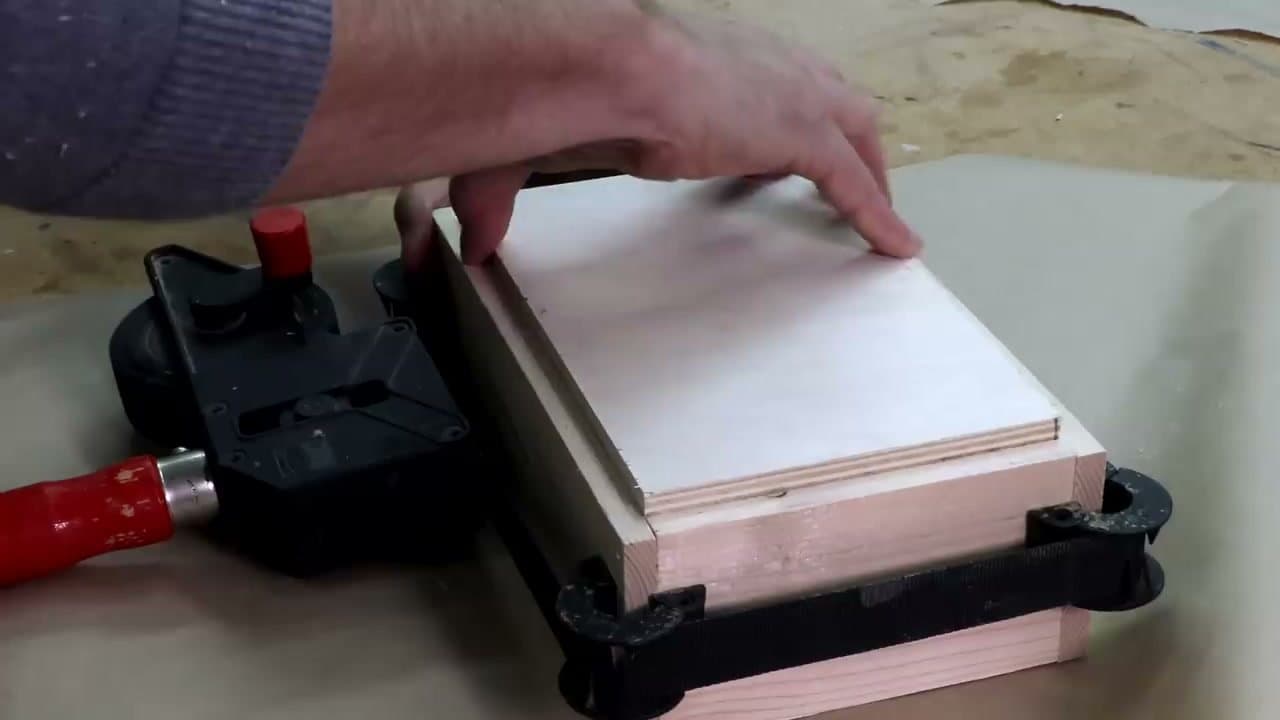
Do I need clamps to glue up a wooden box frame?
You need at least four bar clamps or quick clamps, one per corner. Box joinery wants even pressure on all four sides while the glue sets, or the frame will rack out of square.