How to Tie Dye a Shirt - 4 Easy Designs for Beginners

CraftsEasy19:437 steps

Based on a video by Kylee Makes It - Art Videos for Kids.

Tie-dye is about two things: how you fold the shirt before it gets dyed, and which sections you color. Change the fold and you change the pattern. This tutorial walks through four classic patterns that cover most of what you'll see on a tie-dyed shirt: sunburst, swirl, stripes, and bullseye. Once you've done each one, you can mix them on a single shirt.

The other trick in this tutorial is the microwave set method. Traditional tie-dye needs six to eight hours of resting time for the color to lock into the fabric. Two minutes in the microwave plus fifteen minutes of rest does the same thing. This is the method Kylee Makes It uses with kids, and it's the reason this whole project fits into a single afternoon.

Use a plain white cotton shirt - synthetic blends don't hold the dye well. Work outside or on a tarp, because the dye will splatter.

Step-by-Step Guide

1

Prep the Dye Bottles and Soak the Shirt

3:12
Step 1: Prep the Dye Bottles and Soak the Shirt

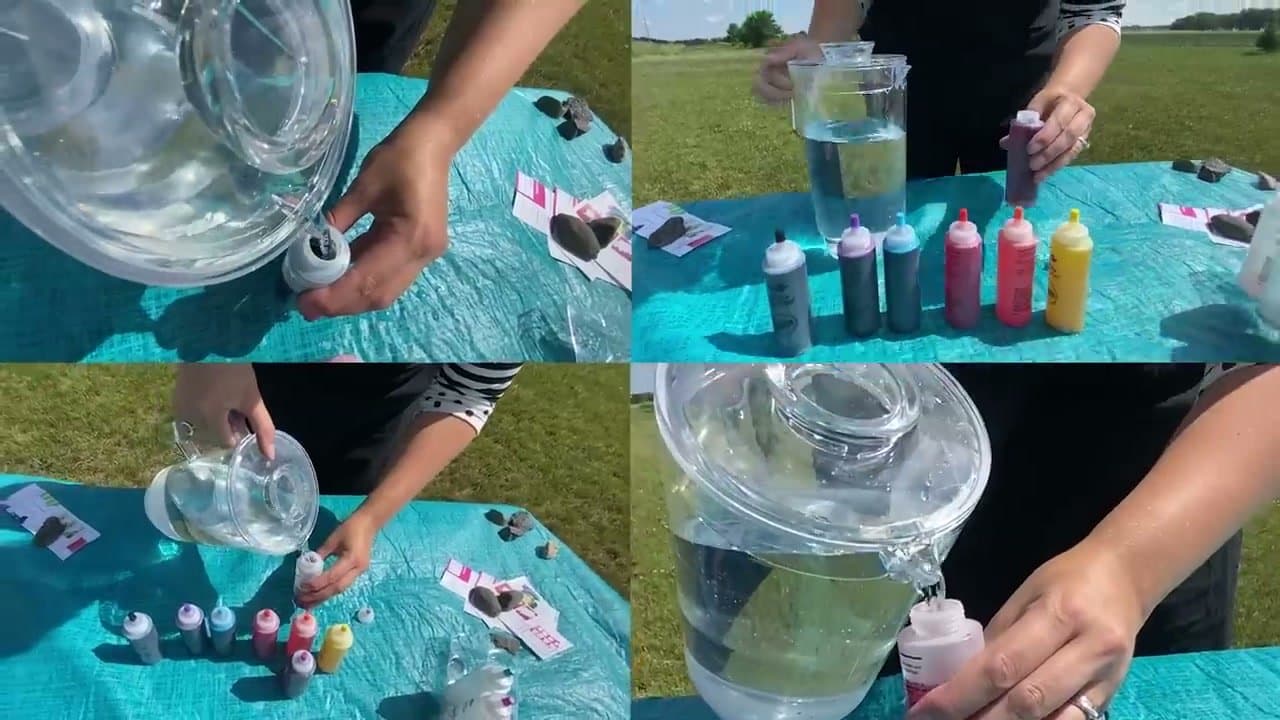
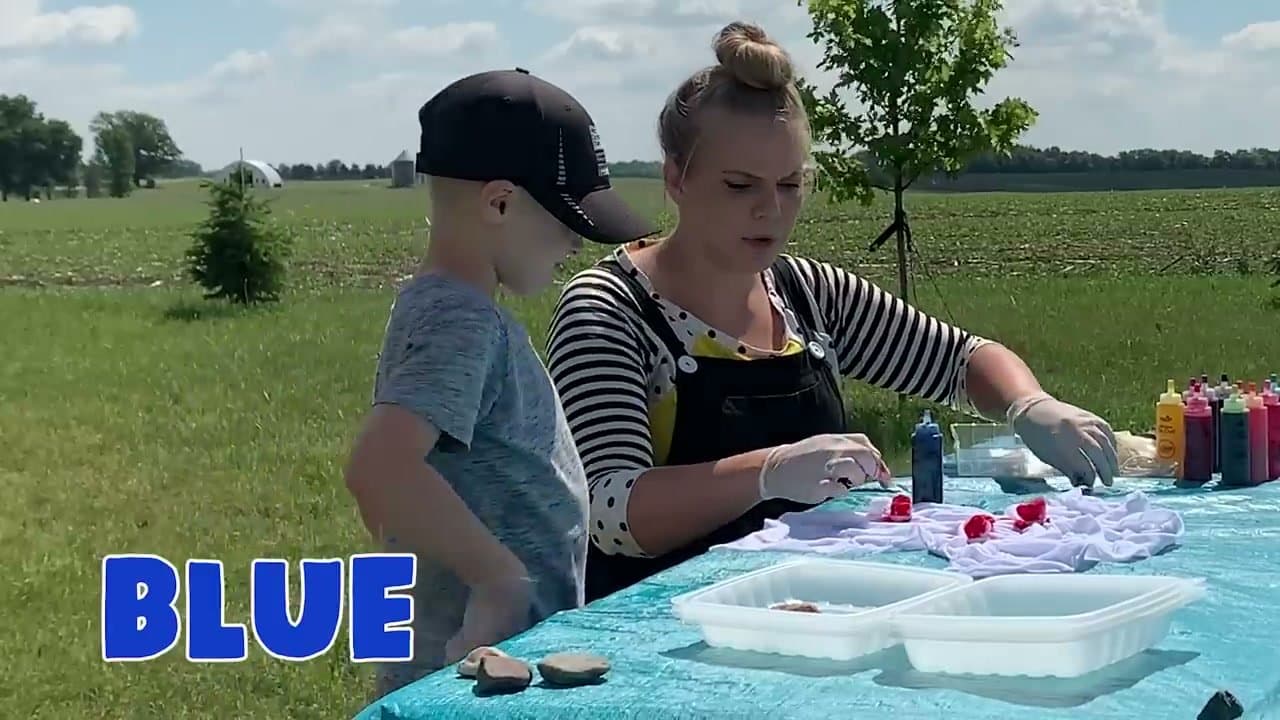
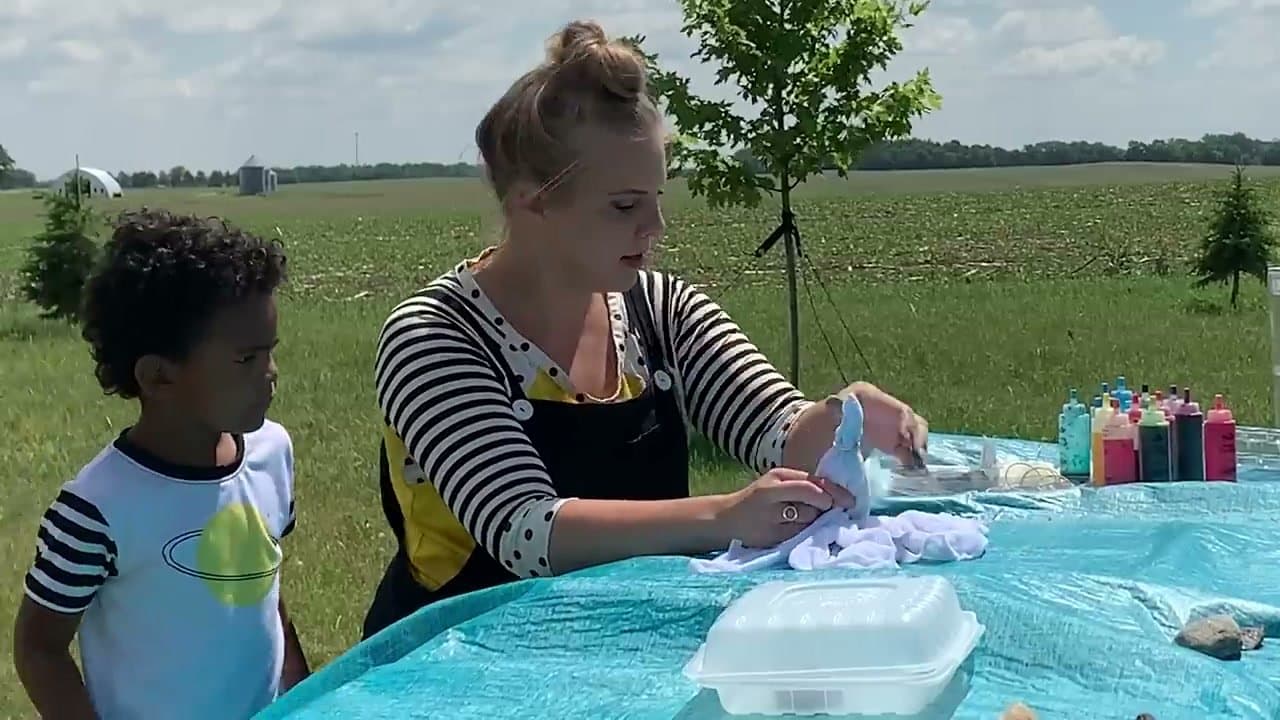
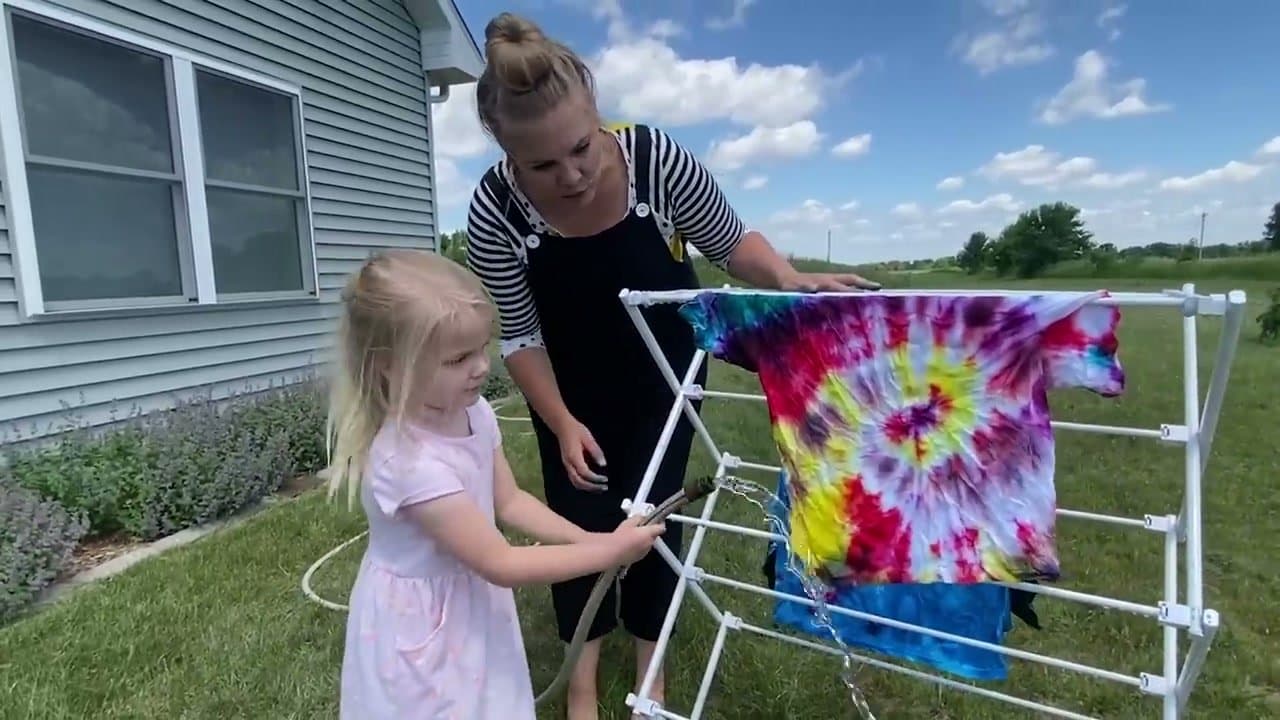
Drop a plain white cotton shirt into a bin of water and let it soak for at least two minutes. Wet fabric pulls color deeper and more evenly than dry fabric, so don't skip this.

While it soaks, prep the dyes. Each bottle comes with dye powder inside. Add water up to the fill line, cap it tight, and shake hard until the powder dissolves into a squirtable liquid. Do this for every color you're planning to use.

Tip

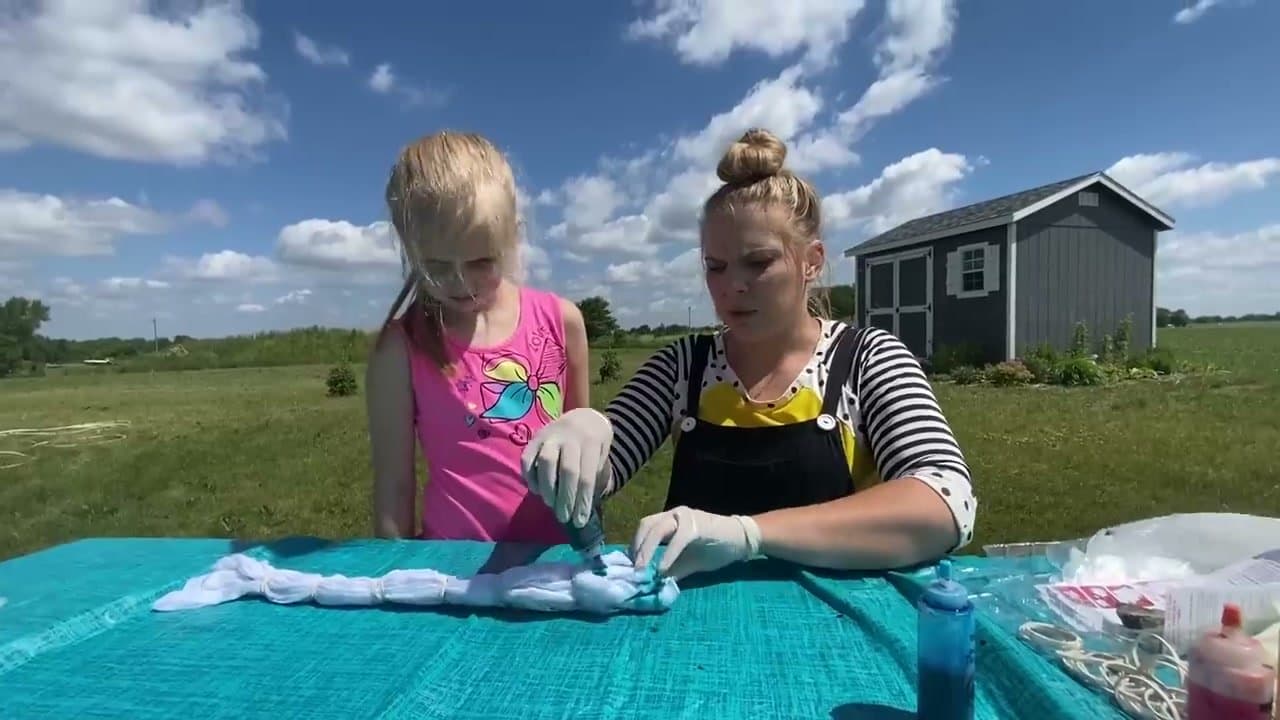
Wring the excess water out of the shirt before you start folding. If it's dripping, the dye will run into the folds and you'll lose the pattern.

2

Design 1 - Sunburst

5:32
Step 2: Design 1 - Sunburst

Lay the damp shirt flat. Pinch a small spot of fabric between your fingers and pull it up into a little cone. Wrap a rubber band tight around the base of the cone. Repeat wherever you want a burst - four to six spots spread across the shirt looks great.

Put on gloves. Squirt one color directly into the center of each pinched bump. Fill in the rest of the shirt with a contrasting color. Every rubber-banded pinch becomes a white starburst surrounded by color when you unwrap it.

Tip

Twist each pinched cone a few times before wrapping the rubber band. The tighter the twist, the sharper the white burst pattern.

3

Design 2 - Swirl

8:05
Step 3: Design 2 - Swirl

Lay the damp shirt flat on a table. Put two fingers on the spot you want at the center of the swirl. Pinch a tiny bit of fabric there and twist in one direction. Keep twisting until the whole shirt collapses into a flat spiral disc about the size of a dinner plate.

Criss-cross three or four rubber bands over the disc so it looks like a sliced pizza - each rubber band marks where one wedge ends and the next begins. Squirt a different color into each wedge. The rubber bands keep the dyes from blending into mud in the middle.

Tip

Twist in the same direction the whole time. If you accidentally untwist halfway through, the spiral won't be even.

4

Design 3 - Stripes

12:15
Step 4: Design 3 - Stripes

Fold the shirt accordion-style from bottom to top. Pick up the hem, fold it up about an inch, then fold the next inch back the other way, and keep going until the whole shirt is one long flat strip of pleats. Keep every fold tight.

Once the shirt is one strip, wrap rubber bands around it at three or four points to divide it into sections. Put one color per section. When you unfold the shirt, each section becomes a horizontal stripe, with a thin white line where the rubber band blocked the dye.

Tip

For diagonal stripes, fold the shirt on a 45-degree angle instead of straight across. Same technique, different direction.

5

Design 4 - Bullseye

13:15
Step 5: Design 4 - Bullseye

Pick the spot you want at the center of the target. Pinch that spot and pull it straight up so the shirt hangs like a long cone from your hand.

Wrap a rubber band around the cone close to the tip - that creates the inner ring. Wrap a second rubber band lower down the cone for the outer ring. Squirt a different color on the tip above the first band, one between the two bands, and one below the lower band. When the shirt opens back out, those three sections become three concentric circles.

Tip

You can add as many rubber bands as you want - each one becomes another ring in the bullseye.

6

Set the Color in the Microwave

14:28
Step 6: Set the Color in the Microwave

Place each banded shirt inside a microwave-safe plastic container. The container catches any dye that drips out and keeps the microwave clean. Put the lid on loosely so steam can escape.

Microwave on high for two minutes. The heat locks the dye into the cotton fibers. Without the heat step, most of the color rinses out pale.

After the microwave, leave the shirt in the container for another fifteen minutes so the dye fully sets before you unwrap it.

Tip

Don't use a container you care about. The plastic can stain even though it doesn't ruin the container's function.

7

Rinse and Reveal

18:28
Step 7: Rinse and Reveal

Snip every rubber band with scissors and unfold the shirt. Don't try to pull them off - they'll snag the fabric and the dye will splatter.

Rinse the shirt under cold running water until the water running off runs clear. A hose outside works fastest because the dye splashes. Then toss the shirts in the washing machine on cold, by themselves (the first wash can bleed onto other clothes). Dry them on low. Once they're dry, the colors are permanent and the shirt is ready to wear.

Tip

For the first three washes, wash tie-dye separately or with other darks. After that, the color stops bleeding and you can wash it with regular laundry.

Products Used

☐ The Checklist

How to Tie Dye a Shirt - 4 Easy Designs for Beginners

Tools
4
Materials
5
Steps
7
Video
20 min

Your Guide

Kylee Makes It - Art Videos for Kids

As an Amazon Associate we earn from qualifying purchases. Links on this page may be affiliate links - clicking them and buying doesn't change your price, but helps support ShowMeStepByStep.

Tags

Related Tutorials