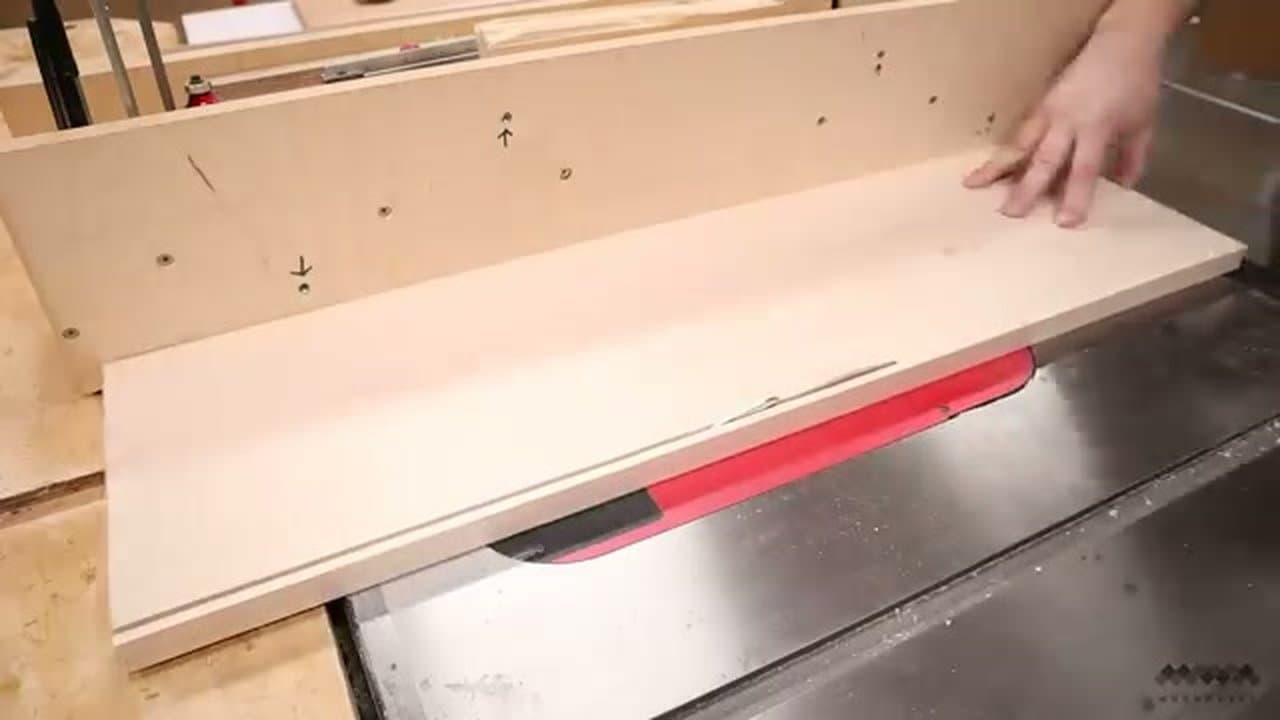
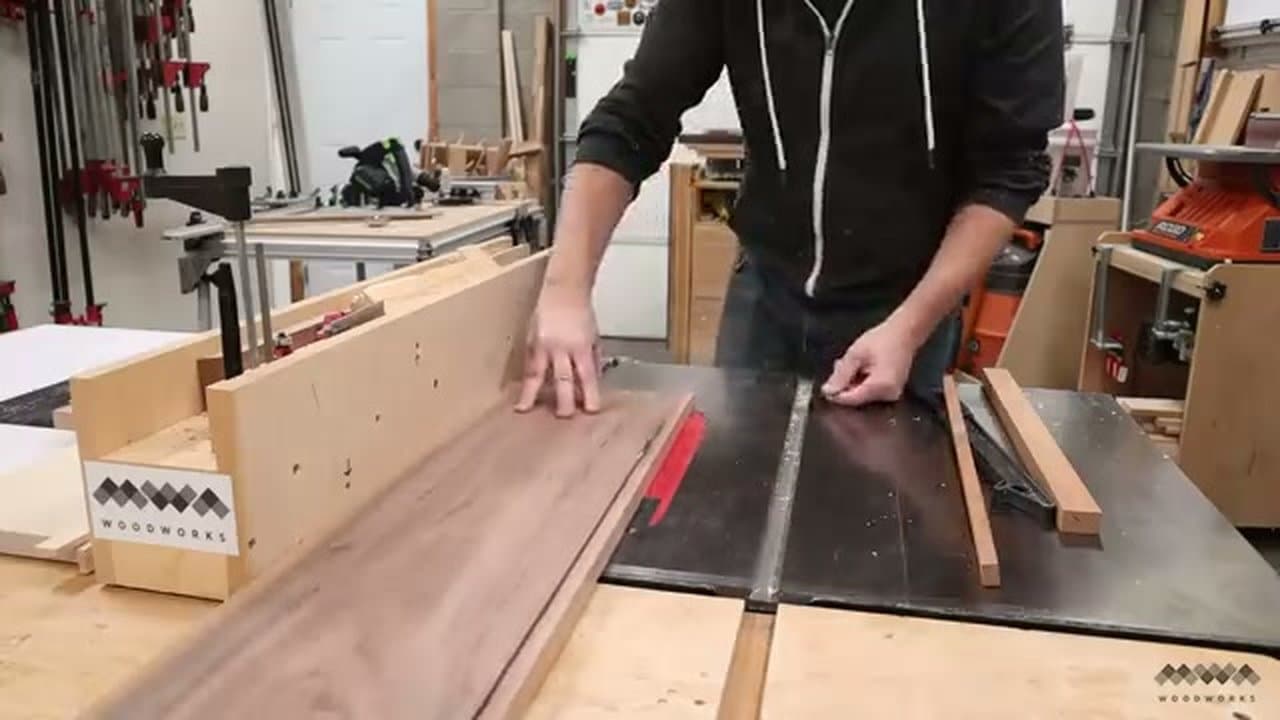
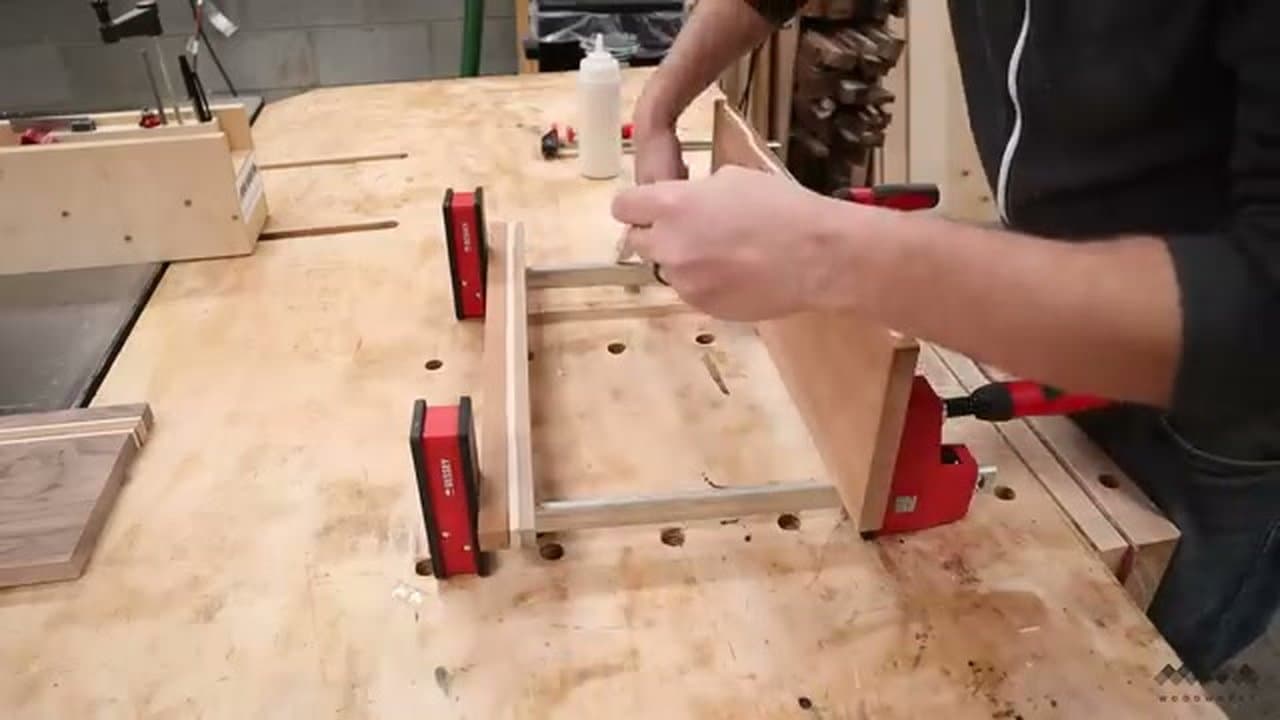
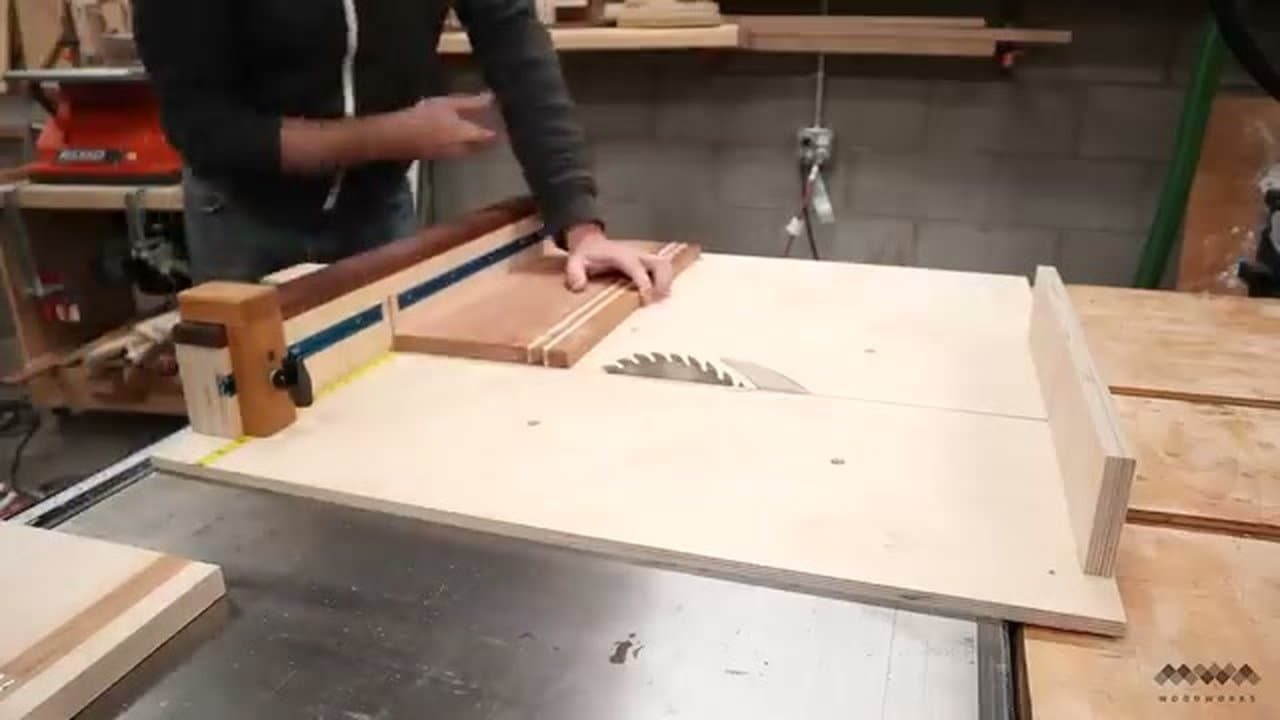
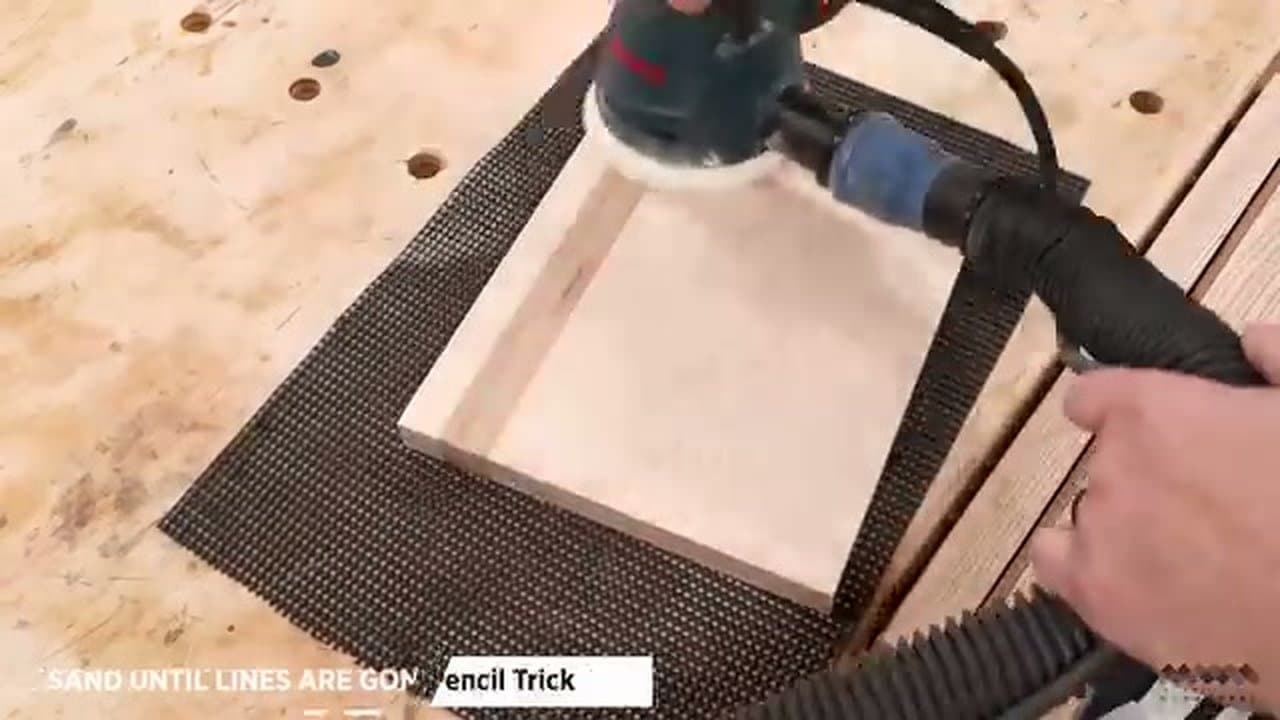
Cutting boards are the classic first woodworking project, but most tutorials assume you have a jointer and a planer to flatten the glue-up. This one doesn't. The trick is to use pre-surfaced hardwood lumber - most hardwood dealers sell boards with one straight edge already ripped, ready to take to the table saw - and to keep the glue-up to four joints maximum so you can flatten the result with sandpaper alone.
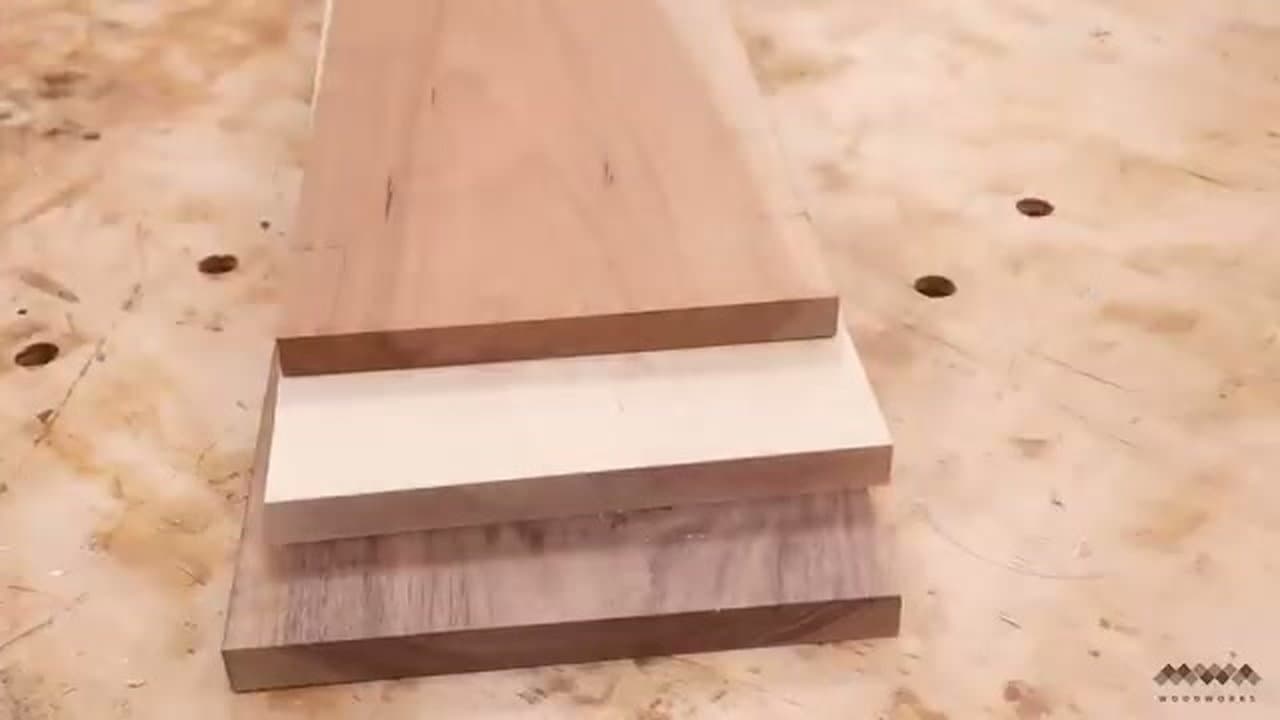
The example boards mix walnut, maple, and cherry. Each finished board takes about 8 hours of clamp time plus an hour of active work, so plan it as a weekend project.
Which wood is safe for a cutting board
Stick to tight-grained domestic hardwoods. Hard maple is the standard because it's tough and doesn't hold stains. Walnut and cherry are a touch softer and bring the color. Beech and birch work too.
Skip softwoods like pine, fir, and cedar - they dent under a knife and can pass flavors to food. Skip oily exotics like teak offcuts or cocobolo as well. Their oils fight the glue and some cause skin reactions. Red oak looks tempting, but its open pores wick moisture and trap food.
Edge grain vs end grain
| Edge grain | End grain |
|---|
| Look | Long stripes | Checkerboard |
| Knife wear | Moderate | Gentle, fibers close up |
| Build | One glue-up, no planer needed | Two glue-ups, needs flattening |
| Oil it takes | A little | A lot |
This build is edge grain. Save end grain for your second or third board, once you own a way to flatten it.
Glue and finish that are food safe
Titebond III is the glue most makers use. It's water resistant and rated for indirect food contact once cured, so a sponge wipe won't open the joints. Give it the full overnight cure before you cut.
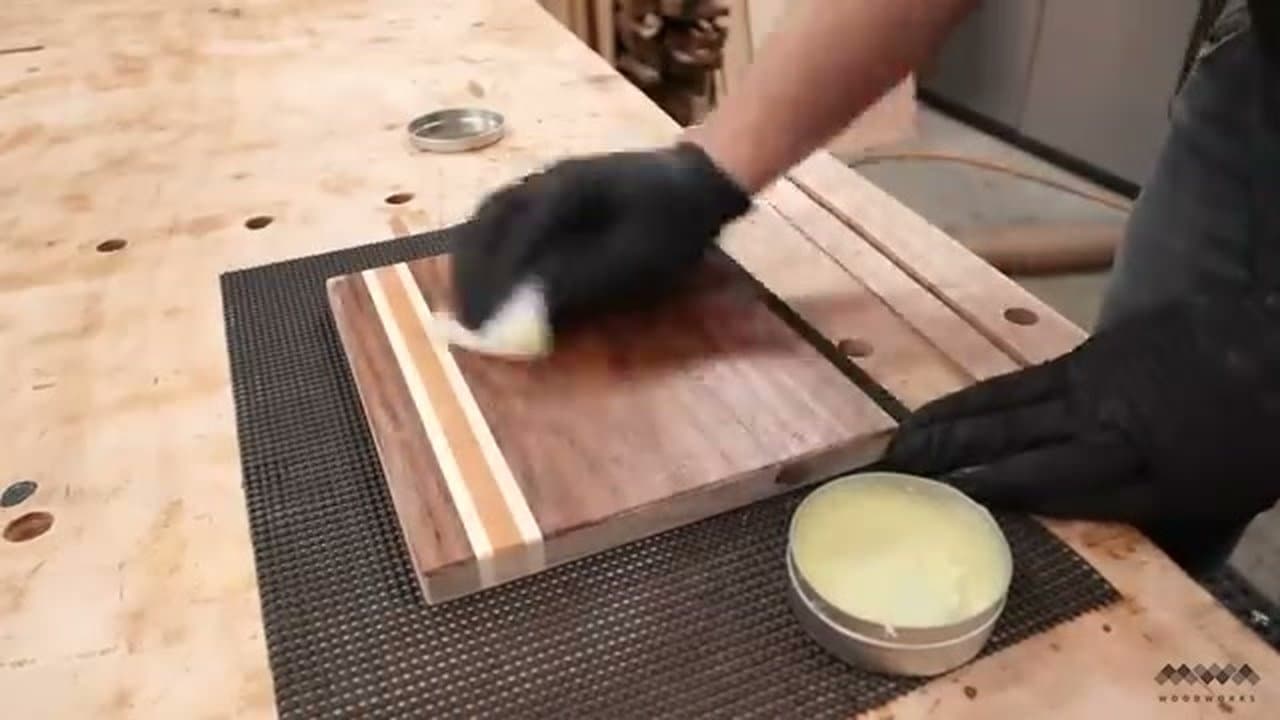
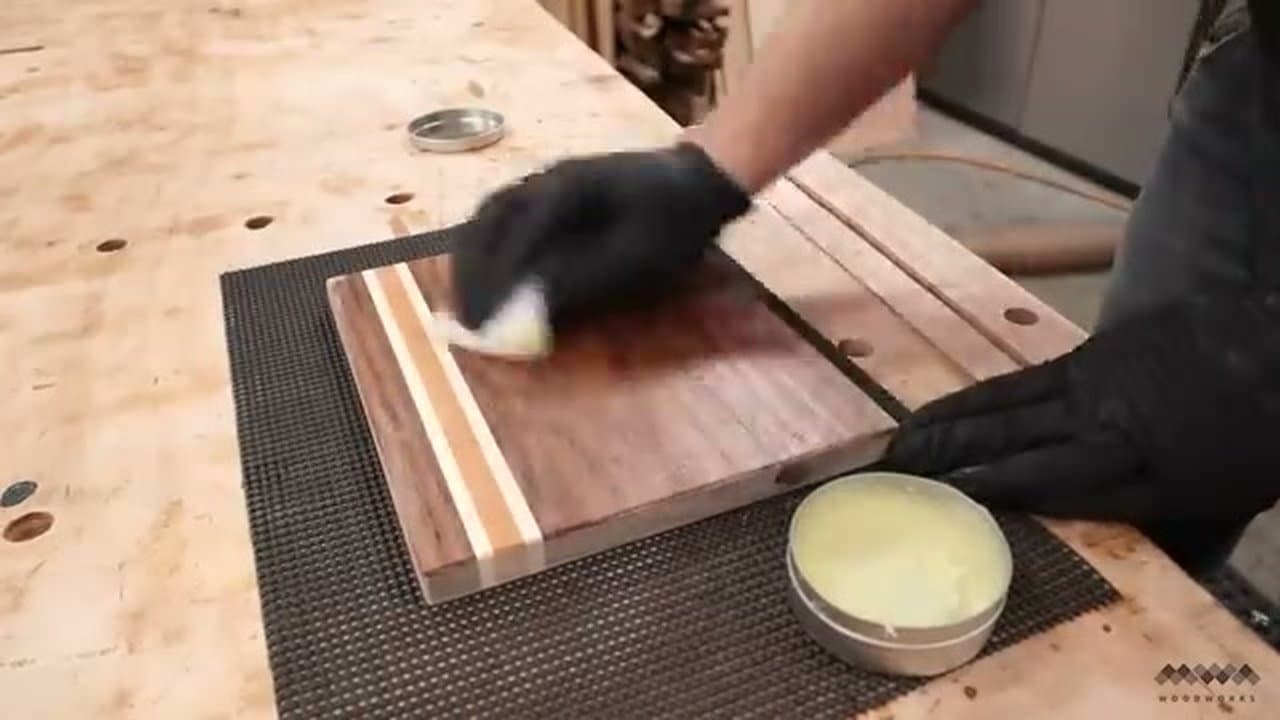
For the finish, use food-grade mineral oil, then a board butter of mineral oil and beeswax (roughly 4 parts oil to 1 part wax, melted together). The oil soaks in, the wax sits on top and slows water down. Never use varnish, polyurethane, or any film finish. A knife cuts through it and it peels.
Making one as a gift
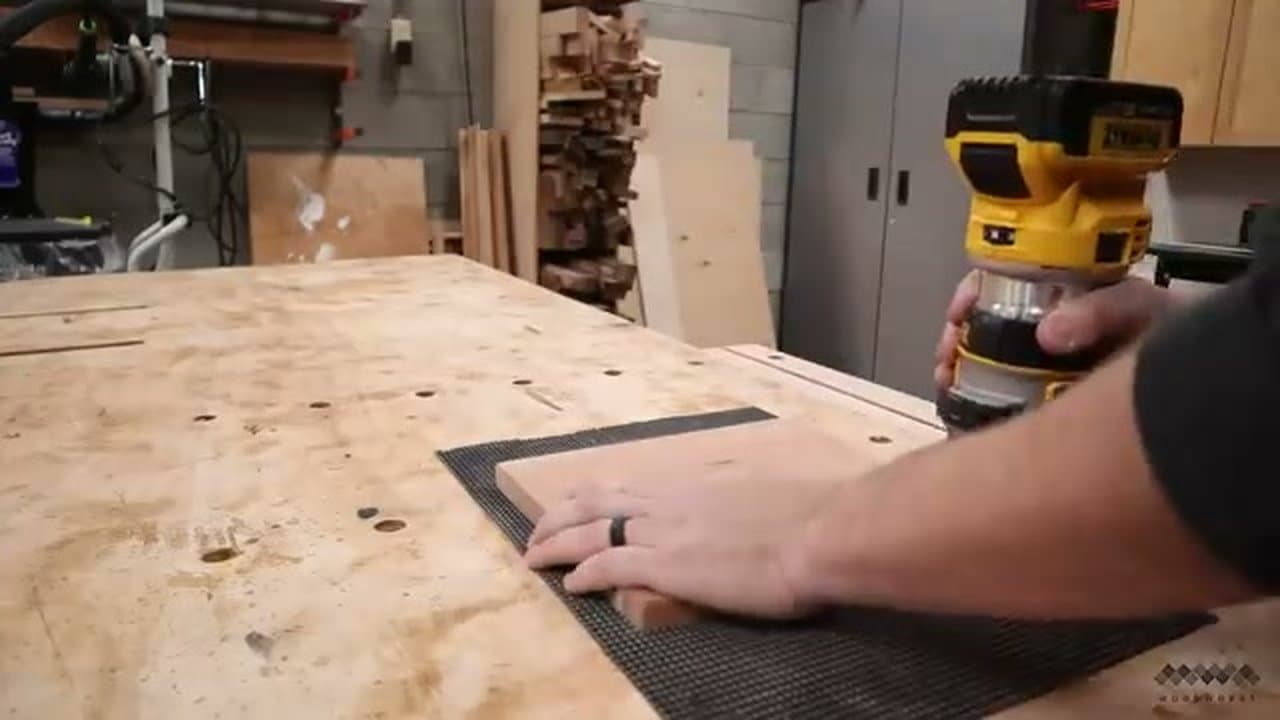
Plan backward from the day you hand it over. You need one evening to cut and glue, a night in the clamps, one afternoon to trim, sand, and chamfer, then a day for the oil to soak in. Call it a long weekend with a few buffer days.
To personalize it, wood burn initials or a date on one corner of the back, then oil over it. Keep burned designs off the cutting face.
Caring for the board
- Hand wash with warm soapy water and dry it standing on edge.
- Never put it in the dishwasher or leave it soaking in the sink.
- Re-oil when the wood looks pale and dry, about once a month at first.
Common mistakes
- Warping. Usually uneven moisture. Oil both faces, not only the top, and dry it on edge.
- Gaps in the glue-up. The strip edges weren't square. Check your blade with a square before ripping, and see how to use a table saw if the fence drifts.
- Starved joints. Too much clamp pressure squeezes the glue out. Stop when you see an even bead of squeeze-out.
- A film finish that peels. Sand it off and switch to oil and wax.
- Tear-out on the chamfer. Take lighter passes. Our guide to using a router covers direction of feed.
Once you've made one, try an epoxy river serving board next.
Credit to MWA Woodworks for the source video.