How to Whittle: 7 Basic Cuts Every Beginner Must Master

The finished result: How to Whittle: 7 Basic Cuts Every Beginner Must Master

By ShowMeStepByStepPublished Updated

Based on a video by Carving is Fun.

Whittling looks intimidating until you realize the entire craft boils down to seven cuts. Master these and you can carve anything - faces, animals, geometric patterns, walking stick handles. Skip them and you'll fight the wood and probably your fingers.

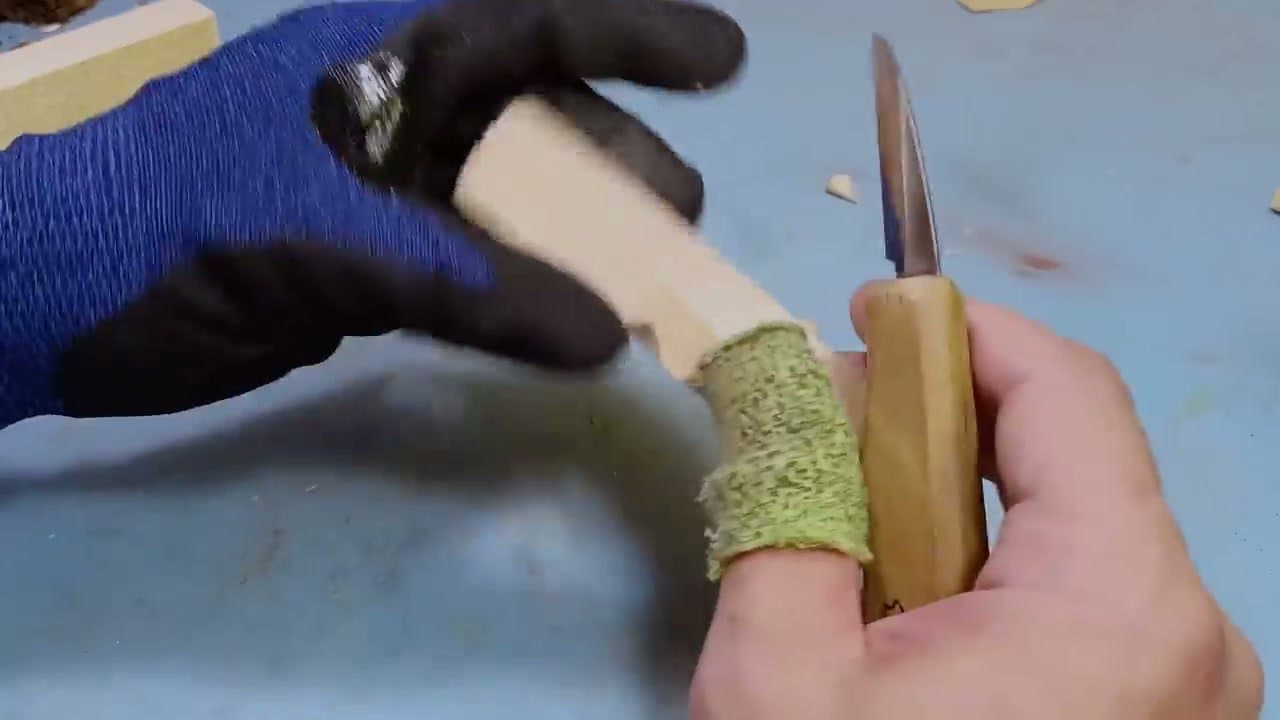
This walkthrough from Brian at Carving is Fun teaches the seven essential whittling cuts in order from least to most controlled. Use a cut-resistant glove and thumb guard while you're learning the motions - building the right muscle memory now keeps your fingers attached when you eventually whittle without protective gear.

What you need

  • A fixed-blade whittling knife with a 1.5 to 2 inch blade
  • A leather strop and polishing compound
  • A cut-resistant glove for the hand holding the wood
  • A leather thumb guard for the knife hand
  • Basswood blocks, around 1 x 1 x 4 inches to start

Why basswood first

Basswood is soft, has a tight, even grain and almost no knots. The knife goes where you point it. Pine looks cheap and handy, but its hard and soft growth rings fight each other, so the blade skips and tears. Save hardwoods like walnut and cherry for later. They hold detail well but punish a dull edge and a tired wrist.

Buy it kiln-dried from a carving supplier. A craft store block works too, as long as it has no knots near where you plan to cut.

The knife and keeping it sharp

A folding pocketknife will whittle, but a fixed-blade carving knife is safer and easier. The blade can't fold on your fingers, and the handle is shaped for a long grip. Most beginner knives come sharp out of the box.

Keeping them that way is the job of the strop. Rub a little compound on the leather, lay the bevel flat and drag the blade backward, spine first, 10 to 20 times per side. Do it every 20 to 30 minutes of carving. If the knife starts crushing the wood instead of slicing a shiny curl, it's overdue.

Whittling safety

  • Glove on the holding hand. That's the hand that gets cut, not the knife hand.
  • Thumb guard on the pushing thumb. Push cuts and paring cuts put that thumb near the edge.
  • Cut away from yourself unless you're doing a braced paring cut, and never toward your lap or legs.
  • Use stop cuts to end a cut. A blade that stops against a stop cut can't run on into your hand.
  • Carve sitting down, in good light, and put the knife down when you're tired.

First projects to try

A small bird is the classic first carve. It's a few push cuts to rough the shape, sweeping cuts to round it, and a stop cut or two at the neck. A spirit face on a stick of basswood or a bark-on branch is another good one, and it uses the stop, V and pyramid cuts from the lesson. A bottle stopper is a short, forgiving shape with a clear finish line. Once those feel easy, try carving a gnome.

A spoon looks simple and isn't. The bowl needs a hook knife and the grain changes direction twice. Leave it for your third or fourth project.

Finishing your carving

Leave the knife facets. They're what makes hand-carved work look hand-carved. Brush on a coat of Danish oil, boiled linseed oil or mineral oil, wait 15 minutes and wipe off the extra. The oil deepens the color and keeps dirt out of the soft wood. You can also add detail with a burner - see how to wood burn.

Common mistakes

  • Cutting against the grain. If the wood tears or splits ahead of the blade, turn the piece around and cut from the other direction.
  • A dull knife. It takes more force, and force is what makes the blade slip. Strop often.
  • Cuts too deep. Take thin shavings. A deep cut pries the wood off in chunks and you can't put them back.
  • Rushing the rough shape. Draw the outline on the block in pencil first and remove wood a little at a time.

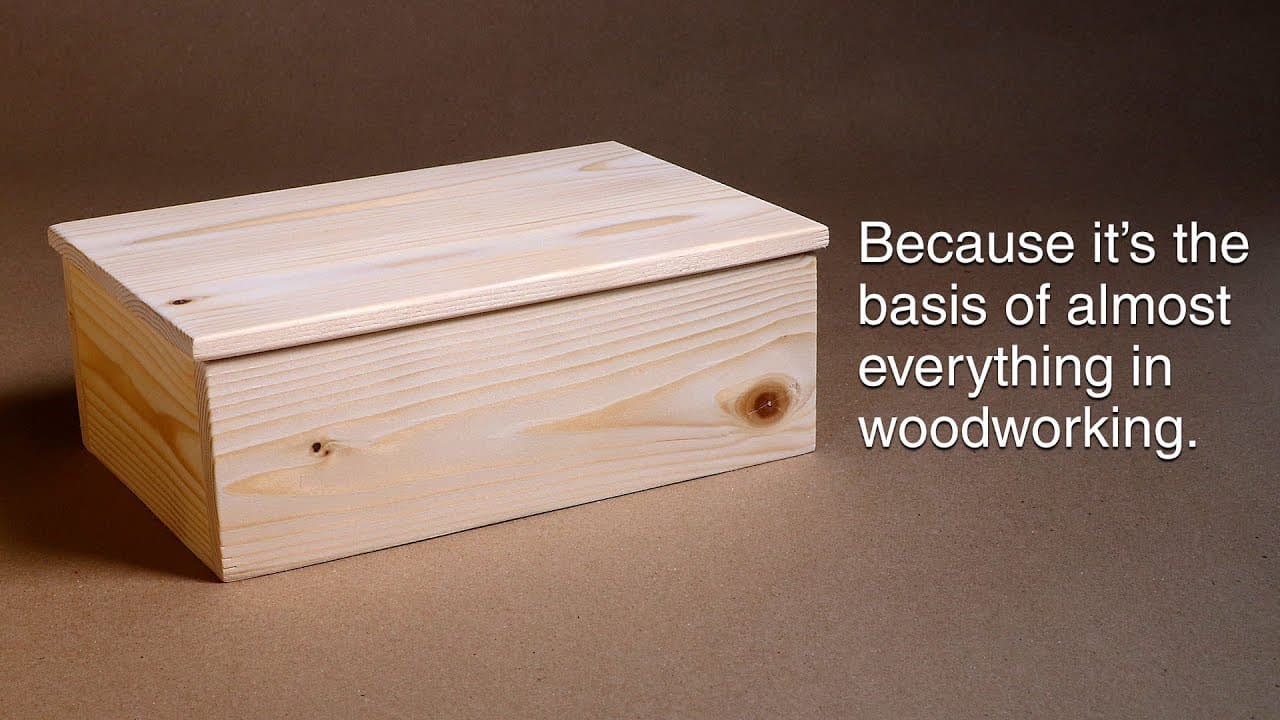
Ready for power tools and bigger builds? Try making a wooden box.
What you'll need

Step-by-Step Guide

7 steps · about 7 minutes.Check off each step as you go and your progress saves automatically.

1

The Rough Cut

0:31
Step 1: The Rough Cut - How to Whittle: 7 Basic Cuts Every Beginner Must Master

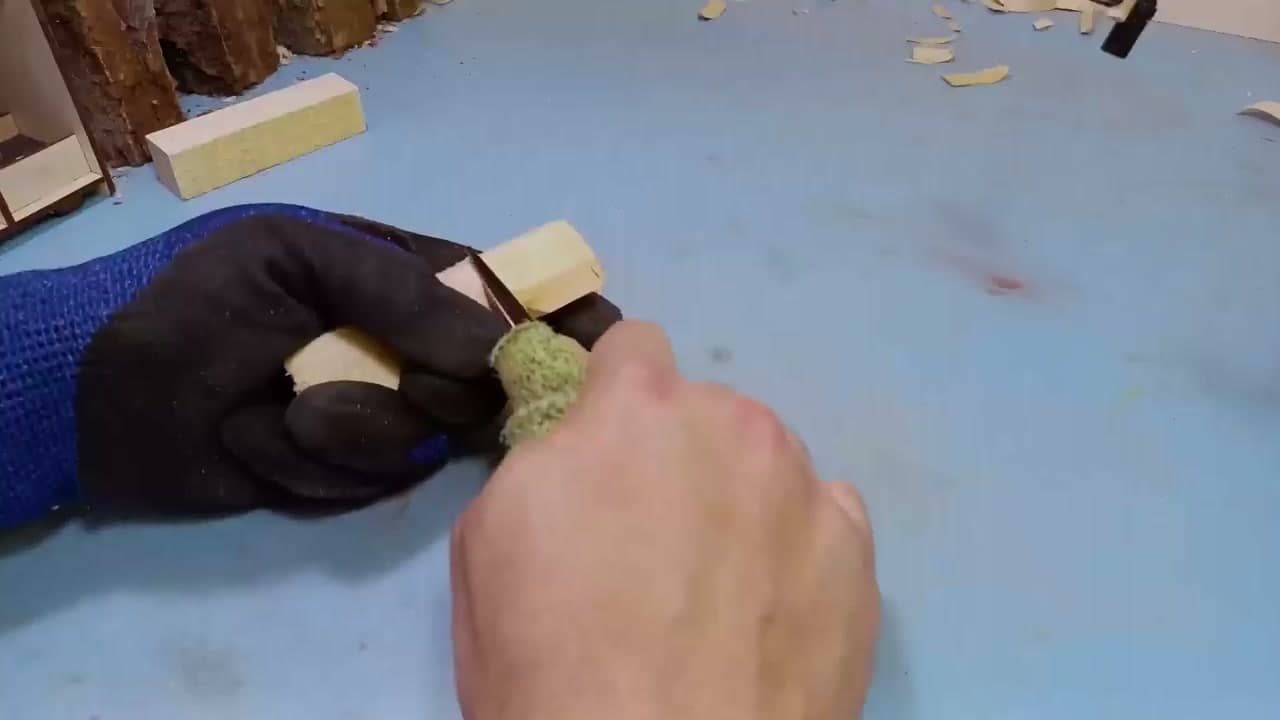
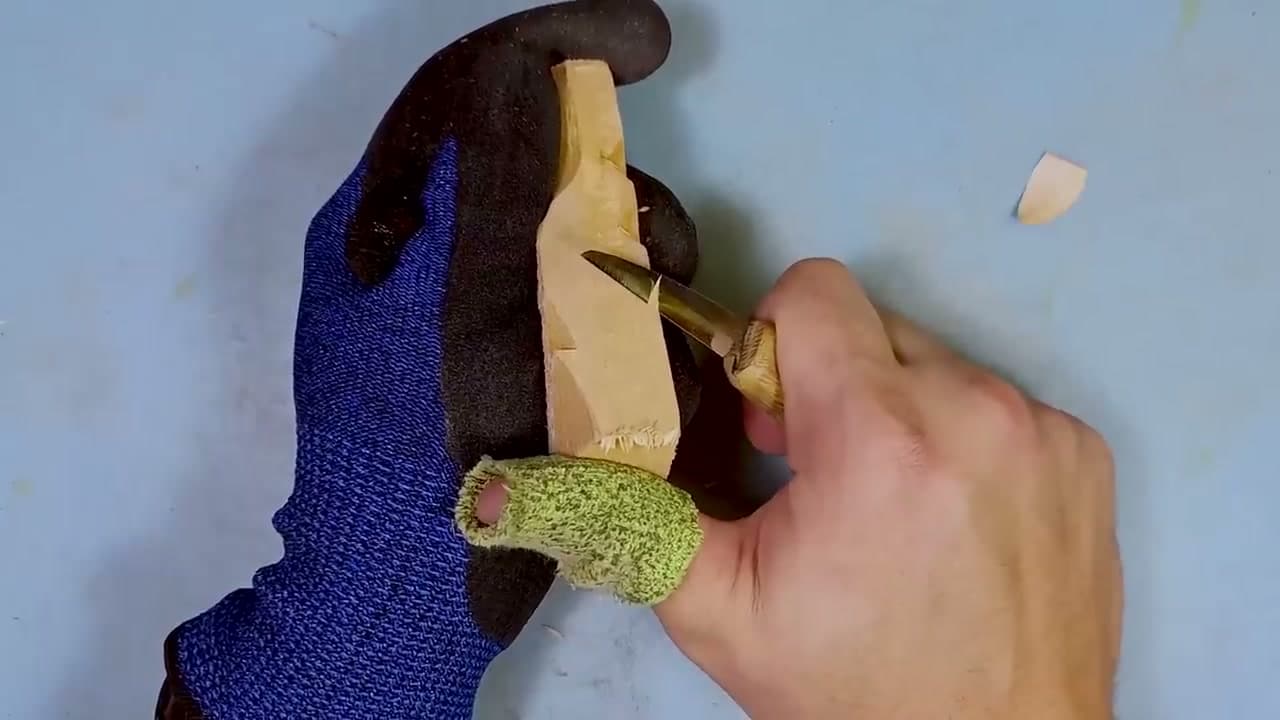
The simplest cut - just push the blade through the wood. You used this one as a kid. It's the fastest way to remove big chunks but the least controlled.

Watch where the blade exits. With no resistance built in, it can keep going past the wood and into your other hand or anything else in the path. Reserve this cut for shaping a fresh blank when nothing's near the work area.

2

The Push Cut

1:08
Step 2: The Push Cut - How to Whittle: 7 Basic Cuts Every Beginner Must Master

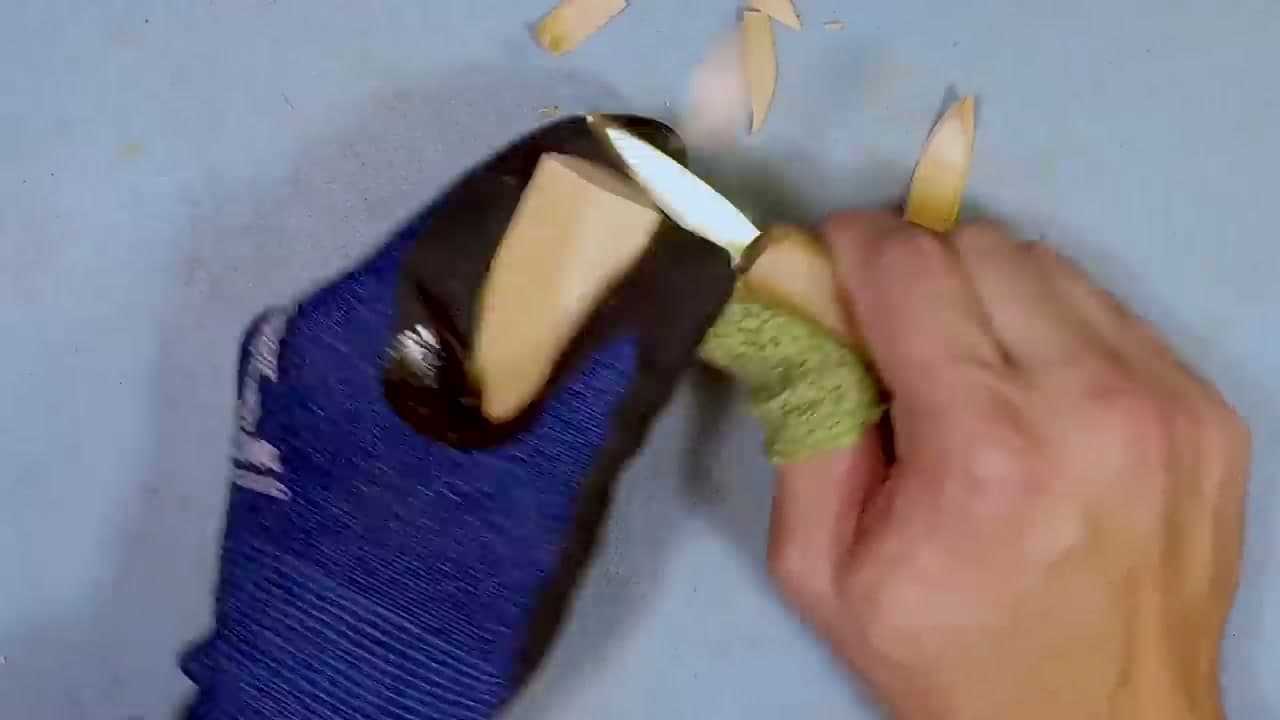
The controlled version of a rough cut. Hold the knife in your dominant hand and rest the blade on the wood. Use your off-hand thumb (with a thumb guard) to push on the back of the blade. Your dominant hand controls direction; the off-hand provides the power.

Push cuts limit how far the blade can travel - your off-hand thumb runs out of pushing range before the blade reaches your fingers. This is the workhorse cut for shaping forms.

3

The Sweeping Cut

2:04
Step 3: The Sweeping Cut - How to Whittle: 7 Basic Cuts Every Beginner Must Master

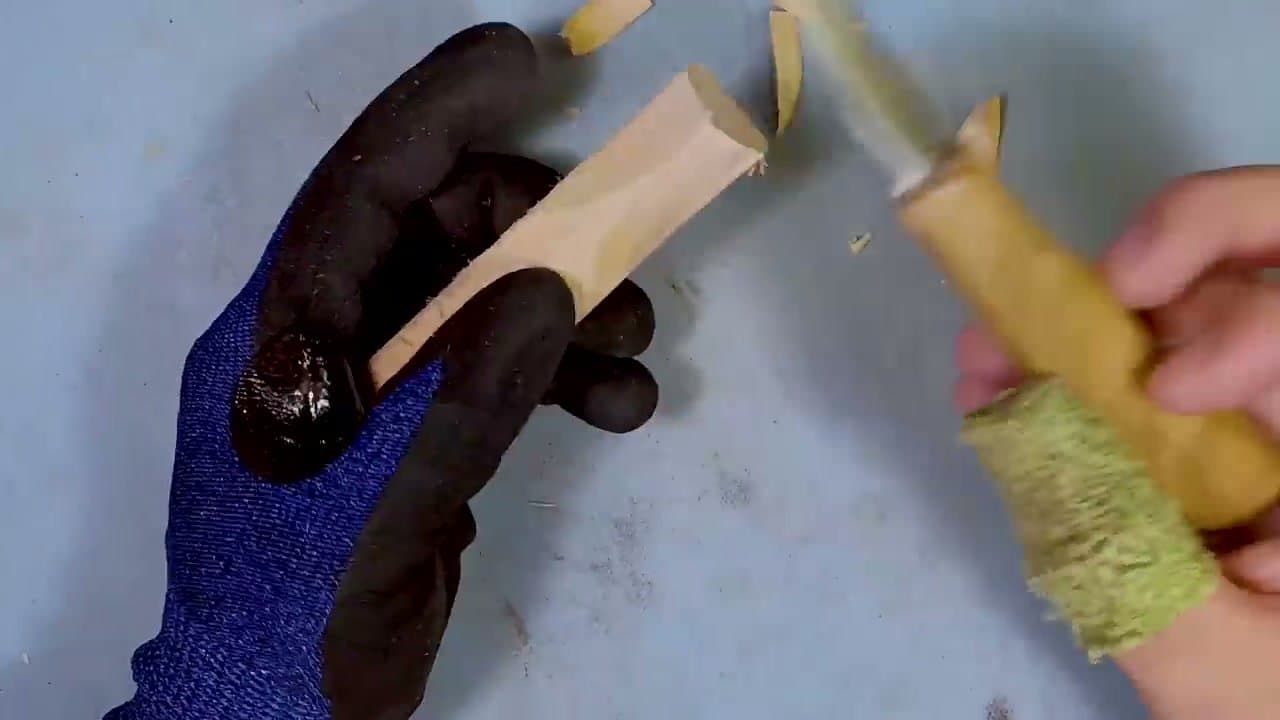
Push the blade down into the wood at an angle, then sweep forward and rotate the blade up to lift out a curved chip. The motion creates a J-shape in the wood.

Sweeping cuts are great for organic curves, rounding edges, and shaping features like noses or ears. Following the wood grain matters - cut with the grain (not against) and the blade glides; cut against and you tear the wood.

4

The Stop Cut

2:43
Step 4: The Stop Cut - How to Whittle: 7 Basic Cuts Every Beginner Must Master

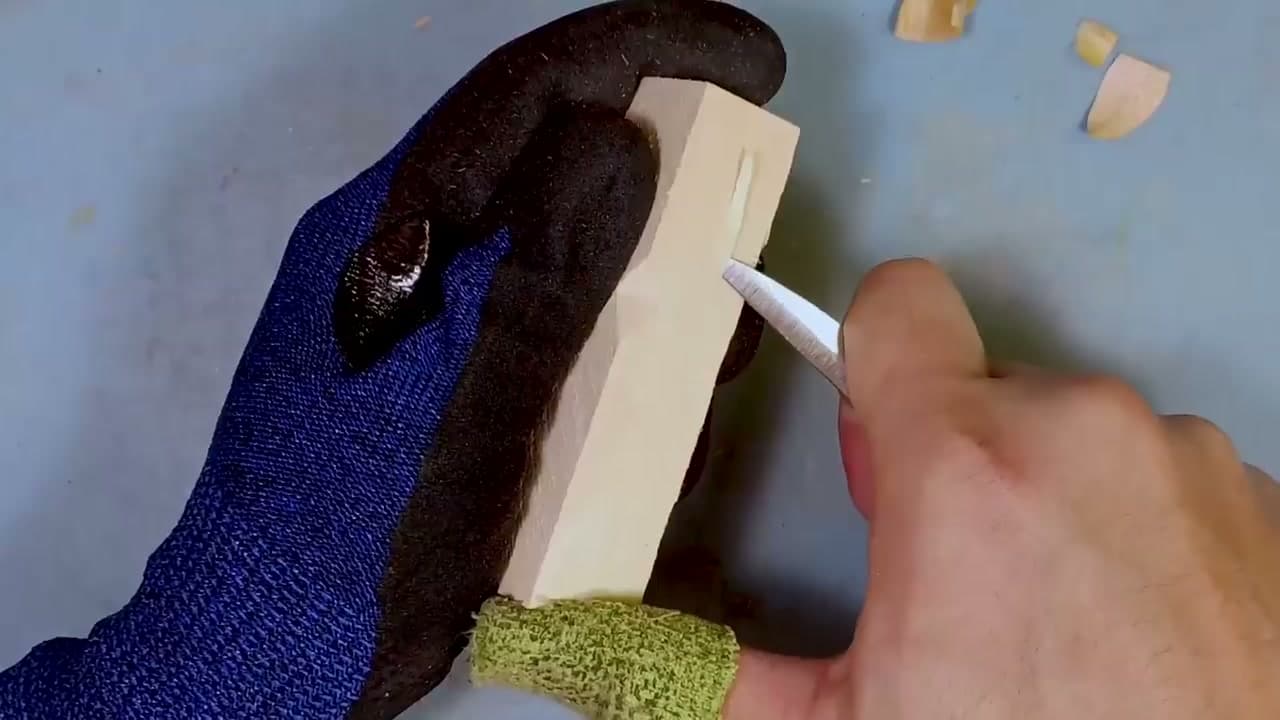
Push the blade straight into the wood (perpendicular to the surface) to make a small wedge. The stop cut sits there and waits.

When you push-cut toward it later, the blade hits the wedge and stops cleanly, leaving a sharp ledge. Stop cuts are essential for face features (eyes, nose bridge), step transitions, and any time you need to control where another cut ends. You'll use them constantly.

5

The Paring Cut

3:27
Step 5: The Paring Cut - How to Whittle: 7 Basic Cuts Every Beginner Must Master

The paring cut is the only cut where the blade comes toward you - controlled and safe when done right. Brace your knife-hand thumb against the wood (out of the blade's exit path), place the blade where you want to cut, and squeeze your hand closed.

The blade arcs through a tight, predictable path that ends well before your braced thumb. Don't pull the knife with your arm - just squeeze. A thumb guard adds insurance while you're learning the motion.

6

The V-Cut

4:59
Step 6: The V-Cut - How to Whittle: 7 Basic Cuts Every Beginner Must Master

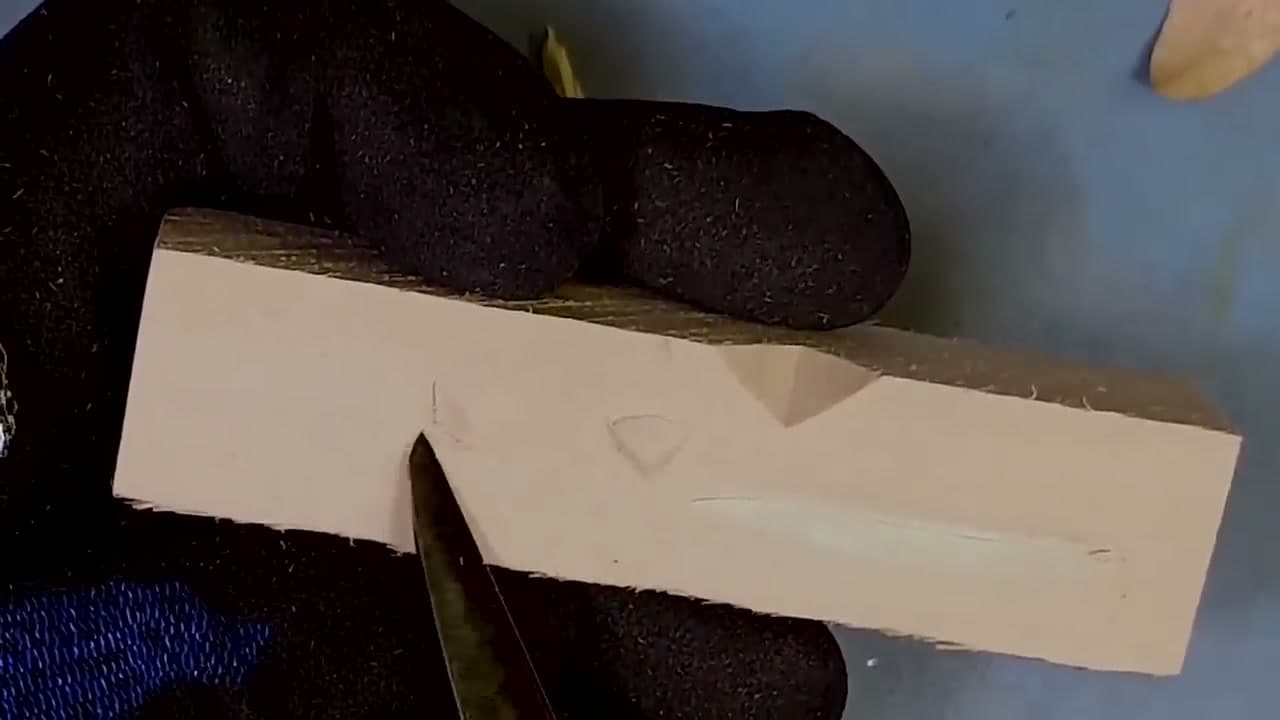
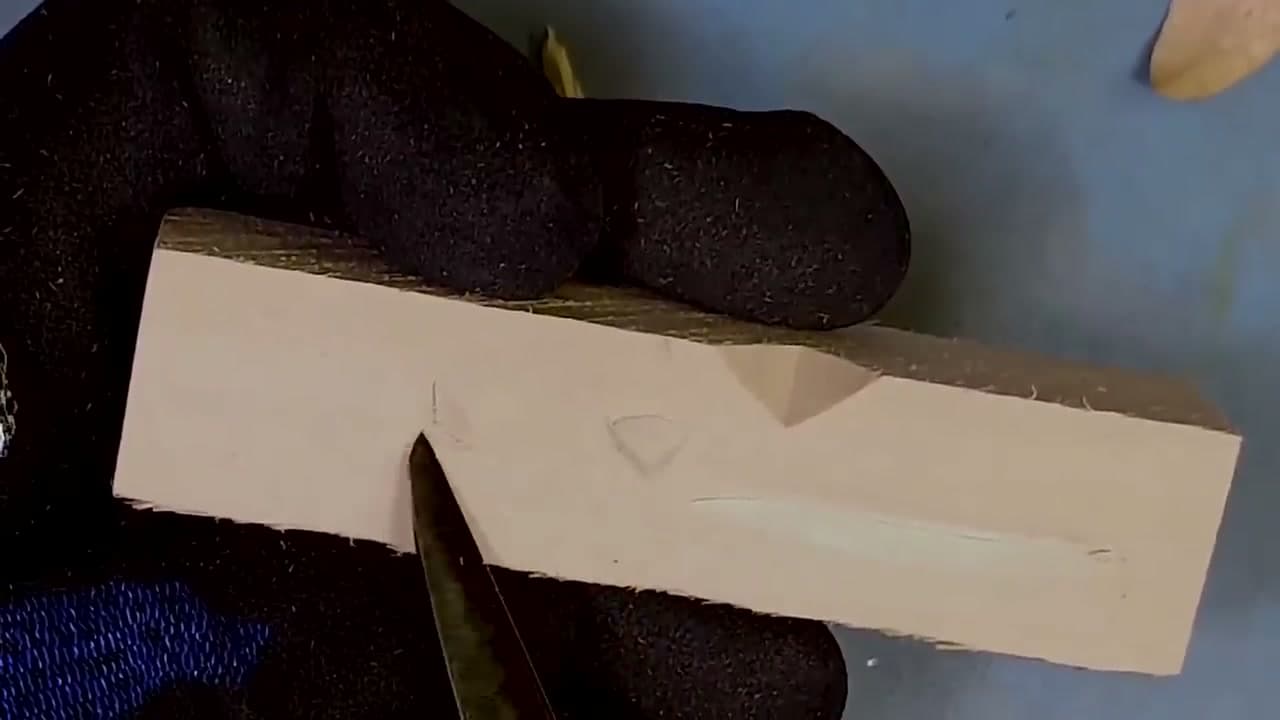
Two angled stop cuts meeting at a point form a V-shaped wedge. Cut down at one angle, then mirror the cut from the other side - the chip pops out and leaves a clean V-trench.

V-cuts make geometric patterns (rows of Vs across a surface), vine and floral designs, and any feature where you need an indented line with sharp edges. They're chip carving's foundation cut.

7

The Pyramid (Stab) Cut

5:57
Step 7: The Pyramid (Stab) Cut - How to Whittle: 7 Basic Cuts Every Beginner Must Master

Drive the blade straight into the wood three or more times in a polygonal pattern. The cuts intersect and lift out a chip in the shape of an inverted pyramid. Three cuts make a triangular pyramid; four make a diamond; six or more start looking like a circular dot.

Use pyramid cuts for irises in eyes, decorative dots, and any chip carving where you want a clean indented shape. Combined with the other six cuts, this gives you everything you need to carve anything.

Tip

Use basswood blocks while you're learning - it's the softest common carving wood, cuts predictably, and forgives mistakes. Save oak, walnut, and other hardwoods for after the cuts feel automatic.

Keep going

How to Build a Wooden Planter Box (Simple Straight-Cut Build)

Products Used

The Checklist

How to Whittle: 7 Basic Cuts Every Beginner Must Master

Tools
3
Materials
1
Steps
7
Video
7 min

Tools we recommend

Your Guide

Carving is Fun

As an Amazon Associate we earn from qualifying purchases. Links on this page may be affiliate links - clicking them and buying doesn't change your price, but helps support ShowMeStepByStep.

Tags

Sunday How-To

New woodworking crafts tutorials, every Sunday

One short email with the week's best step-by-step guides. Free, no spam, unsubscribe anytime.

Test your knowledge

Did the lesson stick? Start with this one.

5 questions covering what you just read. No signup, no score saved, and you can stop after this one.

Question 1 of 5

How many basic cuts does the tutorial cover?

Quick reference

Key takeaways from How to Whittle: 7 Basic Cuts Every Beginner Must Master

5 questions, answers, and one-line explanations. Tap to expand.

  1. 1.How many basic cuts does the tutorial cover?

    Answer: Seven cuts

    Seven cuts cover the whole craft: rough, push, sweeping, stop, paring, V-cut, and pyramid (stab).

  2. 2.What wood does the tutorial recommend for beginners?

    Answer: Basswood

    Basswood is the softest common carving wood. Cuts predictably and forgives mistakes. Save oak and walnut for later.

  3. 3.What's unusual about the paring cut?

    Answer: The blade pulls toward you

    The paring cut is the only cut where the blade comes toward you. Brace your knife-hand thumb against the wood and squeeze your hand closed.

  4. 4.What does a stop cut do?

    Answer: Sets a wedge the next cut stops at

    A stop cut sits perpendicular to the surface and waits. A later push cut hits the wedge and stops cleanly, leaving a sharp ledge.

  5. 5.Two angled stop cuts meeting at a point form what?

    Answer: A V-cut

    V-cut. The chip pops out and leaves a clean V-trench. Used for geometric patterns and vine details.

Did this work for you?

What's next

Related collections

Curated theme pages that include this tutorial.

Weekly Digest

Liked this woodworking crafts tutorial?

Pick the categories you want to hear about. Weekly digest of new step-by-step tutorials. No spam, easy unsubscribe.

Send me tutorials about

We only email about new tutorials. Easy unsubscribe anytime.